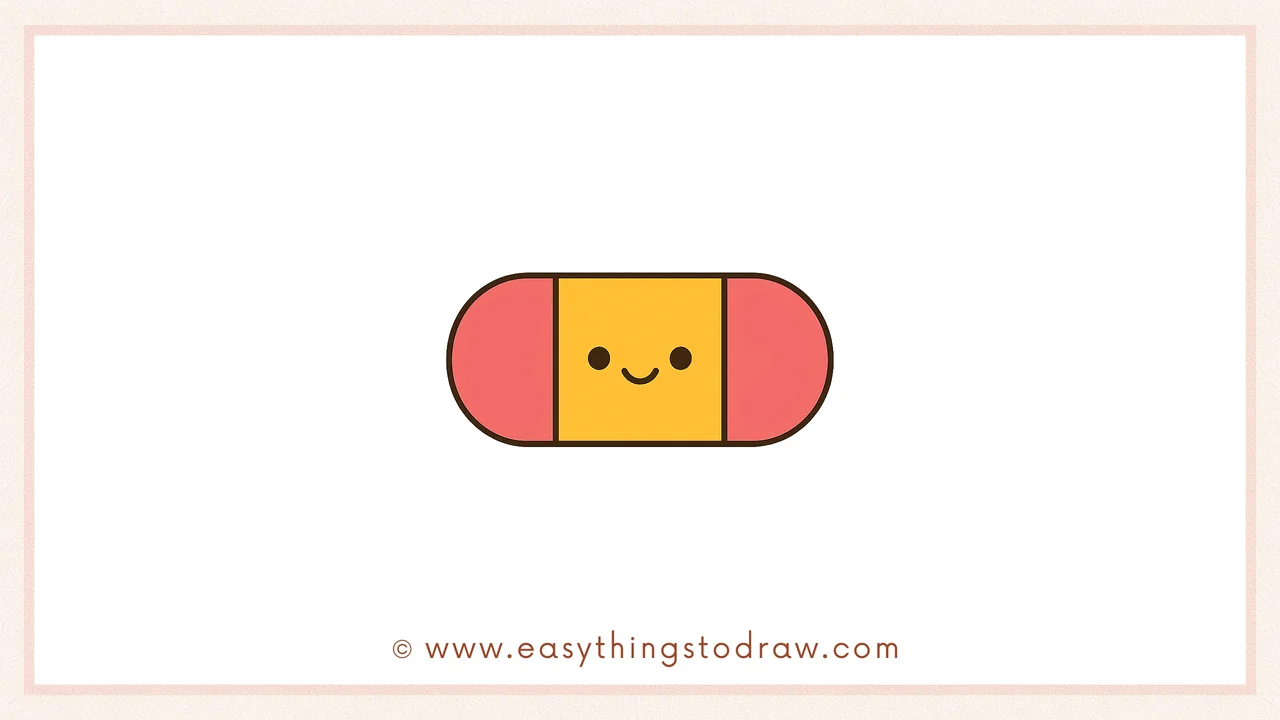
Ready to draw something that helps you fix your drawings? This step-by-step tutorial shows you how to draw a cute cartoon eraser with a smiling face and soft round ends. Perfect for kids, beginners, and anyone who loves school supplies! Whether for fun or for back-to-school art, this happy little eraser will definitely make your sketchbook even cuter.
What You Need:
- A pencil
- An eraser
- A black marker (for outlining)
- Coloring tools (crayons, markers, or colored pencils)
- Drawing paper
Step by Step Eraser Drawing Instructions
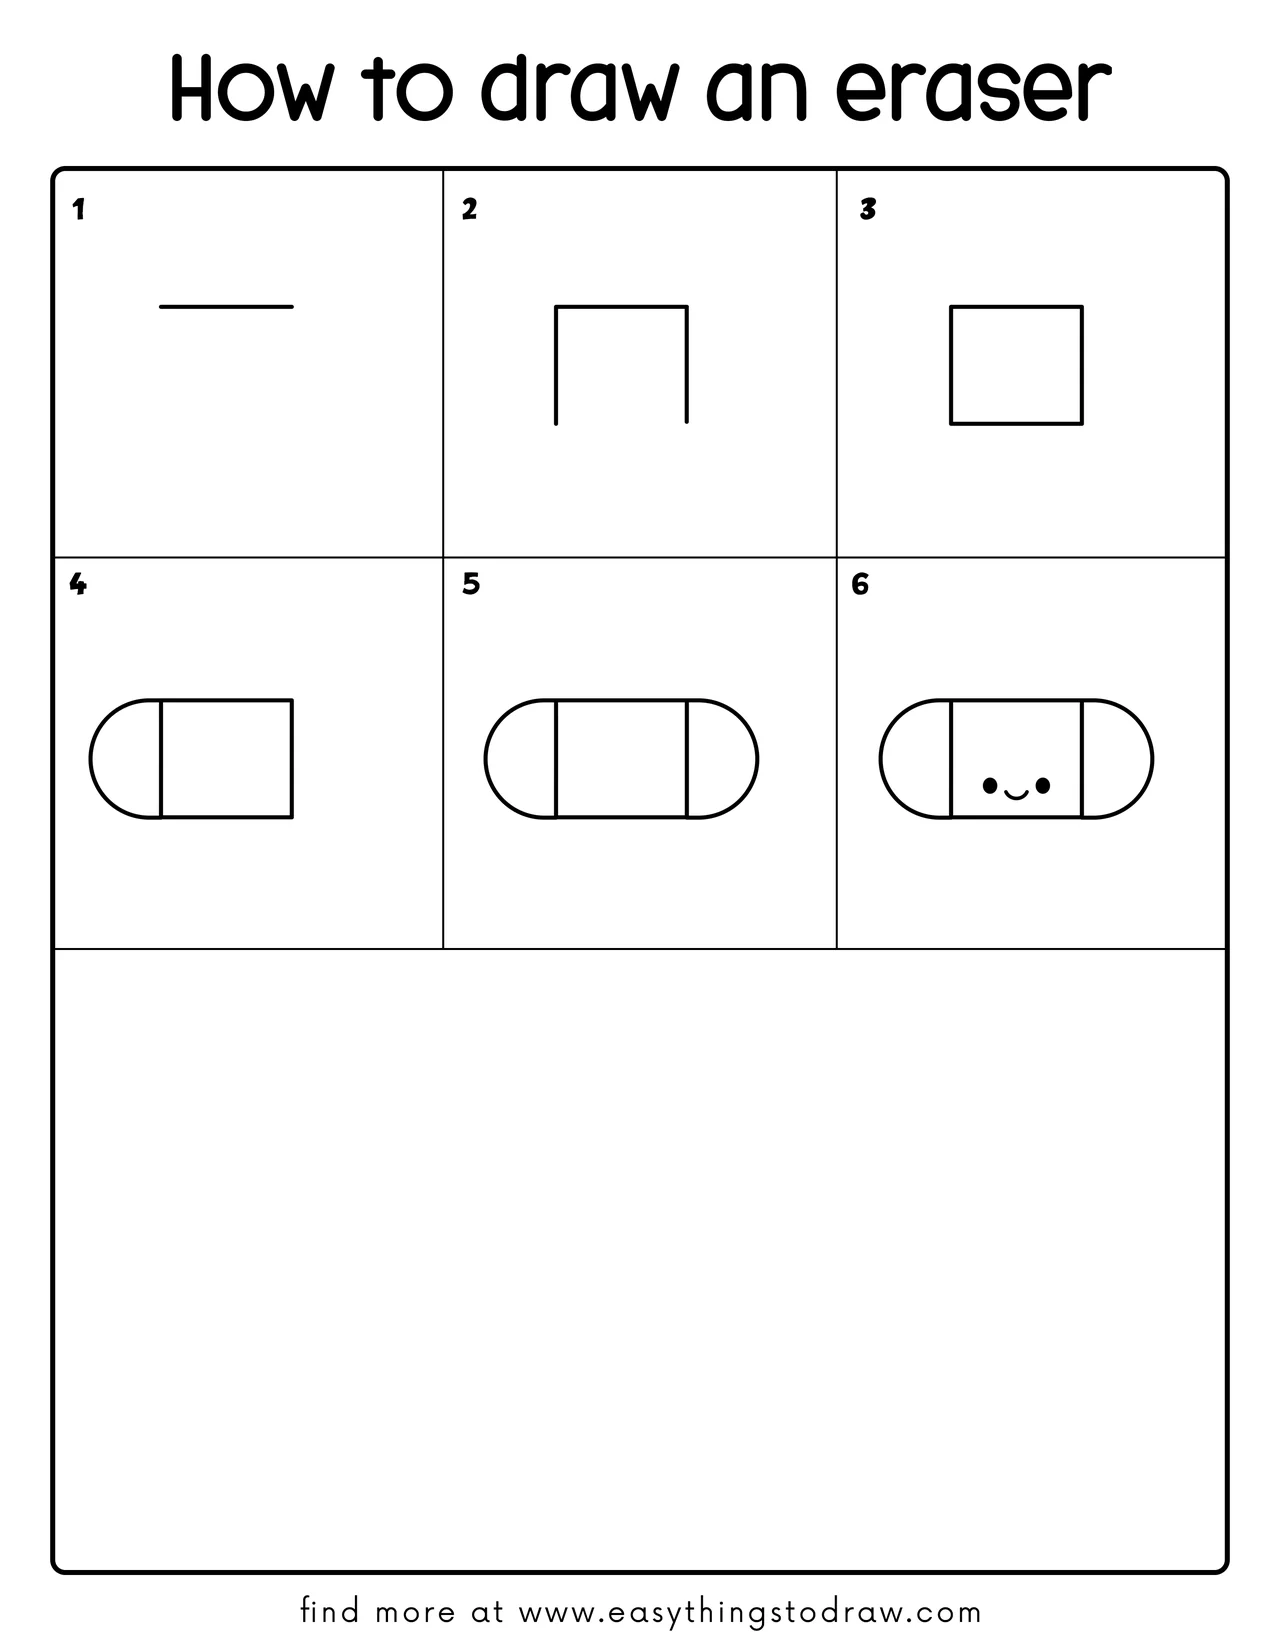
Step 1 – Draw a Short Horizontal Line
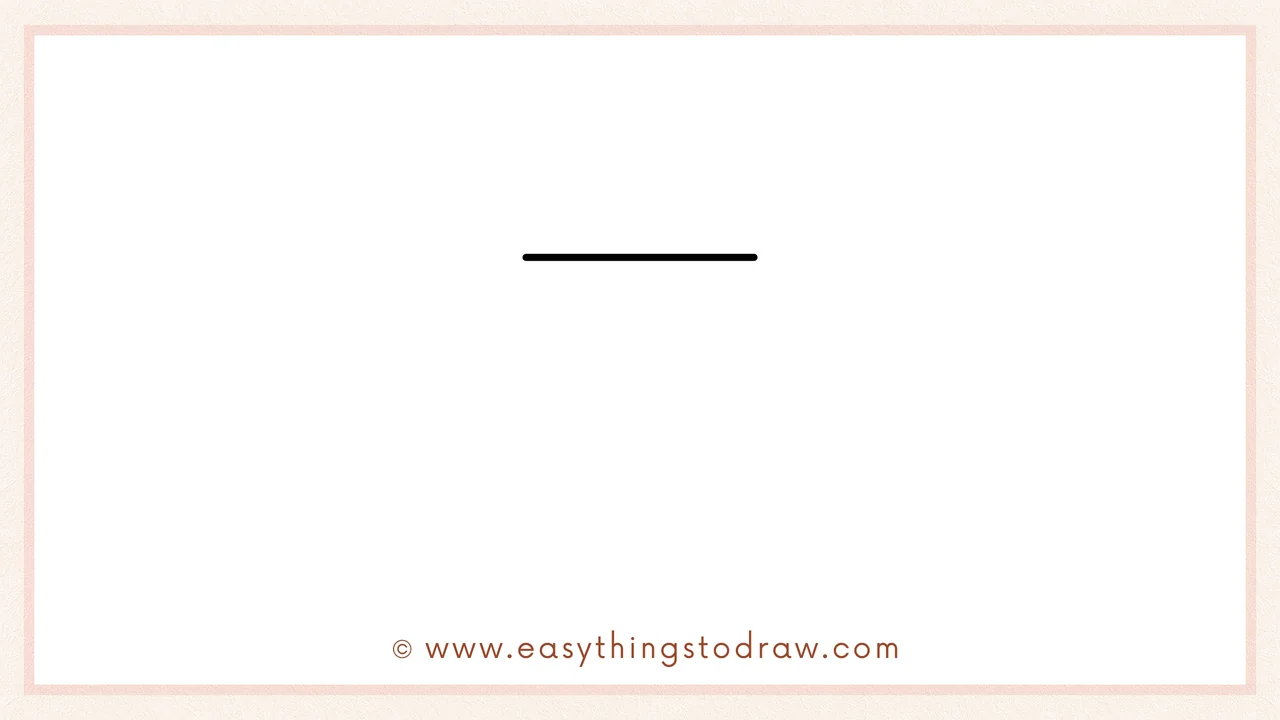
Start by drawing a short, straight line across the top of your page. This will be the top edge of your eraser.
Step 2 – Draw Downward Lines
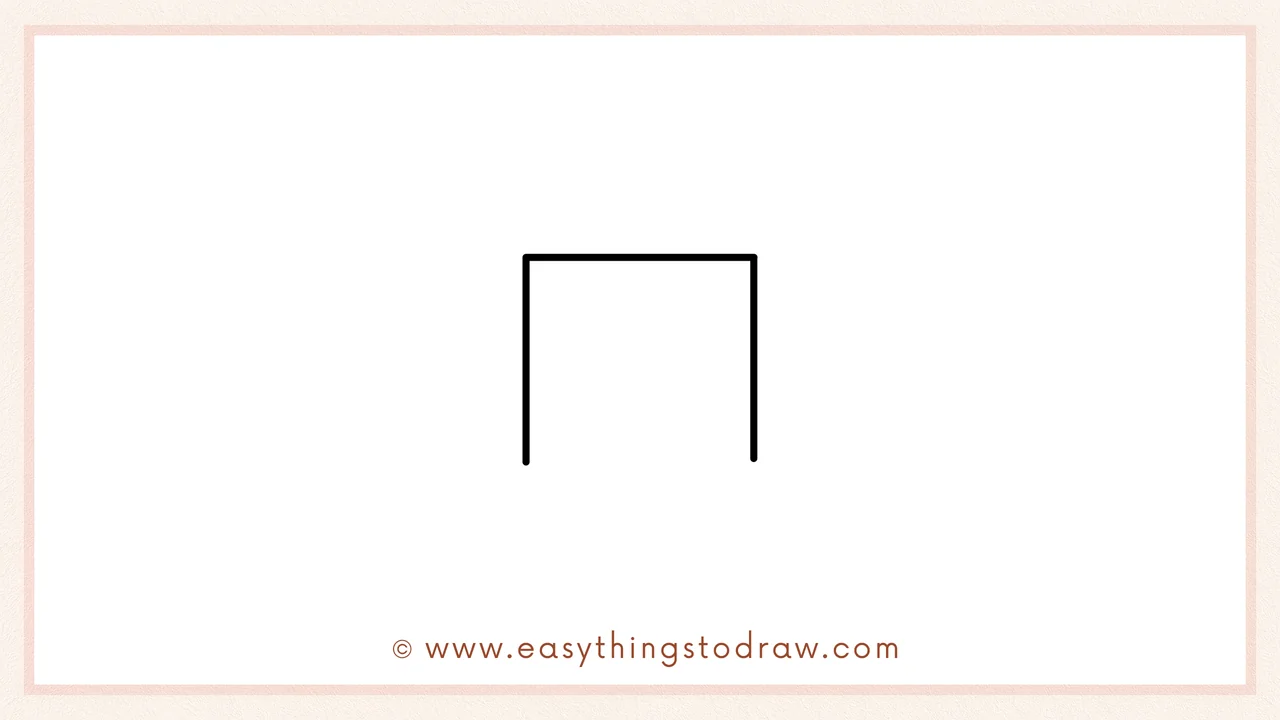
From both ends of the horizontal line, draw two vertical lines going down to form the sides of the eraser.
Step 3 – Close the Rectangle
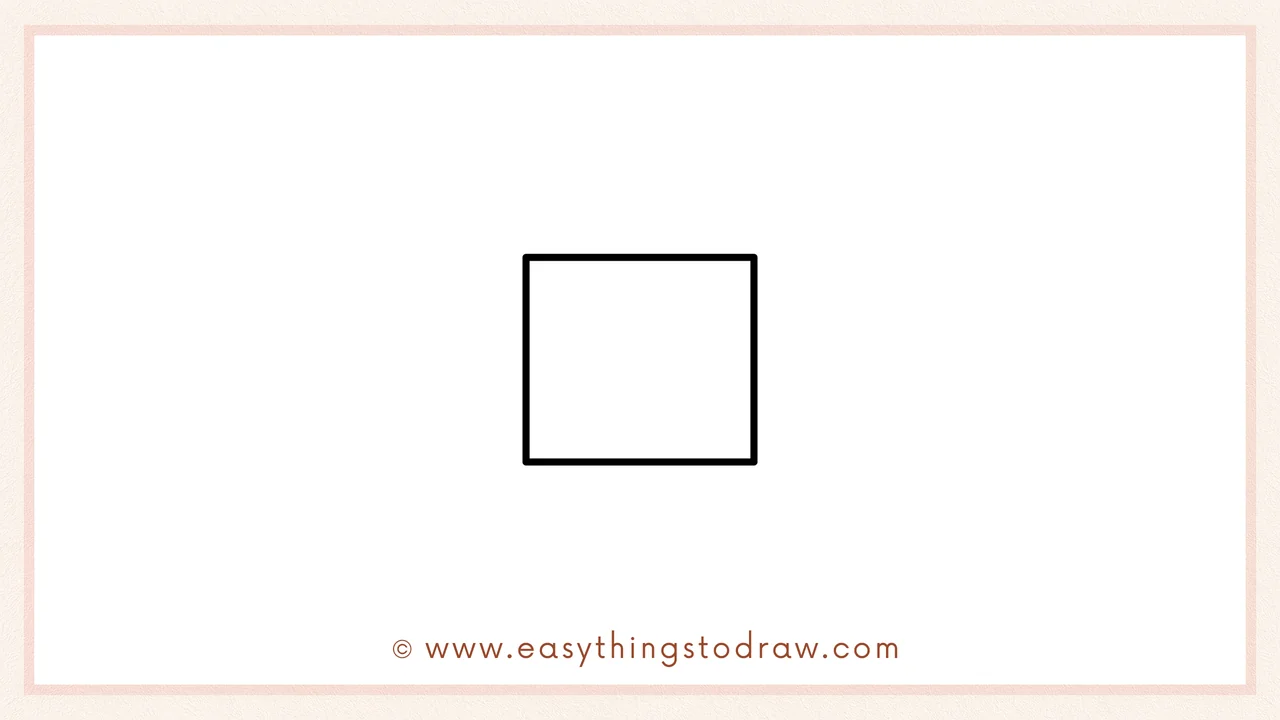
Connect the bottom of the vertical lines with another horizontal line. Now you have a tall rectangle — the body of the eraser!
Step 4 – Add a Rounded Side
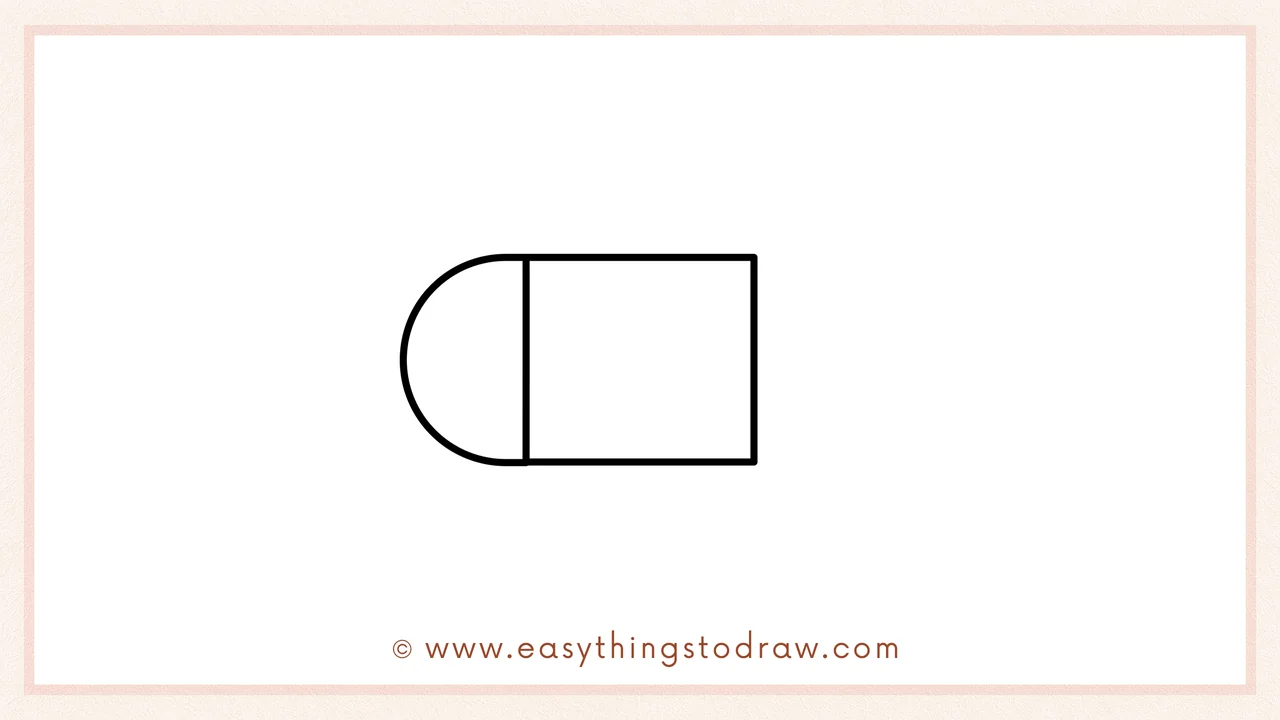
On the left side of the rectangle, draw a large semicircle to give the eraser a soft, rounded end.
Step 5 – Add the Other Side
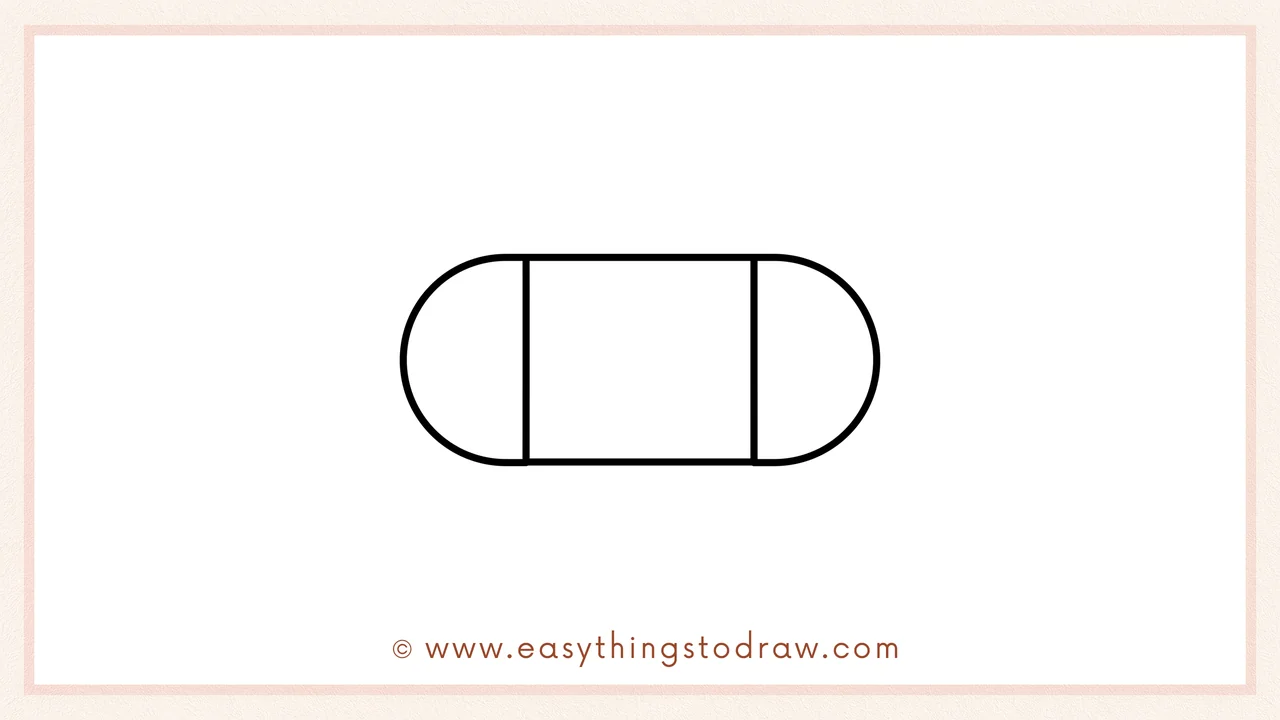
Repeat the same semicircle shape on the right side. Now your eraser has two rounded ends — so soft and squishy!
Step 6 – Add a Cute Face
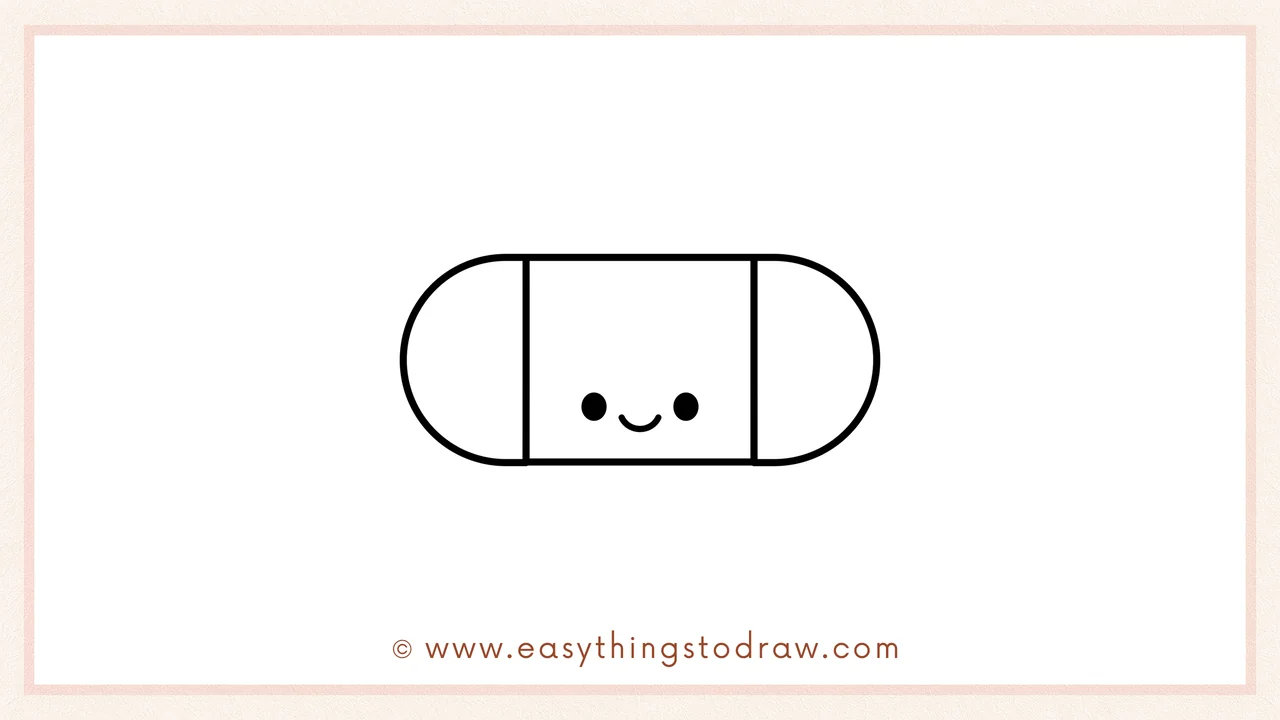
Let’s bring it to life! Draw two little dot eyes and a smiling mouth right in the center of the eraser.
Frequently Asked Questions (FAQ)
Can I add my name or design on the eraser?
Definitely! You can draw hearts, stripes, stars, or even write your name on it.
What colors are good for erasers?
Classic colors are pink, blue, and white — but feel free to make yours rainbow or glittery!
Can I draw other supplies to go with it?
Yes! Try a matching pencil, ruler, or notebook to create a full set.
What if I make a mistake while drawing the eraser?
That’s the best part — you’re drawing an eraser! Just erase and try again.
Printable Drawing Tutorials
Download Printable How to draw an eraser Drawing Tutorials
You Did It!
Amazing job drawing your cute and happy eraser! Whether it’s a classroom tool or your art buddy, this smiling eraser adds a lot of personality to your drawings. Try drawing a full pencil case of supplies, or create your own eraser collection with different faces and colors. Keep doodling and keep smiling!
