Ever made a wish on a turkey wishbone? Now you can draw one! This super simple tutorial shows you how to sketch a cartoon-style Thanksgiving wishbone — a classic holiday symbol. Great for young artists, this drawing guide is gentle, relaxing, and full of festive fun.

What You Need:
- A pencil
- An eraser
- A black marker (for outlining)
- Coloring tools (crayons, markers, or colored pencils)
- Drawing paper
Step by Step Wishbone Drawing Instructions
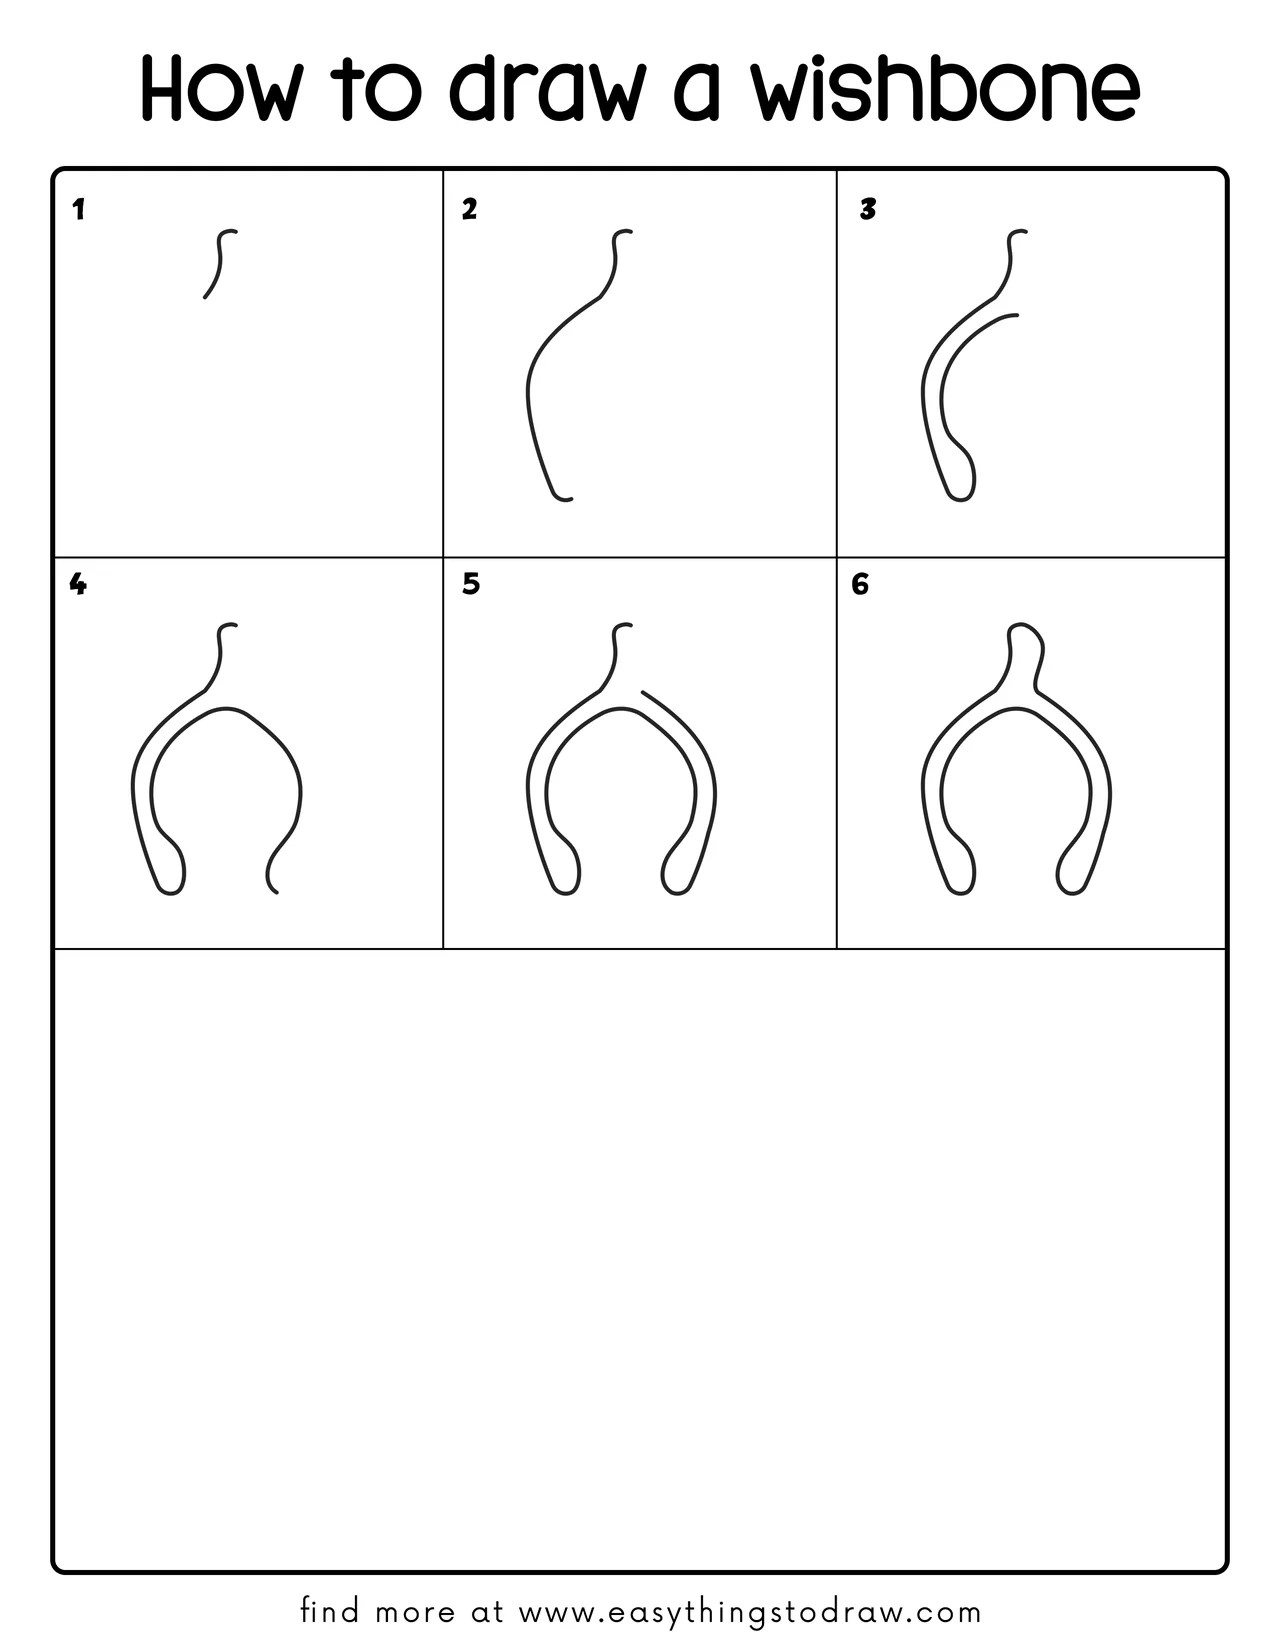
Step 1 – Start the Left Curve
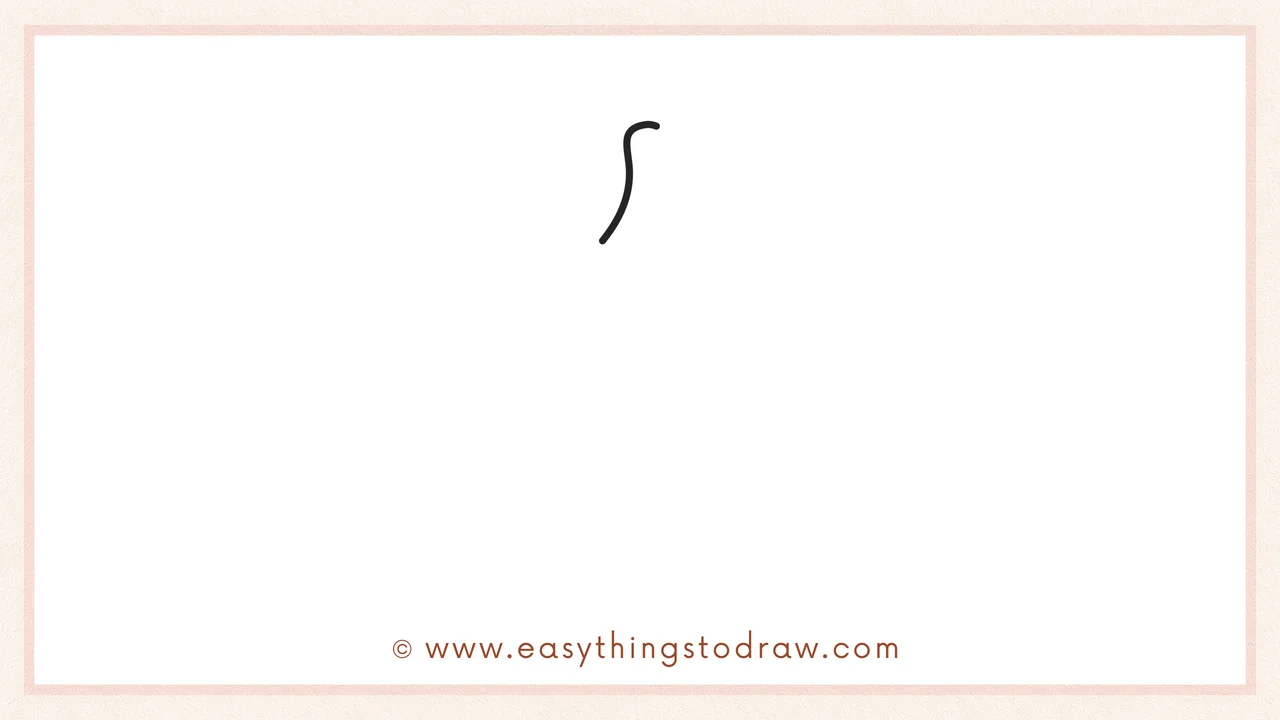
Begin by drawing a long curved line on the left, going up, around, and dipping down like the side of a bent “Y”.
Step 2 – Draw the Left Outer Curve
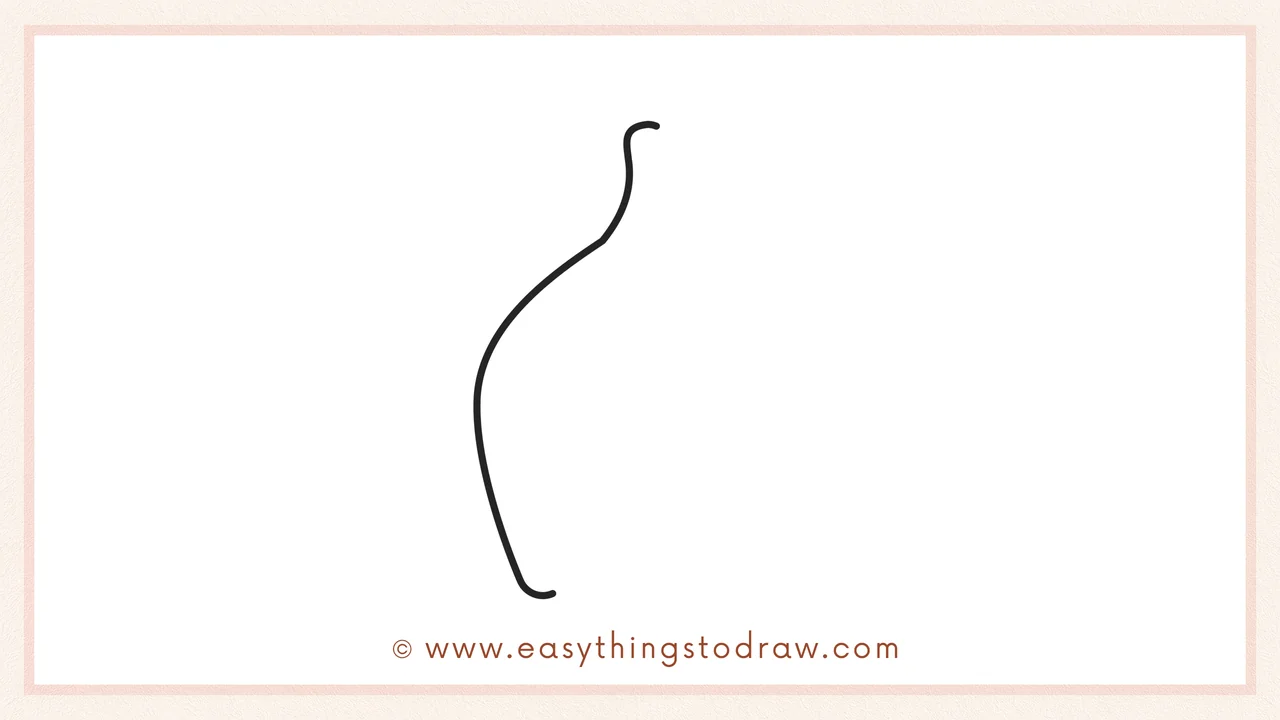
Continue that curve down and around to form the left side of the wishbone. This will be one of the “arms” of the shape.
Step 3 – Begin the Right Inner Line
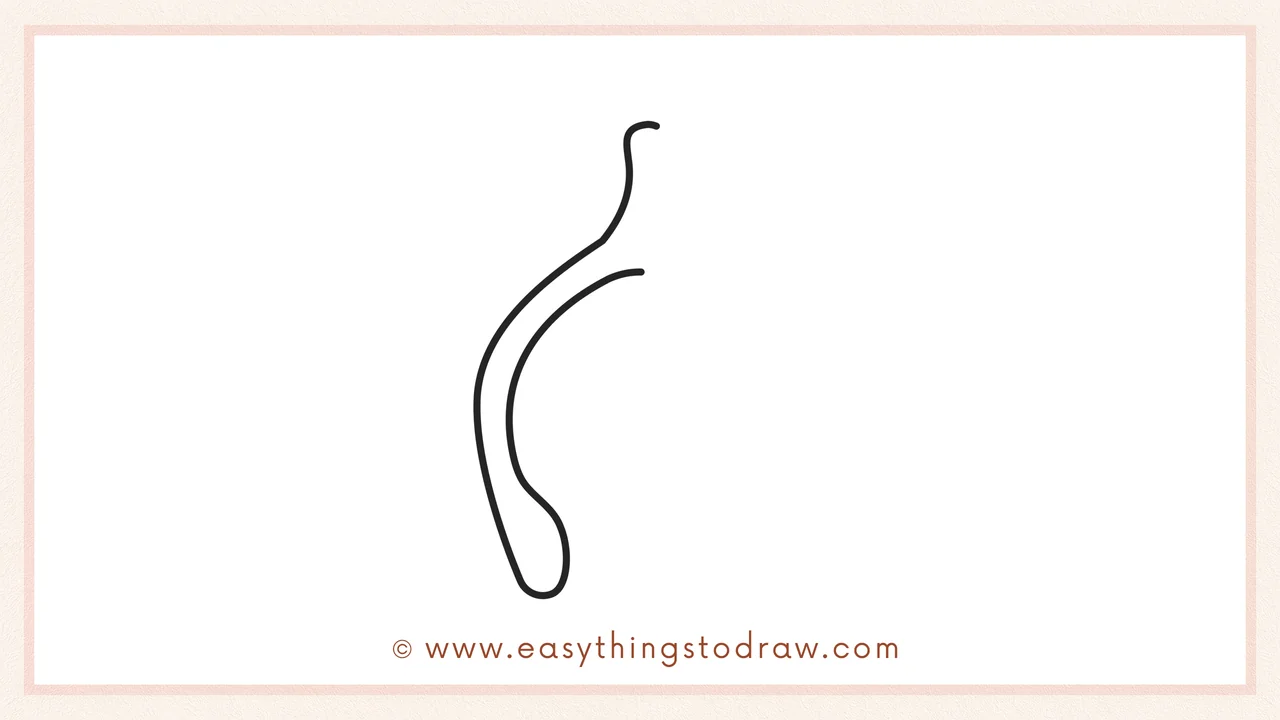
Let’s start the inner part of the wishbone! Begin near the top of the right side, and draw a curved line going downward. This line should follow the outer curve but stay inside — it’s the inner edge of the wishbone.
Step 4 – Complete the Inner Outline
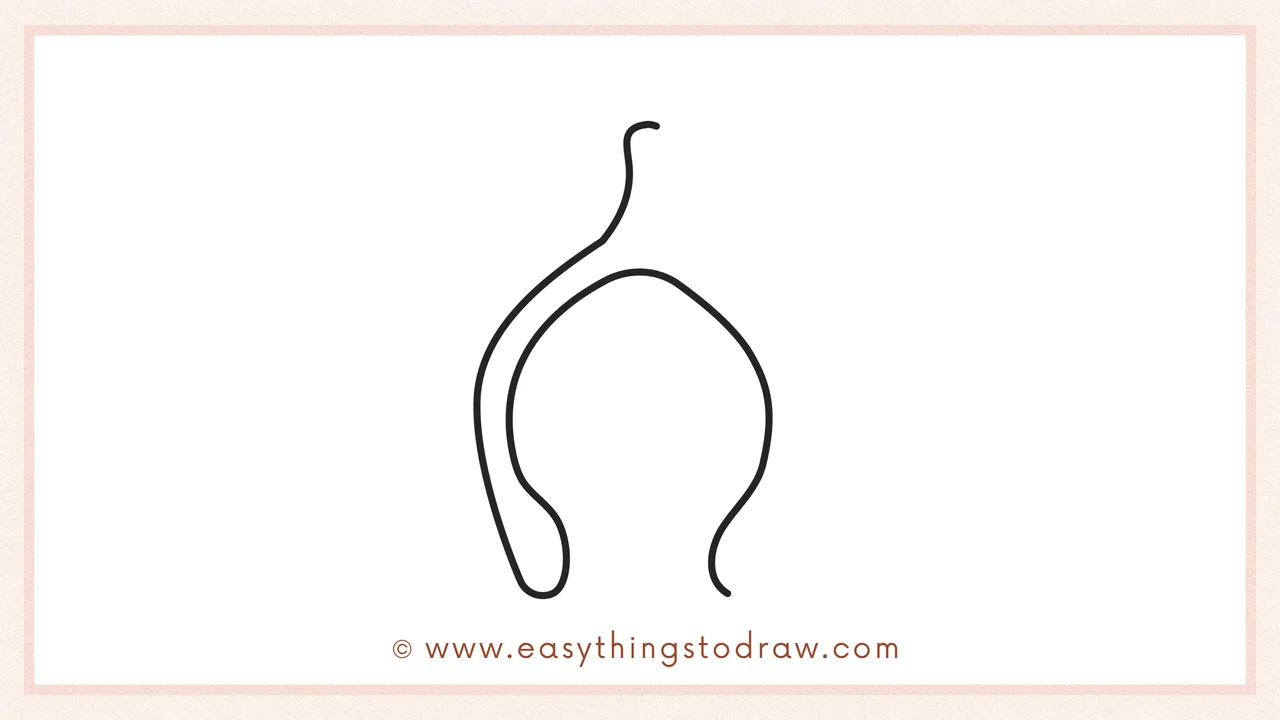
Extend the inner curve all the way down and around to form a smooth closed shape on the inside. Now your wishbone has a complete inner structure, giving it a more realistic, layered look.
Step 5 – Finish the Right Outer Curve
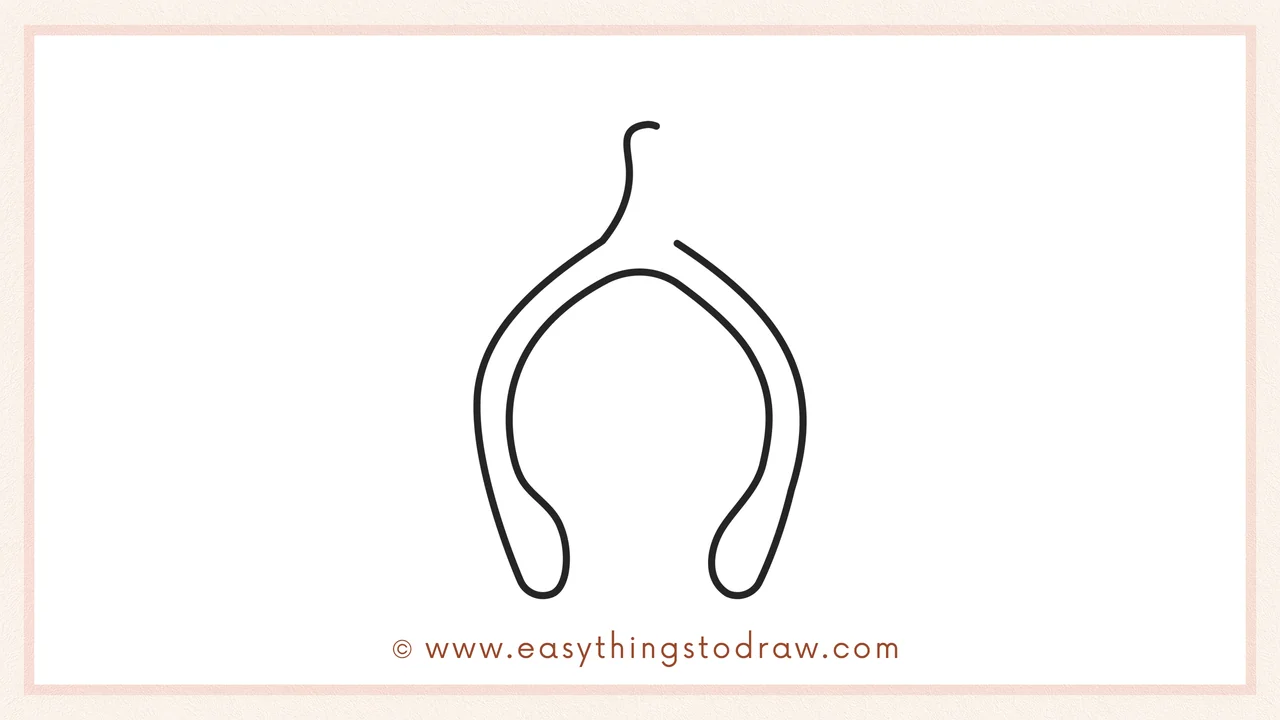
Now draw the final line for the outer right edge. Extend it downward in a smooth curve that connects to the bottom — matching the shape on the left. Your wishbone is now fully outlined with both inner and outer parts!
Step 6 – Add the Top Connector
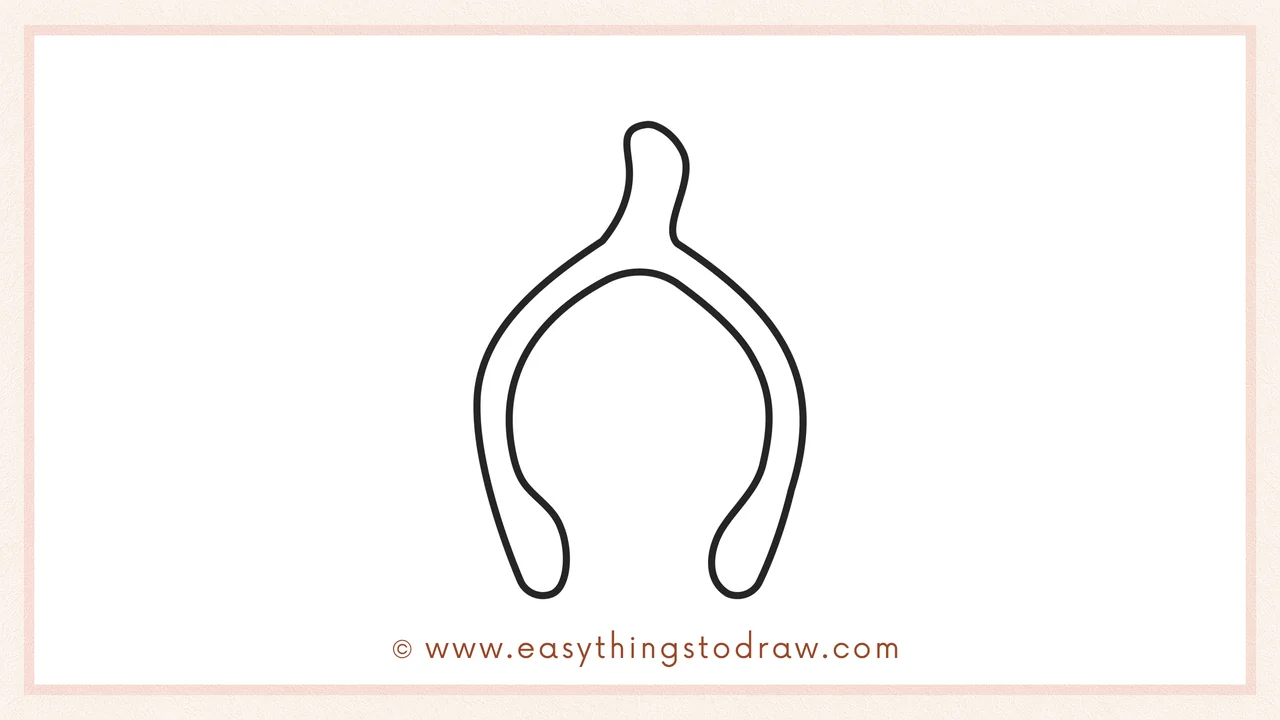
Finish your drawing by connecting the two top ends with a short curved bump. This is the part where people grab and pull to make a wish!
Frequently Asked Questions (FAQ)
What does a wishbone mean?
Traditionally, two people pull the wishbone and make a wish — the one with the bigger piece gets their wish granted!
Can I decorate my wishbone drawing?
Of course! You can add sparkles, stars, or even write your wish in the center.
What colors should I use?
Bone-white, pale yellow, or a golden glow all work beautifully for this simple object.
Is this tutorial good for young kids?
Yes! It uses smooth, simple curves and is perfect for ages 4 and up.
Printable Drawing Tutorials
Download Printable How to draw a wishbone Drawing Tutorials
You Did It!
Awesome job drawing your very own Thanksgiving wishbone! Now you can color it, cut it out, or even make a holiday card with it. Add some twinkle around it and think about what you’d wish for. This is a fun, magical symbol that adds a special touch to your festive art. Keep practicing and sharing your creativity!
