Want to draw a fun and friendly whiteboard? This step-by-step cartoon whiteboard tutorial is great for kids, beginners, or anyone who loves classroom-themed doodles! With just a few simple shapes, you’ll create a cheerful whiteboard complete with a marker, eraser, and an adorable smile. It’s a perfect drawing idea for school projects or art time at home!
What You Need:
- A pencil
- An eraser
- A black marker (for outlining)
- Coloring tools (crayons, markers, or colored pencils)
- Drawing paper
Step by Step Whiteboard Drawing Instructions
Step 1 – Draw the Outer Frame
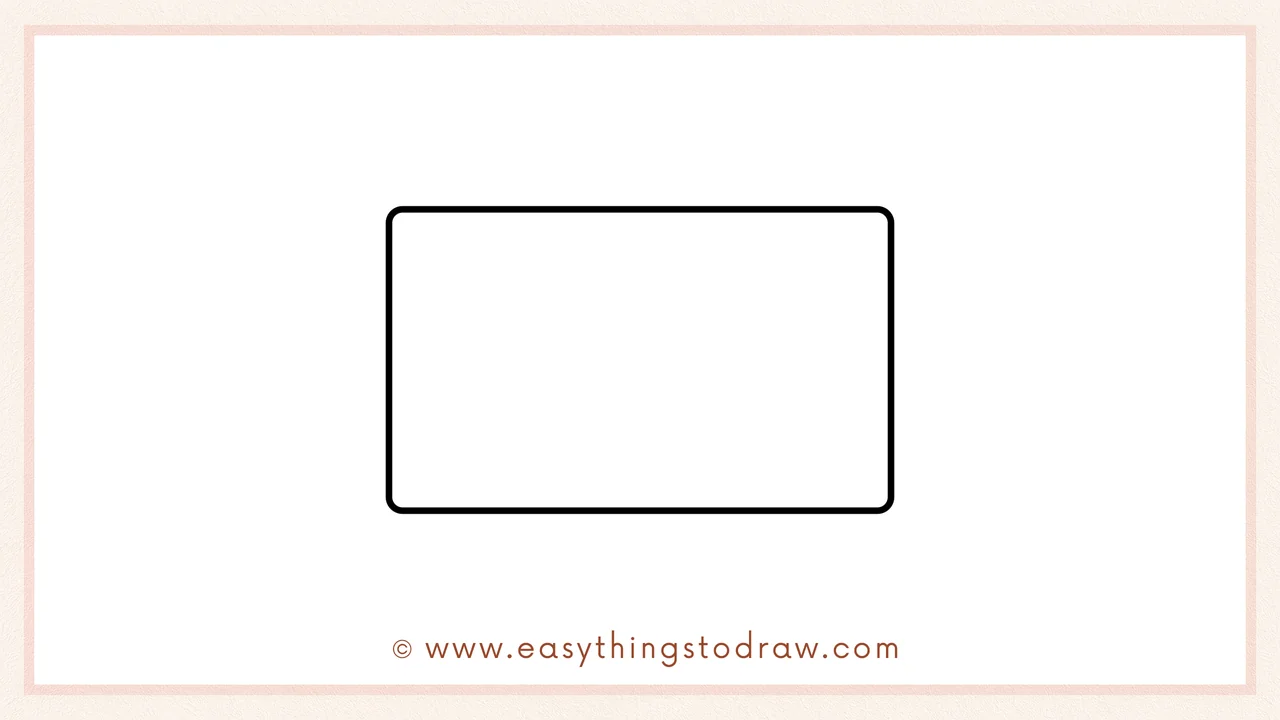
Begin by drawing a large horizontal rectangle with rounded corners. This is the outer frame of the whiteboard.
Step 2 – Add a Marker
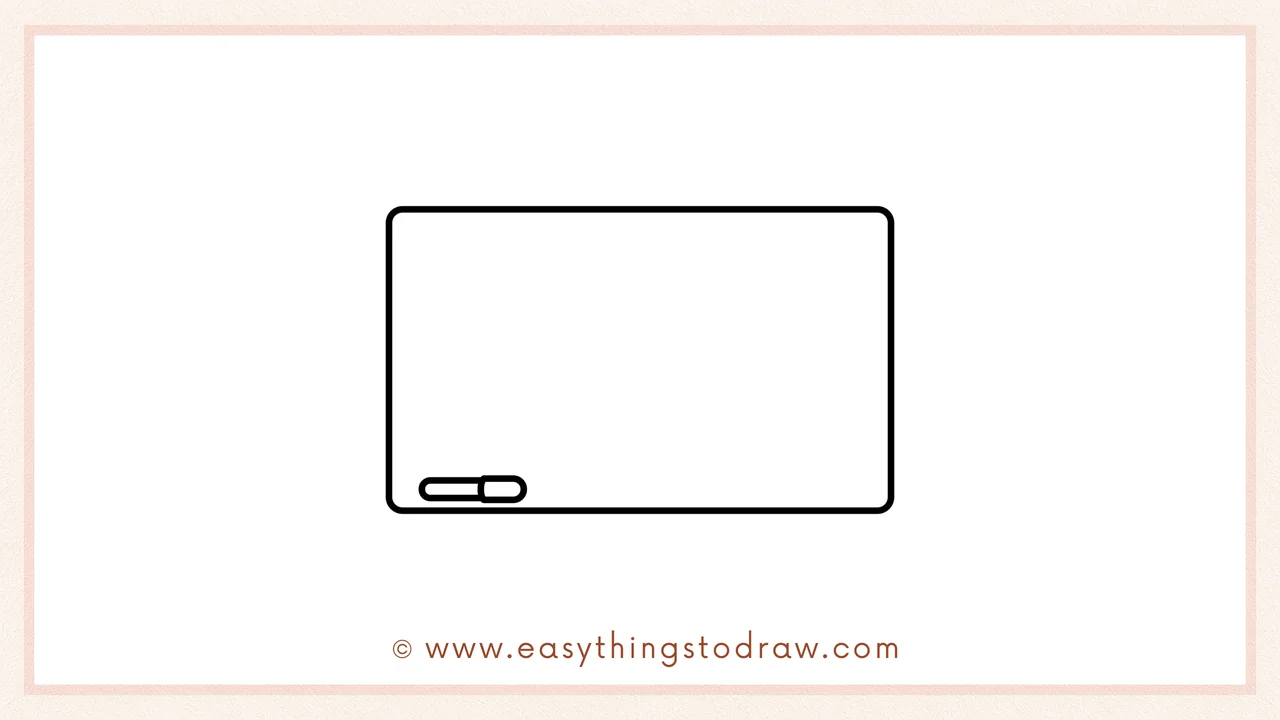
In the bottom left corner, draw a tiny horizontal shape with a small oval cap — that’s your marker! It looks like a little pill lying down.
Step 3 – Draw an Eraser
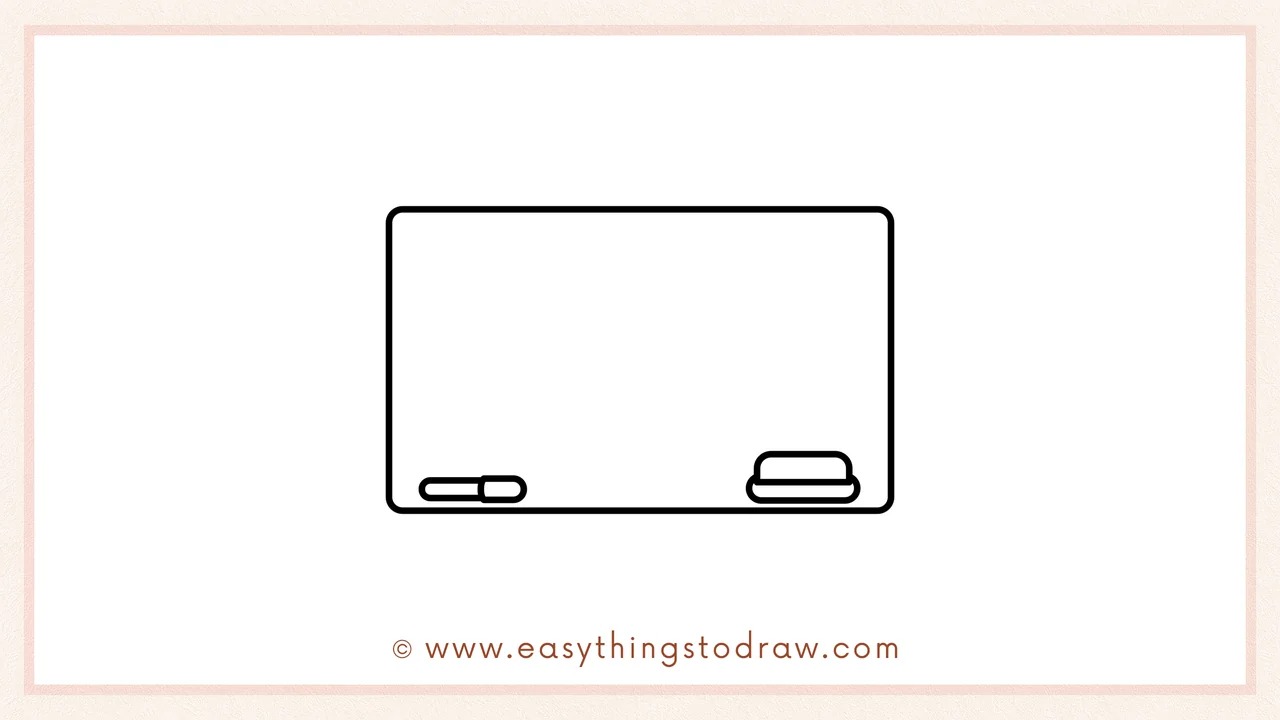
Now add a simple eraser on the right side of the marker. Draw a soft rectangular shape with a slightly rounded top and base.
Step 4 – Create the Inner Board
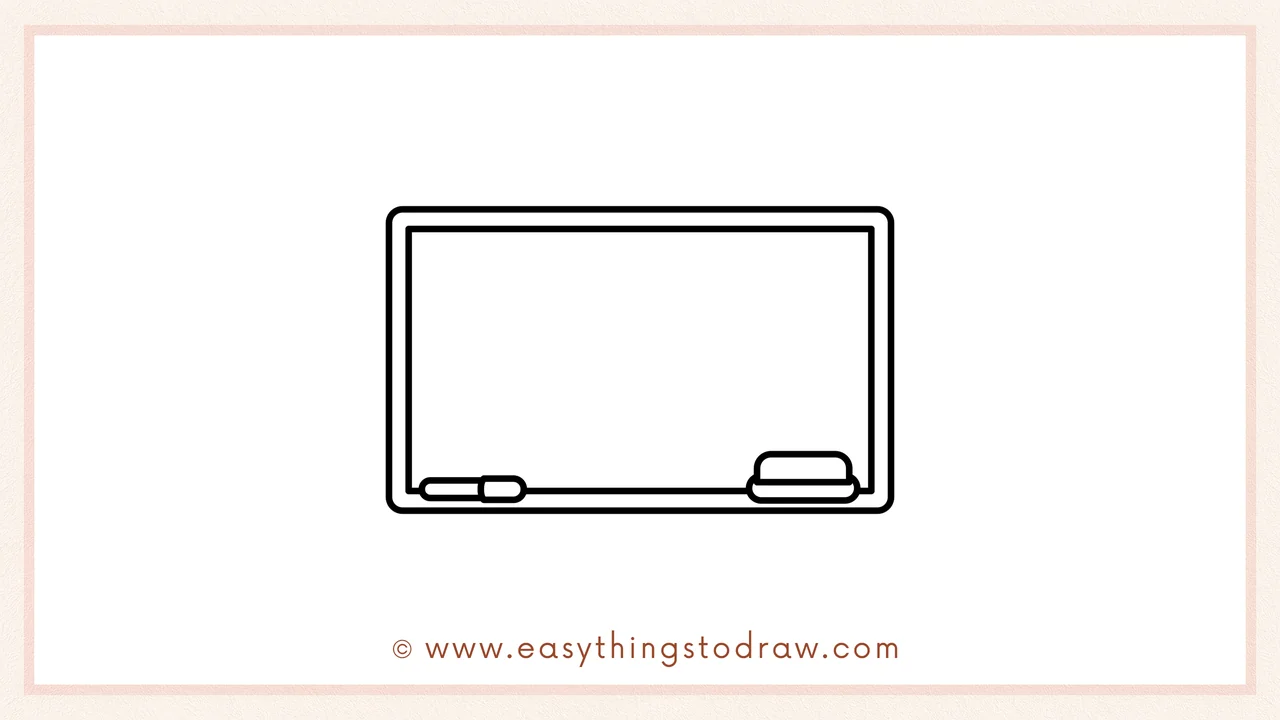
Inside the big rectangle, draw another slightly smaller rectangle, also with rounded corners. This gives the whiteboard some nice depth and detail.
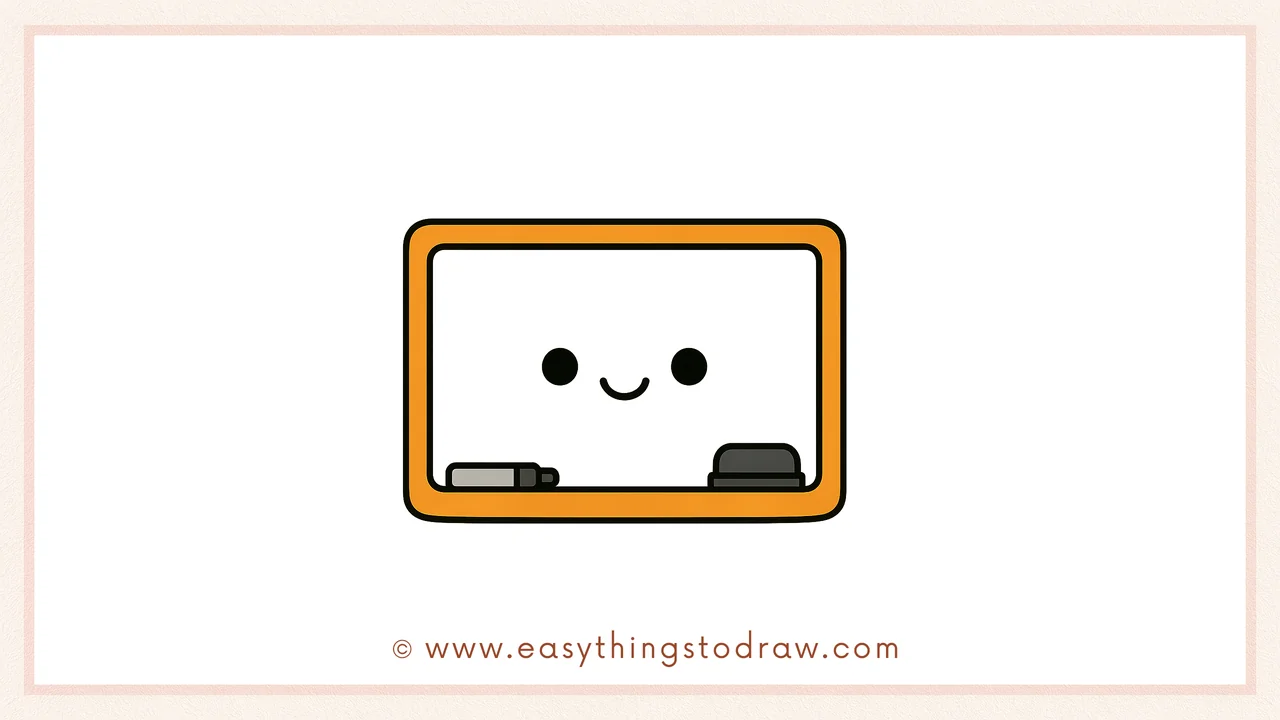
Step 5 – Add Two Cute Eyes
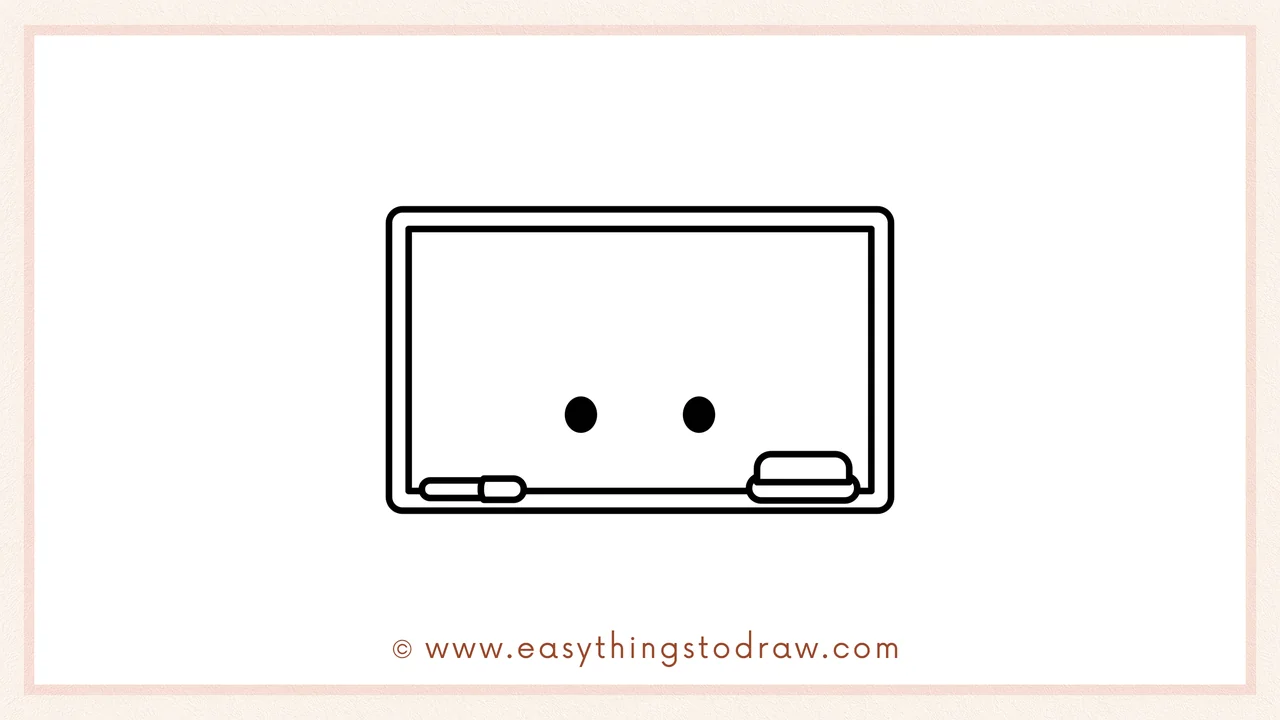
Now let’s give it personality! Draw two round black eyes near the middle of the board, spaced apart like little buttons.
Step 6 – Finish with a Happy Smile
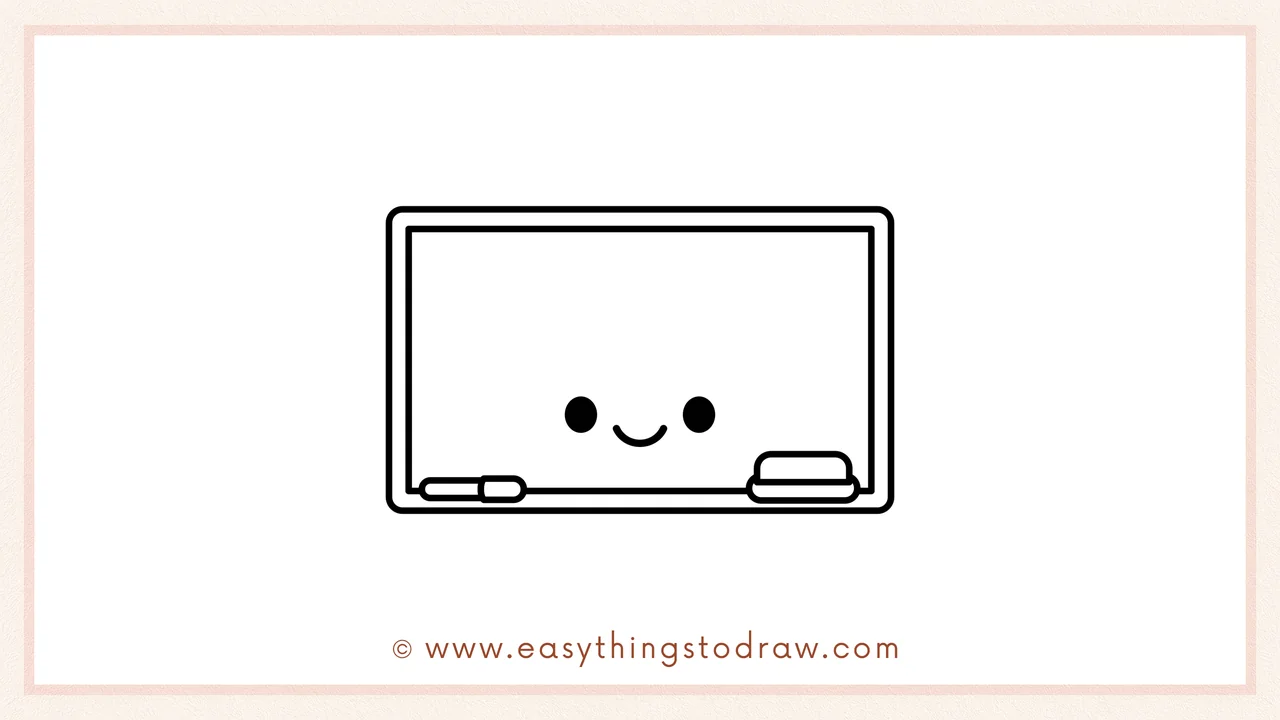
Finish your cute whiteboard by adding a small smiling mouth between the eyes. Your whiteboard is now happy and ready to teach!
Frequently Asked Questions (FAQ)
Can I decorate the board with drawings or words?
Yes! You can add stars, doodles, smiley faces, or even write your name to personalize your board.
What colors are best for the whiteboard?
You can use white or light gray for the board itself, and bright colors like orange, blue, or green for the frame!
Is this a good drawing for school-themed art?
Absolutely! It fits perfectly with classroom projects and school supply sketches.
What if my lines aren’t perfect?
That’s totally fine — just take your time and have fun! Every whiteboard can be different and unique.
Printable Drawing Tutorials
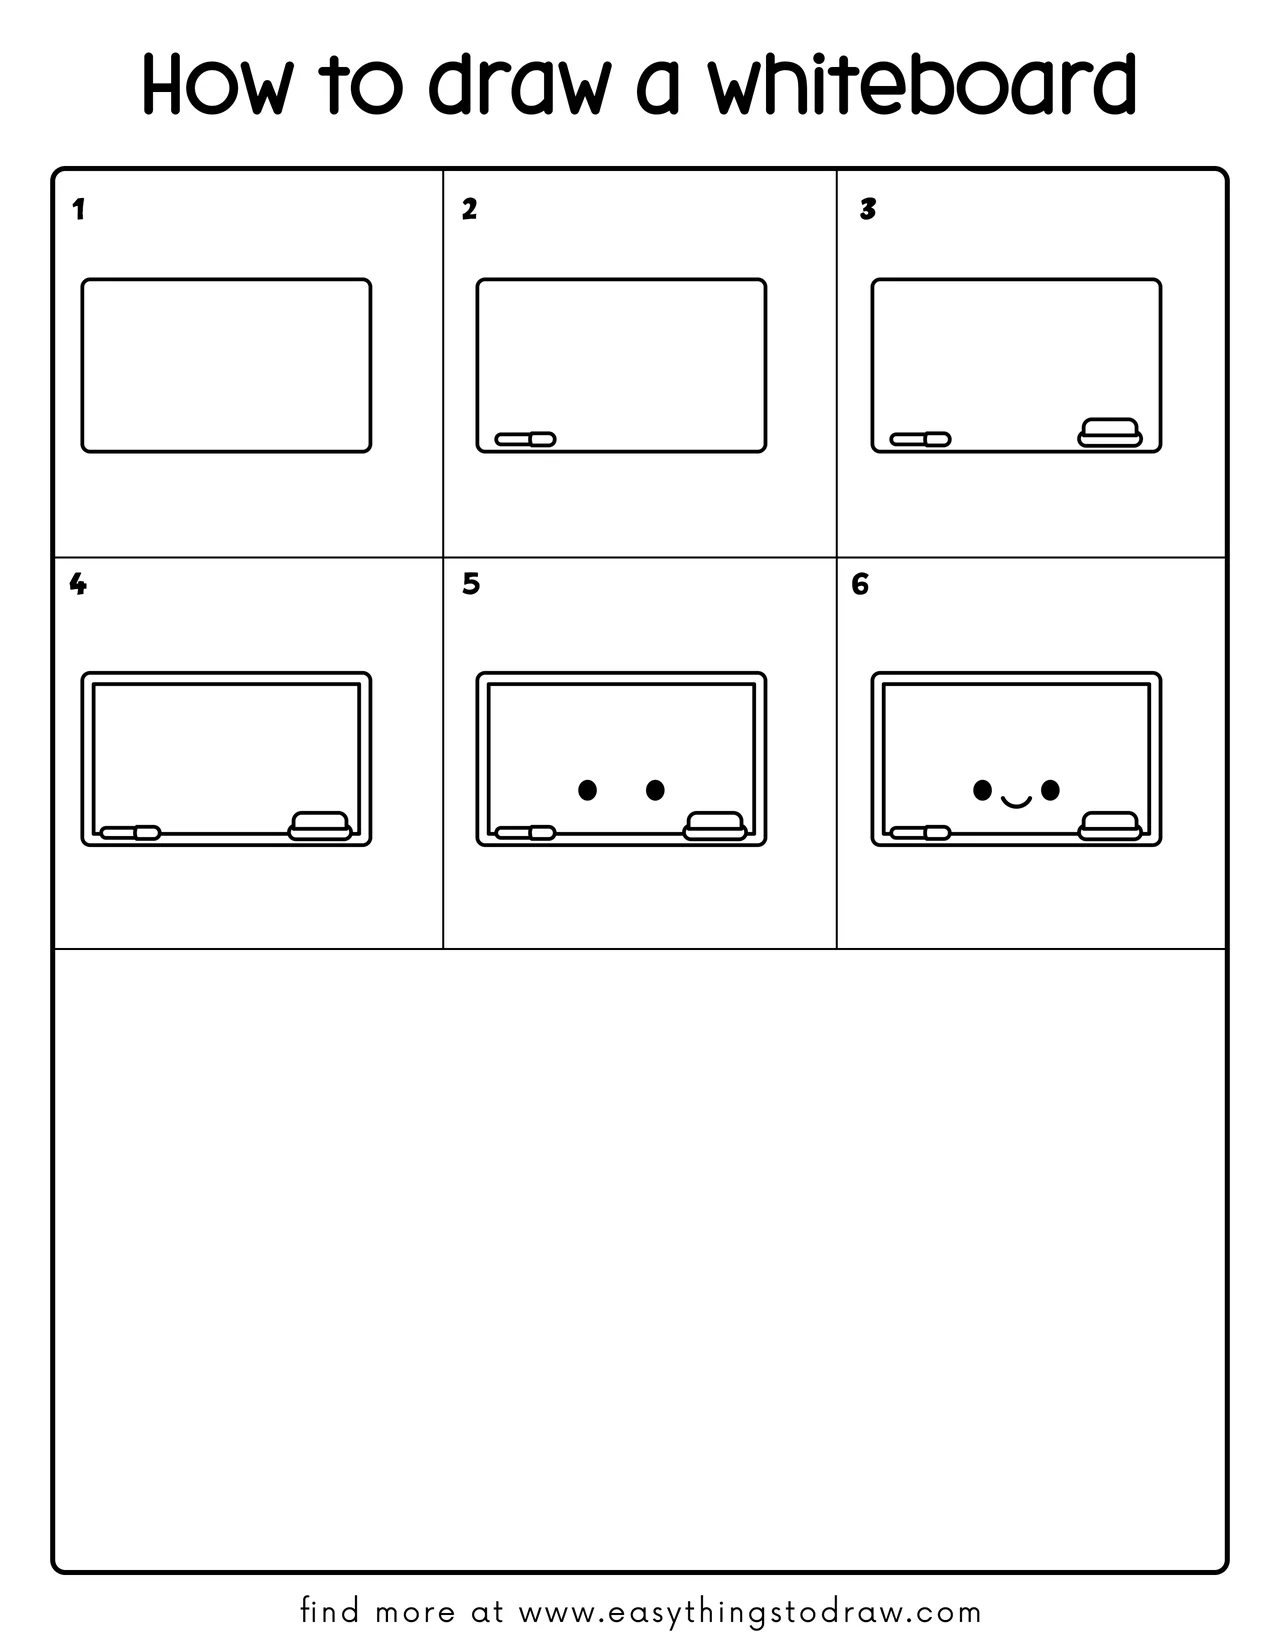
Download Printable How to draw a whiteboard Drawing Tutorials
You Did It!
Great job drawing your adorable little whiteboard! You gave it a friendly face and added some fun school-time personality. You can decorate the surface with little notes, emojis, or colorful messages. Try drawing a chalkboard version next or sketch other school items like notebooks or pencils to go with it. Keep up the creative work and don’t forget to share your drawing with others!
