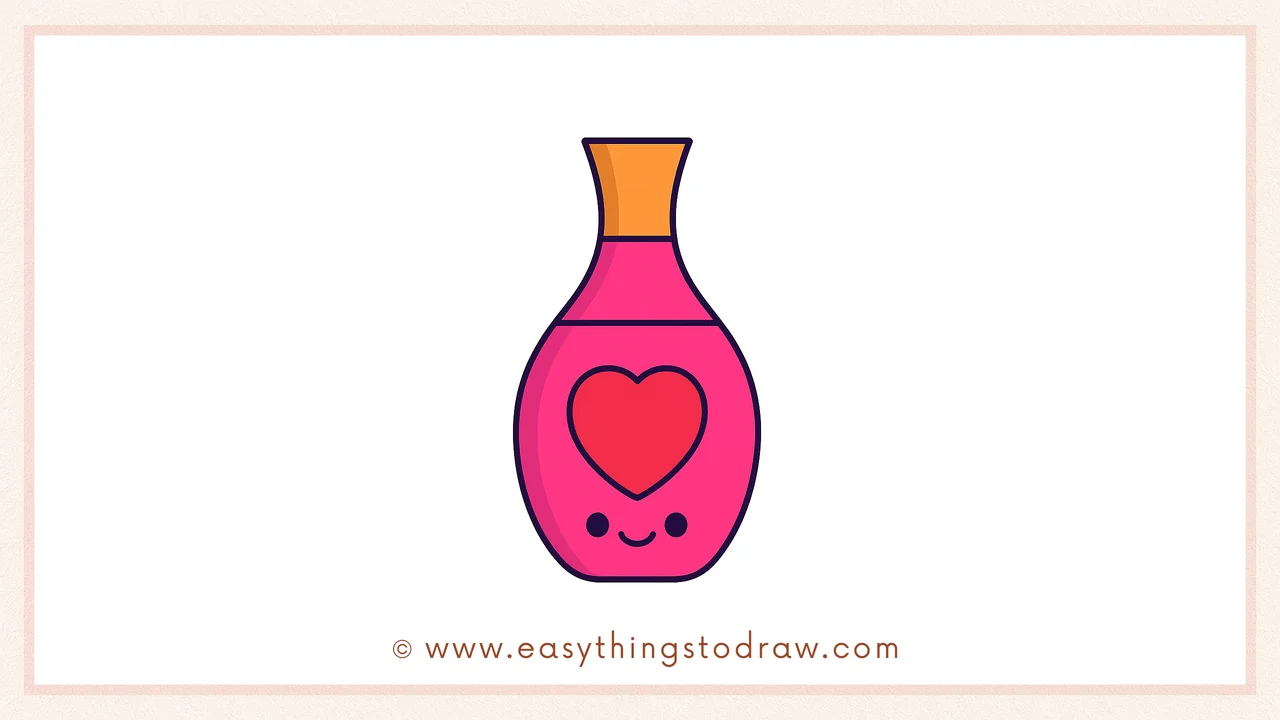
Looking for a fun and festive Valentine’s Day art activity? This step-by-step guide will show you how to draw a sweet little vase with a heart design—and a smiling face! It’s perfect for beginners, kids, and anyone who loves giving their drawings a touch of personality.
This guide is perfect for:
- Kids who love cute, simple art projects 🧒
- Beginners who want to practice drawing objects using basic shapes ✏️
- Parents, teachers, and caregivers planning Valentine’s Day crafts 💘
👩🎨 Why Learn From Us?
At Easy Things to Draw, we make drawing joyful and accessible for all ages. Our lessons are developed by teachers and artists who break down every image into manageable steps, helping kids build skills while having fun.
This adorable vase is a lovely project for homemade cards, classroom bulletin boards, or art displays.
✅ What Makes This Vase Drawing So Sweet?
– 🏺 Features an easy-to-draw object with soft curves and lines
– 💖 Valentine’s Day themed with a heart and smiley face
– 🎉 Customizable: Add flowers, messages, or even turn it into a card!
– ✏️ Uses beginner-friendly shapes: lines, curves, and hearts
🔒 Classroom Ready and Kid Safe
All tutorials are safe, fun, and free of complicated steps—just simple creativity for every artist.
What You Need
- Pencil ✏️
- Eraser 🧽
- Drawing paper 📄
- Black marker (optional for outlining)
- Coloring supplies (markers, crayons, or colored pencils) 🎨
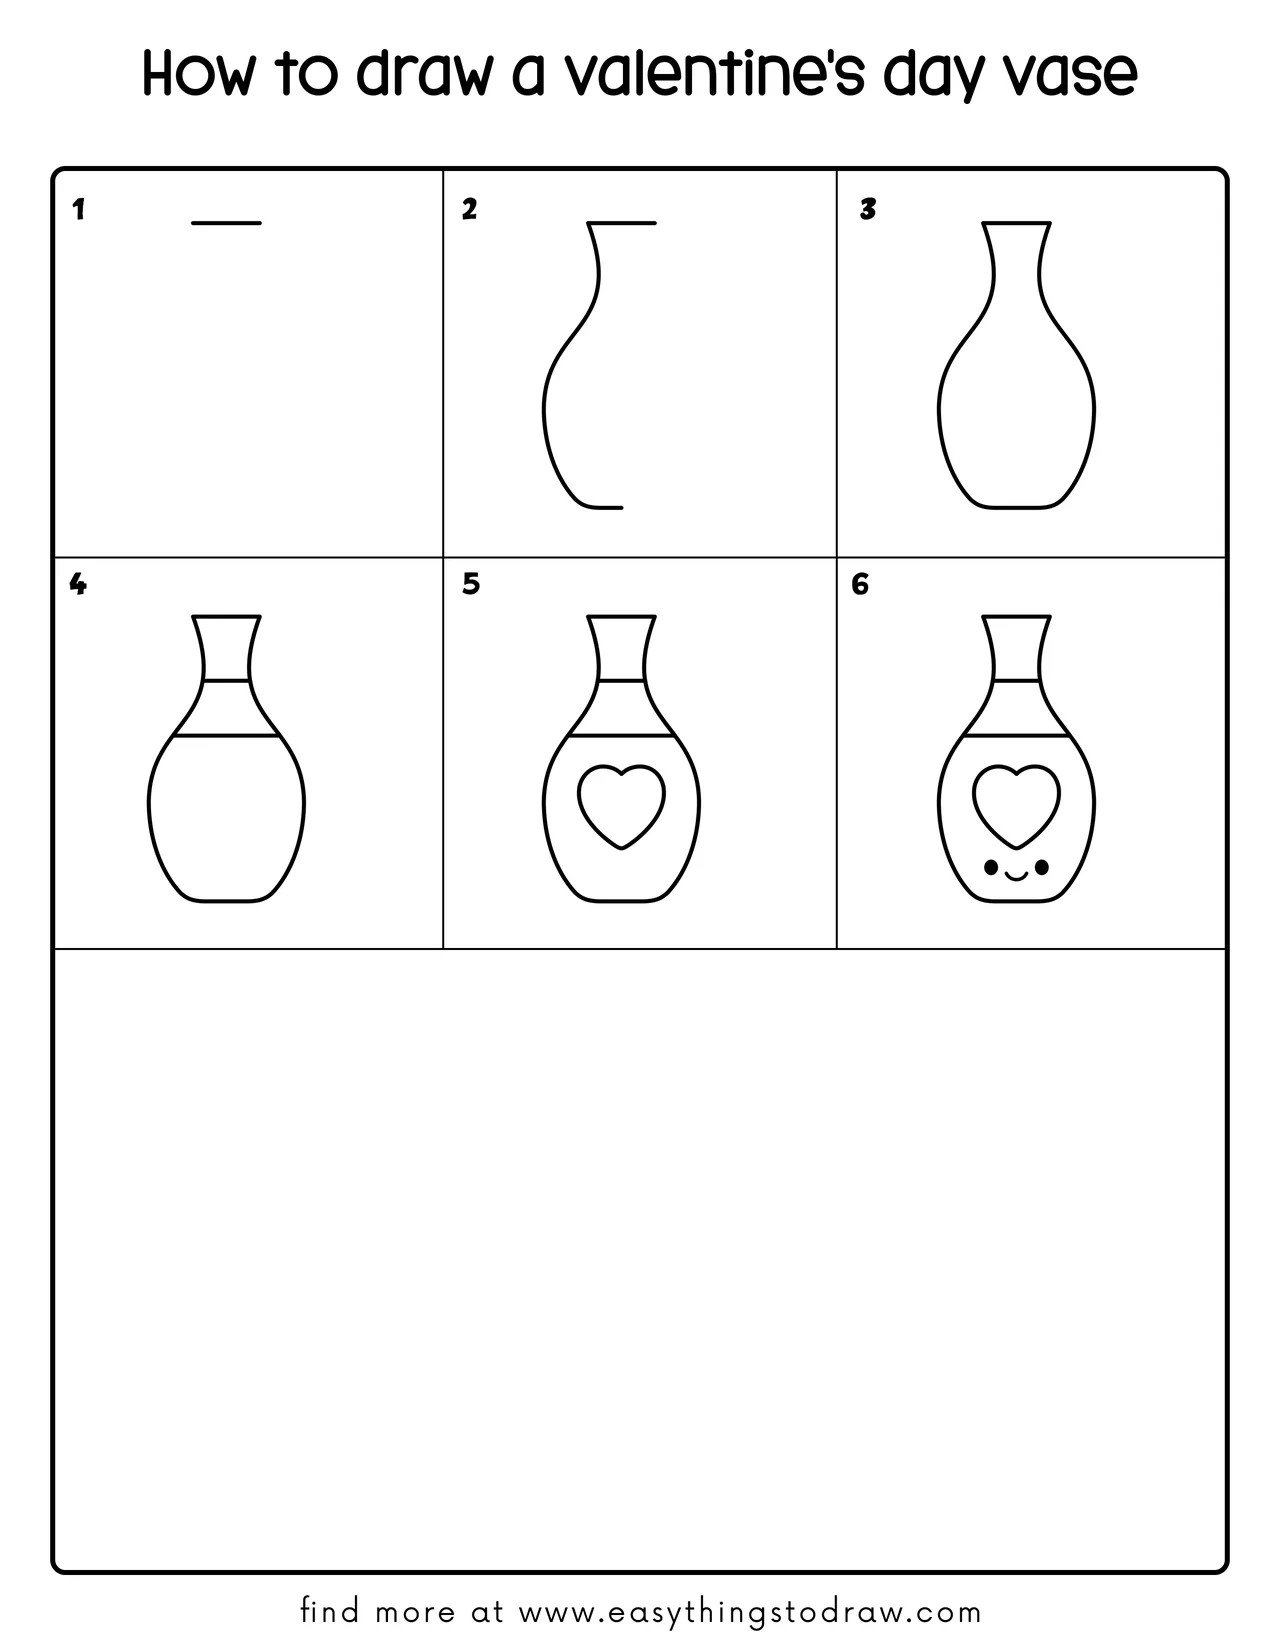
Step by Step Valentine Vase Drawing Instructions
Step 1 – Draw the Vase Opening
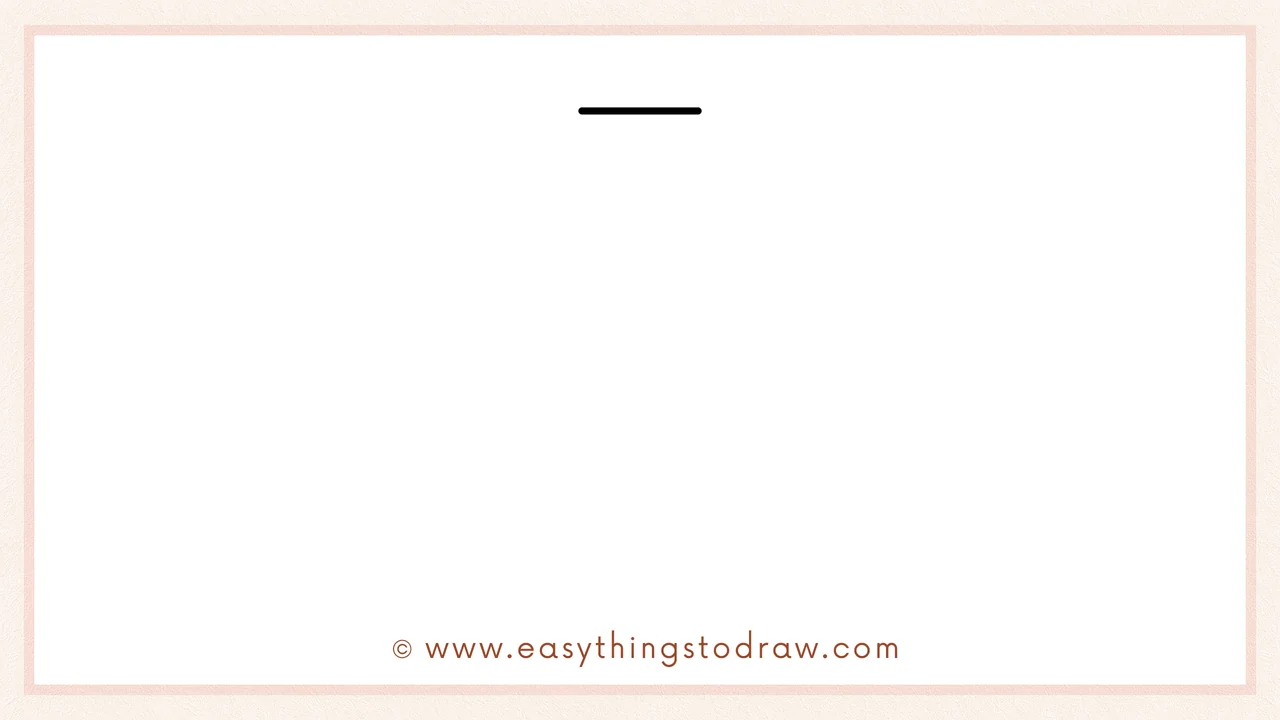
Start by drawing a short horizontal line near the top of your paper. This will be the top opening of the vase.
Step 2 – Add the Side Curves
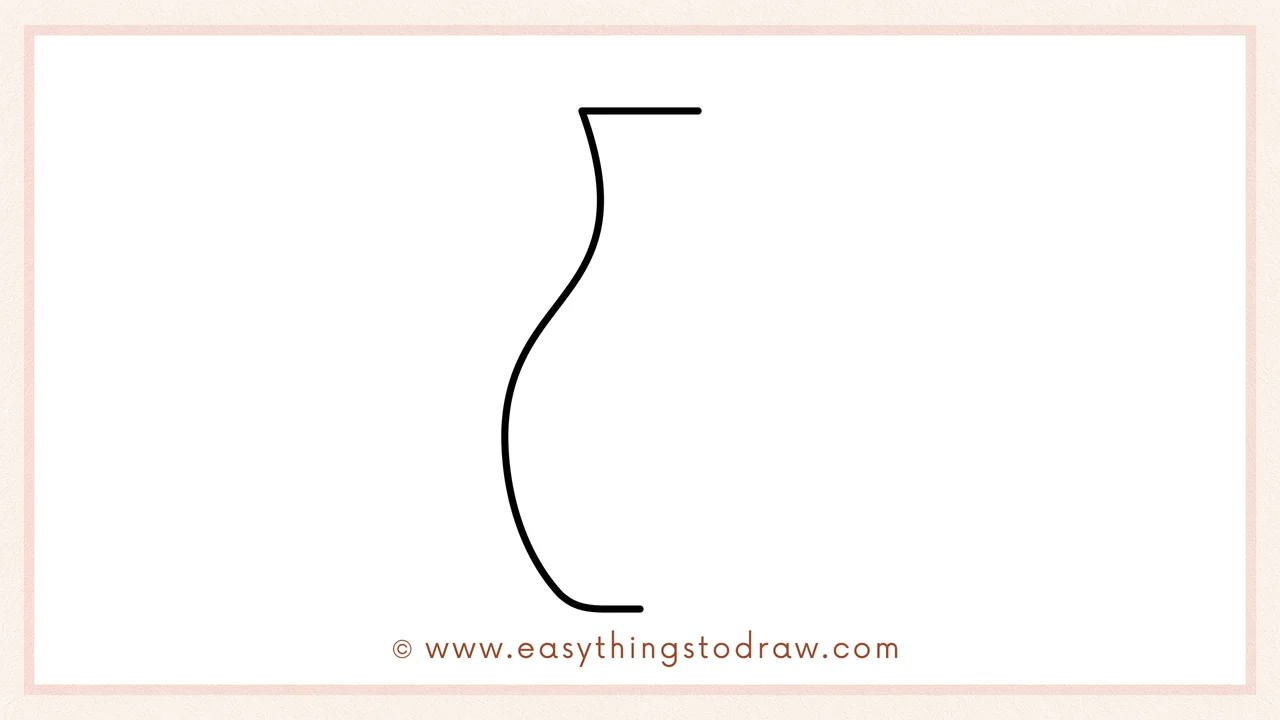
From each end of the horizontal line, draw smooth curved lines that flow outward and then inward. These will form the elegant sides of the vase.
Step 3 – Complete the Outline
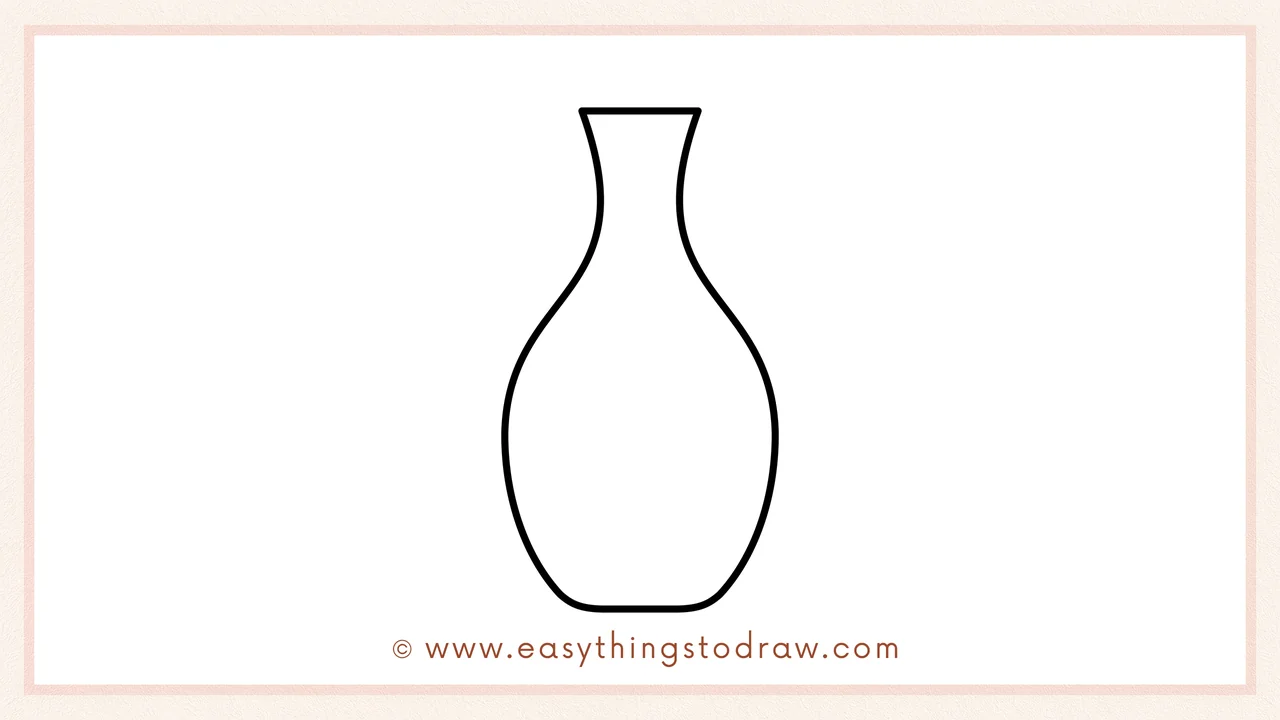
Connect the two curved sides at the bottom with a slightly rounded horizontal line. Now your vase outline is complete!
Step 4 – Add Neck and Middle Lines
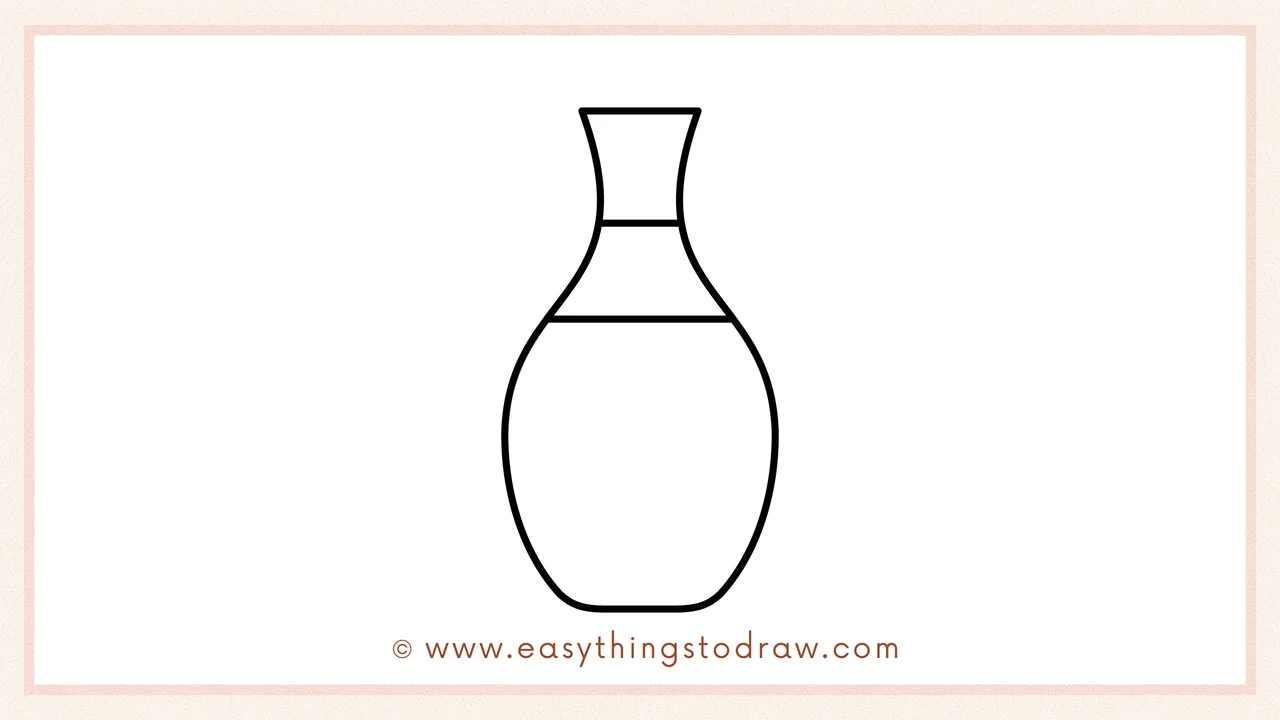
Draw two more horizontal lines—one just below the neck and another across the widest part of the vase. These add structure and detail.
Step 5 – Draw a Heart on the Vase
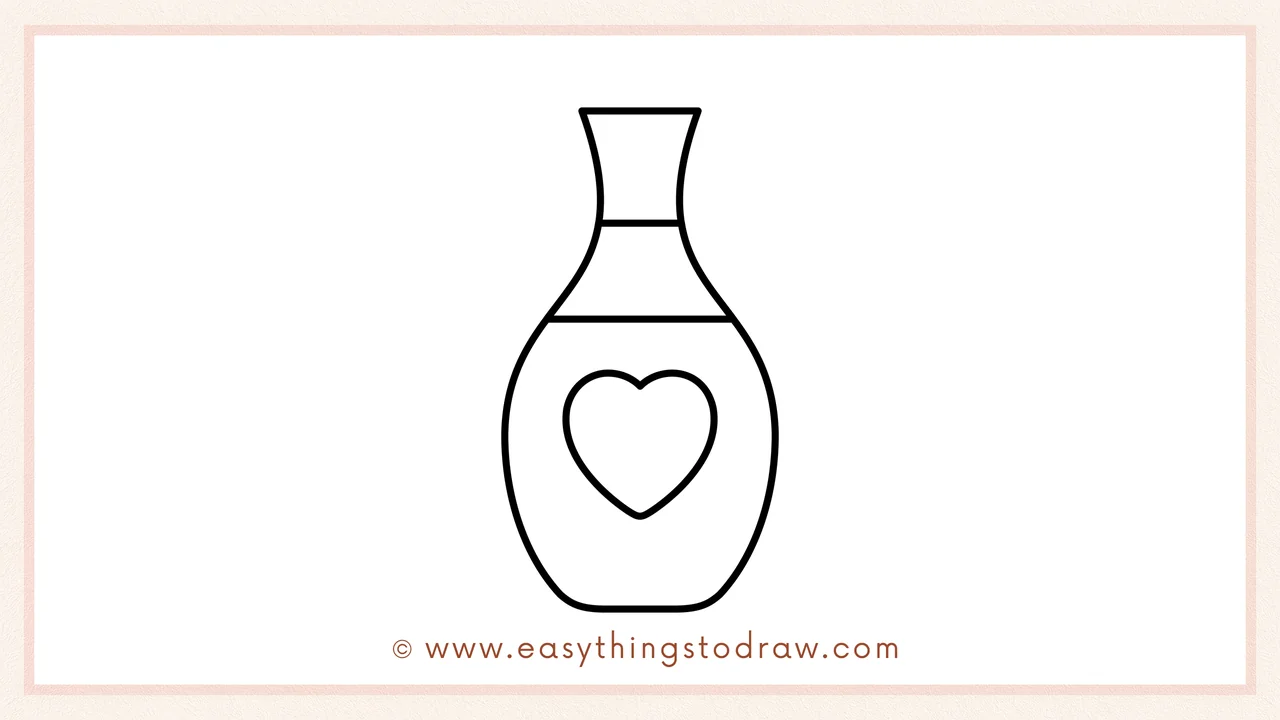
In the center of the vase, draw a heart shape. This adds a lovely Valentine’s Day touch.
Step 6 – Add a Cute Smiling Face
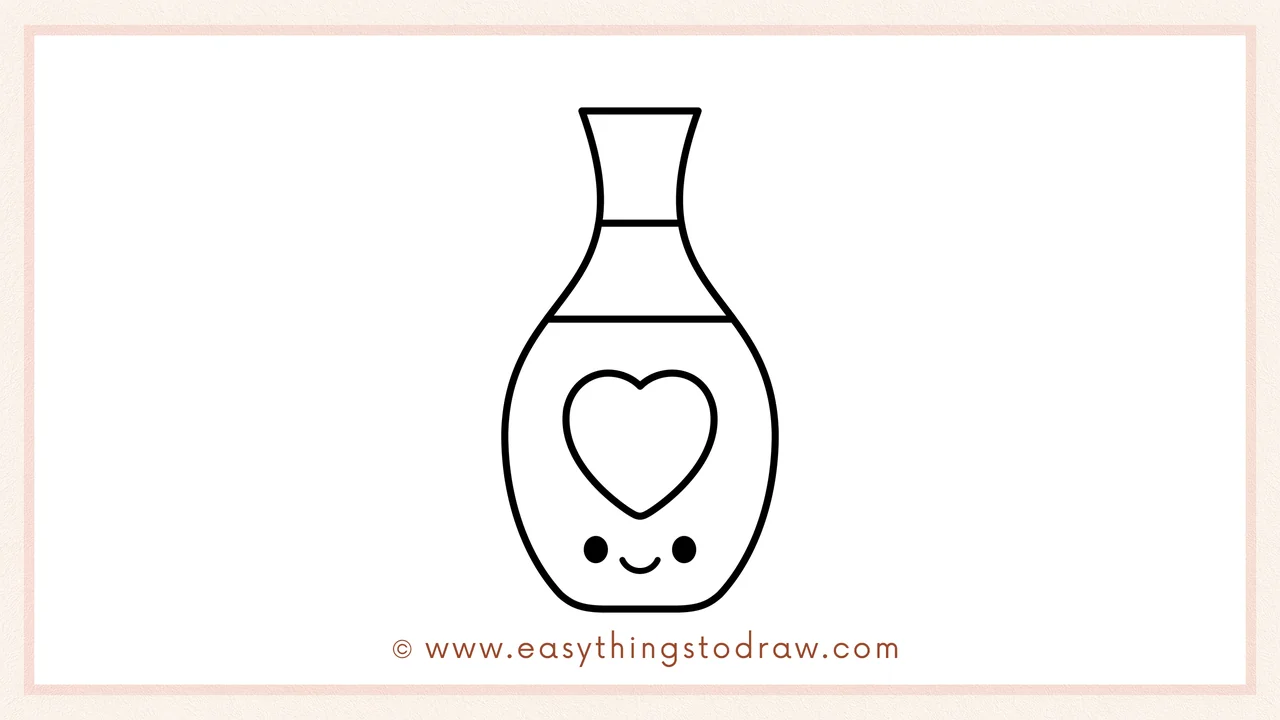
Finish your vase by adding two small dots under the heart for eyes and a little curved smile between them. Your vase is now full of joy and love!
Frequently Asked Questions (FAQ)
Can I add flowers inside the vase?
Absolutely! You can draw roses, tulips, or any kind of flowers popping out from the top of the vase.
What colors should I use for the vase?
Valentine’s Day colors like pink, red, and purple are perfect! You can also go with pastel tones or even rainbow shades.
Is this drawing good for making cards?
Yes! Draw the vase on a folded piece of paper, color it in, and write a message like “You fill my heart!” to make a beautiful card.
What if I mess up the curves?
No worries! Go slow and sketch lightly. Curves take practice, and every vase is unique—just like your art.
Printable Drawing Tutorials
Download Printable How to draw a valentine’s day vase Drawing Tutorials
You Did It!
Great job! You just drew a lovely Valentine’s Day vase full of heart and happiness. Whether you add flowers, glitter, or a message, your drawing is sure to bring smiles.
Want to keep the creativity flowing? Try drawing a rose to go inside your vase, or a teddy bear holding a heart next!
💐 For more simple and sweet tutorials, visit Easy Things to Draw and keep having fun with your art!
