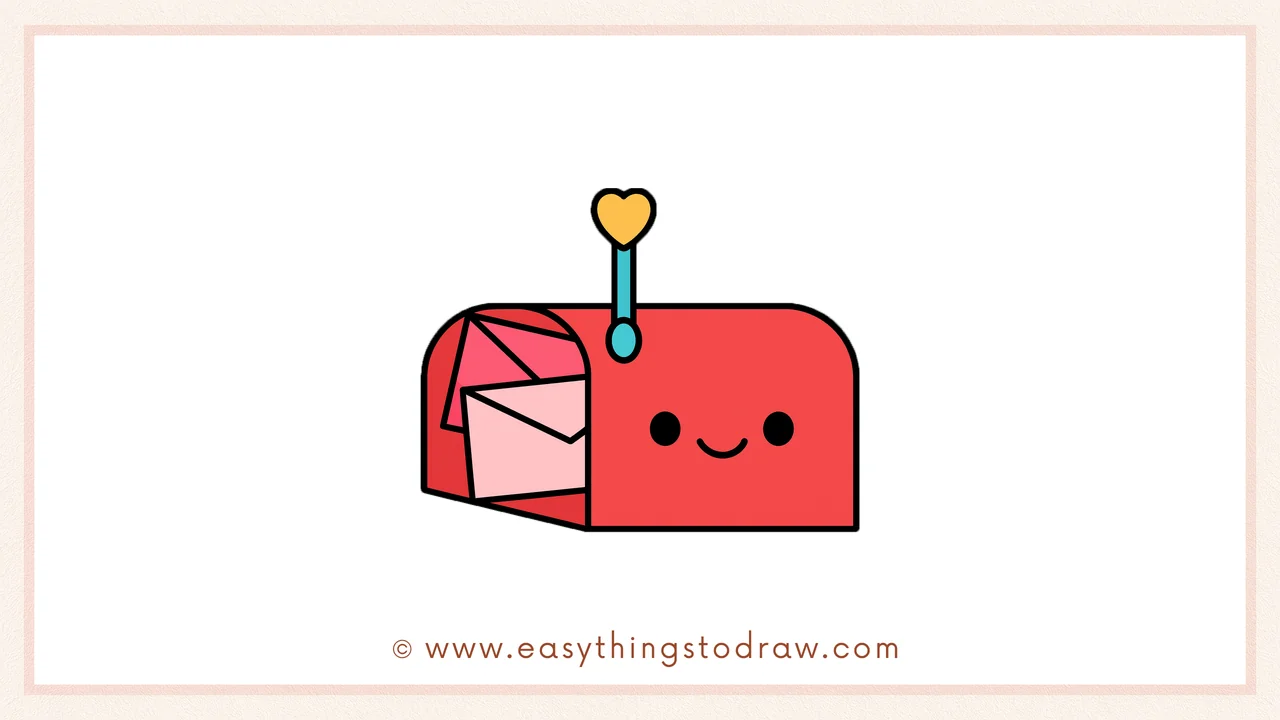
Ready to send some love this Valentine’s Day? In this fun and easy tutorial, you’ll learn how to draw a cute cartoon mailbox full of love letters—and it even smiles back at you! Perfect for kids, classrooms, and anyone who wants to create a heartwarming holiday drawing.
This guide is perfect for:
- Kids who want to draw a fun Valentine’s mailbox 💌
- Beginners learning to draw everyday objects with a cute twist 🧸
- Teachers, parents, or caregivers planning Valentine-themed crafts ❤️
👩🎨 Why Learn From Us?
At Easy Things to Draw, we simplify complex drawings into beginner-friendly steps that build confidence and creativity. Our tutorials are crafted by real educators and artists with years of experience teaching children how to draw—so you’ll always know exactly where to start and how to finish.
Whether you’re creating cards, decorating a bulletin board, or just having fun—this tutorial brings Valentine cheer to life!
✅ What Makes This Mailbox Tutorial Great?
– 📬 Combines real-world shapes with cute character design
– 💖 Adds Valentine’s themes like hearts and love letters
– ✏️ Uses basic shapes like rectangles, curves, and triangles
– 🥰 Ends with a happy face to add personality and charm
🔒 Designed for Kids – Classroom and Home Ready
All of our drawing lessons are safe, age-appropriate, and printable for offline use. No complex tools, no difficult instructions—just simple and creative fun!
What You Need
- Pencil ✏️
- Eraser 🧽
- Drawing paper 📄
- Black pen or marker (optional for outlines)
- Colored pencils, crayons, or markers 🎨
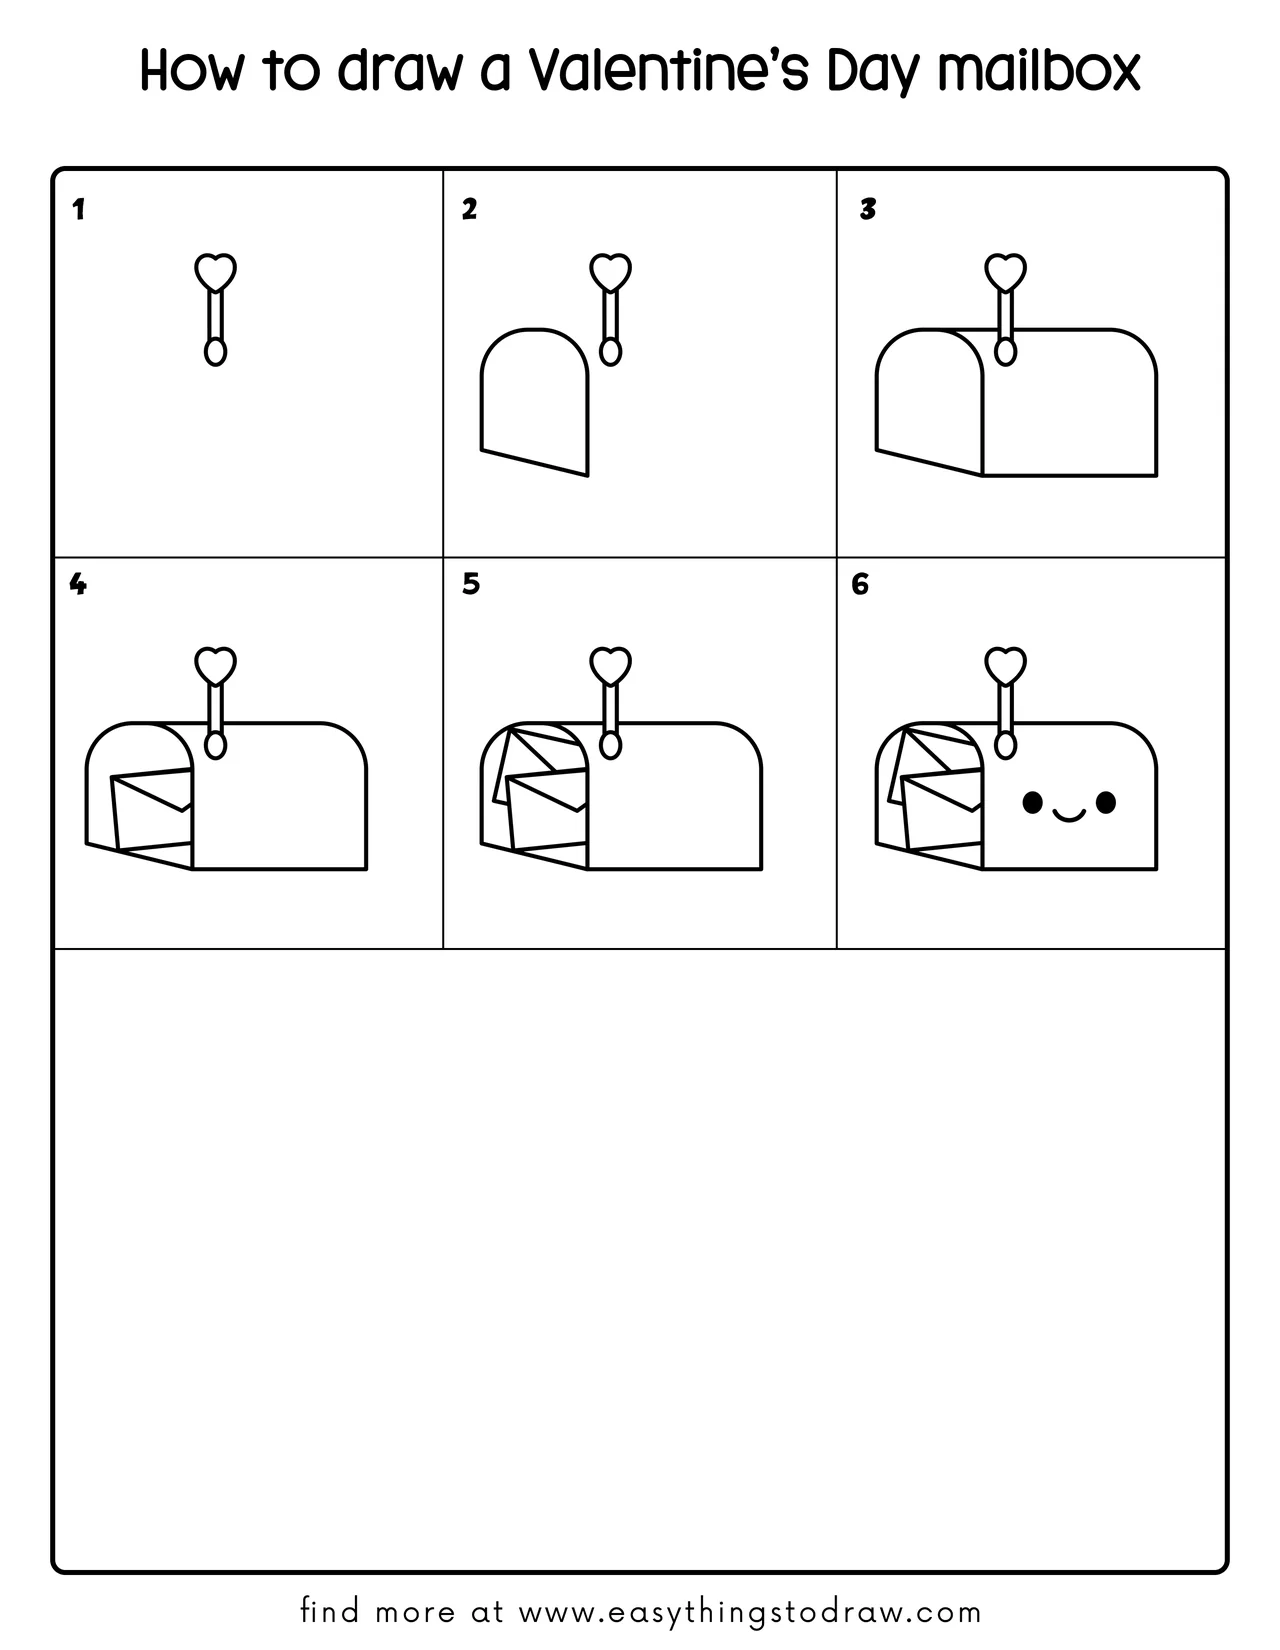
Step by Step Valentine Mailbox Drawing Instructions
Step 1 – Draw the Mailbox Flag
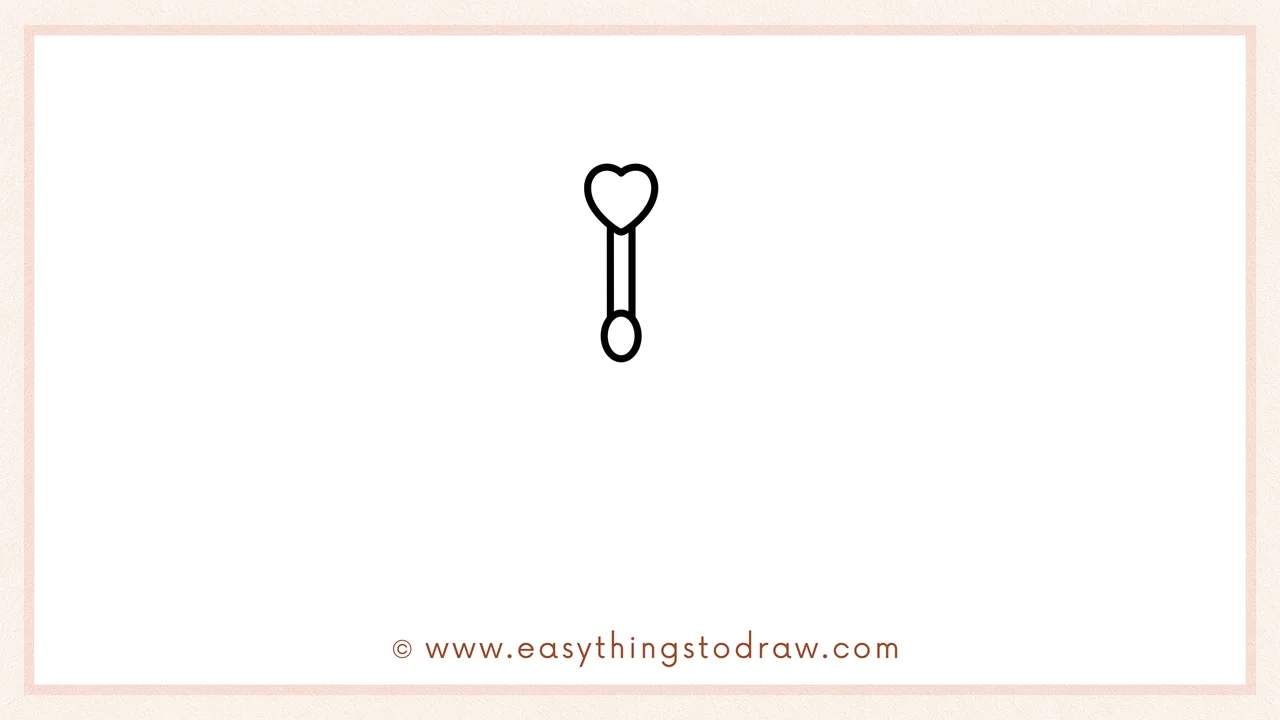
Start by drawing a vertical flag on the right. Add a heart shape on top and a small oval at the bottom. This flag means “you’ve got mail!”
Step 2 – Draw the Mailbox Door
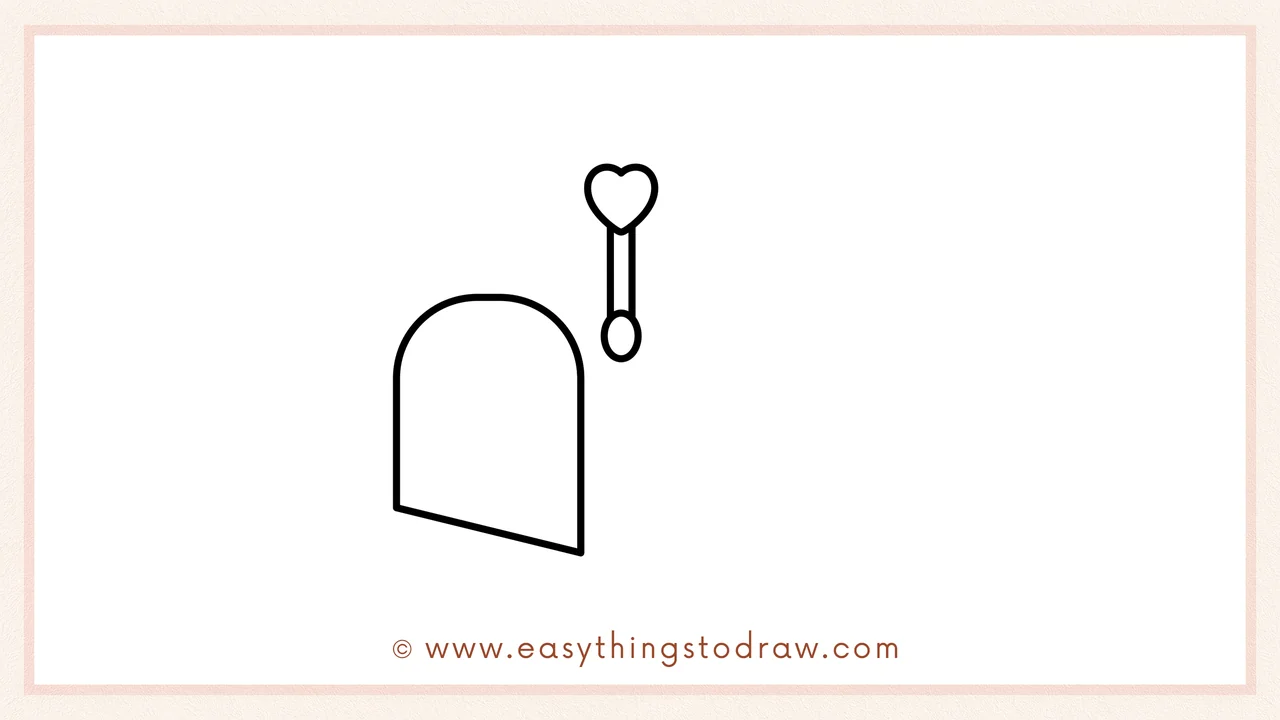
To the left of the flag, draw an open door for the mailbox. It should look like a tall “U” shape with a slanted bottom edge pointing forward.
Step 3 – Draw the Mailbox Body
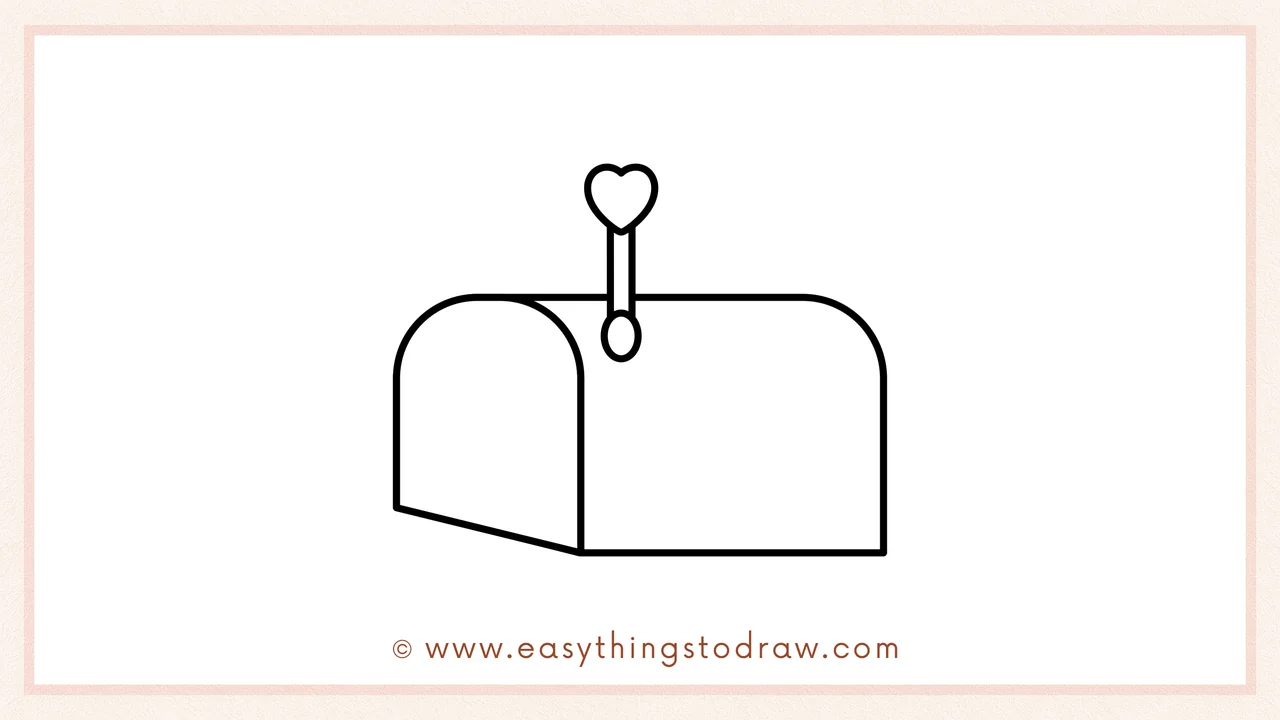
Extend the door into a full mailbox shape by drawing a large rounded rectangle behind it. Now your mailbox has space for letters!
Step 4 – Add One Letter
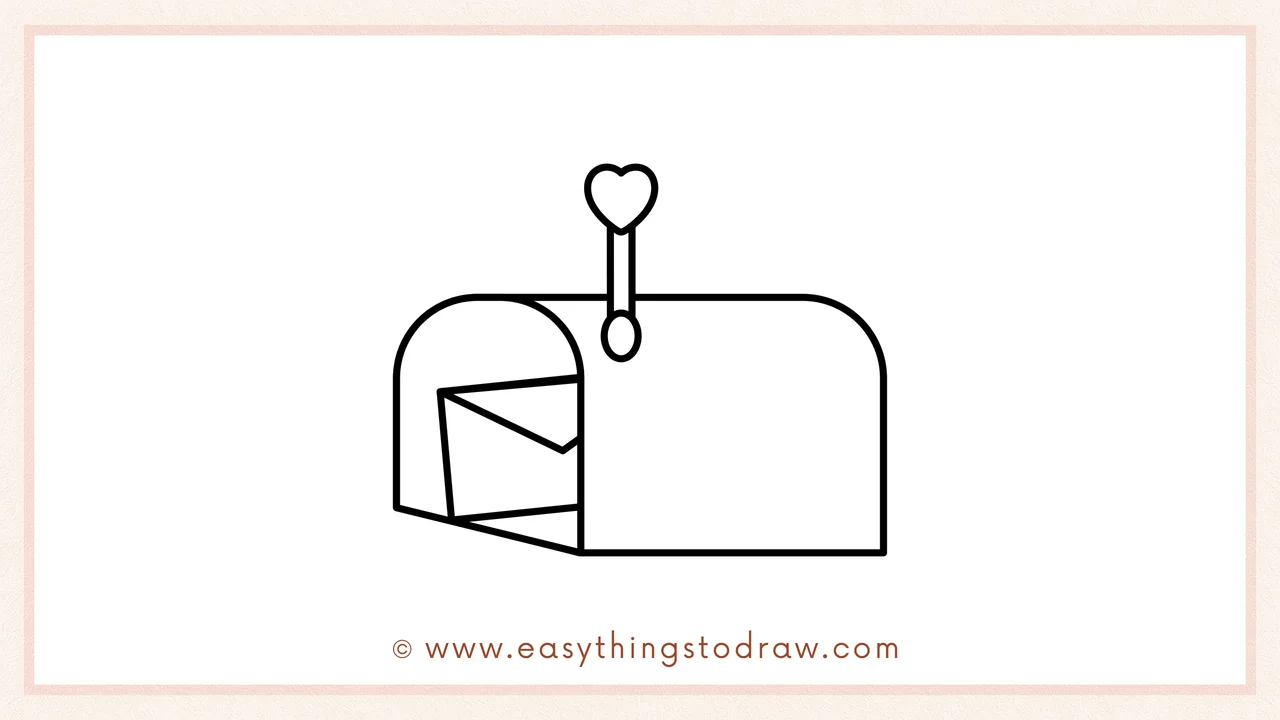
Inside the door, draw a rectangle with a triangle flap on top to represent a love letter sticking out.
Step 5 – Add More Letters
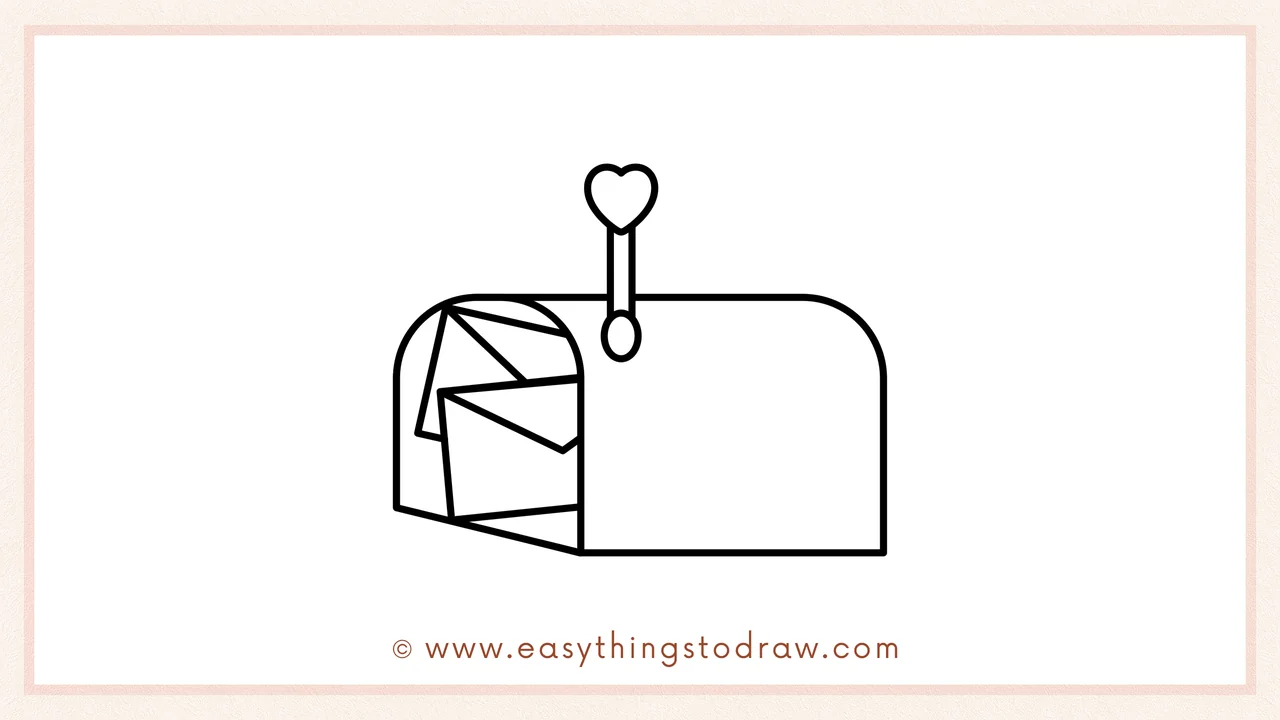
Draw two more envelopes layered behind the first one, each peeking out to make the mailbox look full and exciting.
Step 6 – Add a Smiling Face
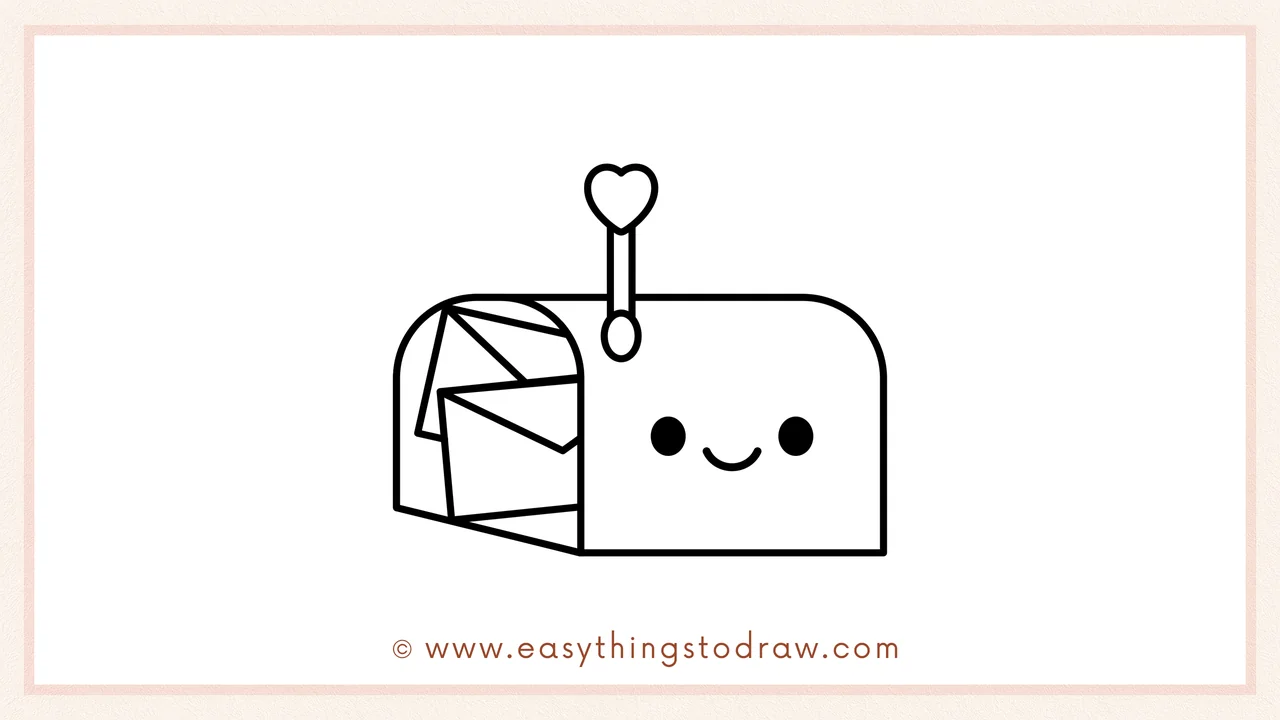
To finish, give your mailbox some personality! Add two small black circles for eyes and a smiling curve in between. Now it’s a happy, love-filled mailbox!
Frequently Asked Questions (FAQ)
Can I color my mailbox any way I want?
Yes! Traditional Valentine’s colors like red, pink, and purple are great—but feel free to use rainbow colors or even make it metallic!
What if I want to draw a closed mailbox instead?
Great idea! You can simply skip the door shape and draw the mailbox front as a solid shape. Then add a heart flag and a smiling face!
Is this a good classroom activity?
Absolutely! This drawing is quick, simple, and themed perfectly for Valentine’s Day. Kids can also add messages or names on the envelopes.
Can I use this for a real Valentine card?
Yes! Draw it on thick paper or cardstock, add your message inside, and you’ve got a handmade card full of charm.
Printable Drawing Tutorials
Download Printable How to draw a Valentine’s Day mailbox Drawing Tutorials
You Did It!
Hooray! You just finished your very own Valentine’s Day mailbox—and it’s full of joy, love, and smiles. Whether you color it in, decorate it with glitter, or turn it into a card, your drawing is ready to spread kindness this season.
Keep practicing and try drawing more holiday characters like love bugs, letters, or even a delivery truck full of hearts!
💘 Want more festive art projects? Check out our full library of step-by-step tutorials at Easy Things to Draw!
