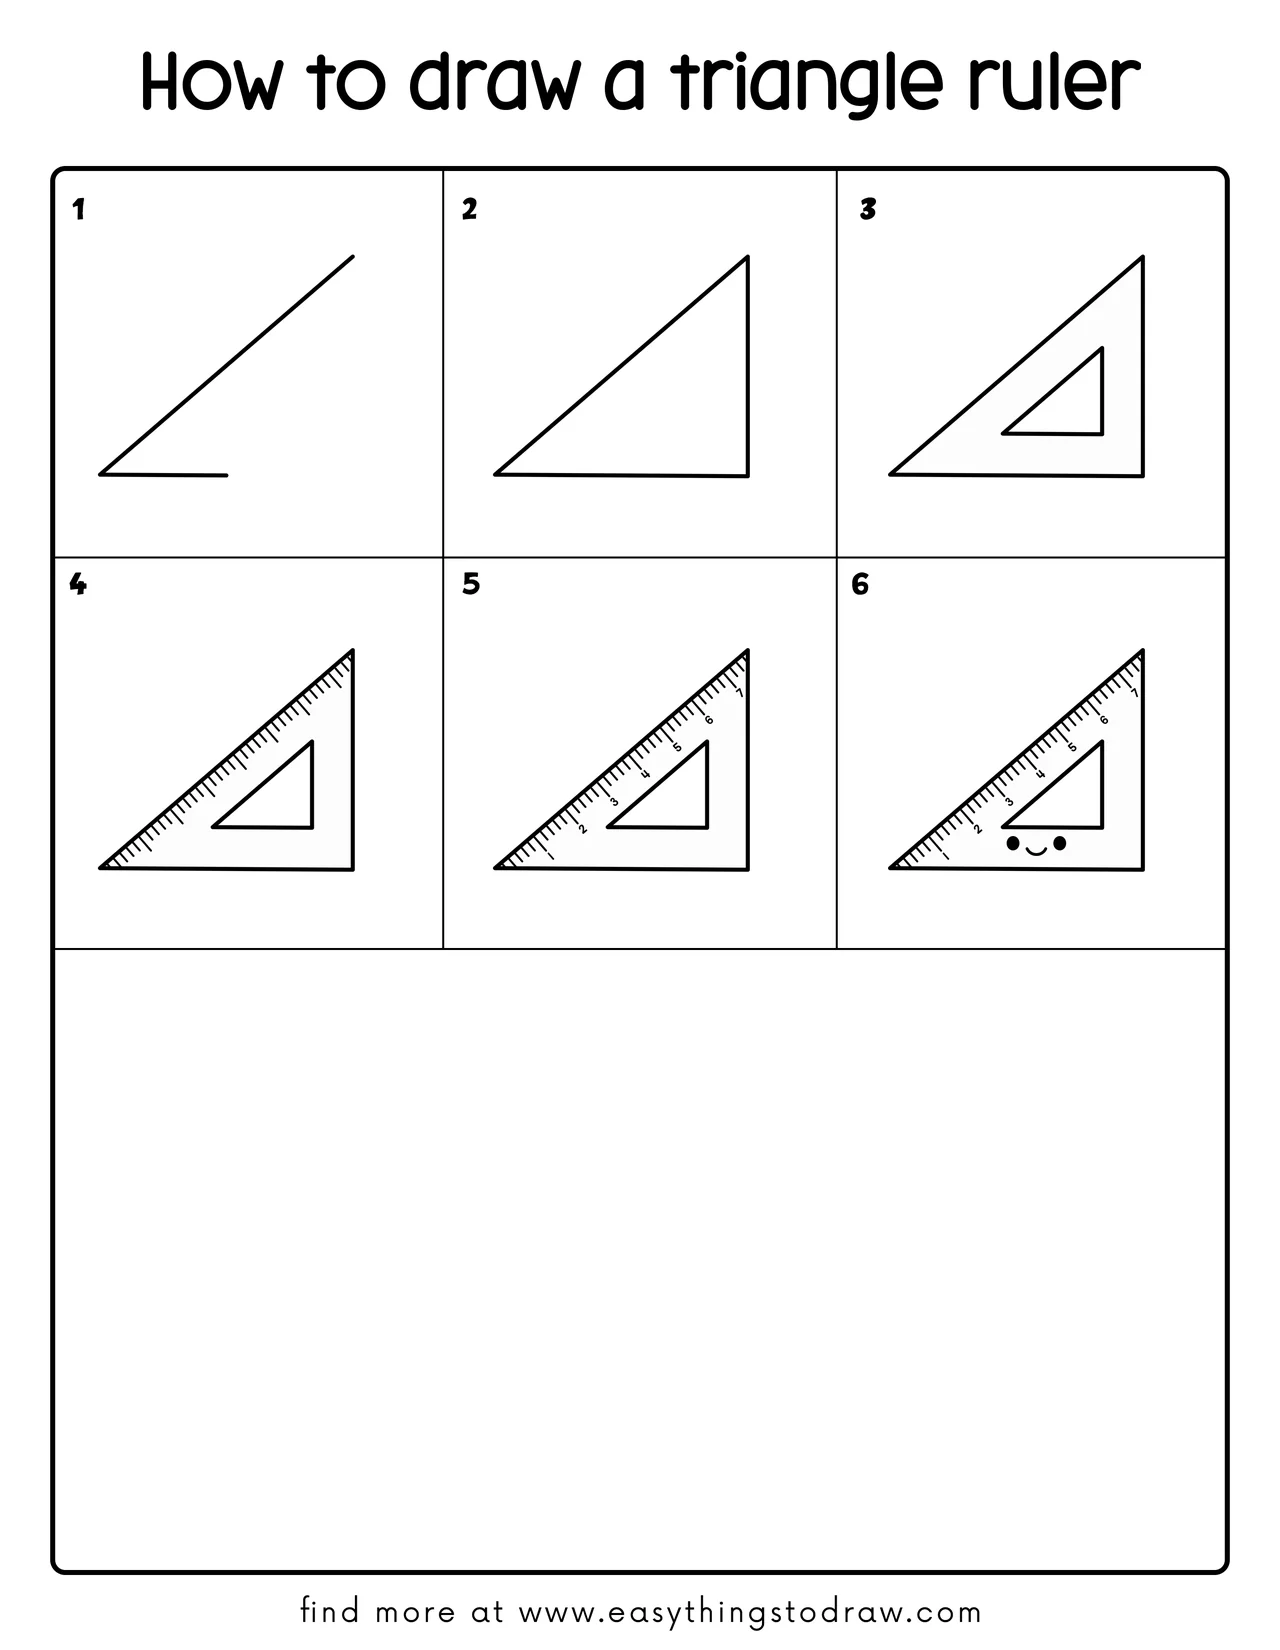
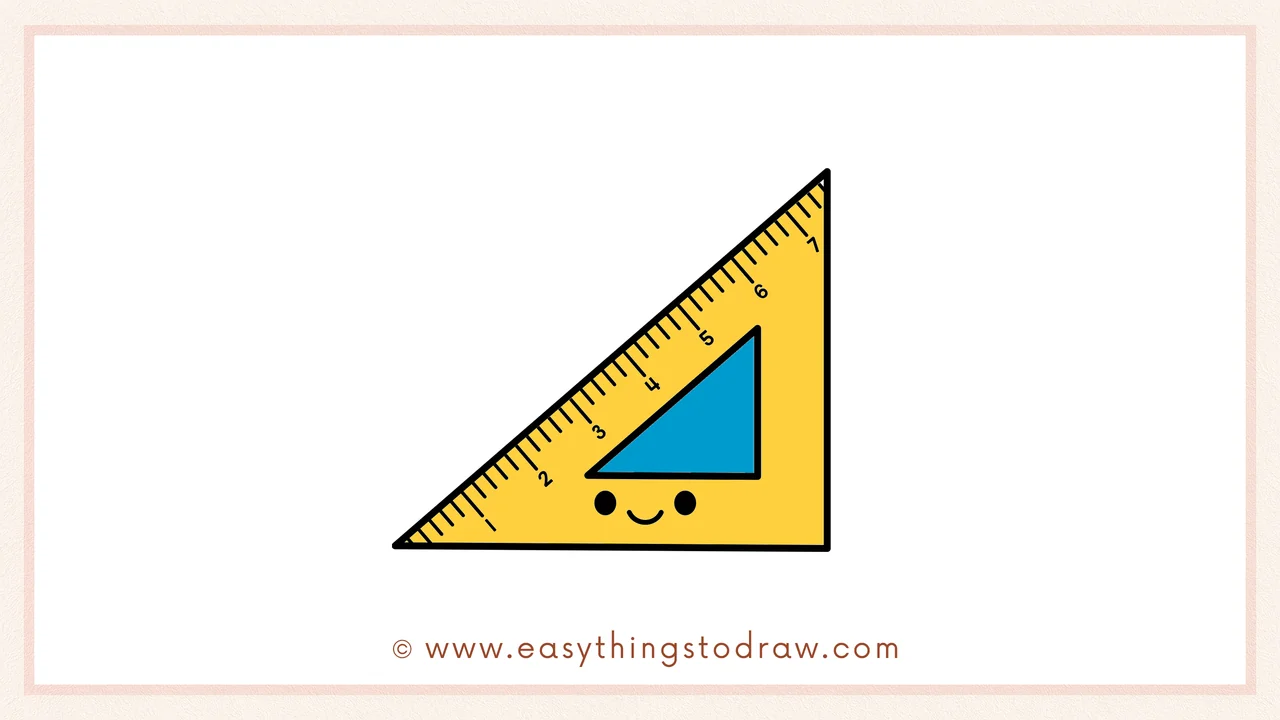
Ready to draw something both smart and fun? Today, we’re learning how to draw a cool triangle ruler with a cheerful little face! This simple drawing guide is great for kids, young artists, and beginners who want to sketch something from their pencil case. If you’ve been looking for an easy cartoon triangle ruler drawing for beginners, you’re in the right place!
What You Need:
- A pencil
- An eraser
- A black marker (for outlining)
- Coloring tools (crayons, markers, or colored pencils)
- Drawing paper
Step by Step Triangle Ruler Drawing Instructions
Step 1 – Start with Two Lines for the Triangle Base
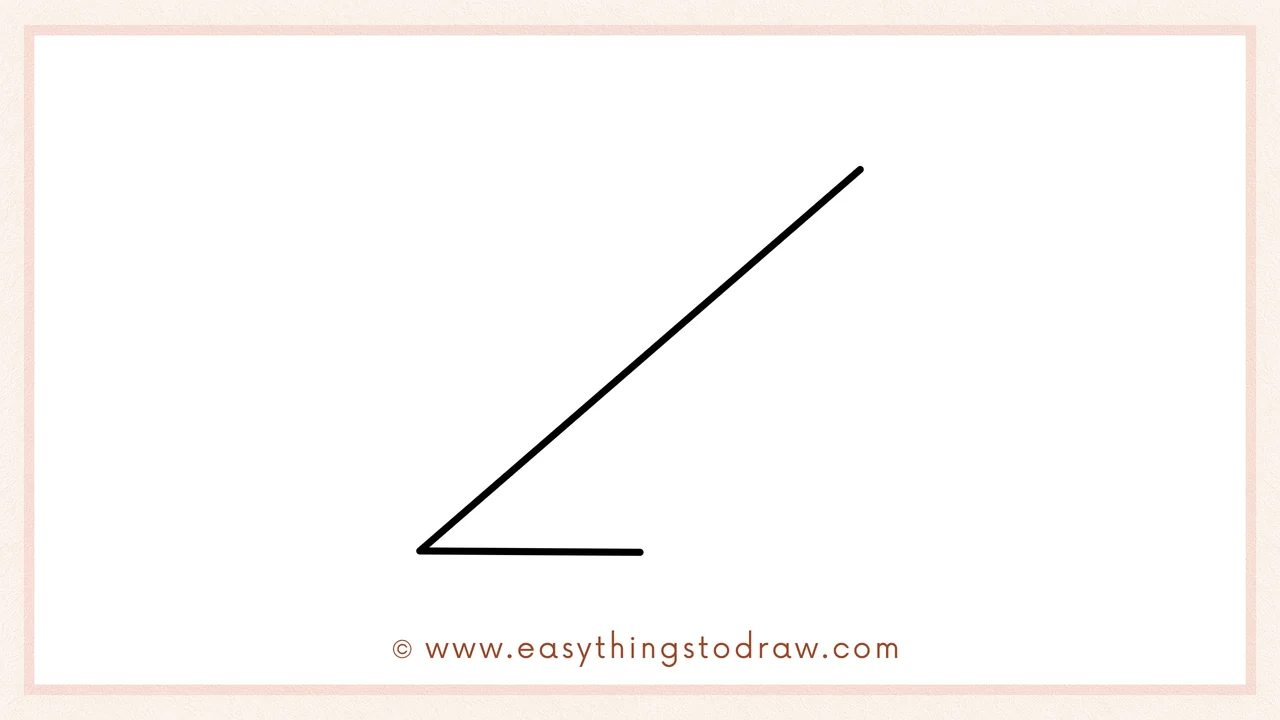
Begin by drawing one long diagonal line going up to the right, then add a shorter horizontal line starting from its bottom. It’s like the letter “L” tipped on its side!
Step 2 – Complete the Triangle Shape
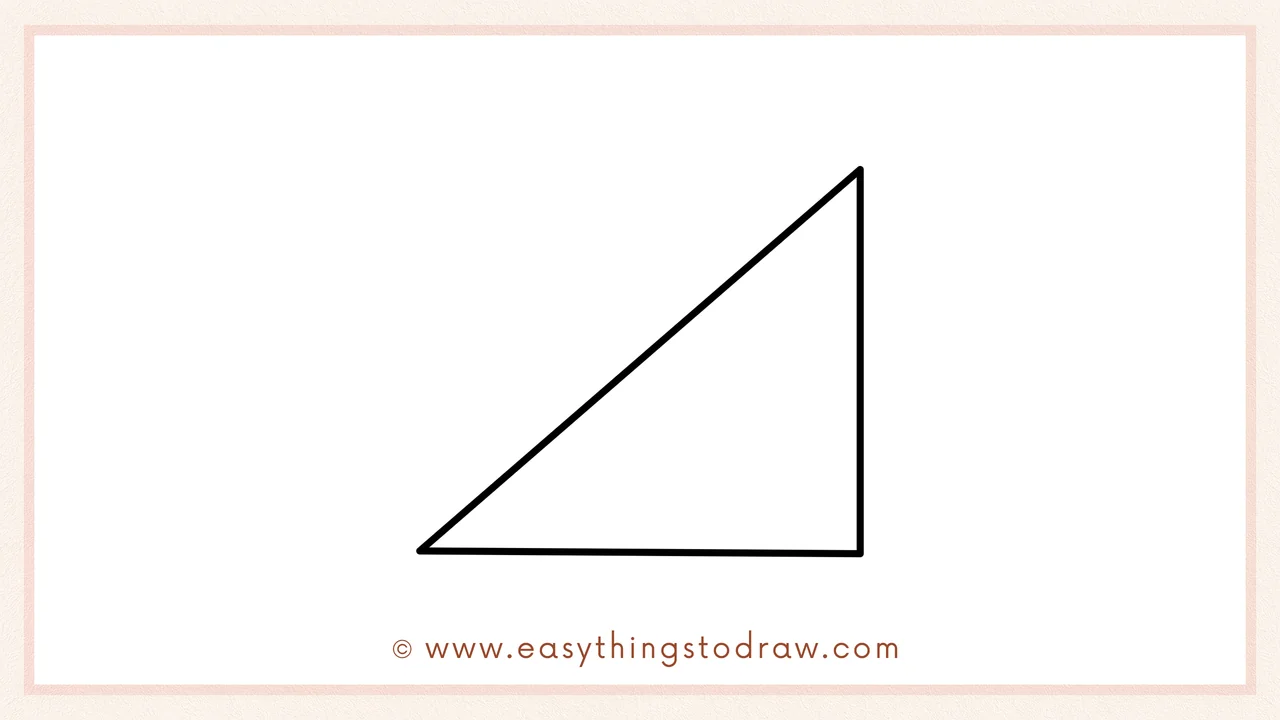
Now draw the third line to close the shape into a triangle. It should connect the top of the diagonal line to the end of the short base. You’ve now got a perfect right triangle!
Step 3 – Add the Inner Triangle Hole
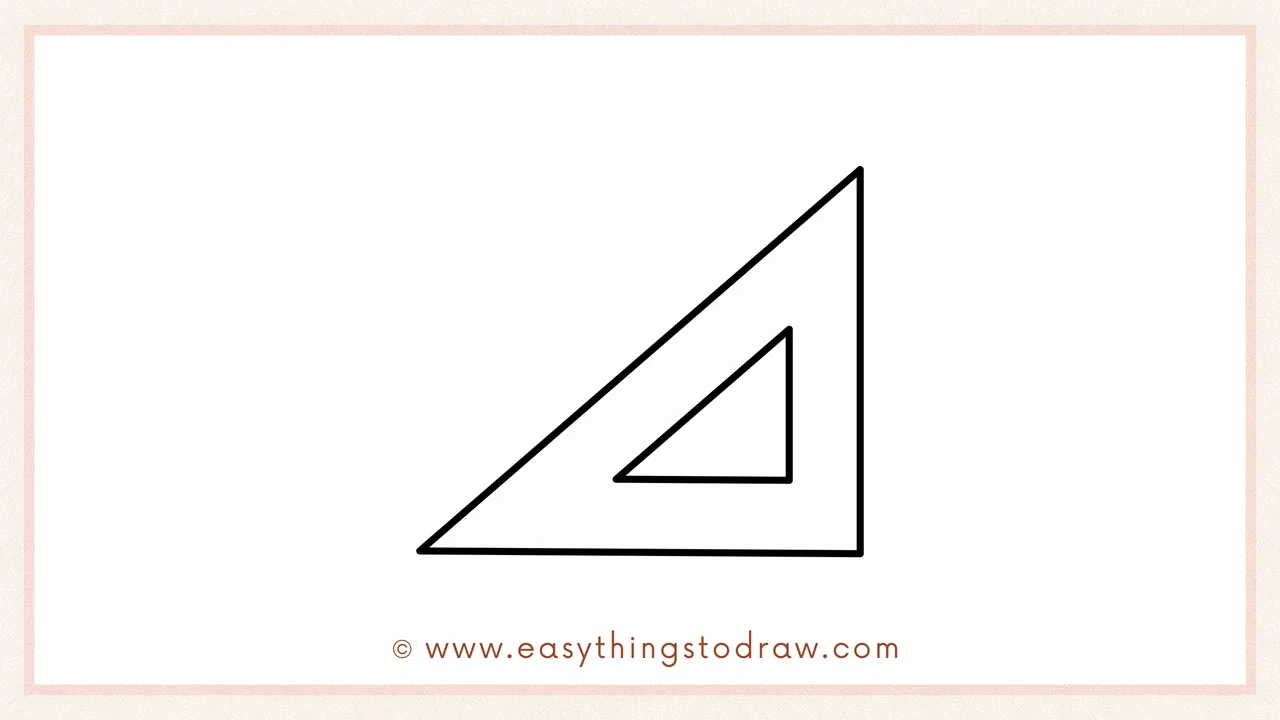
Let’s draw the hollow part inside! Inside the big triangle, sketch a smaller triangle that mimics the shape and angles. This makes it look like a real plastic triangle ruler.
Step 4 – Draw the Measurement Marks
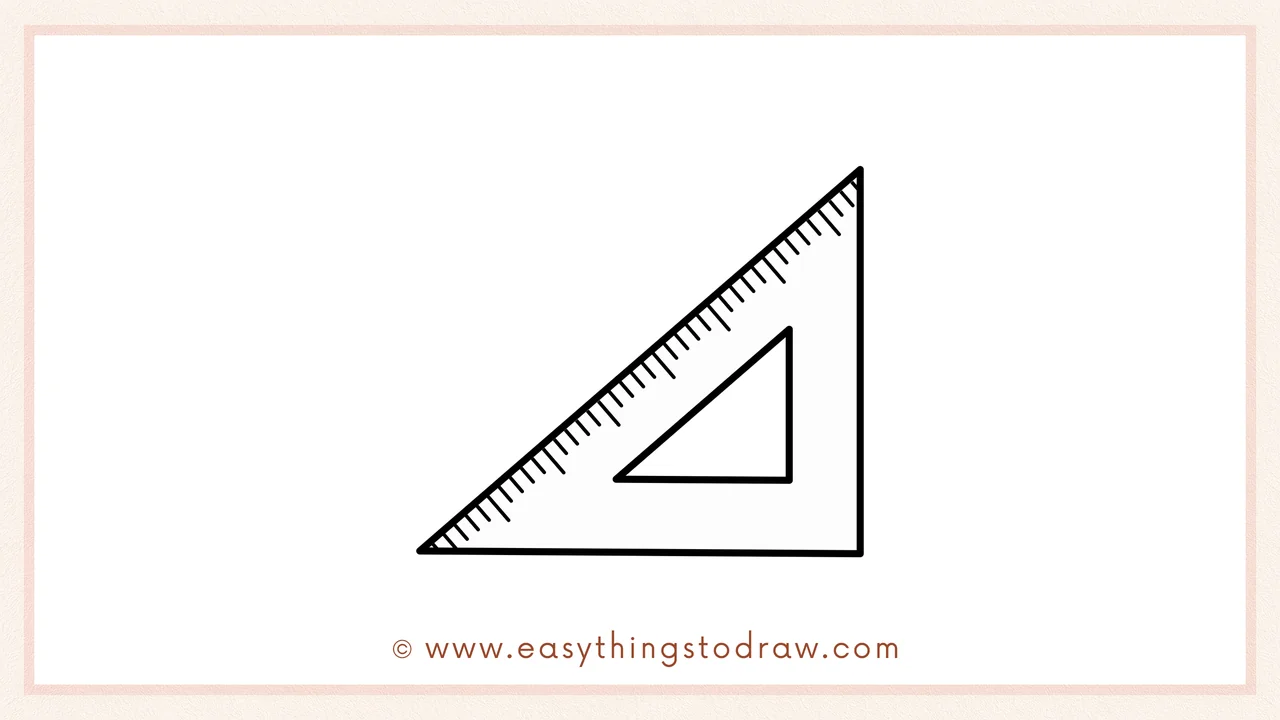
Time to turn it into a ruler! Along the longest side, draw a bunch of small lines. These are the measuring tick marks—keep them evenly spaced like on a real ruler.
Step 5 – Add the Number Labels
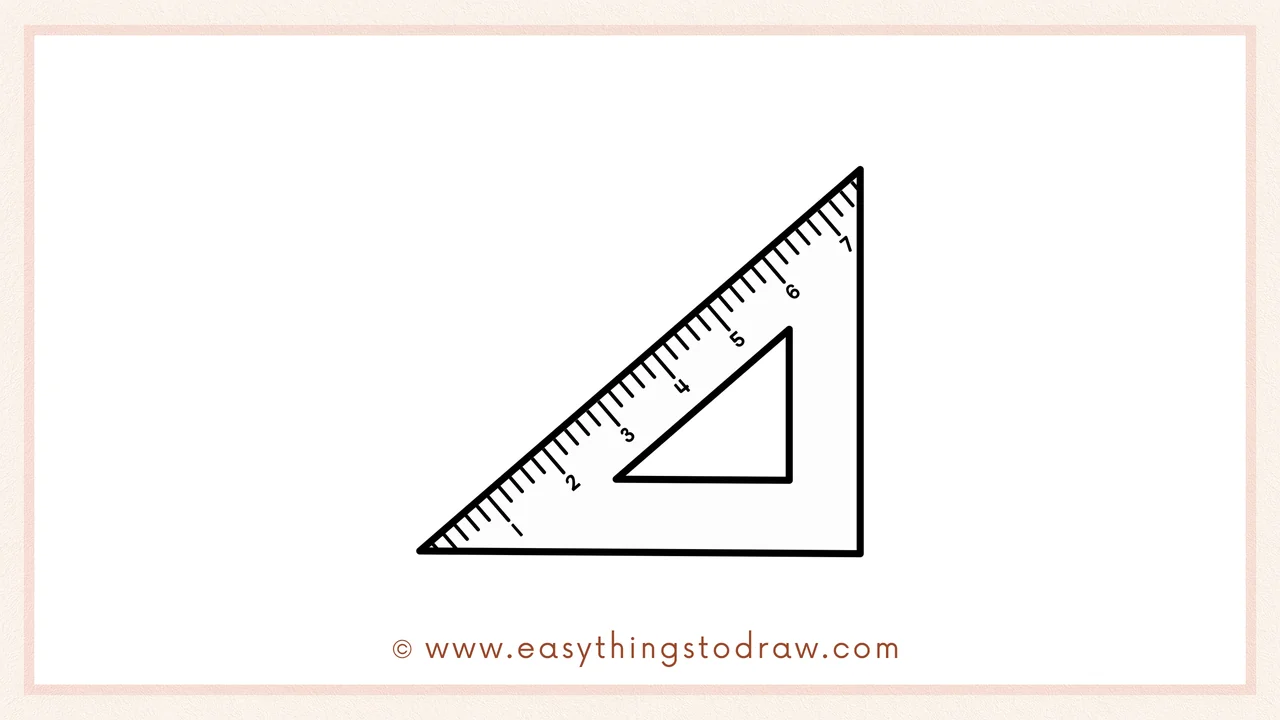
Let’s number those lines! Write tiny numbers next to the measurement marks. 1 through 7 is a fun range for our cartoon ruler!
Step 6 – Give Your Ruler a Cute Face
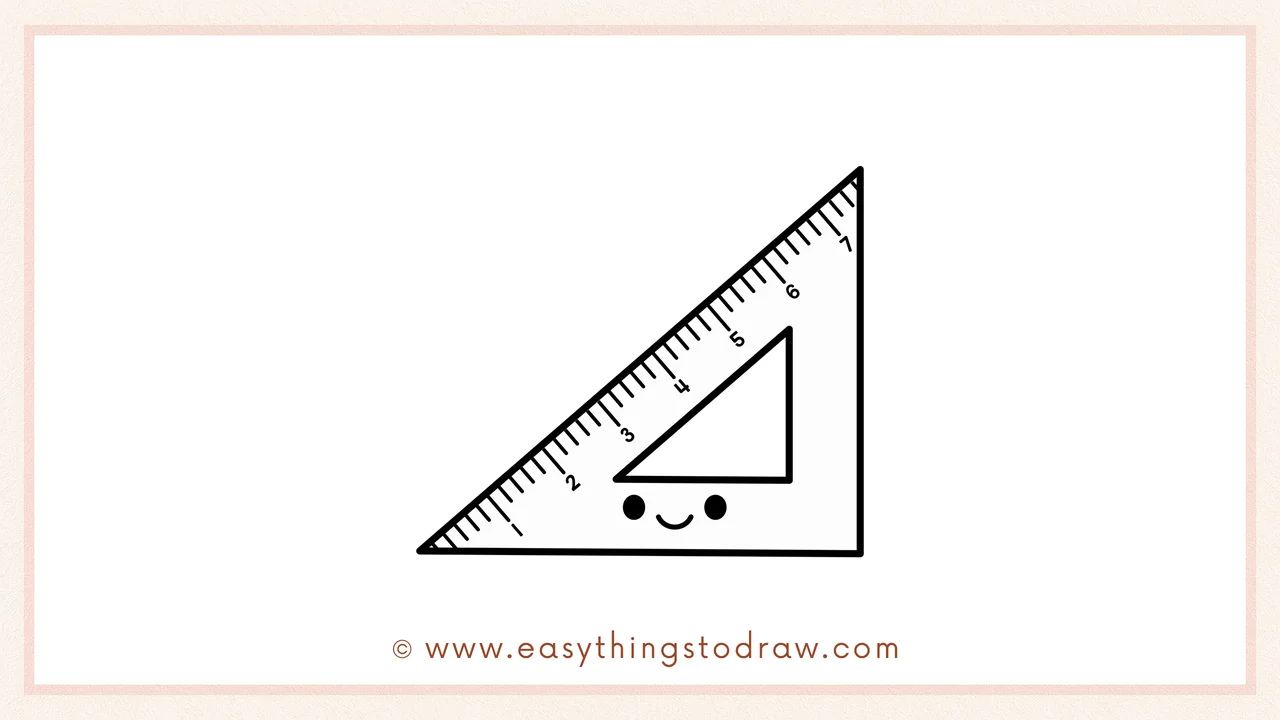
Now for the fun part—add a cute face! Draw two little circles for eyes and a smiling mouth near the bottom of the triangle. Now your ruler has personality!
Frequently Asked Questions (FAQ)
Can I make the triangle ruler look more realistic?
Sure! Just skip the cute face and use neat, straight lines for a classic look.
What if my lines aren’t perfectly straight?
No worries! It’s okay if things are a little wobbly. This is all about having fun and practicing!
Can I color the ruler different colors?
Yes! Try using your favorite colors, make it rainbow, or even add fun patterns like polka dots.
What age group is this drawing guide for?
It’s great for young kids (ages 5+), beginners, and even older students who want a cute classroom-themed doodle.
Printable Drawing Tutorials
Download Printable How to draw a triangle ruler Drawing Tutorials
You Did It!
Awesome work drawing your triangle ruler! Doesn’t it look smart and cheerful? Feel free to give it a friend—maybe draw a pencil or notebook beside it. You could also decorate the background with math symbols or school supplies! Print this tutorial out to draw again anytime, and be sure to show off your artwork to friends and family.

