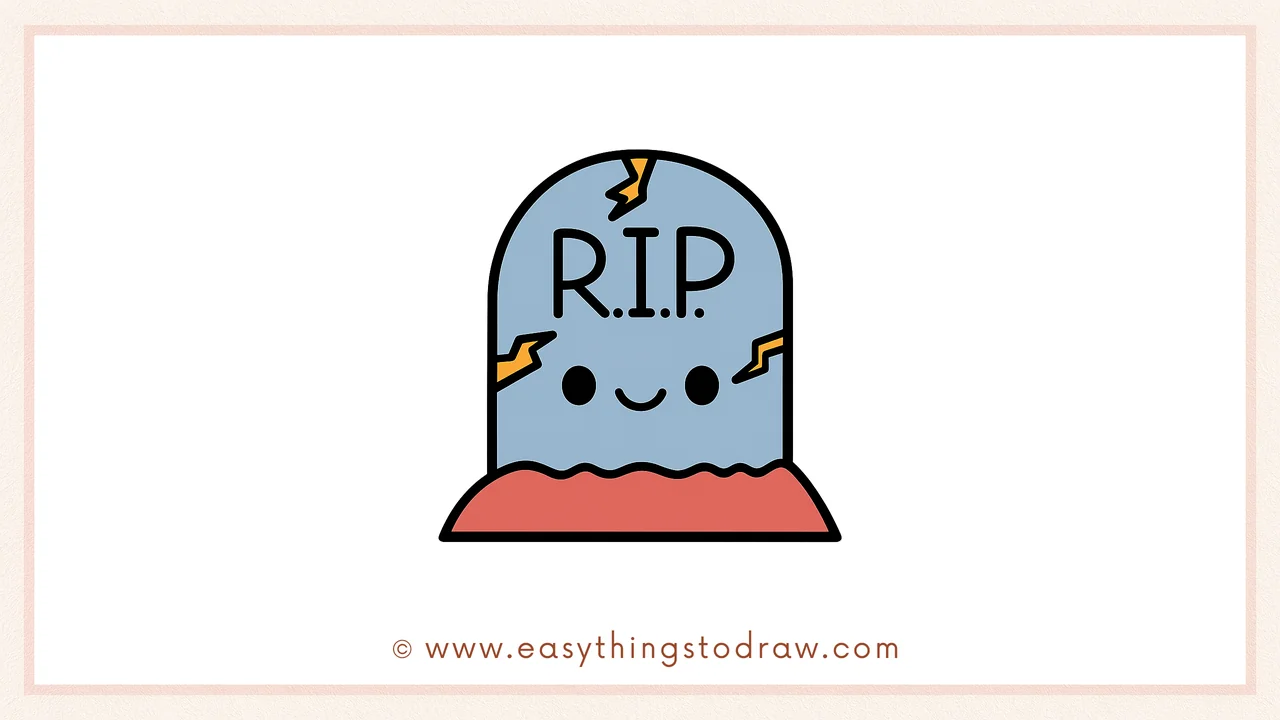
Want to draw something spooky and silly for Halloween? This simple tutorial will teach you how to draw a cute cartoon tombstone with cracks, RIP letters, and even a smile! It’s perfect for young artists and beginners who love Halloween crafts and drawing. Follow along to sketch your own fun and not-too-scary grave marker.
What You Need:
- A pencil
- An eraser
- A black marker (for outlining)
- Coloring tools (crayons, markers, or colored pencils)
- Drawing paper
Step by Step Tombstone Drawing Instructions
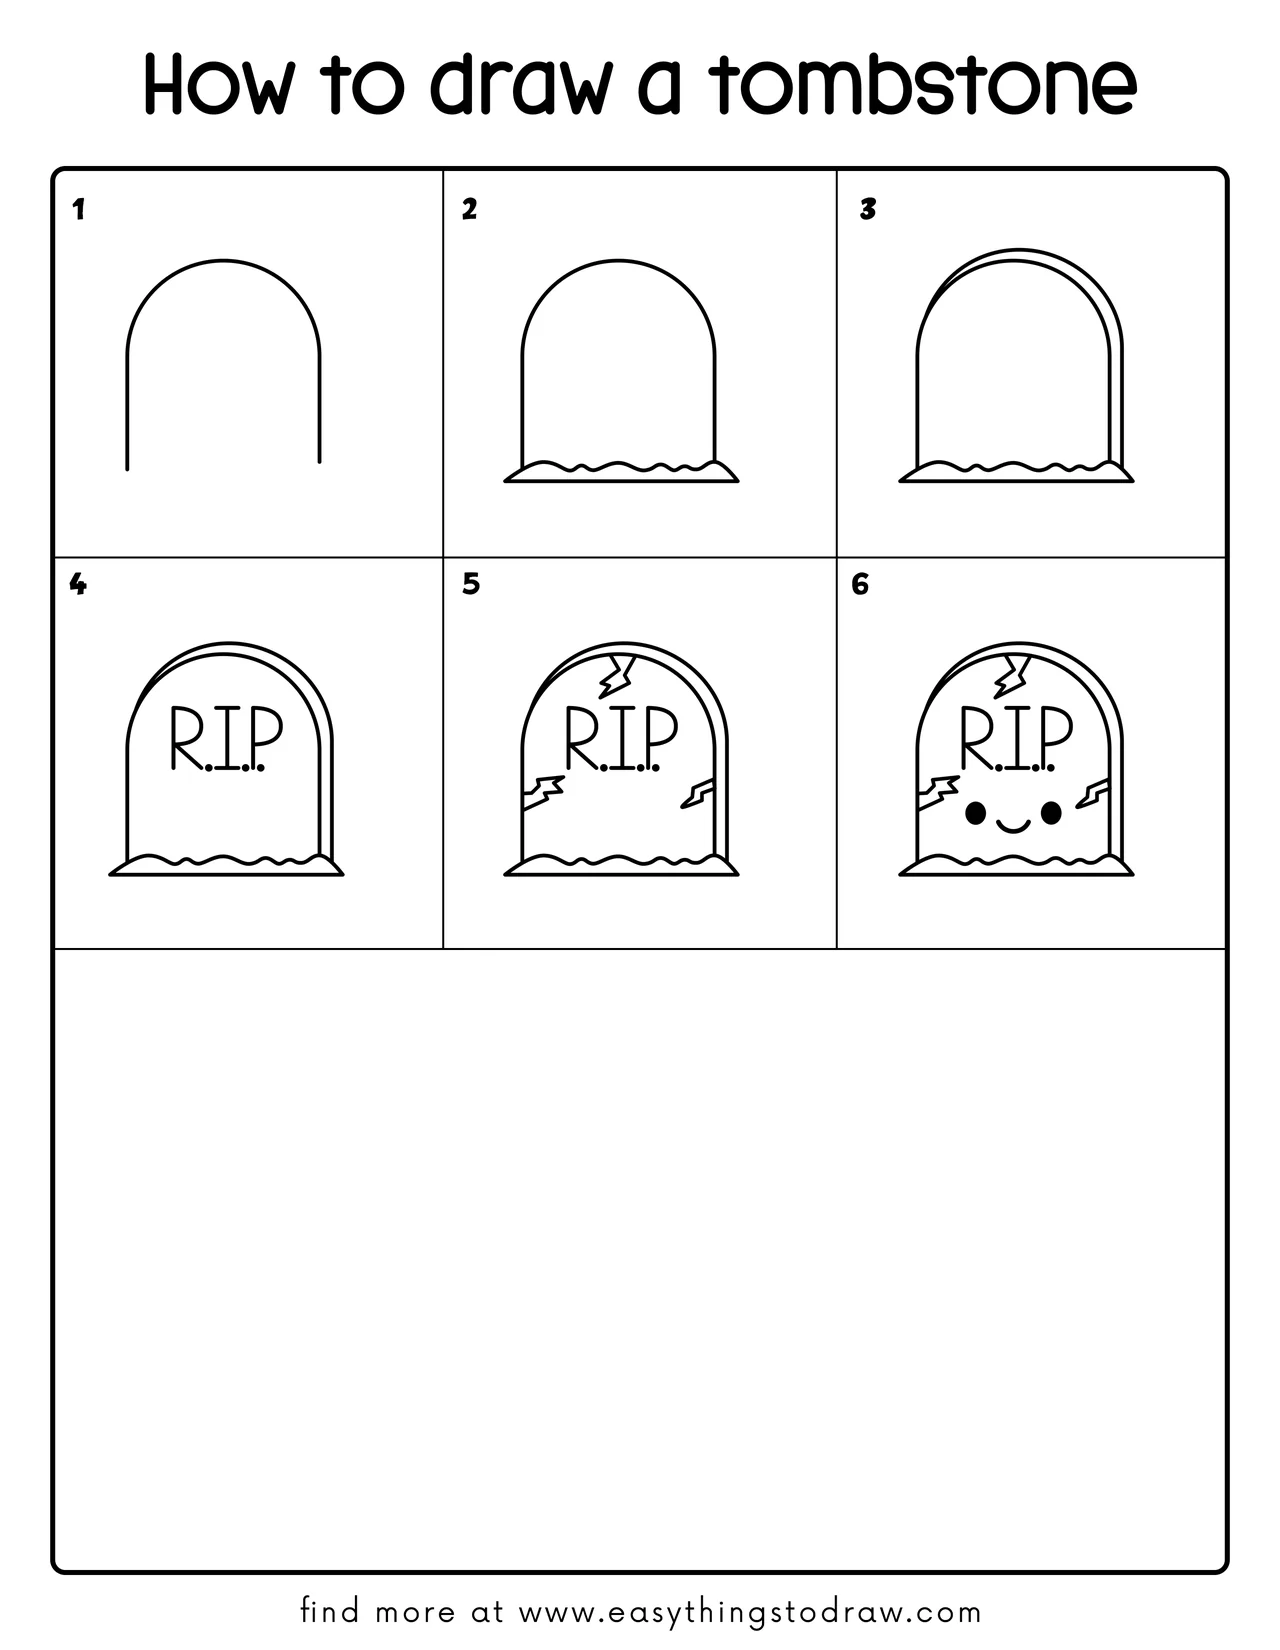
Step 1 – Draw a Big Tombstone Arch
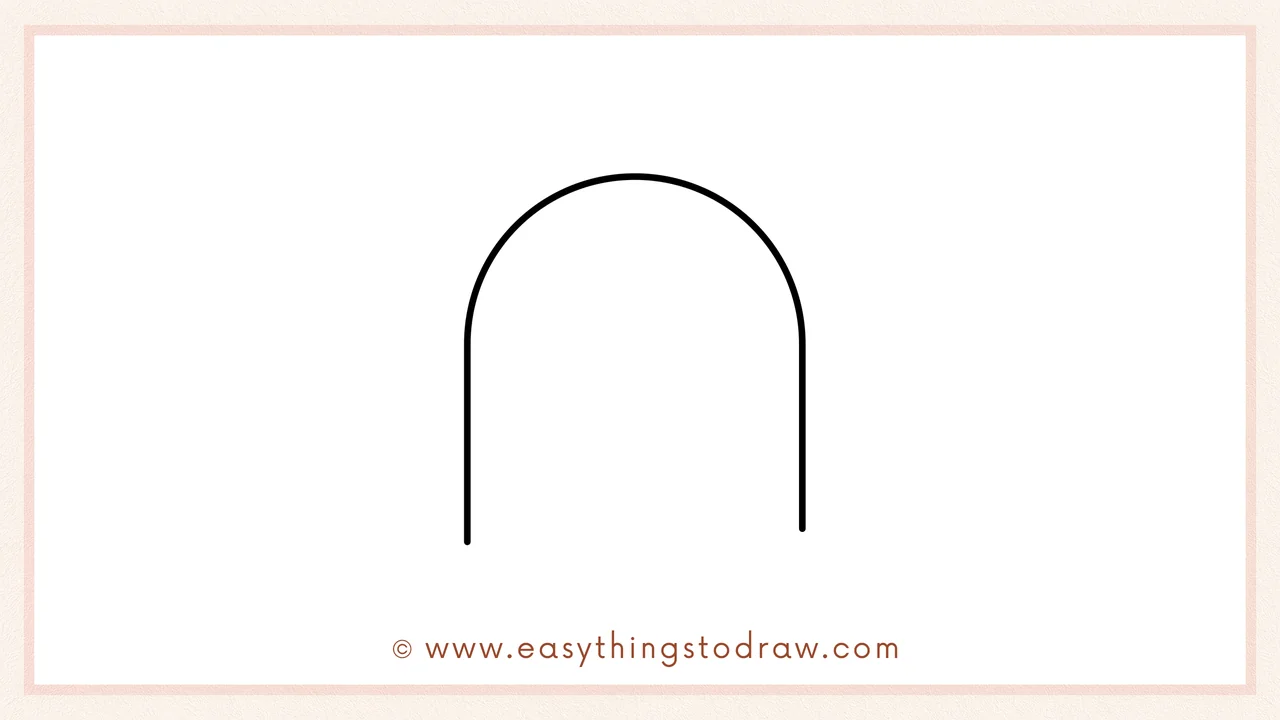
Start with a tall upside-down U shape. This will be the outline of your tombstone—tall and rounded like a Halloween grave marker.
Step 2 – Add a Ground Base
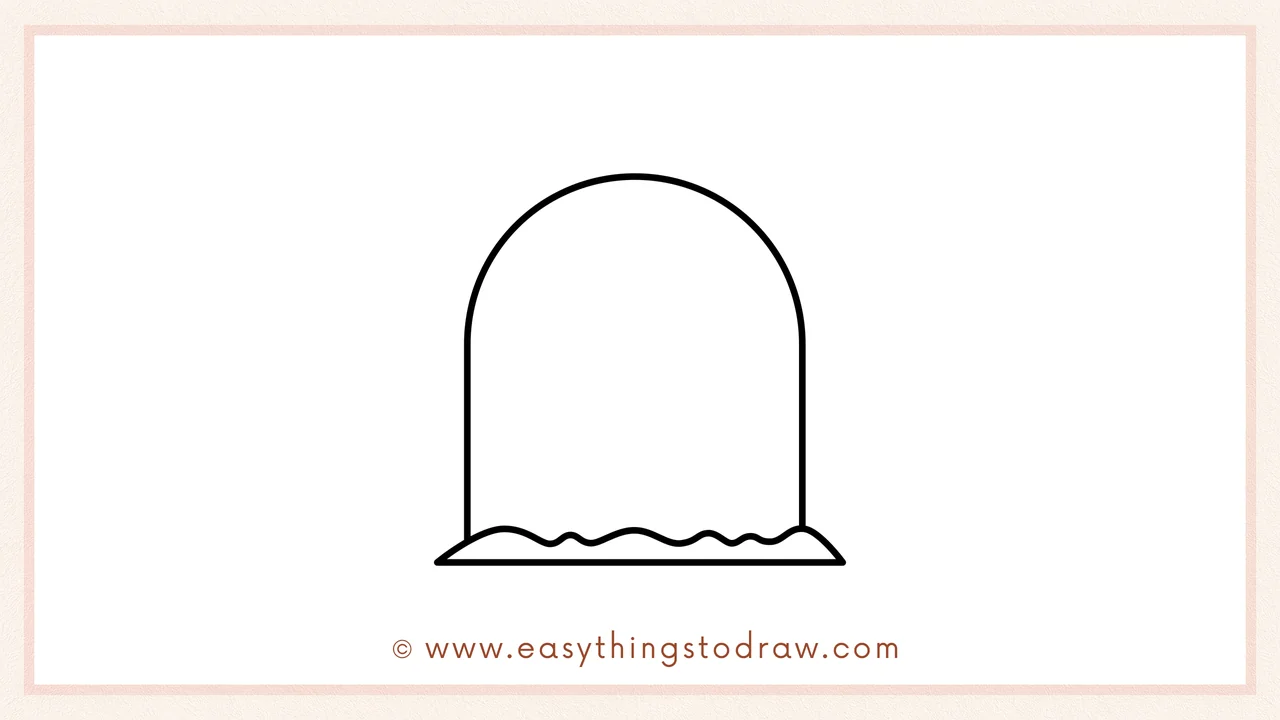
At the bottom of the tombstone, draw a wavy line for the grass or soil, then connect both sides with a straight line underneath. Now your tombstone is standing on a spooky little hill!
Step 3 – Draw an Inner Tombstone Edge
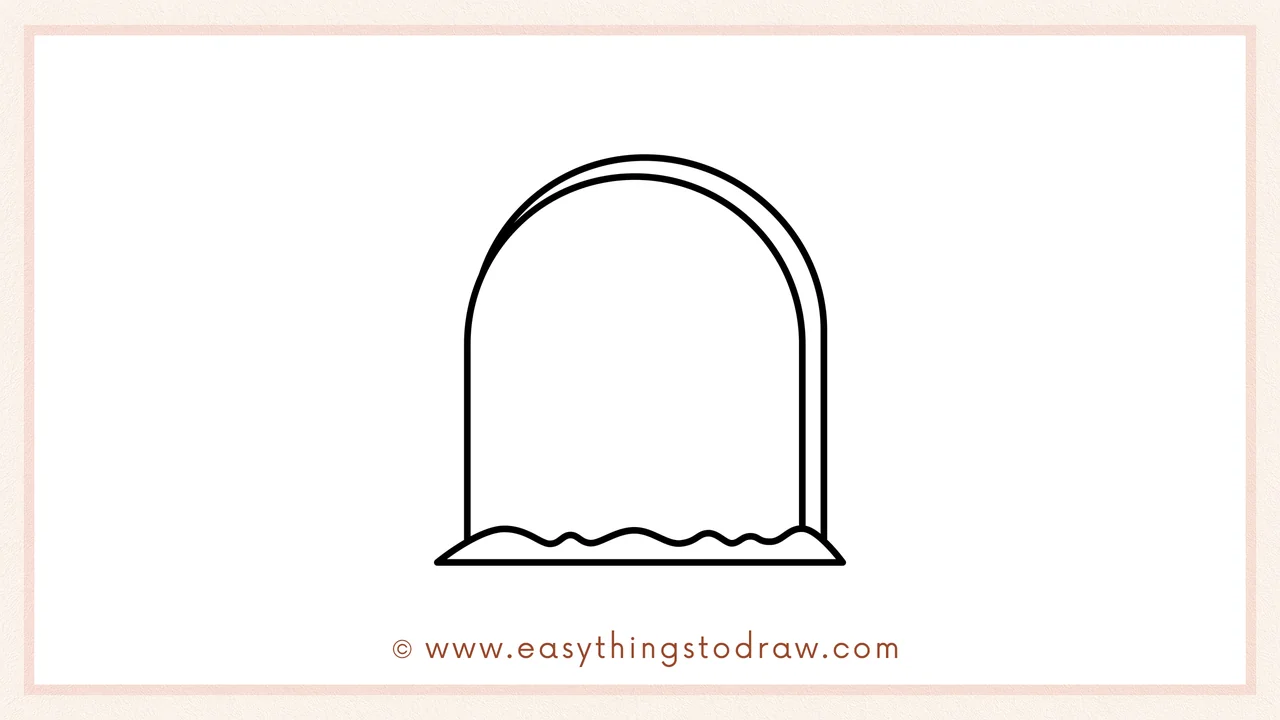
Inside the U shape, draw a slightly smaller matching U to make a border. This adds dimension and makes your tombstone look thicker and more real.
Step 4 – Write “R.I.P.” on the Stone
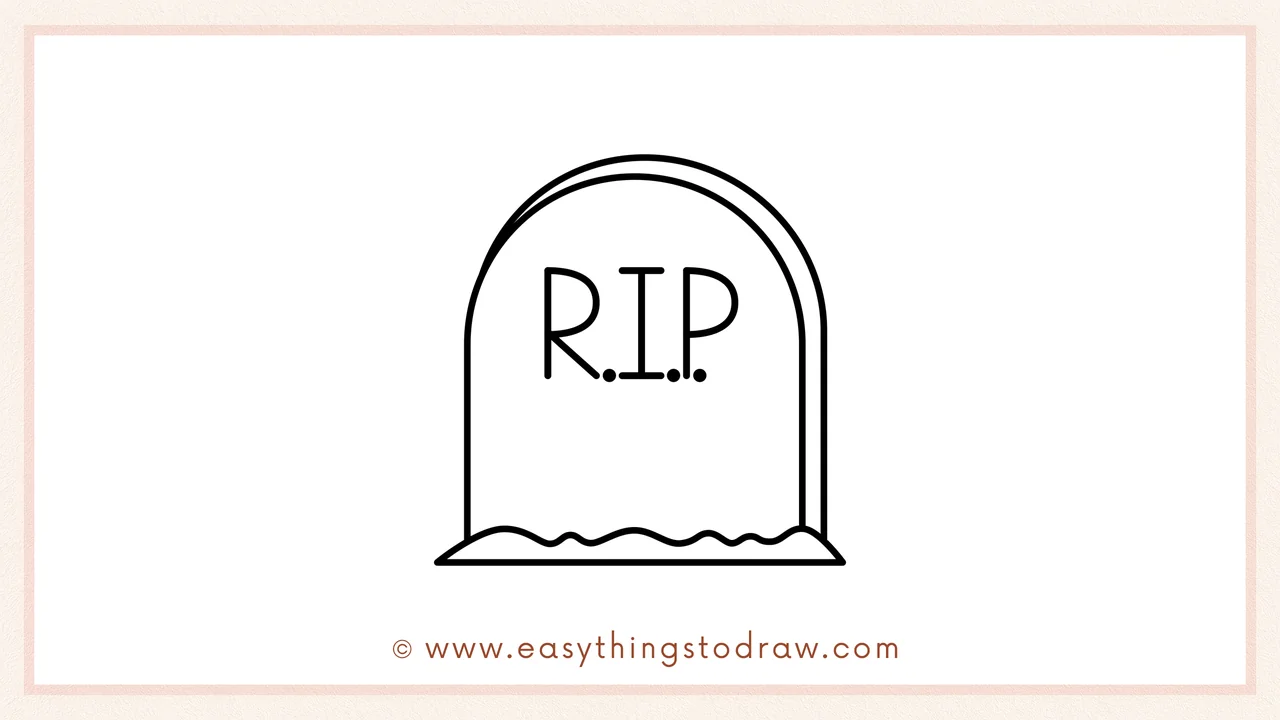
Now add the spooky text! Write “R.I.P.” in big letters in the center of the stone. It means “Rest In Peace”—classic Halloween graveyard style.
Step 5 – Add Cracks and Damage
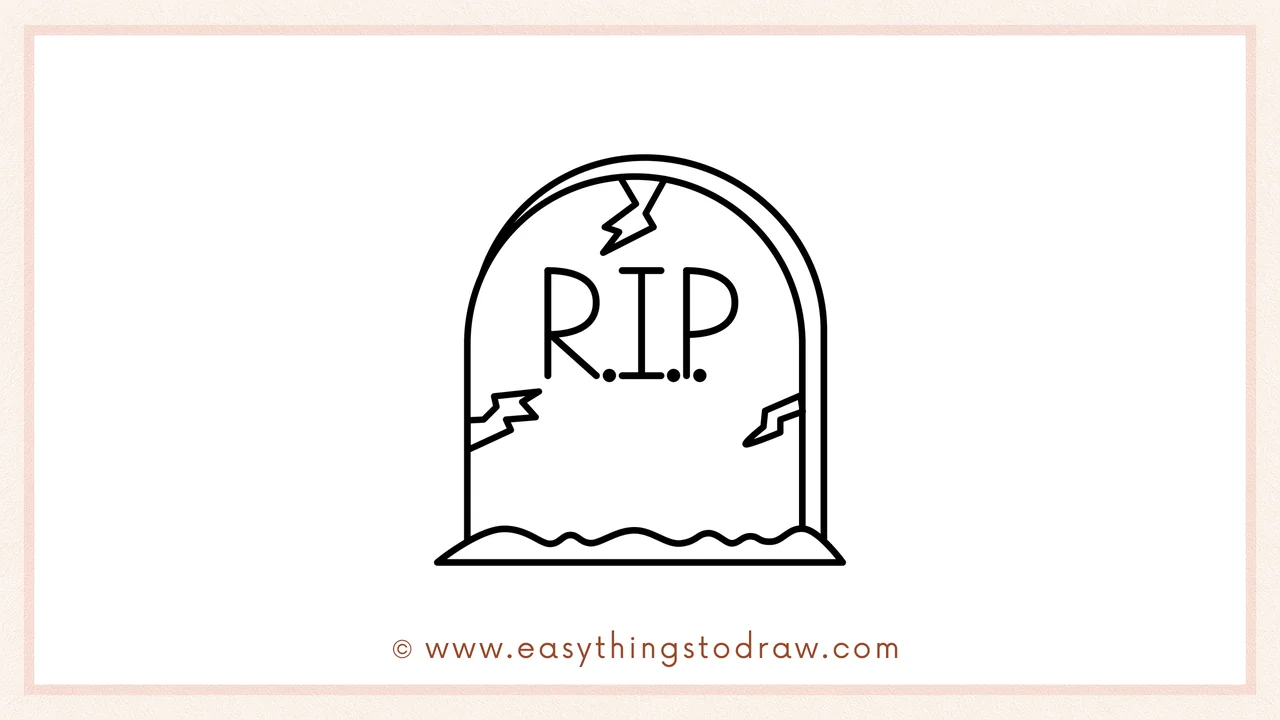
Time to make it look old and spooky! Draw jagged cracks on the top and sides of the tombstone. These broken pieces make it look aged and a little creepy!
Step 6 – Give It a Cute Face
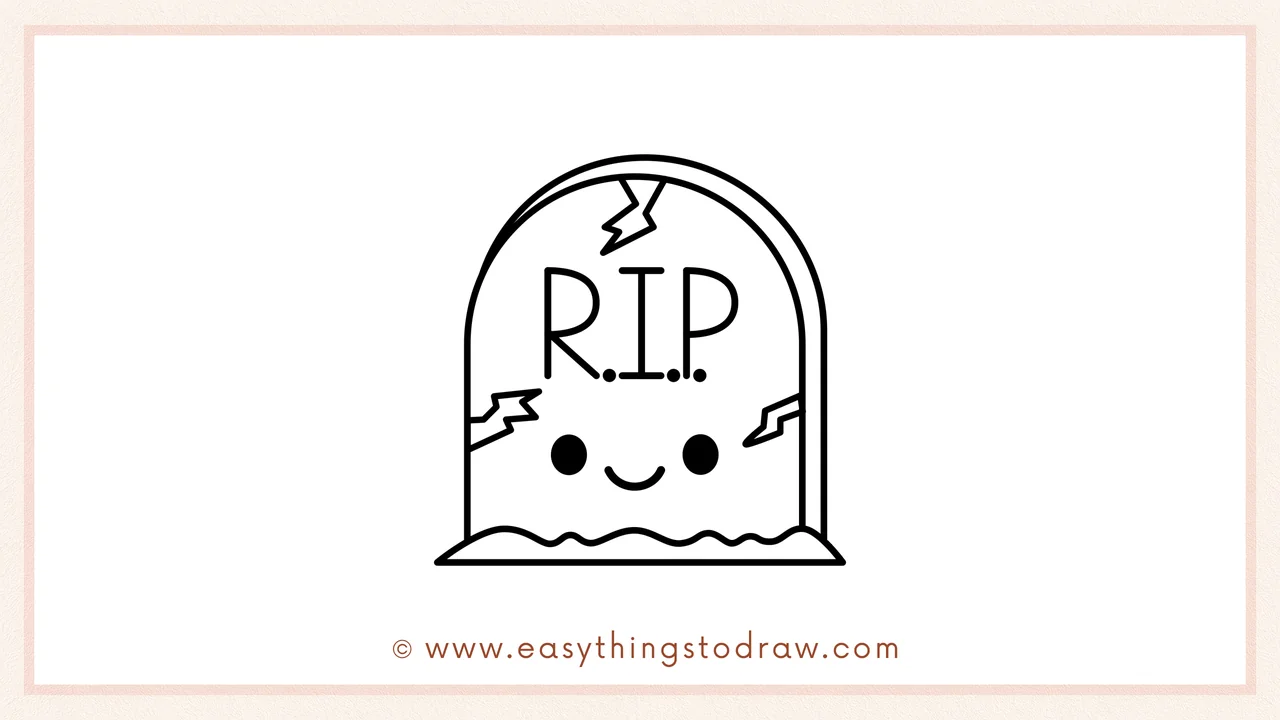
Let’s make this scary stone friendly! Add two round eyes and a cute smiling mouth underneath the writing. Now it’s more sweet than spooky!
Frequently Asked Questions (FAQ)
Can I write something else besides “R.I.P.”?
Yes! Try “Boo!”, “EEK”, or even your own Halloween name.
Can I make the tombstone spooky instead of cute?
Of course! Skip the face and add cobwebs, bats, or a ghost behind it.
What color should I use for the stone?
Gray, black, or purple work great. You can even add cracks in dark red or green moss details.
Is this tutorial good for Halloween crafts?
Absolutely! Use it on Halloween cards, posters, or spooky decorations.
Printable Drawing Tutorials
Download Printable How to draw a tombstone Drawing Tutorials
You Did It!
You did it! Great job drawing your cute Halloween tombstone! Want to customize it? Add a pumpkin nearby, draw a little bat flying over it, or write a silly name on the grave. Whether you want it spooky or sweet, your Halloween art is totally unique. Don’t forget to share your masterpiece and scare up some smiles!
