Ready to set the table with your art? In this fun Thanksgiving-themed tutorial, we’ll teach you how to draw a cute cartoon plate that’s perfect for your festive food doodles! This step-by-step plate drawing is great for kids and beginner artists who want to sketch something round, easy, and full of personality.

What You Need:
- A pencil
- An eraser
- A black marker (for outlining)
- Coloring tools (crayons, markers, or colored pencils)
- Drawing paper
Step by Step Plate Drawing Instructions
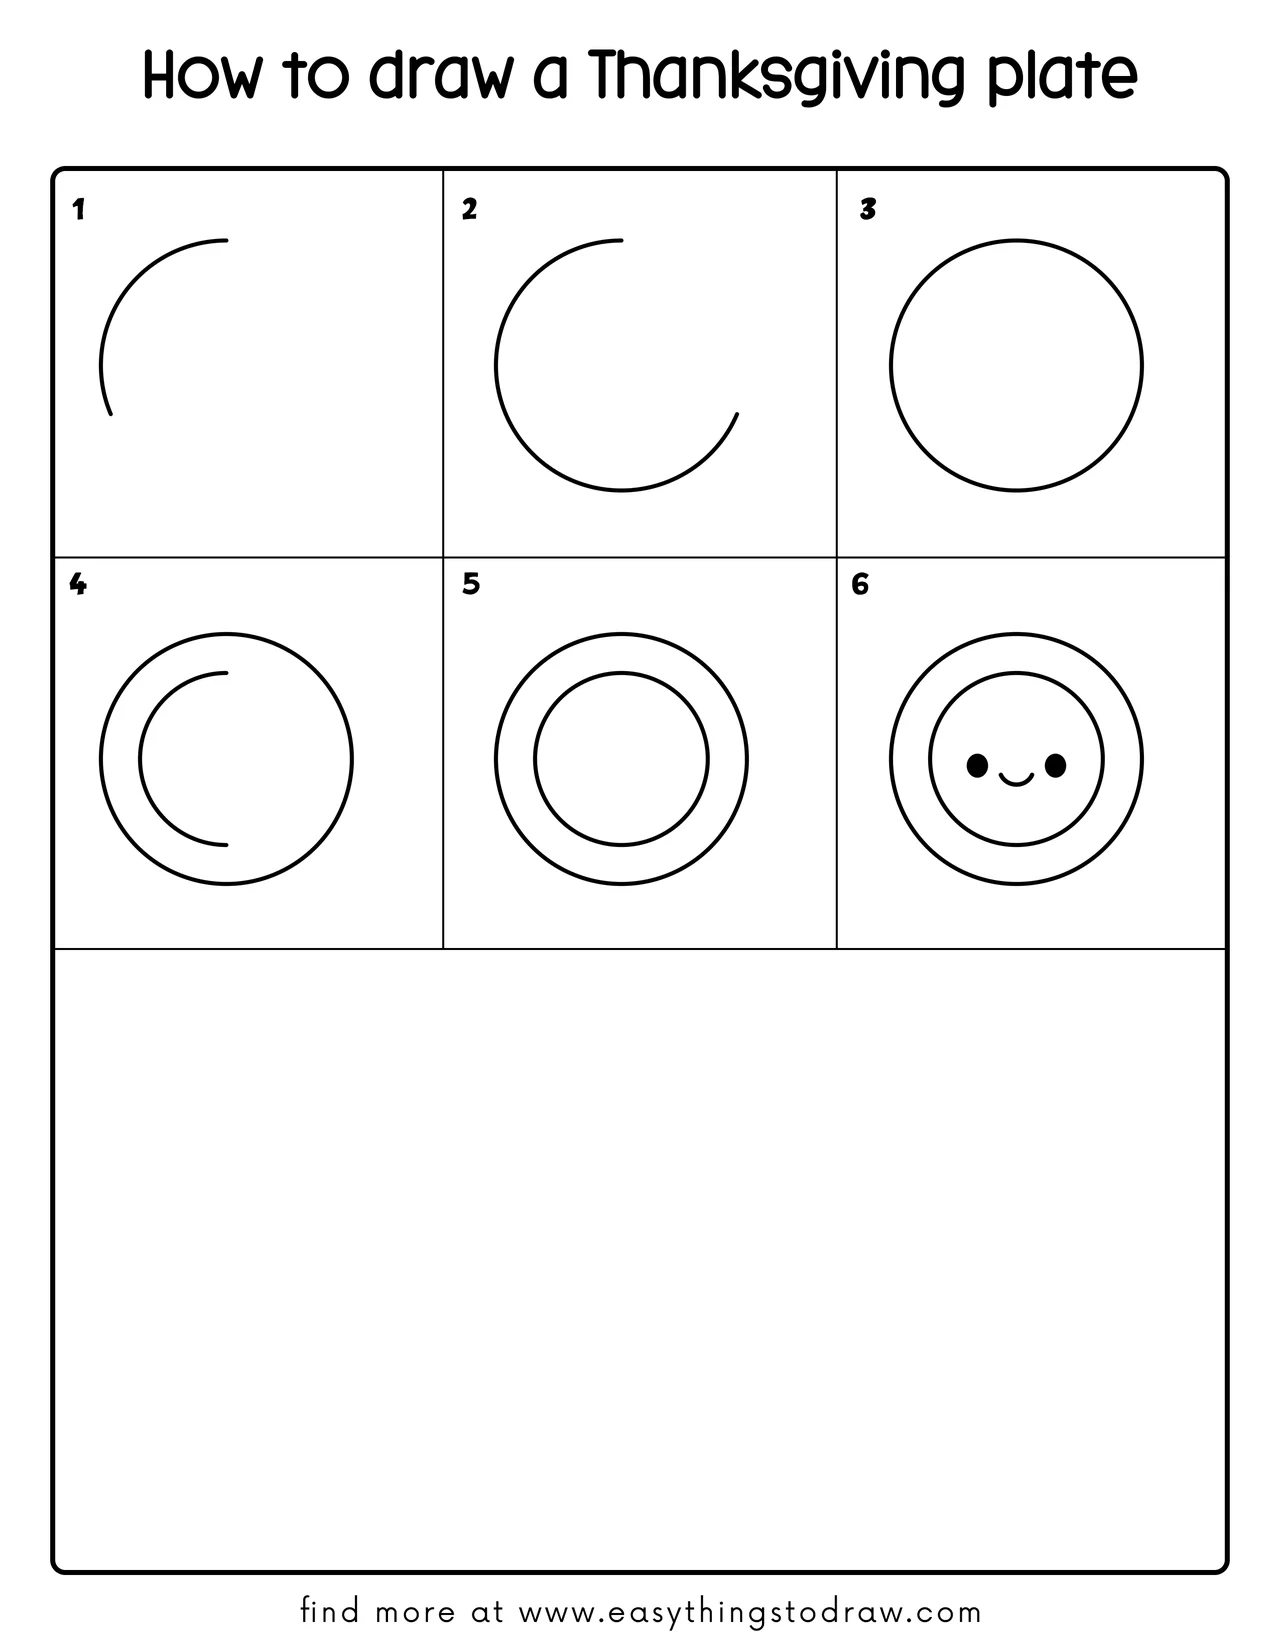
Step 1 – Start a Curved Line for the Plate

Begin by drawing a curved line that looks like part of a circle. This will be the left edge of the plate.
Step 2 – Extend the Curve Further Around

Now extend the curved line to go farther around, forming almost a complete circle — but leave a small gap to finish later.
Step 3 – Complete the Full Plate Circle

Connect the ends of the curved line to close the shape into a perfect circle. Now you have the full outline of your plate!
Step 4 – Draw the Plate’s Inner Curve

Inside the circle, draw another smaller curved line like a partial ring. This gives the plate a sense of depth.
Step 5 – Finish the Inner Circle

Close that inner line into a full circle. This forms the center surface of the plate.
Step 6 – Add a Cute Face!

Let’s make this plate extra fun! Draw two round eyes and a smiling mouth in the center — your Thanksgiving plate is now cheerful and ready to serve joy.
Frequently Asked Questions (FAQ)
Can I add food on the plate?
Absolutely! Try drawing mashed potatoes, peas, or even a slice of pie.
What if my circle isn’t perfect?
That’s totally okay — it’ll still look great! You can always trace a round object like a lid or cup for help.
Can I decorate the edge of the plate?
Yes! Add dots, stripes, or holiday leaves around the rim to make it festive.
Is this good for preschoolers?
Yes! It uses basic shapes and is perfect for beginners aged 4 and up.
Printable Drawing Tutorials
Download Printable How to draw a Thanksgiving plate Drawing Tutorials
You Did It!
Awesome job, artist! You just finished drawing a sweet Thanksgiving plate. Now you can add anything you like on top — maybe some colorful veggies, or even a smiling turkey! Feel free to print this and draw the whole meal. Share your festive plate with family, or use it to decorate your Thanksgiving table.
