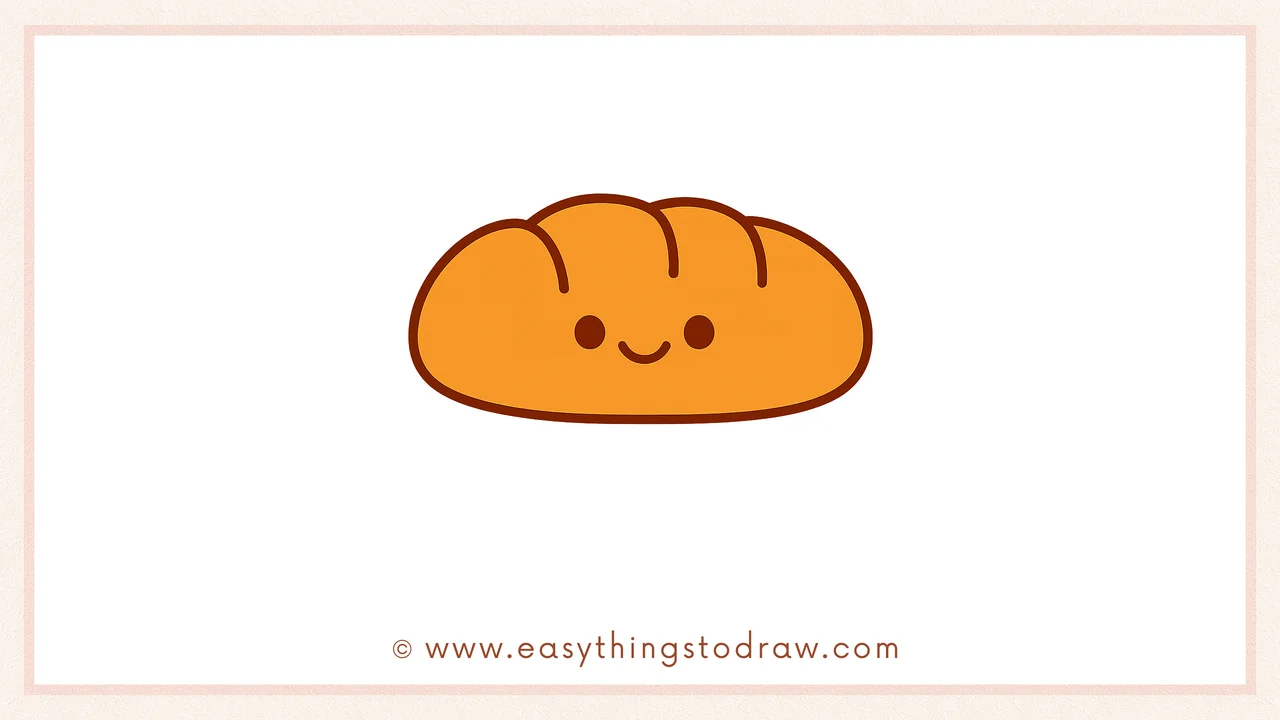
Celebrate the warmth of the season with this cozy Thanksgiving bread drawing tutorial! Perfect for kids, beginners, and young artists, this step-by-step guide will teach you how to draw a cute cartoon-style loaf of bread—complete with a happy smile. Whether you’re making festive decorations or just want a fall-themed drawing activity, this Thanksgiving bread is a simple and fun way to get creative!
What You Need:
- A pencil
- An eraser
- A black marker (for outlining)
- Coloring tools (crayons, markers, or colored pencils)
- Drawing paper
Step by Step Bread Drawing Instructions
Step 1 – Start with a Round Bread Bump
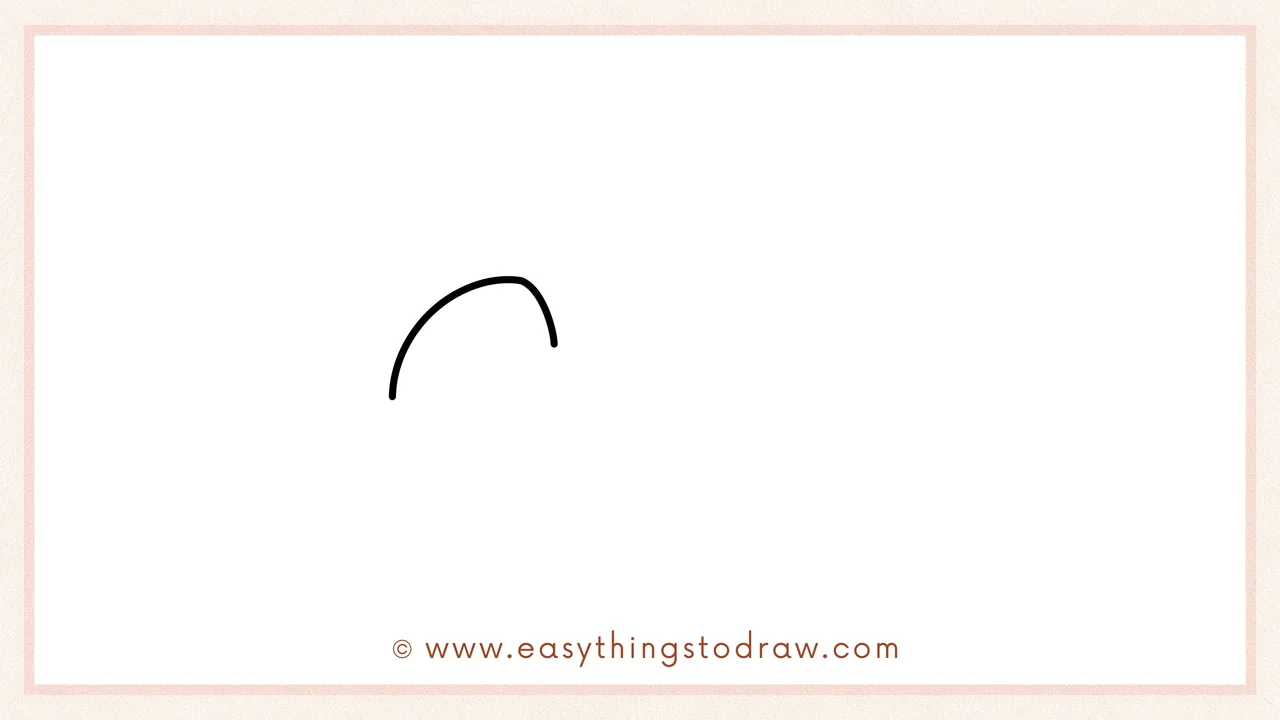
Begin by drawing a curved arch on the left side of your paper. This will be the first top bump of your holiday bread loaf.
Step 2 – Add a Second Round Top
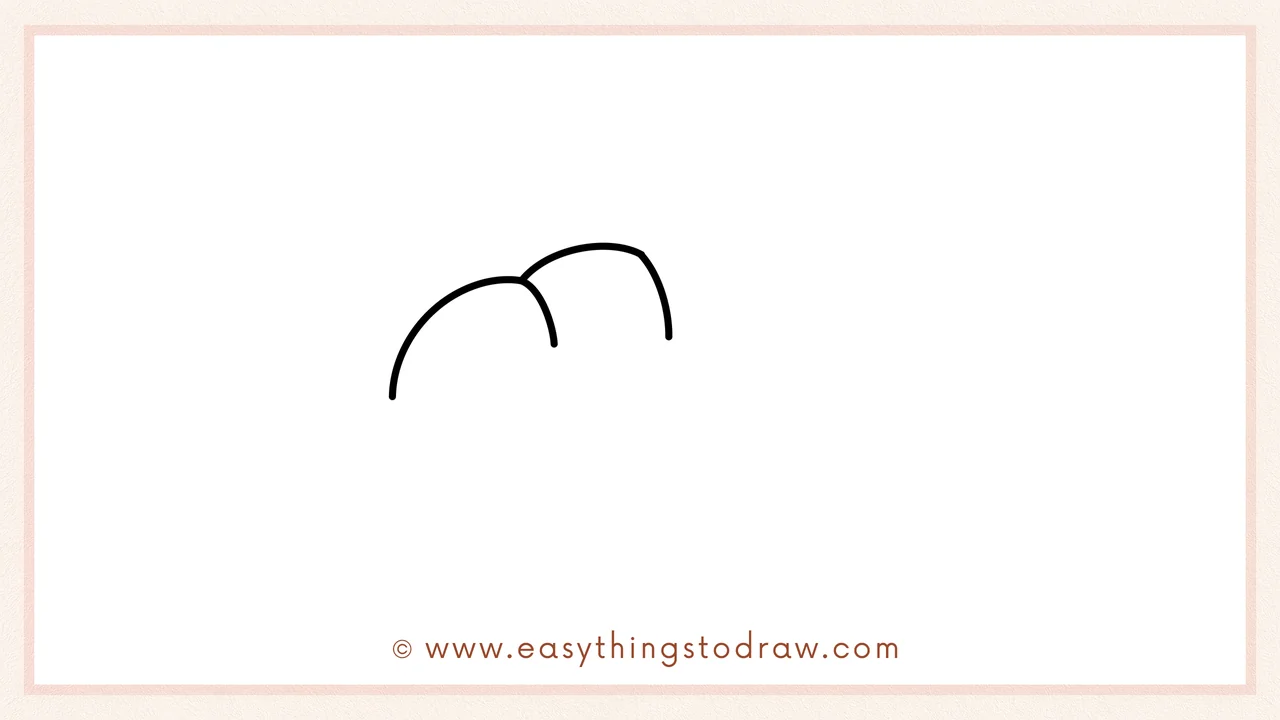
Draw another curved bump that overlaps slightly with the first one. These fluffy shapes give the bread its soft, baked look.
Step 3 – Keep Building the Top
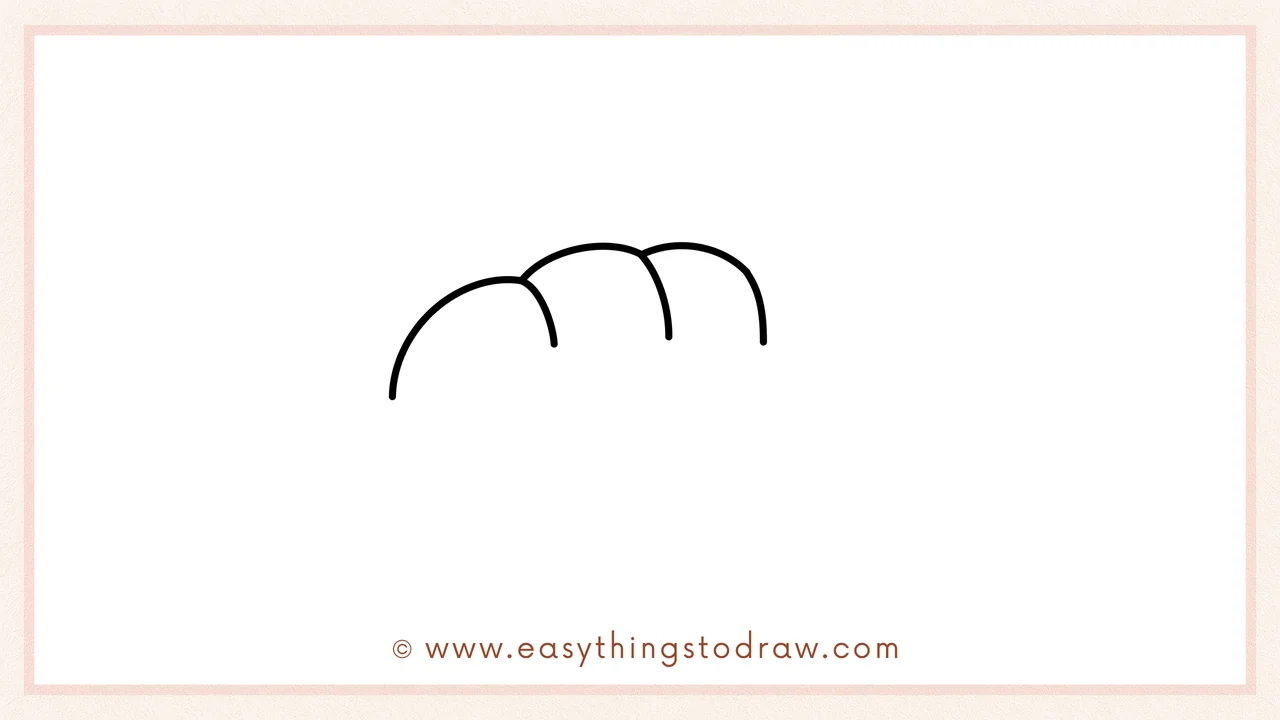
Continue by adding a third curved bump to the right of the first two. Your bread is starting to look full and warm!
Step 4 – Finish the Bread Top
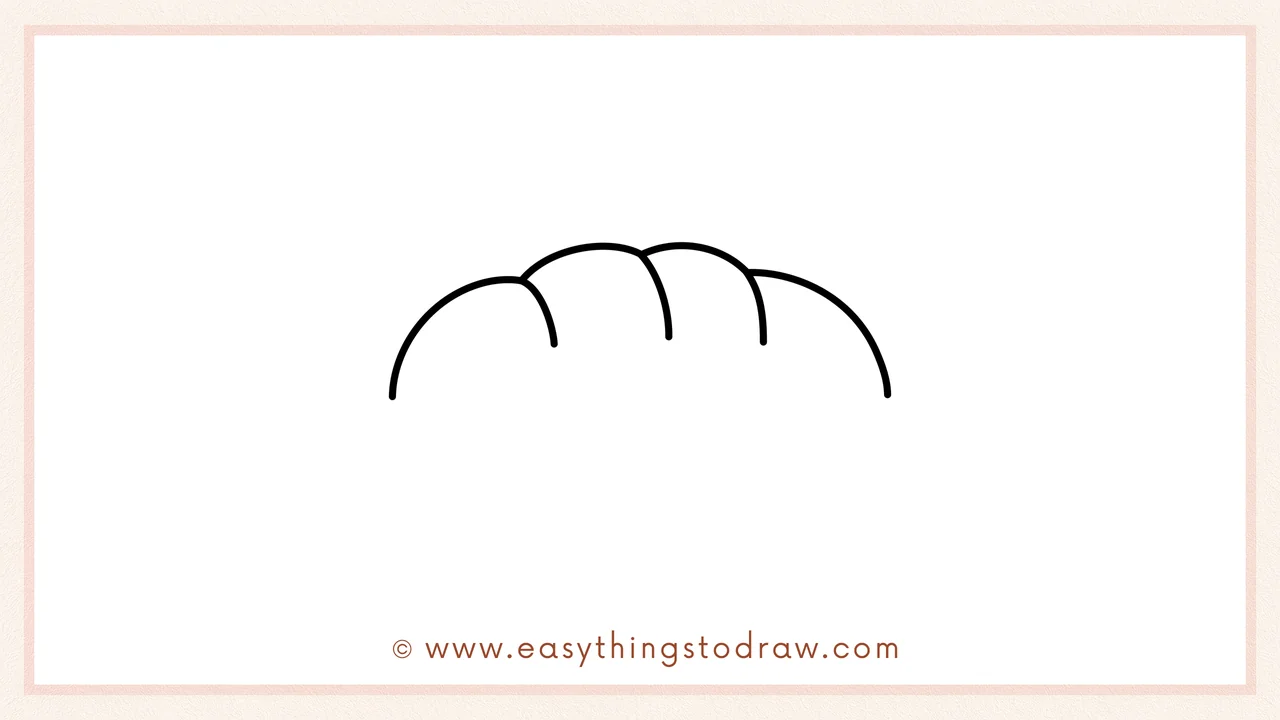
Draw one more rounded bump to the far right. You now have four lovely golden hills of bread dough.
Step 5 – Complete the Loaf Shape
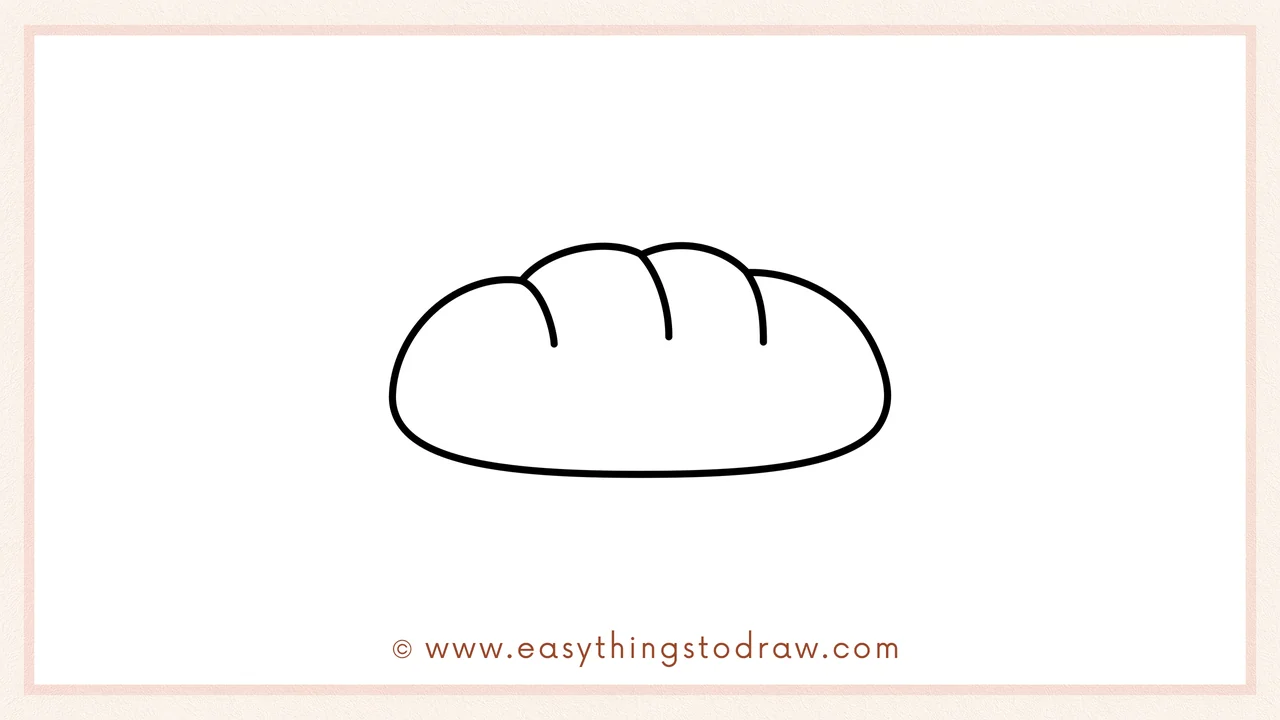
Now connect all the top curves by drawing a large, rounded oval base underneath. This forms the body of your Thanksgiving bread.
Step 6 – Add a Cheerful Face
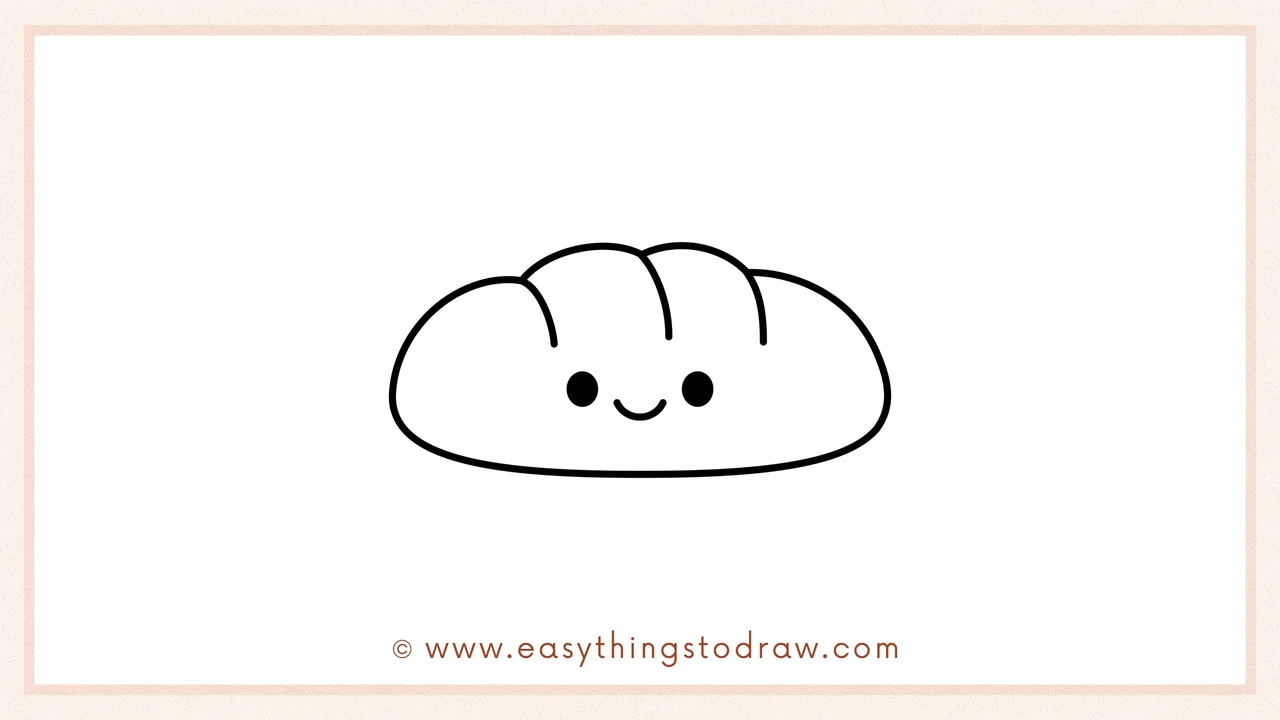
Make your bread festive and fun by adding two round eyes and a smiling mouth. Your Thanksgiving loaf is full of joy!
Frequently Asked Questions (FAQ)
Can I turn this into a Thanksgiving card?
Yes! Just draw it on card stock and write a message like “Thanks for being a friend who rises to the occasion!”
How can I make it look more Thanksgiving-themed?
Add little leaves or mini pumpkins around the bread. You could even draw steam rising to show it’s fresh from the oven!
What if I mess up a line?
No worries! Use your eraser and try again—bread is forgiving, just like a good recipe.
Is this a good art project for classrooms?
Definitely! It’s simple, cheerful, and works great as part of a Thanksgiving or harvest unit.
Printable Drawing Tutorials
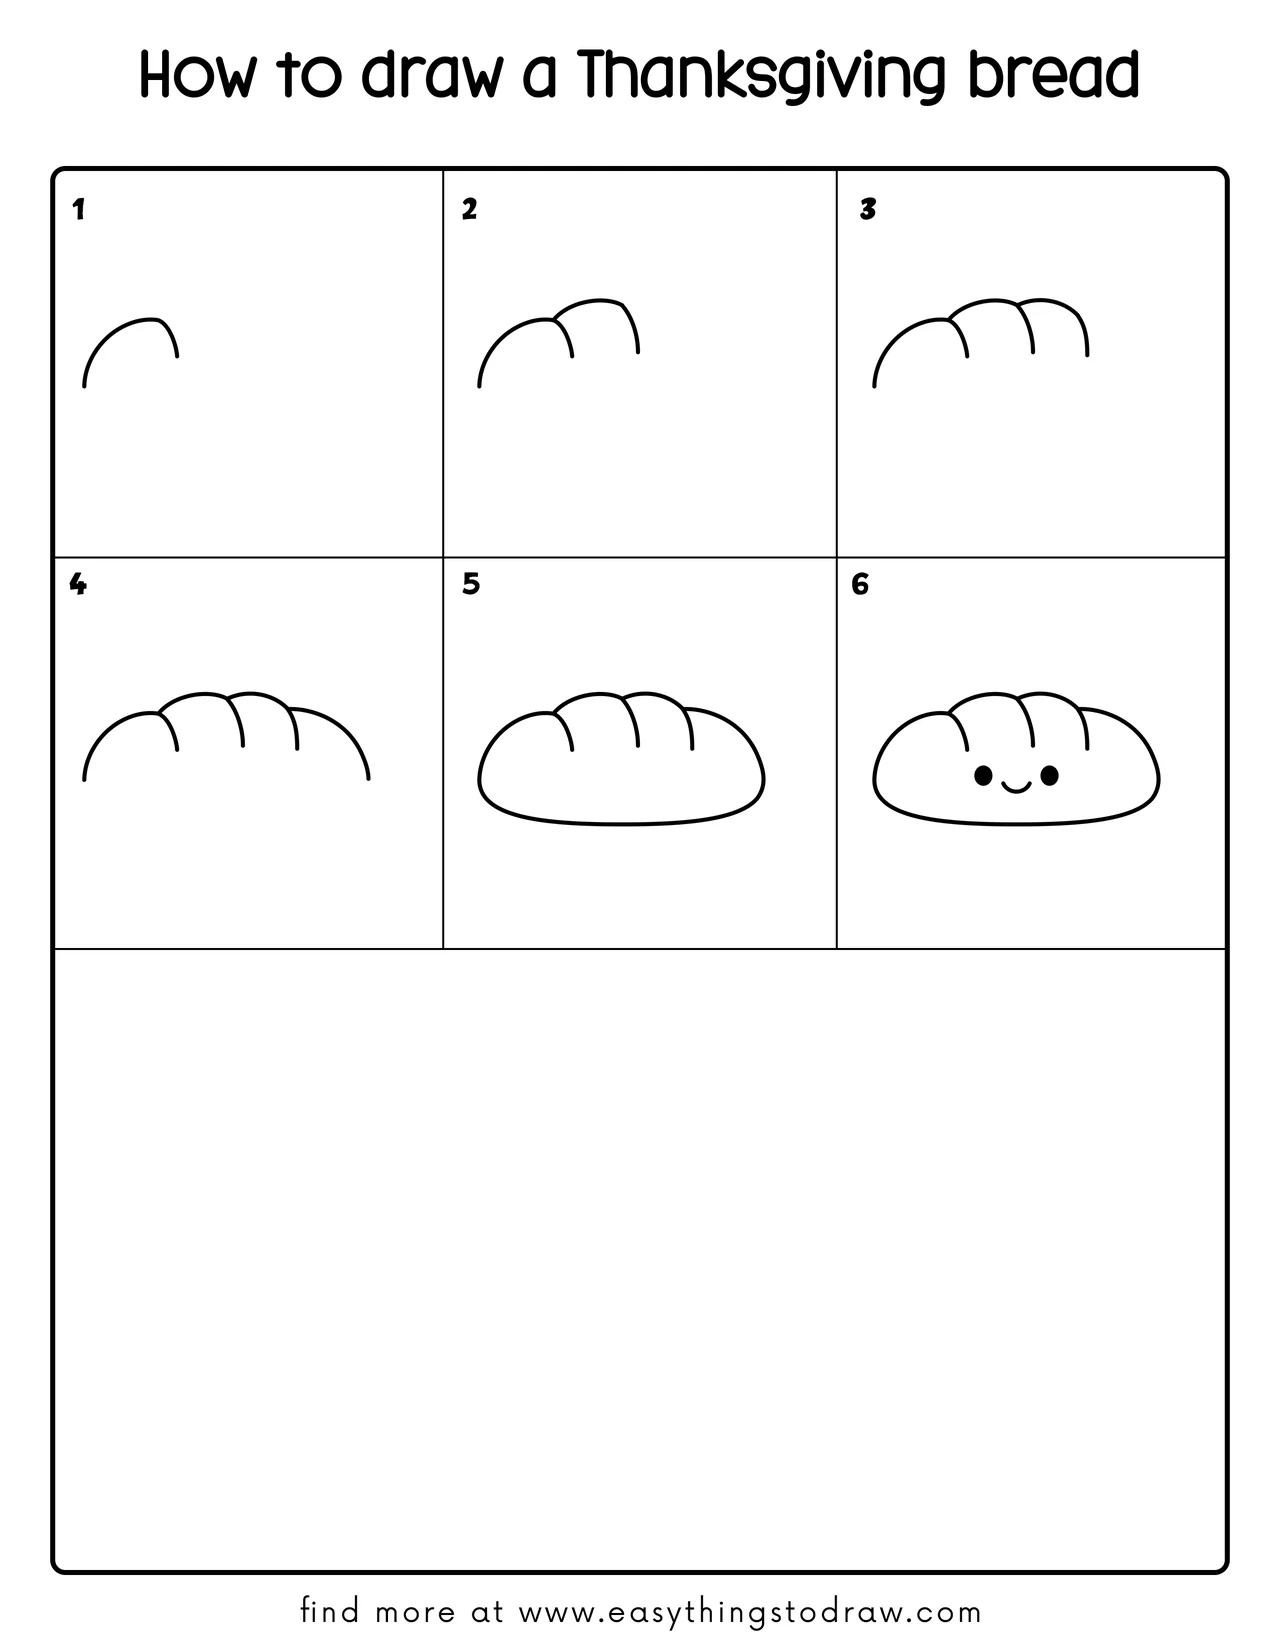
Download Printable How to draw a Thanksgiving bread Drawing Tutorials
You Did It!
Yay! You just finished a warm and wonderful Thanksgiving bread drawing. It looks soft, happy, and perfect for the season. Want to make it extra special? Add fall decorations like colorful leaves, a napkin underneath, or a speech bubble that says “Give thanks!” Share your art at your Thanksgiving table or hang it on the fridge for some homemade joy.
