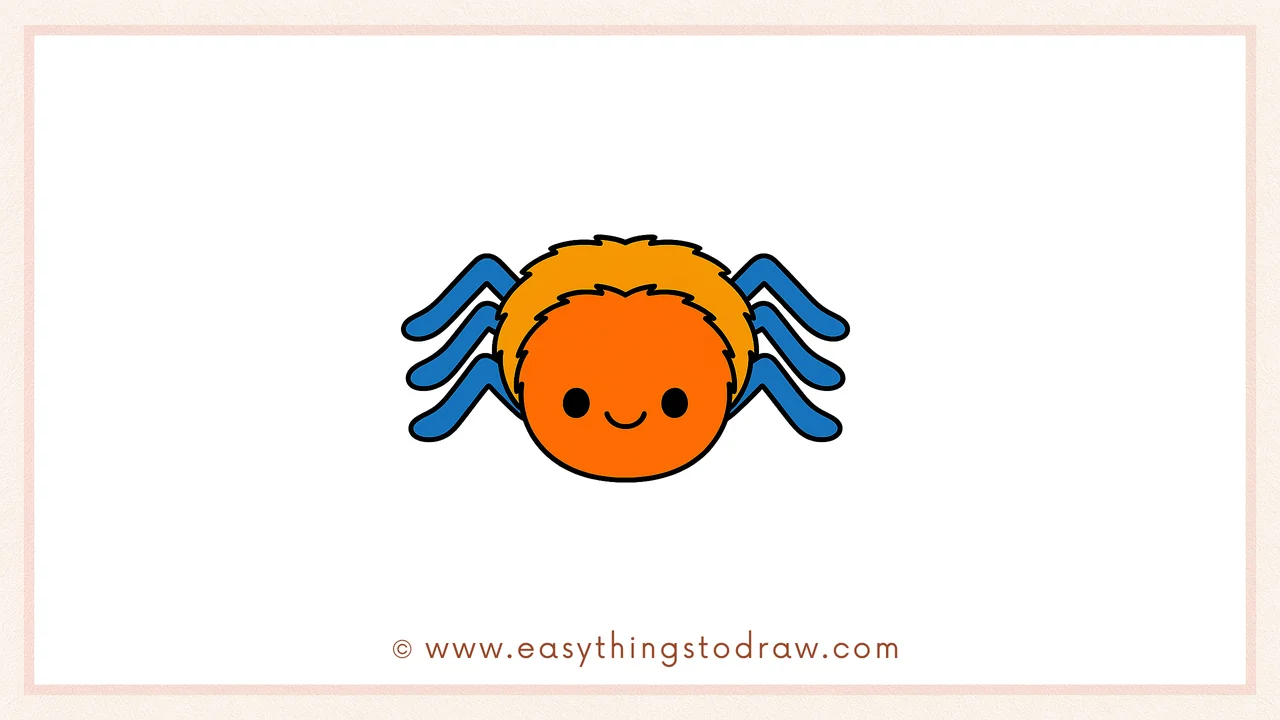
Ready to draw something spooky and adorable? This step-by-step tutorial will show you how to draw a cute cartoon spider that’s perfect for Halloween fun! With fuzzy legs and a sweet little smile, this spider is more charming than creepy. Designed for young artists and beginners, this easy spider drawing helps build confidence and creativity.
What You Need:
- A pencil
- An eraser
- A black marker (for outlining)
- Coloring tools (crayons, markers, or colored pencils)
- Drawing paper
Step by Step Spider Drawing Instructions
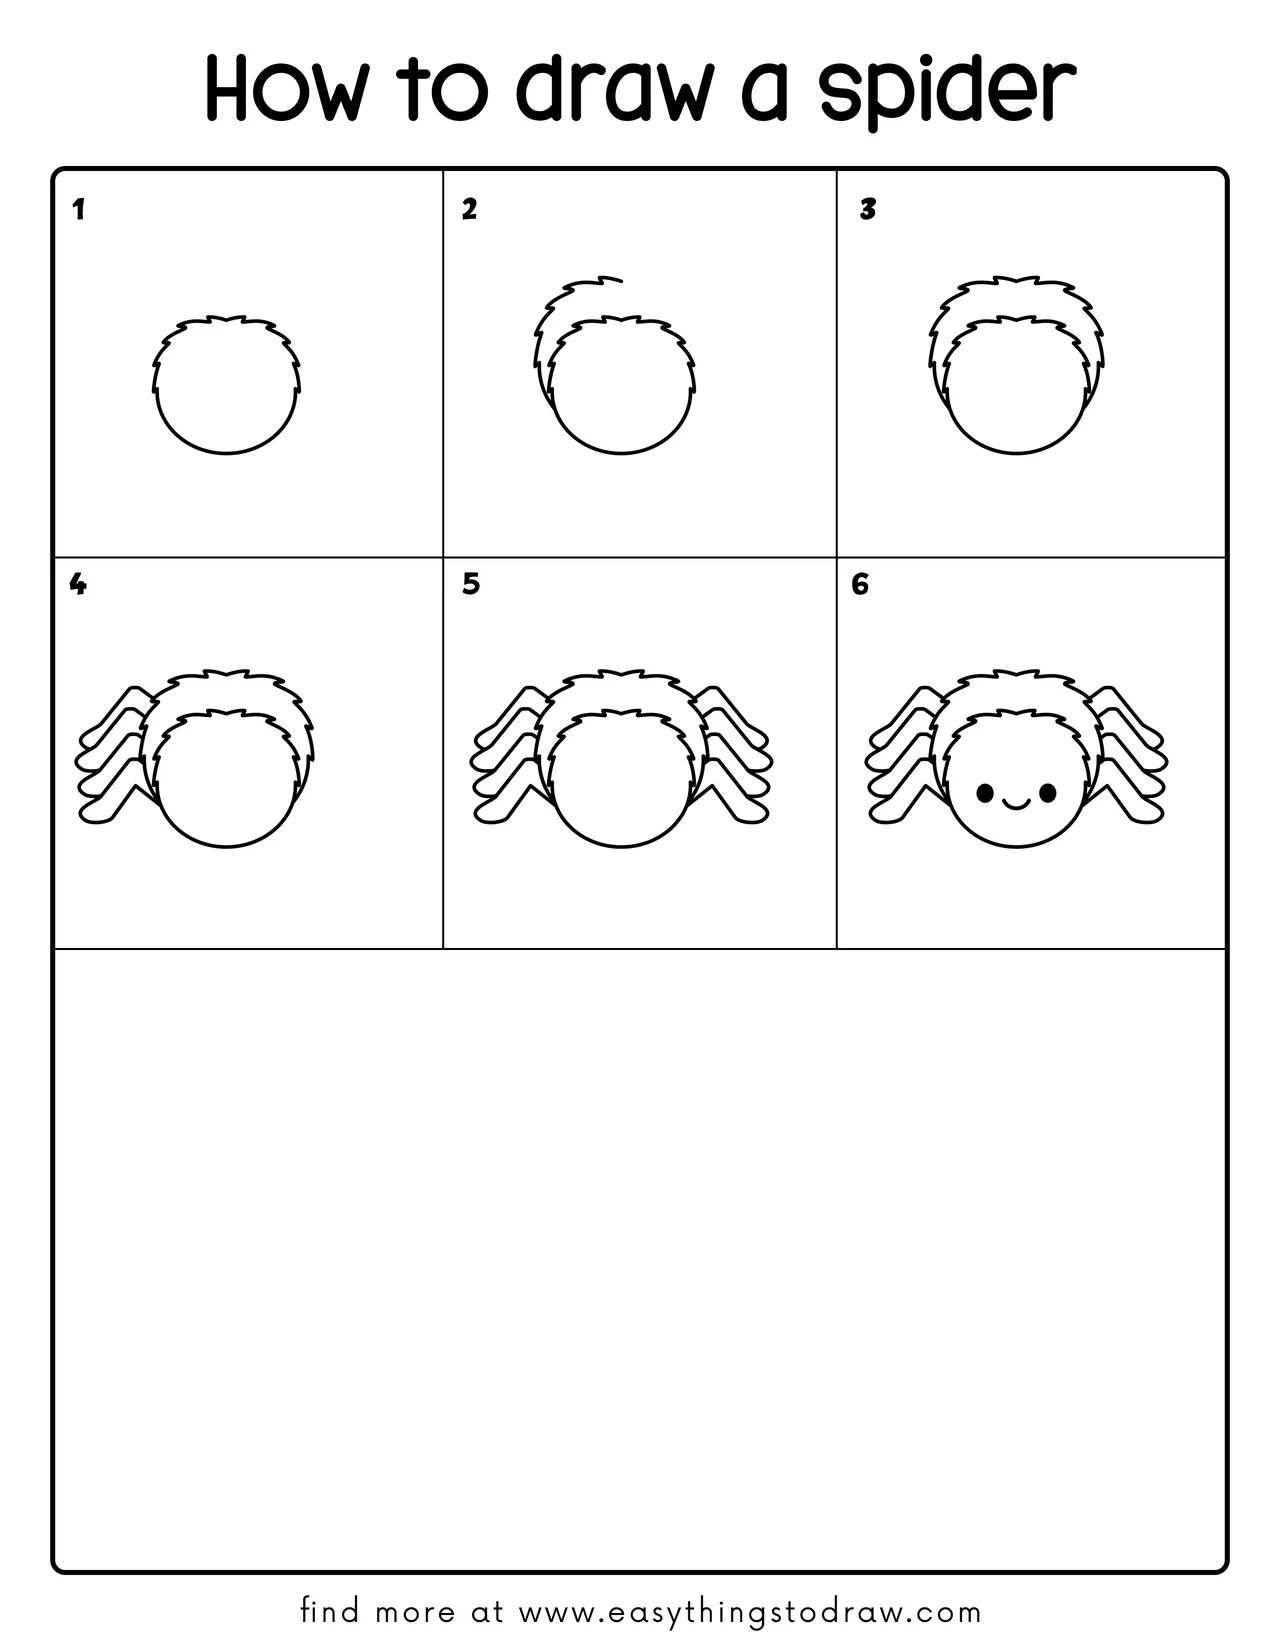
Step 1 – Draw a Round Spider Body
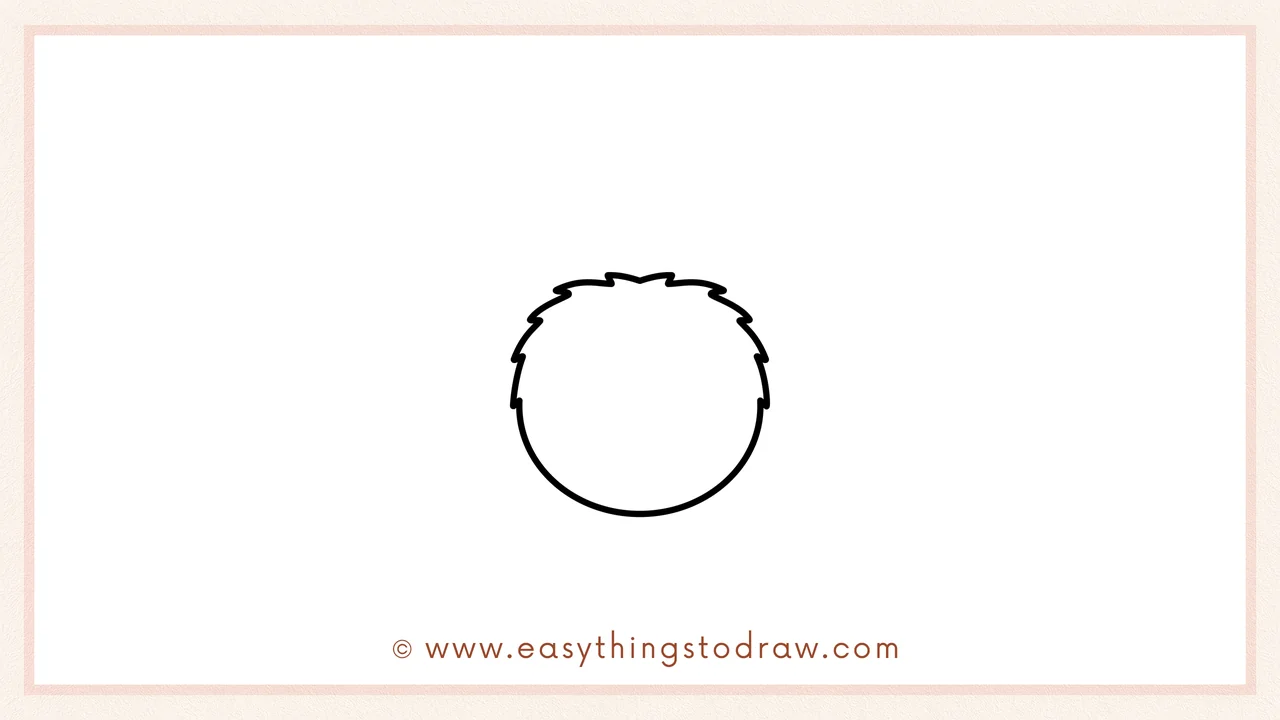
Start by drawing a nice big circle in the center of your page. This will be the main body of your fuzzy little spider.
Step 2 – Add Fuzzy Hair on the Left Side
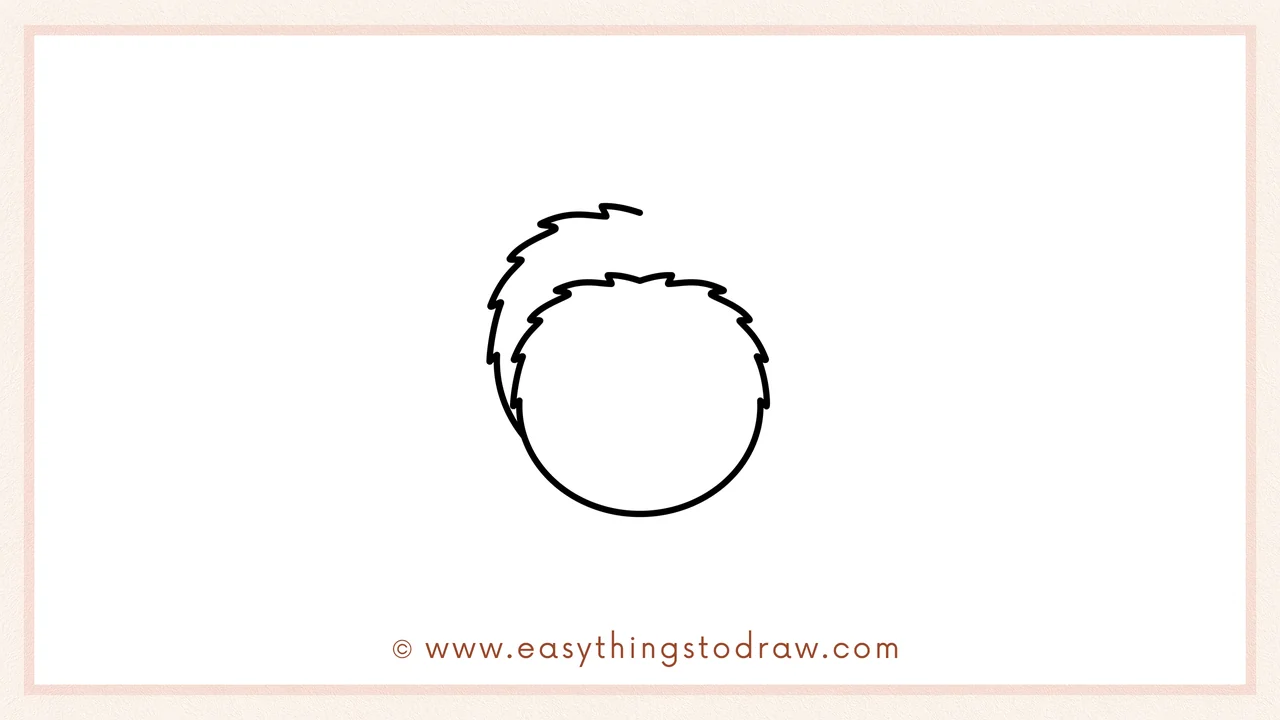
From the top left of the circle, draw small zigzag bumps downward along the left side. These bumpy lines make the spider look fluffy and fun!
Step 3 – Complete the Fuzzy Outline on the Right Side

Now finish the rest of the spider’s fluffy body by drawing matching zigzag lines on the right side of the circle. Make sure the shapes mirror the left side so your spider looks evenly round and cute.
Step 4 – Draw Four Left Legs

From the left side of the body, draw four bent legs. Each one should have two little angles, like an elbow. These spider legs should look soft and chunky!
Step 5 – Add Four Right Legs
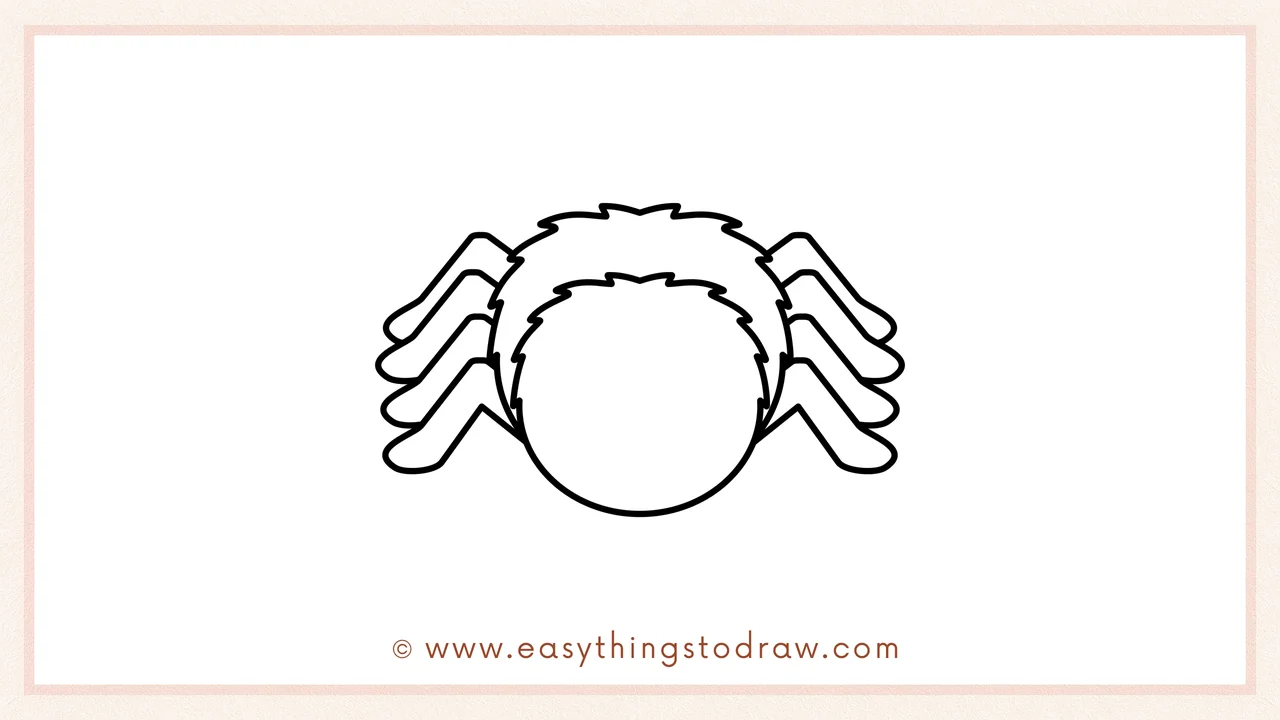
Now do the same on the right side—draw four more bent legs to match the ones on the left. Now your spider has eight wiggly legs ready to crawl!
Step 6 – Give It a Cute Face

Let’s make it adorable! Draw two black eyes near the bottom center and add a sweet smiling mouth underneath. This gives your spider a friendly and happy Halloween vibe.
Frequently Asked Questions (FAQ)
Can I make the spider look spooky instead of cute?
Of course! You can add fangs, angry eyes, or creepy patterns if you’d like a scarier look.
What colors work best for this spider?
Try Halloween colors like black, orange, purple, or green. You can even make it rainbow!
Is this tutorial good for Halloween activities?
Absolutely! It’s perfect for Halloween cards, decorations, or spooky classroom crafts.
What if my legs don’t match perfectly?
No worries—spiders are wiggly and unique! Uneven legs add charm and personality.
Printable Drawing Tutorials
Download Printable How to draw a spider Drawing Tutorials
You Did It!
You did it! Awesome job drawing your fuzzy Halloween spider! Want to make it extra cool? Add a little witch hat, a spider web behind it, or even draw a tiny candy bucket for trick-or-treating. Be proud of your art and share it with friends, or print this tutorial and draw it again in spooky new colors!
