Want to draw Santa’s magical gift bag, but don’t know where to start? You’re in the right place! In this simple, step-by-step tutorial, you’ll learn exactly how to draw a cute and chubby Santa’s bag — perfect for beginners and little artists.
This guide is perfect for:
- Young kids learning to draw fun Christmas objects 🎄
- Beginners who want to build confidence with easy shapes ✏️
- Parents and teachers creating holiday art projects 🎨
🎁 Why Learn From Us?
At Easy Things to Draw, we specialize in simple, step-by-step drawing lessons created by real artists and educators. With over a decade of experience teaching drawing to kids and beginners, our tutorials are designed to be fun, easy, and full of holiday cheer.
✅ What Makes This Santa Bag Drawing Tutorial Special?
– 🎄 Made for kids and beginners: No complex lines, just fun shapes
– 🧠 Builds drawing skills through repetition and easy curves
– 🖍️ Perfect for festive classroom or home crafts
– 🌟 Encourages imagination: Add your own decorations and faces!
🔒 Safe, Easy, and Classroom-Ready
All our content is family-friendly, printable, and reviewed for age-appropriateness. Whether in the classroom or at home, you can feel confident sharing this tutorial with young learners.
🎅 Ready to Draw Santa’s Bag?
Grab your paper and pencil — let’s draw a magical holiday bag step by step!
What You Need
- A pencil ✏️
- An eraser
- Black marker or pen for outlining 🖊️
- Crayons or colored pencils
- Drawing paper 📄
- A holiday spirit! 🎅
Step by Step Santa’s Bag Drawing Instructions
Step 1 – Draw the Top Opening
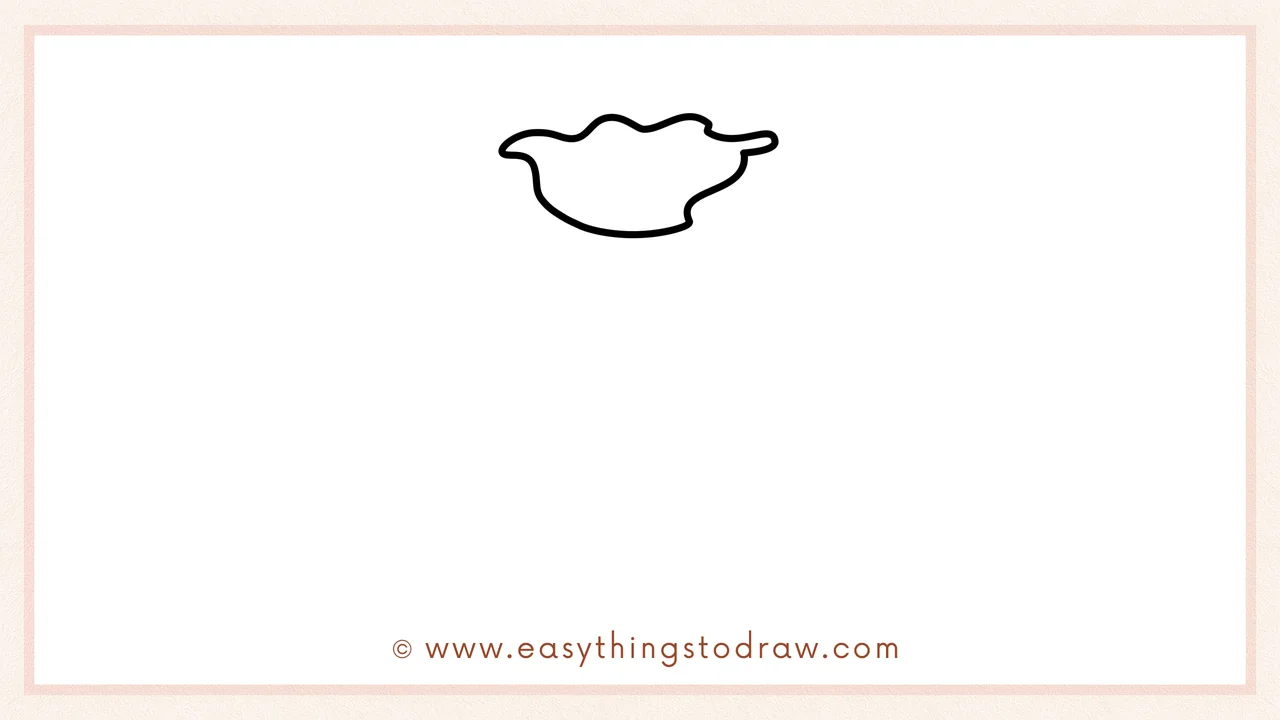
Start with a soft, wavy shape near the top of your page. Think of it like a ruffled edge or a squishy flower — this is the top opening of Santa’s bag.
Step 2 – Add the Inner Rim
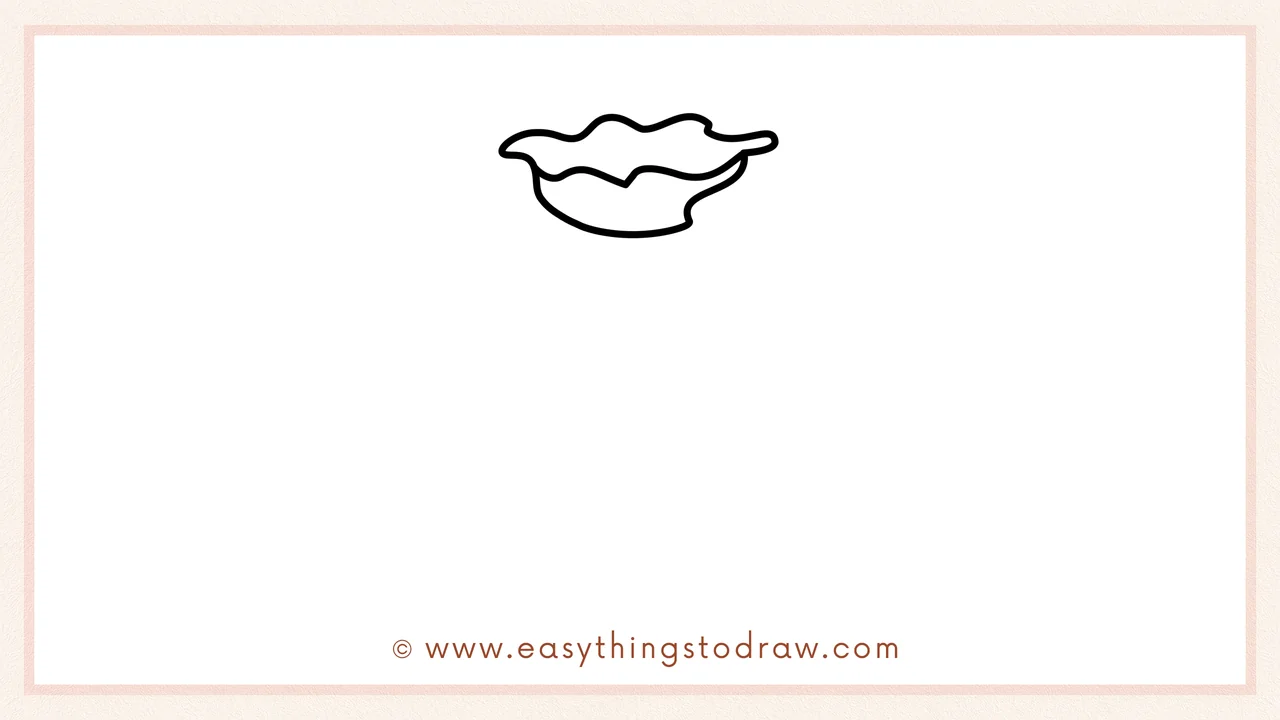
Draw another wavy shape right underneath the first. This creates the inside rim of the opening and adds a puffy, layered look.
Step 3 – Tie the Bag
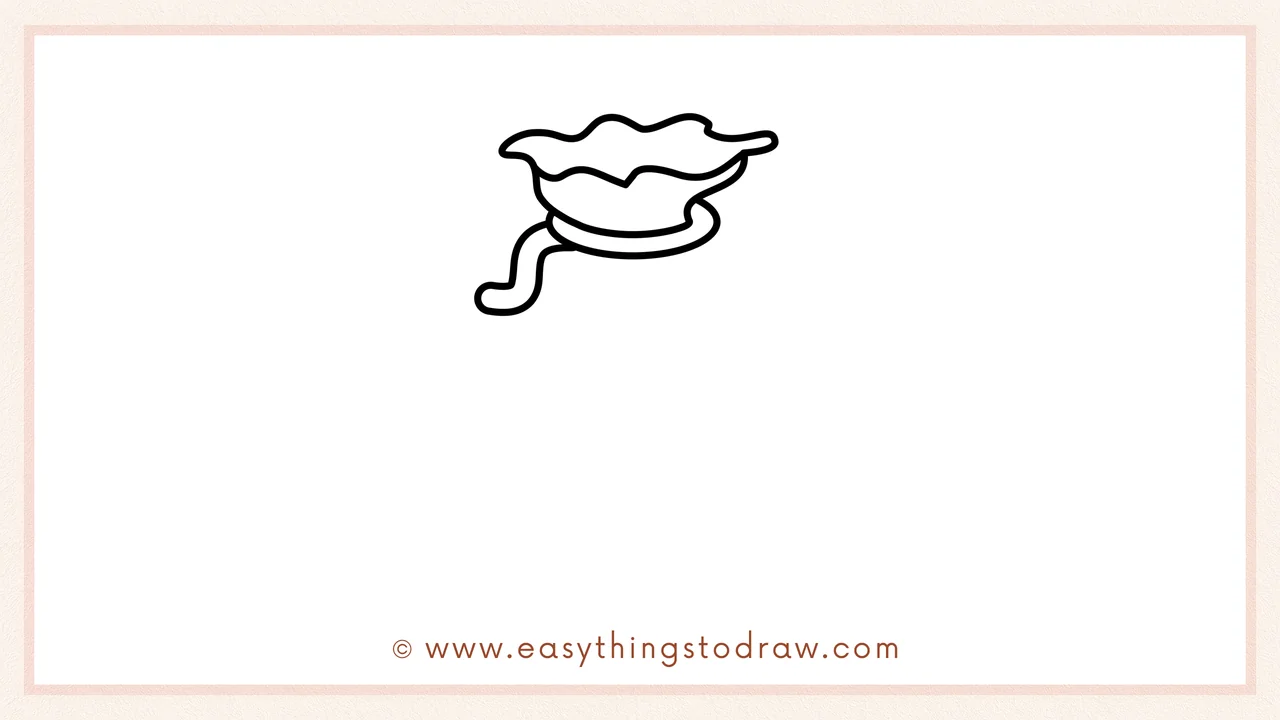
Under the opening, draw an oval to represent the tied part of the bag. Add a small, loose ribbon string curling to the side to make it look gently knotted.
Step 4 – Draw the Bag Body
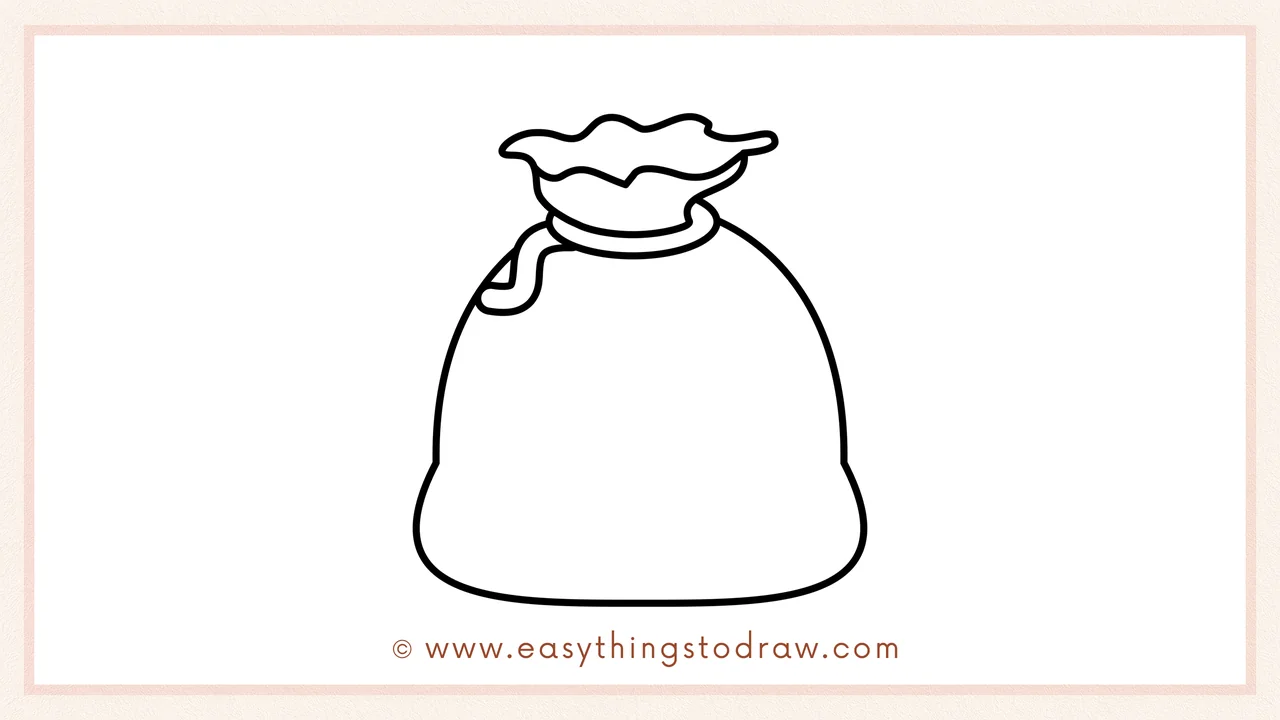
From beneath the knot, draw two big curving lines downwards, creating a round, stuffed shape that flattens slightly at the bottom. This gives your Santa bag a soft, filled-up appearance.
Step 5 – Add Wrinkles
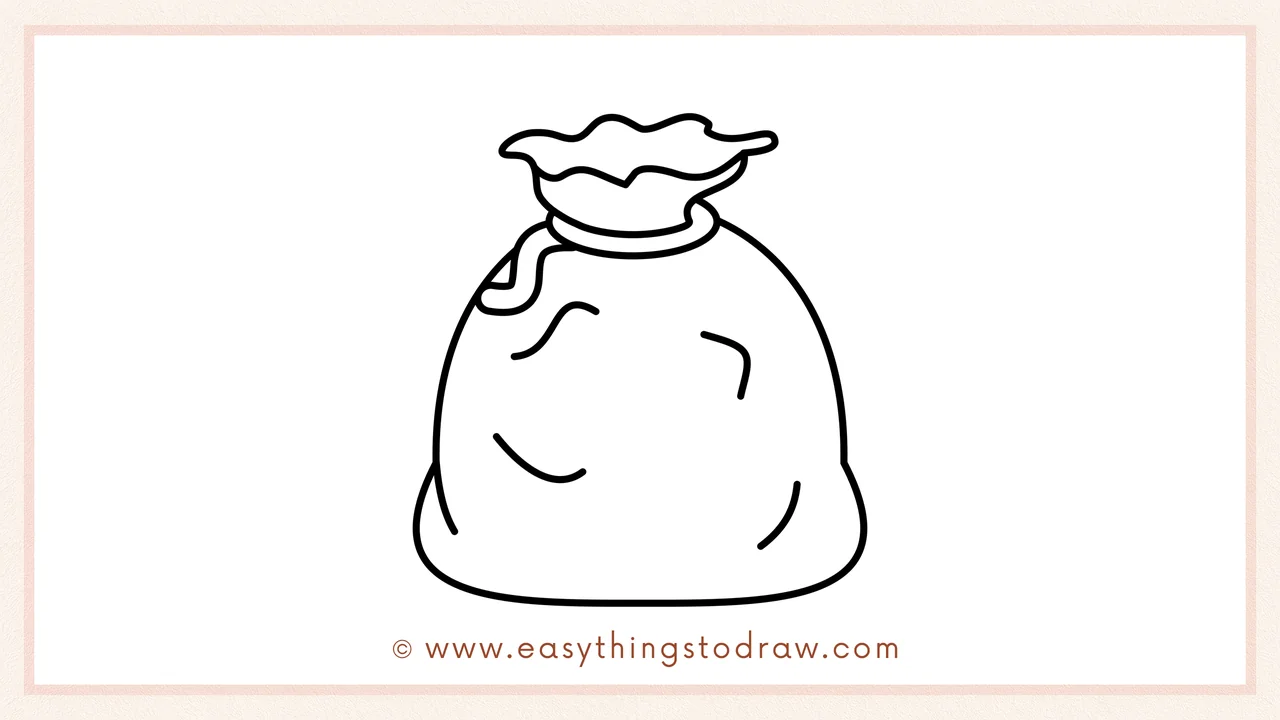
To make the bag look more realistic, sketch a few gentle curved lines around the body to show folds and soft fabric creases.
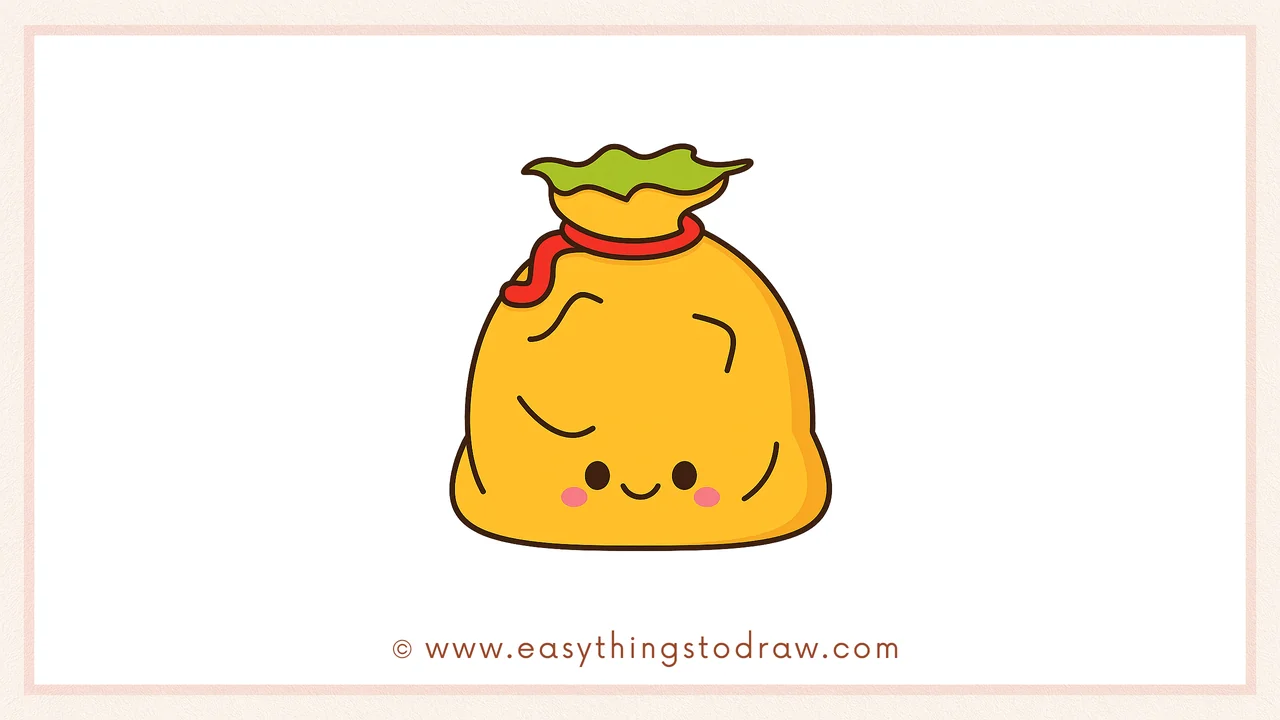
Step 6 – Give It a Face!
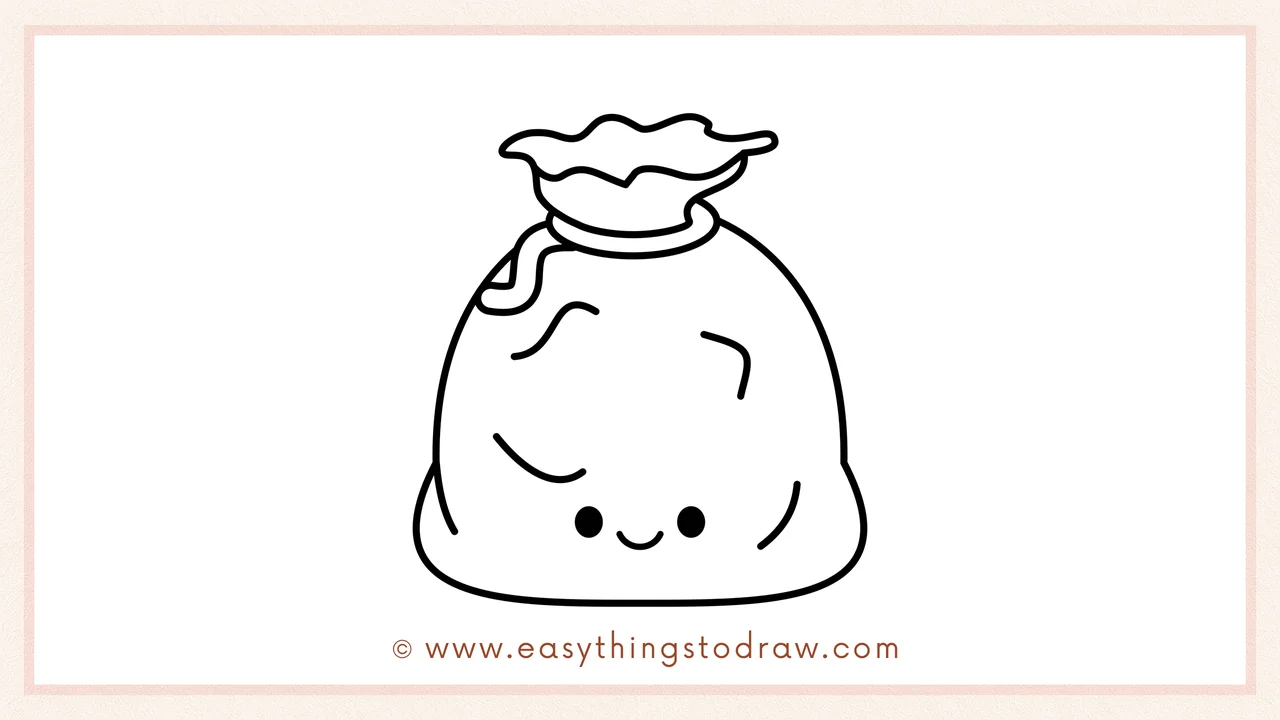
Want to make it extra cute? Add two small black ovals for eyes and a happy smile in the center. Now your Santa bag is ready to help deliver joy!
Frequently Asked Questions (FAQ)
What color should I use for the Santa bag?
Classic Santa bags are usually red or deep green, but feel free to use your favorite holiday colors like gold, blue, or even pink!
Can I add decorations to the bag?
Absolutely! Try drawing stars, snowflakes, gift tags, or even sparkles. You can make it uniquely yours.
Is this a good project for classrooms?
Yes! This drawing takes only a few steps and is great for holiday crafts, greeting cards, or bulletin boards.
What if I make a mistake?
That’s okay! Use your eraser and try again. Drawing is all about having fun and practicing.
Printable Drawing Tutorials
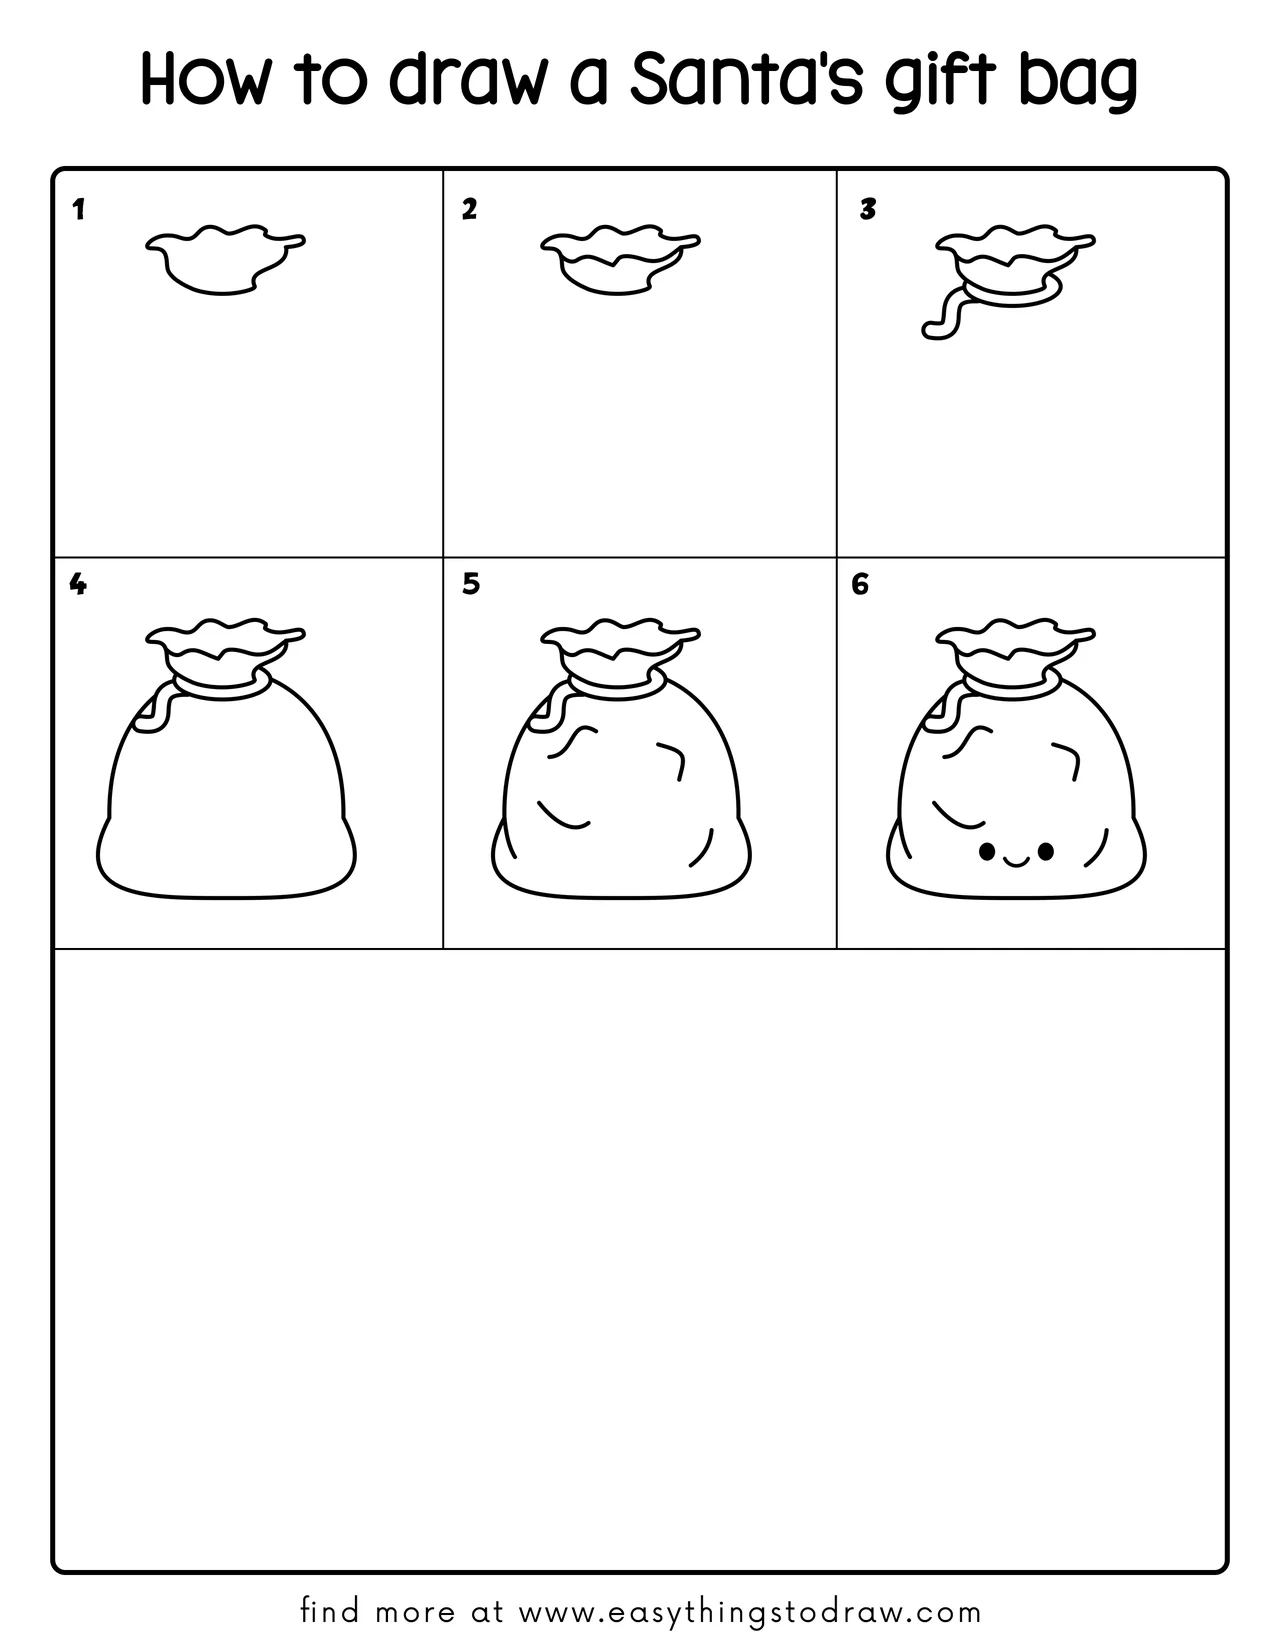
Download Printable How to draw a Santa’s gift bag Drawing Tutorials
You Did It!
Great job! You’ve just drawn an adorable Santa’s gift bag, perfect for Christmas decorations or holiday cards. Whether you gave it a face or added some festive patterns, your drawing is unique and magical.
👉 Want to keep the fun going? Explore more of our holiday-themed tutorials — from Santa himself to reindeer and snowmen, we’ve got all your seasonal favorites.
Happy Drawing and Merry Christmas! 🎁✨
