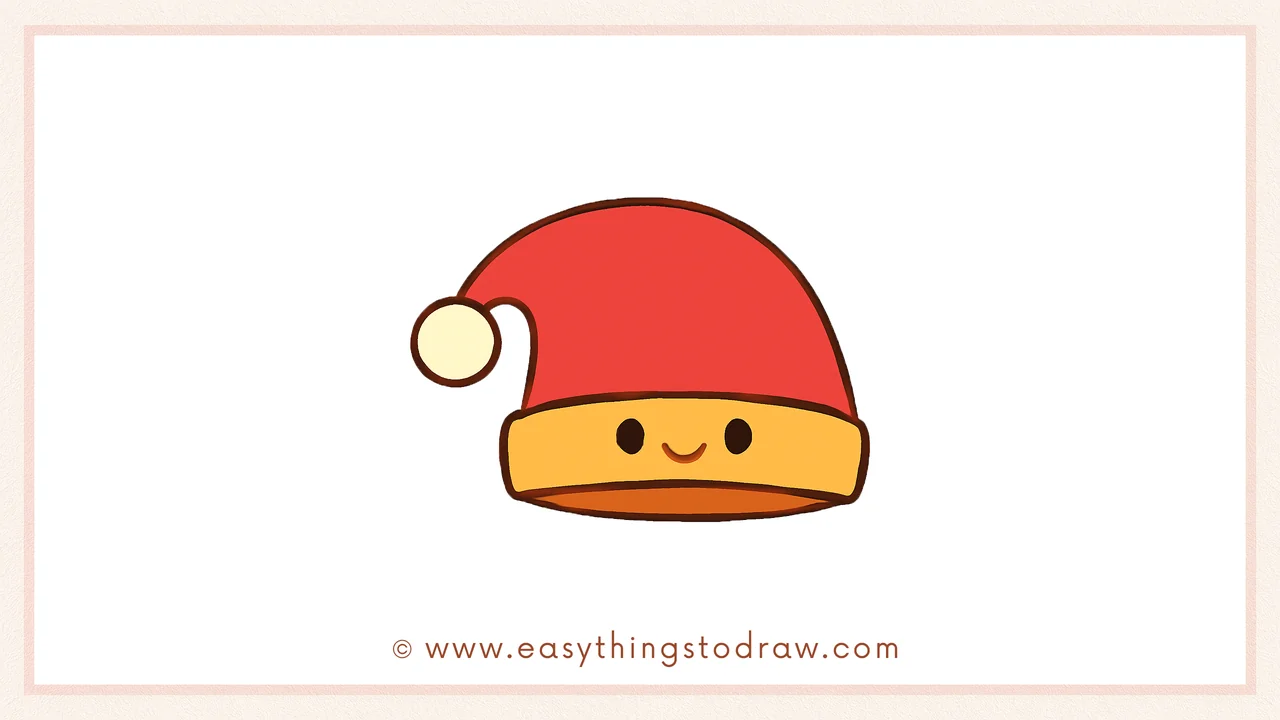
A Santa hat is one of the most recognizable symbols of Christmas! It’s warm, cozy, and perfect for celebrating the holiday season. In this step-by-step guide, kids and beginners can learn how to draw a simple and cute Santa hat with a fluffy pom-pom and a friendly smile.
This guide is perfect for:
– Kids who love Christmas and Santa Claus 🎅
– Beginners practicing curved lines and shapes ✏️
– Parents preparing holiday crafts 🎄
– Teachers planning festive classroom activities 👩🏫
🎨 Why Learn From Us?
At Easy Things to Draw, we design kid-friendly art lessons created by certified art educators with over 10 years of experience. Every lesson is easy to follow and encourages creativity.
✅ What Makes This Santa Hat Tutorial Special?
– 🎅 Simple Shapes: Uses curves and circles to create a classic Santa hat.
– ✨ Festive Design: Includes fluffy pom-pom and soft brim.
– 😄 Cute Expression: Adds a smile to make the hat extra fun.
– 🎨 Flexible Style: Customize with colors or extra details like sparkles.
🔒 Kid-Safe & Classroom-Ready
– 100% ad-free
– Printable and fun
– Suitable for kids and beginners
What You Need:
- A pencil
- An eraser
- A black marker (for outlining)
- Coloring tools (red, white, black)
- Drawing paper
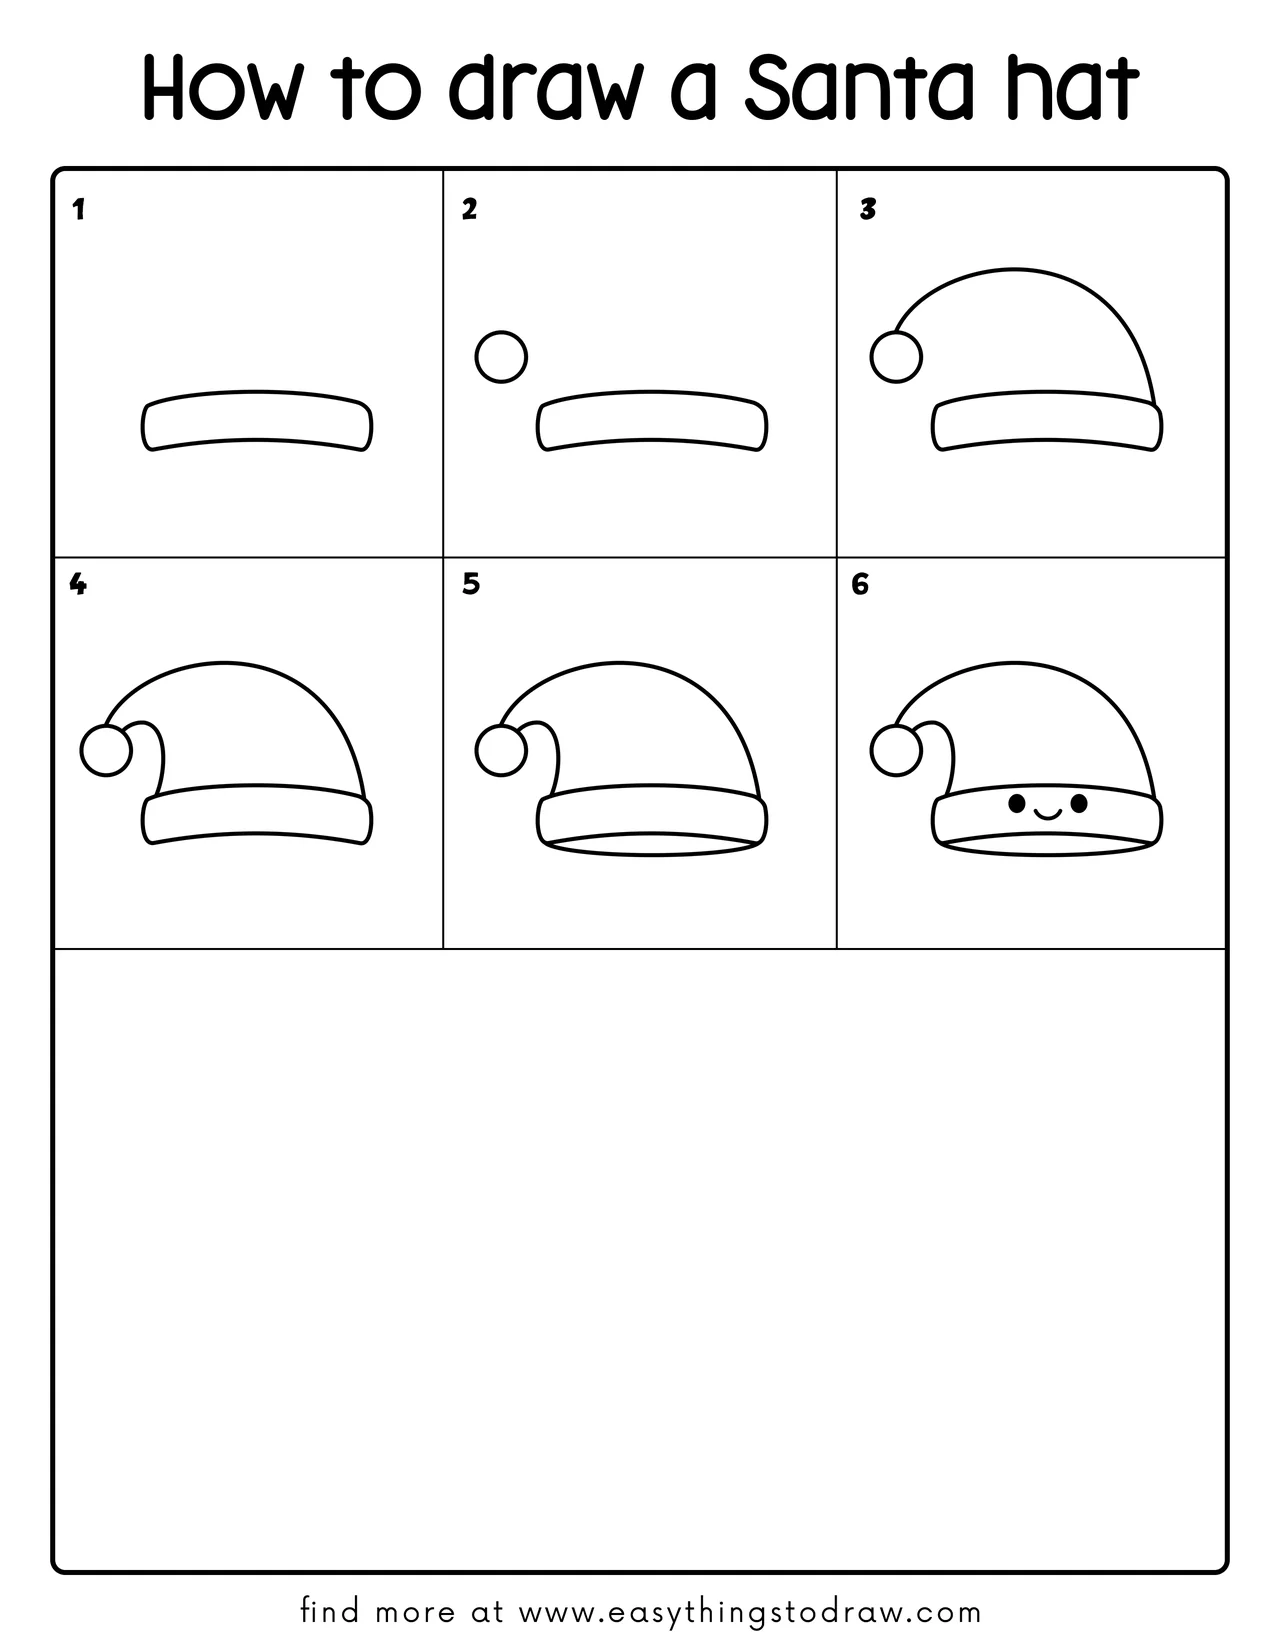
Step by Step Santa Hat Drawing Instructions
Step 1 – Draw the Hat’s Band
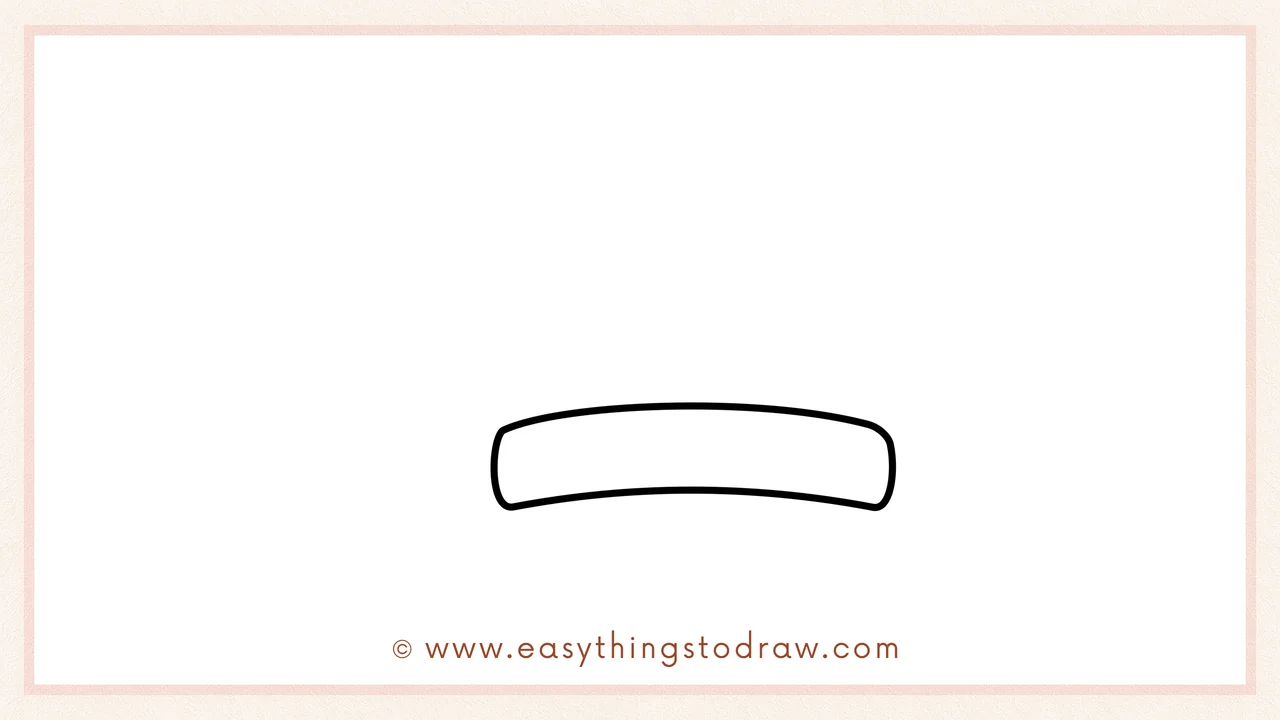
Start by drawing a small rectangular band that will form the base of the Santa hat.
Step 2 – Add the Pom-Pom
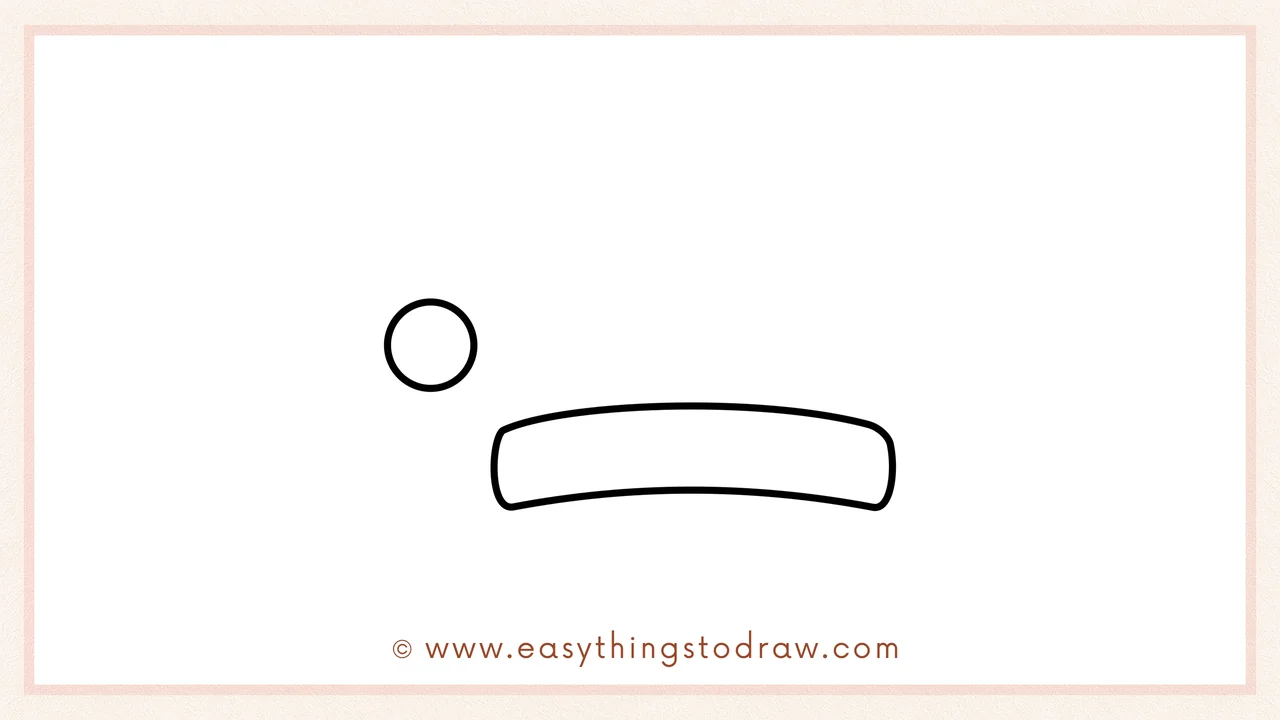
At the top center of the band, draw a small circle to represent the fluffy pom-pom.
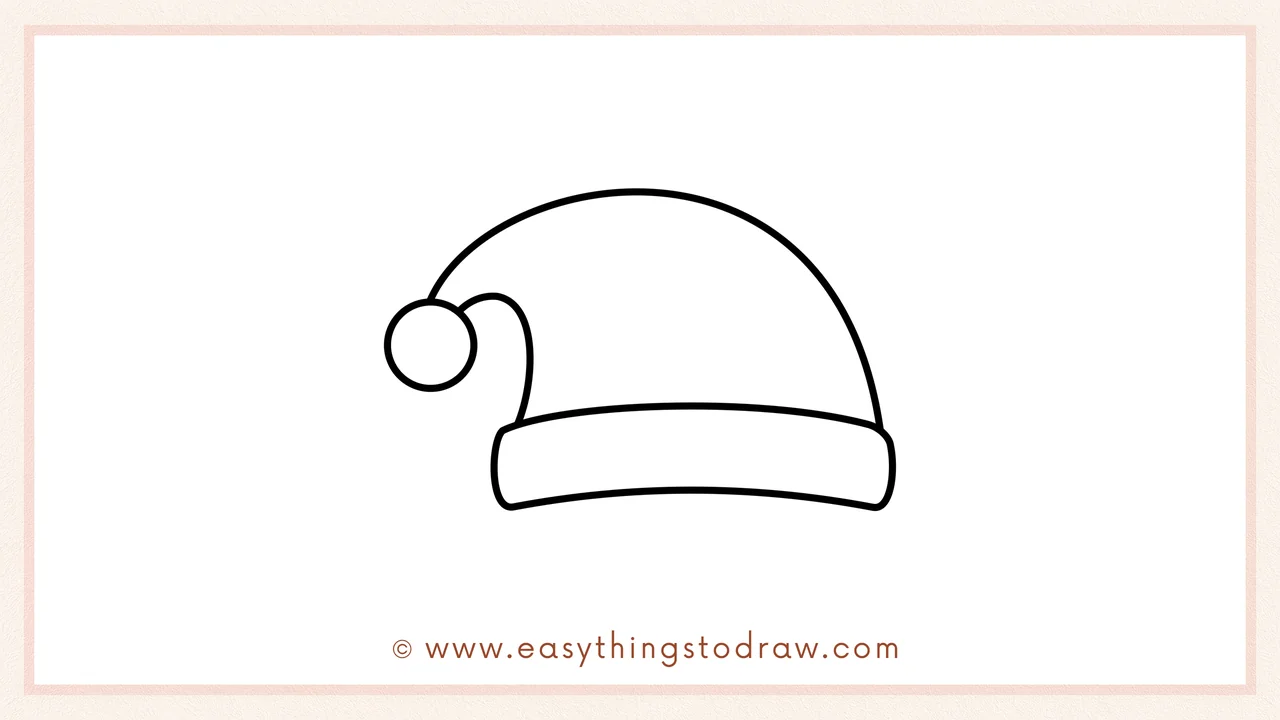
Step 3 – Draw the Hat’s Curve
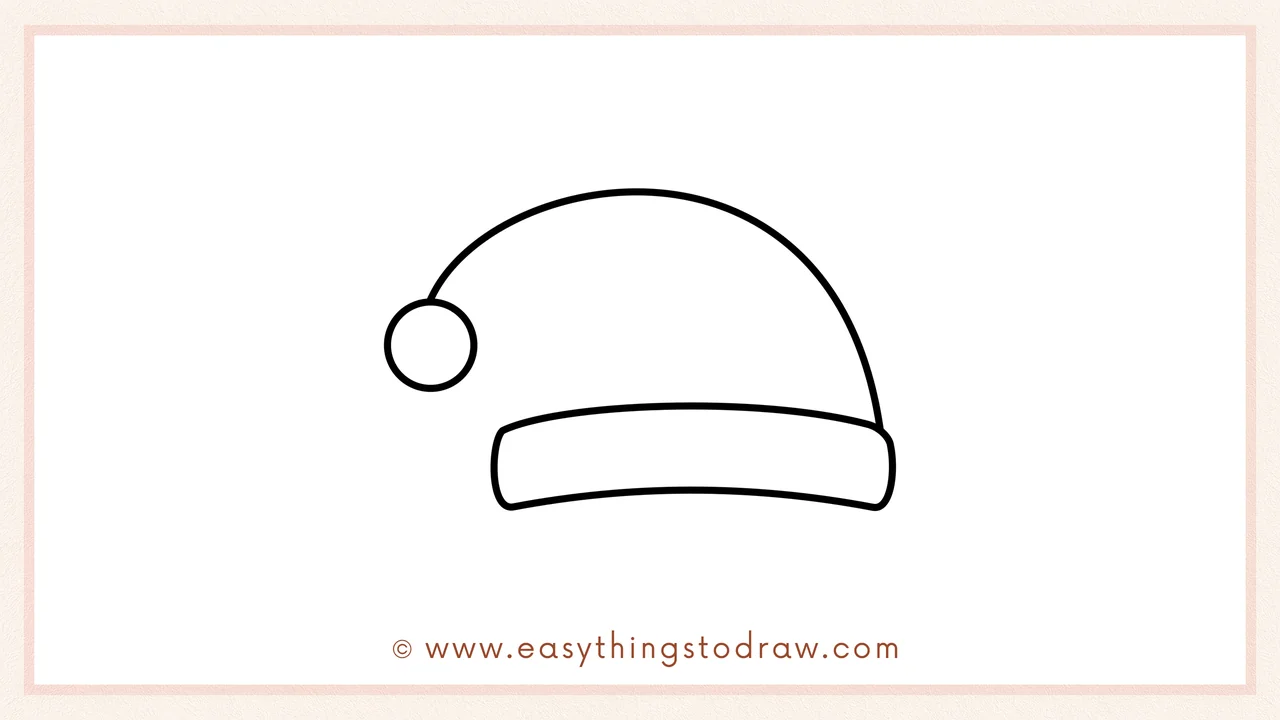
Above the band, draw a large curved line that extends upwards and over the pom-pom. This forms the main body of the hat.
Step 4 – Add the Wavy Brim
Draw a wavy line along the bottom edge of the hat to create the fluffy brim.
Step 5 – Add the Hat’s Final Details

Go over the curve and brim to add thickness and smooth out the shape of the hat. Add a fluffy look around the pom-pom with curved lines.
Step 6 – Add a Cute Face (Optional)
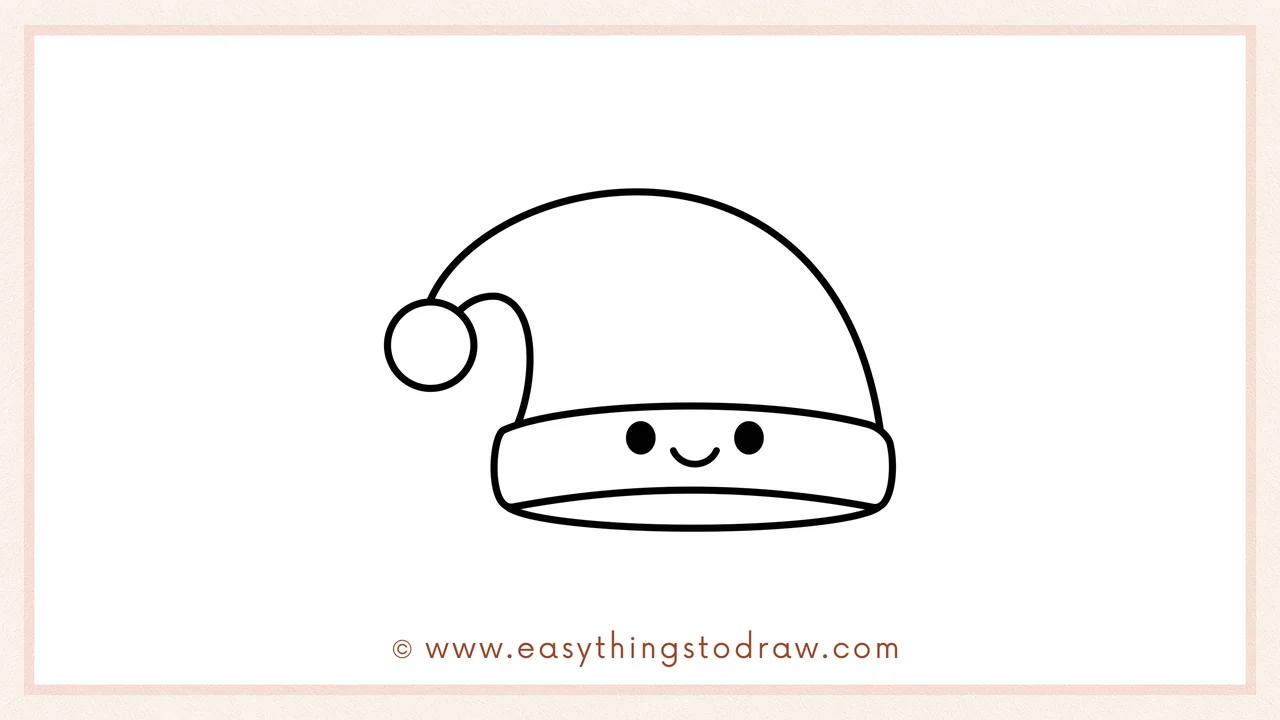
For extra cuteness, add two small eyes and a smiling mouth on the band of the hat to give it a friendly, happy expression.
Frequently Asked Questions (FAQ)
Can I color the Santa hat?
Yes! Use red for the hat and white for the fluffy brim and pom-pom.
Can I make a different type of hat?
Of course! You can add a scarf or change the shape of the pom-pom.
What if my lines aren’t perfect?
That’s okay! The more personal your drawing, the better it looks.
Is this tutorial good for beginners?
Yes! It uses simple shapes and is easy to follow step-by-step.
Printable Drawing Tutorials
Download Printable How to draw a Santa hat Drawing Tutorials
You Did It!
Great job! You’ve just drawn a cute Santa hat. Now you can color it, add extra decorations like glitter or snowflakes, and place it on your Christmas cards or posters. 🎅✨🎄
