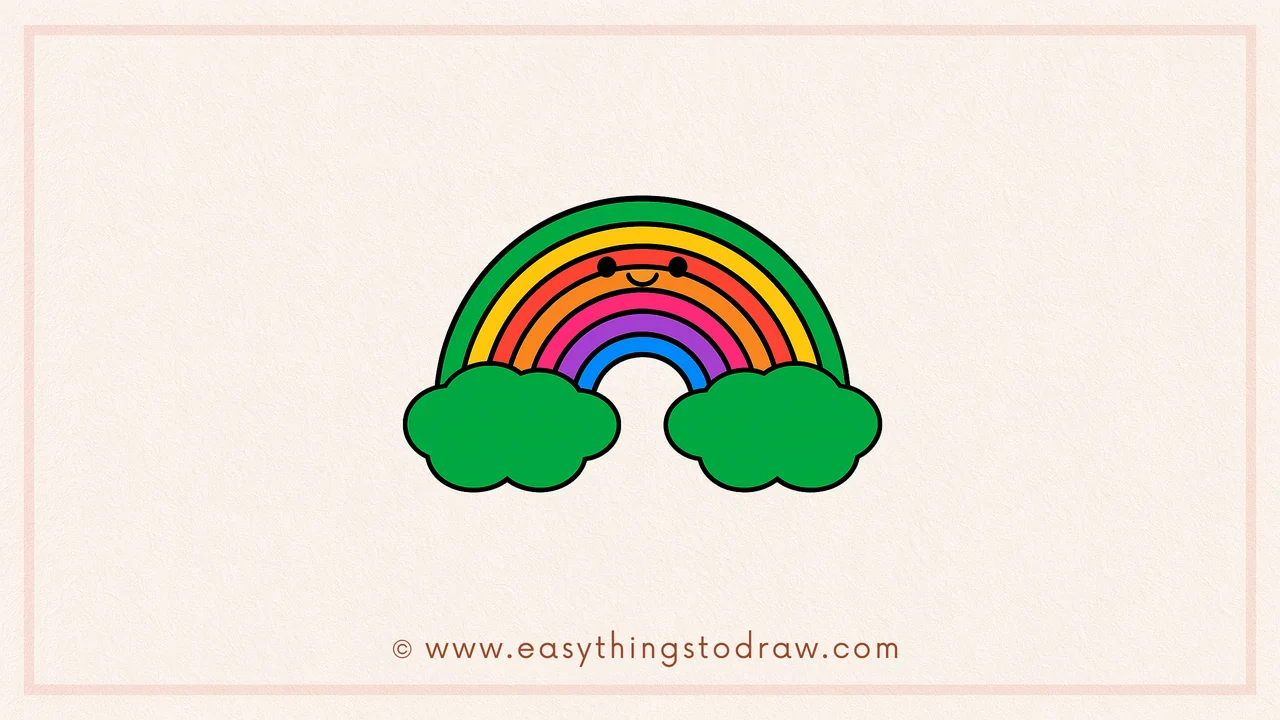
Rainbows are colorful, magical, and super fun to draw! In this cheerful drawing tutorial, you’ll learn how to sketch a happy cartoon rainbow resting on soft, puffy clouds — perfect for St. Patrick’s Day, weather lessons, or just adding color to your day.
This guide is perfect for:
- Young kids learning shapes and arcs 🌈
- Beginners exploring cheerful themes ✨
- Parents and teachers doing weather or holiday crafts 🎨
👩🎨 Why Learn From Us?
At Easy Things to Draw, we specialize in step-by-step drawing lessons designed specifically for children, beginners, and visual learners. Our art tutorials are crafted by real artists and educators with years of experience teaching drawing in classrooms, online, and at community art workshops.
With over 10 years of experience in beginner art education, our team knows how to simplify complex subjects into fun and rewarding creative steps — so you or your child can draw confidently, one line at a time.
✅ What Makes This Rainbow Tutorial Special?
– 🌈 Arc-based design: Made with simple curves and cloud shapes
– 😊 Kawaii touch: Add a smiling face to make it extra cute
– 🧑🏫 Reviewed by teachers: Clear, fun, and perfect for little hands
– 💡 Room to personalize: Add stars, glitter, or even a pot of gold!
🔒 Safe, Reliable, and Classroom-Ready
We care about child-friendly content. Our tutorials include:
– Ad-free printable steps
– Easy-to-follow instructions
– No confusing or mature details
☁️ Let’s Get Drawing!
Grab your pencil, and we’ll guide you from fluffy clouds to a full, smiling rainbow in just six simple steps.
What You Need:
- A pencil
- An eraser
- A black marker (for outlining)
- Coloring tools (crayons, markers, or colored pencils)
- Drawing paper
Step by Step Rainbow Drawing Instructions
Step 1 – Draw a Puffy Cloud
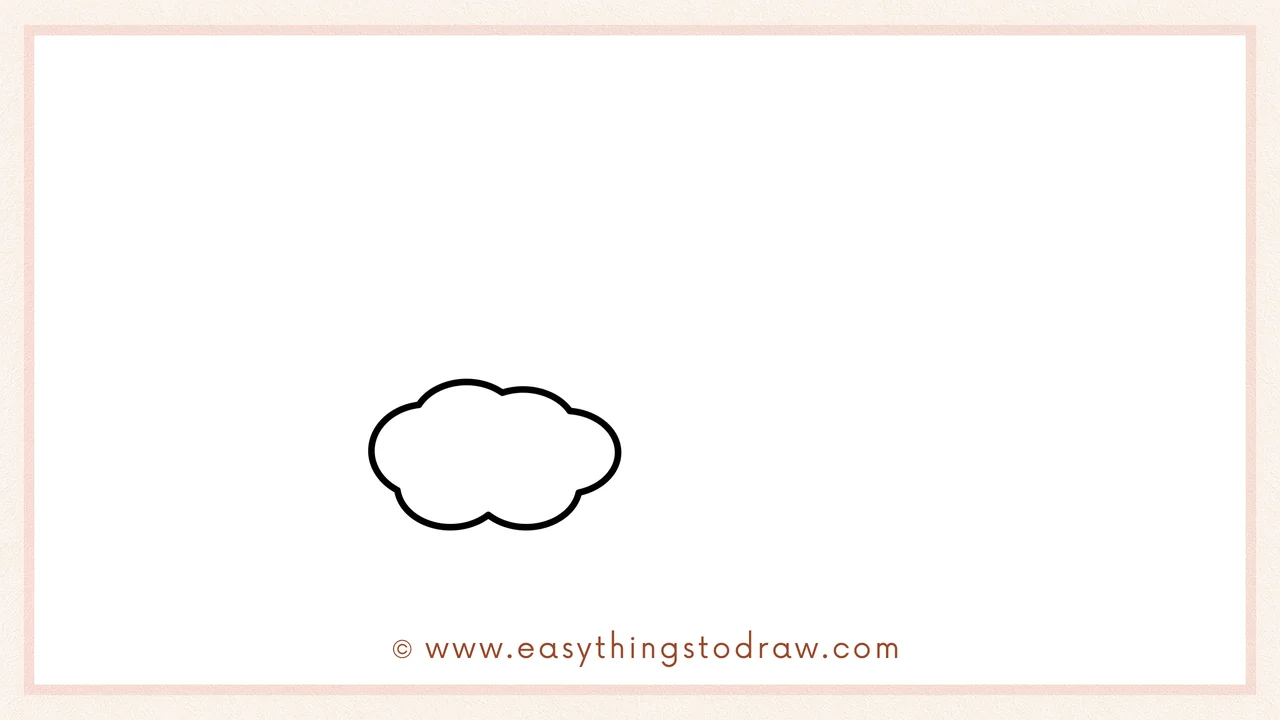
Begin by drawing one fluffy cloud near the left side of your paper. Use small bumpy curves to make it look soft and cartoon-like.
Step 2 – Add a Second Cloud
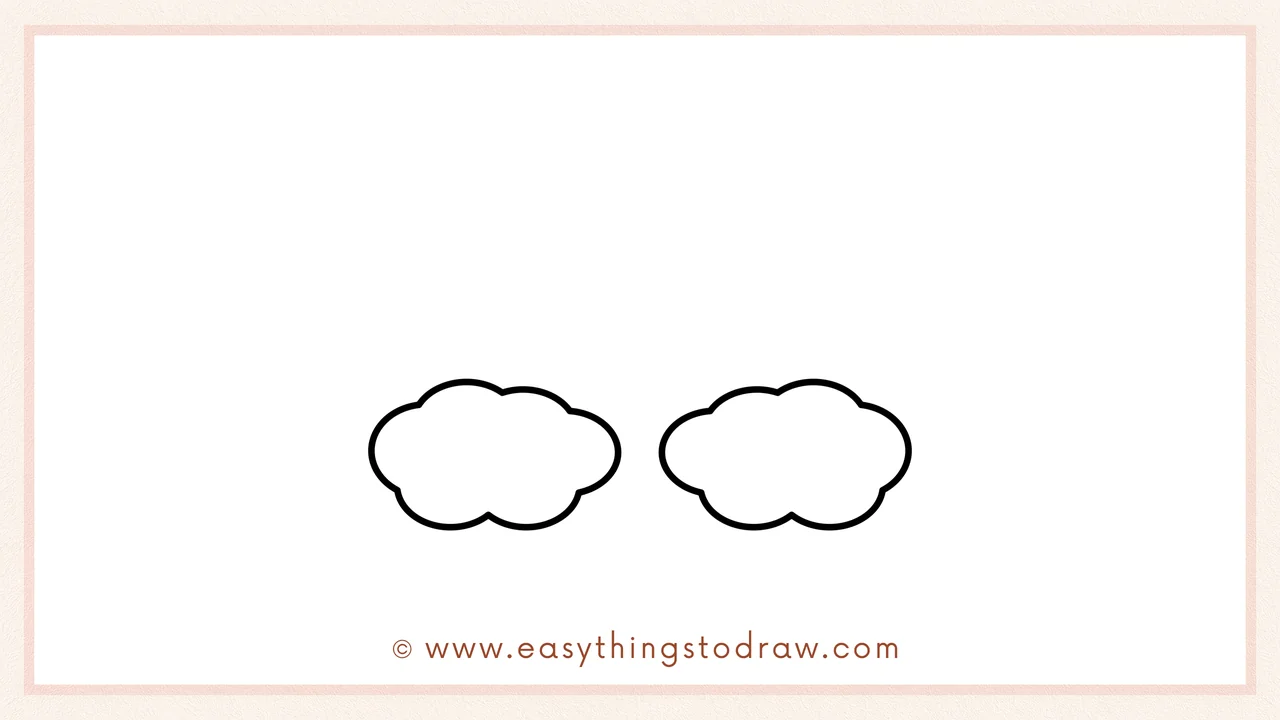
Now draw another cloud next to it on the right. Make sure it’s about the same size and just as puffy!
Step 3 – Draw the Rainbow Arc
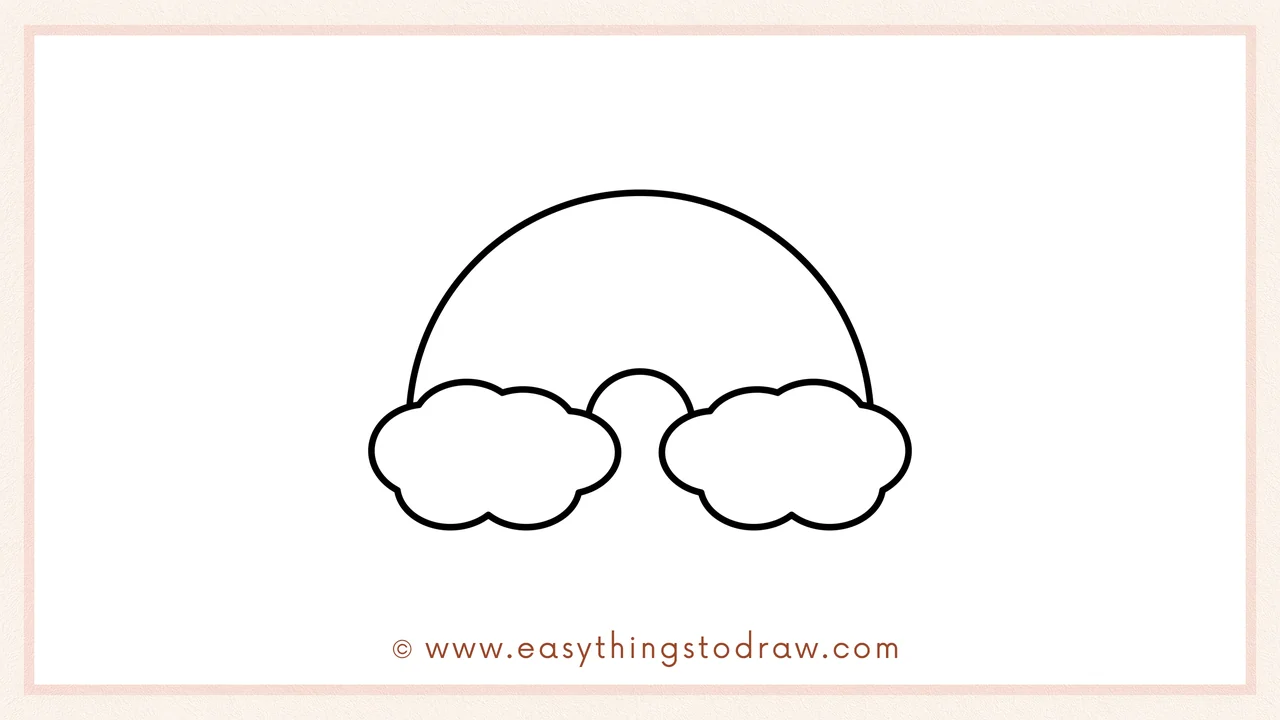
Above the clouds, draw a big semicircle stretching from one cloud to the other. This will be the outer curve of your rainbow.
Step 4 – Add More Rainbow Stripes
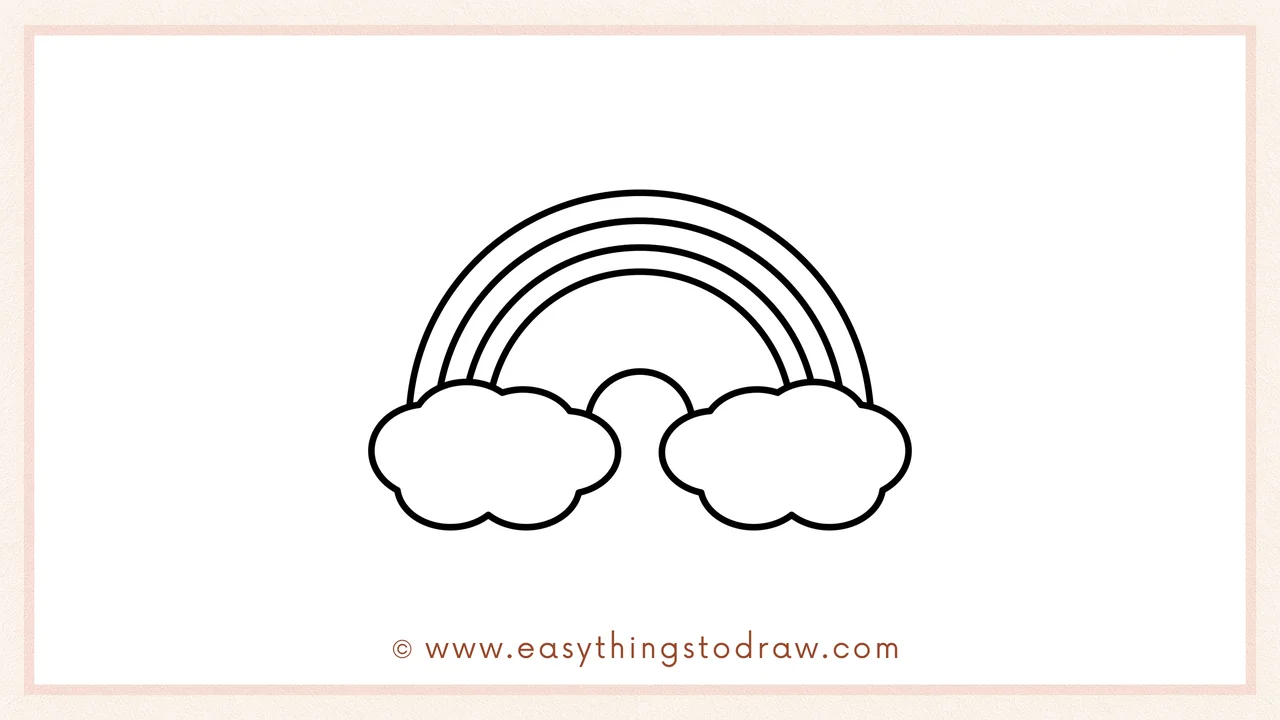
Inside the big arc, draw more and more curved lines — each smaller than the last — to create the rainbow layers. Try to space them evenly.
Step 5 – Complete the Rainbow Layers
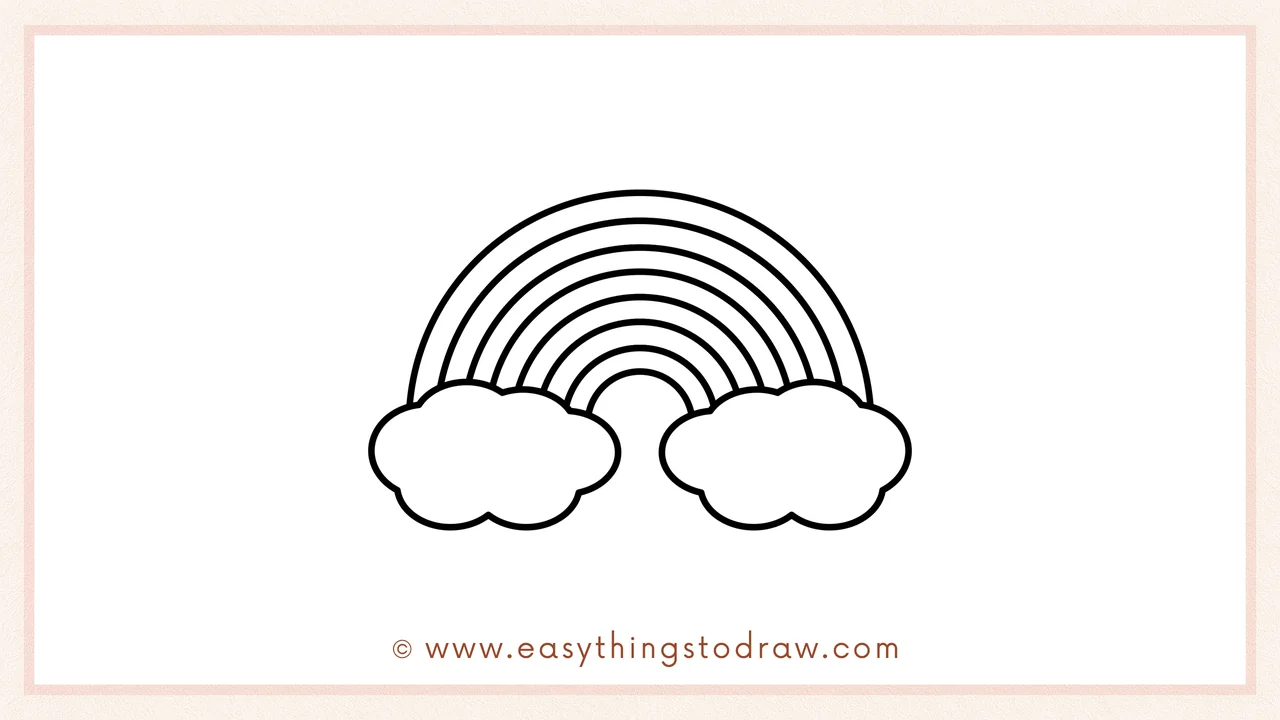
Add enough curves to make a full rainbow — usually six or seven lines look great! Your rainbow is almost ready to shine.
Step 6 – Add a Happy Face
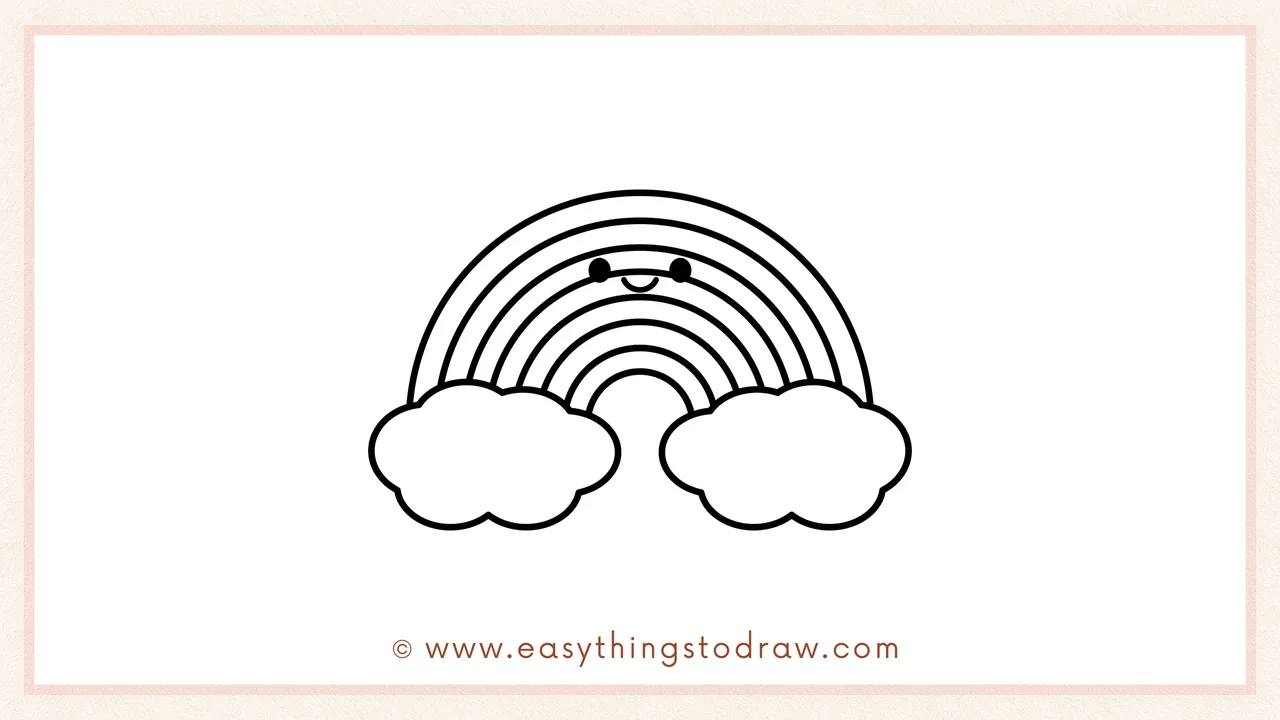
Finally, make your rainbow extra cheerful by drawing two dot eyes and a tiny smiling mouth in the middle arc. Now it’s a happy rainbow!
Frequently Asked Questions (FAQ)
What colors should I use for the rainbow?
Traditional rainbows follow ROYGBIV: red, orange, yellow, green, blue, indigo, violet — but you can use any colors you love!
Can I draw something at the end of the rainbow?
Yes! Try adding a pot of gold, a unicorn, or sparkles. It’s a fun way to make your rainbow part of a full scene.
Is this drawing good for classroom use?
Definitely. It’s simple, seasonal, and works great for lessons about weather, colors, or St. Patrick’s Day.
What if I mess up a curve?
No worries! Just erase and try again — every rainbow is a little different, and yours will be uniquely awesome.
Printable Drawing Tutorials

Download Printable How to draw a rainbow Drawing Tutorials
You Did It!
Fantastic job! Your smiling rainbow looks magical and full of cheer! 🌈
Now you can color each stripe in your favorite shades — red, orange, yellow, green, blue, indigo, violet — or go wild with pastel or neon. Add sparkles, stars, or even a pot of gold at the end. Show off your art, and don’t forget to print and color again anytime!
