Who’s ready to draw a delicious dessert? In this sweet tutorial, you’ll learn how to draw a cute and festive cartoon pumpkin pie with whipped cream on top — just like a real Thanksgiving treat! This easy pie drawing is perfect for kids, beginners, and anyone who loves cozy fall art. Grab your pencil and let’s slice into the fun!
What You Need:
- A pencil
- An eraser
- A black marker (for outlining)
- Coloring tools (crayons, markers, or colored pencils)
- Drawing paper
Step by Step Pumpkin Pie Drawing Instructions
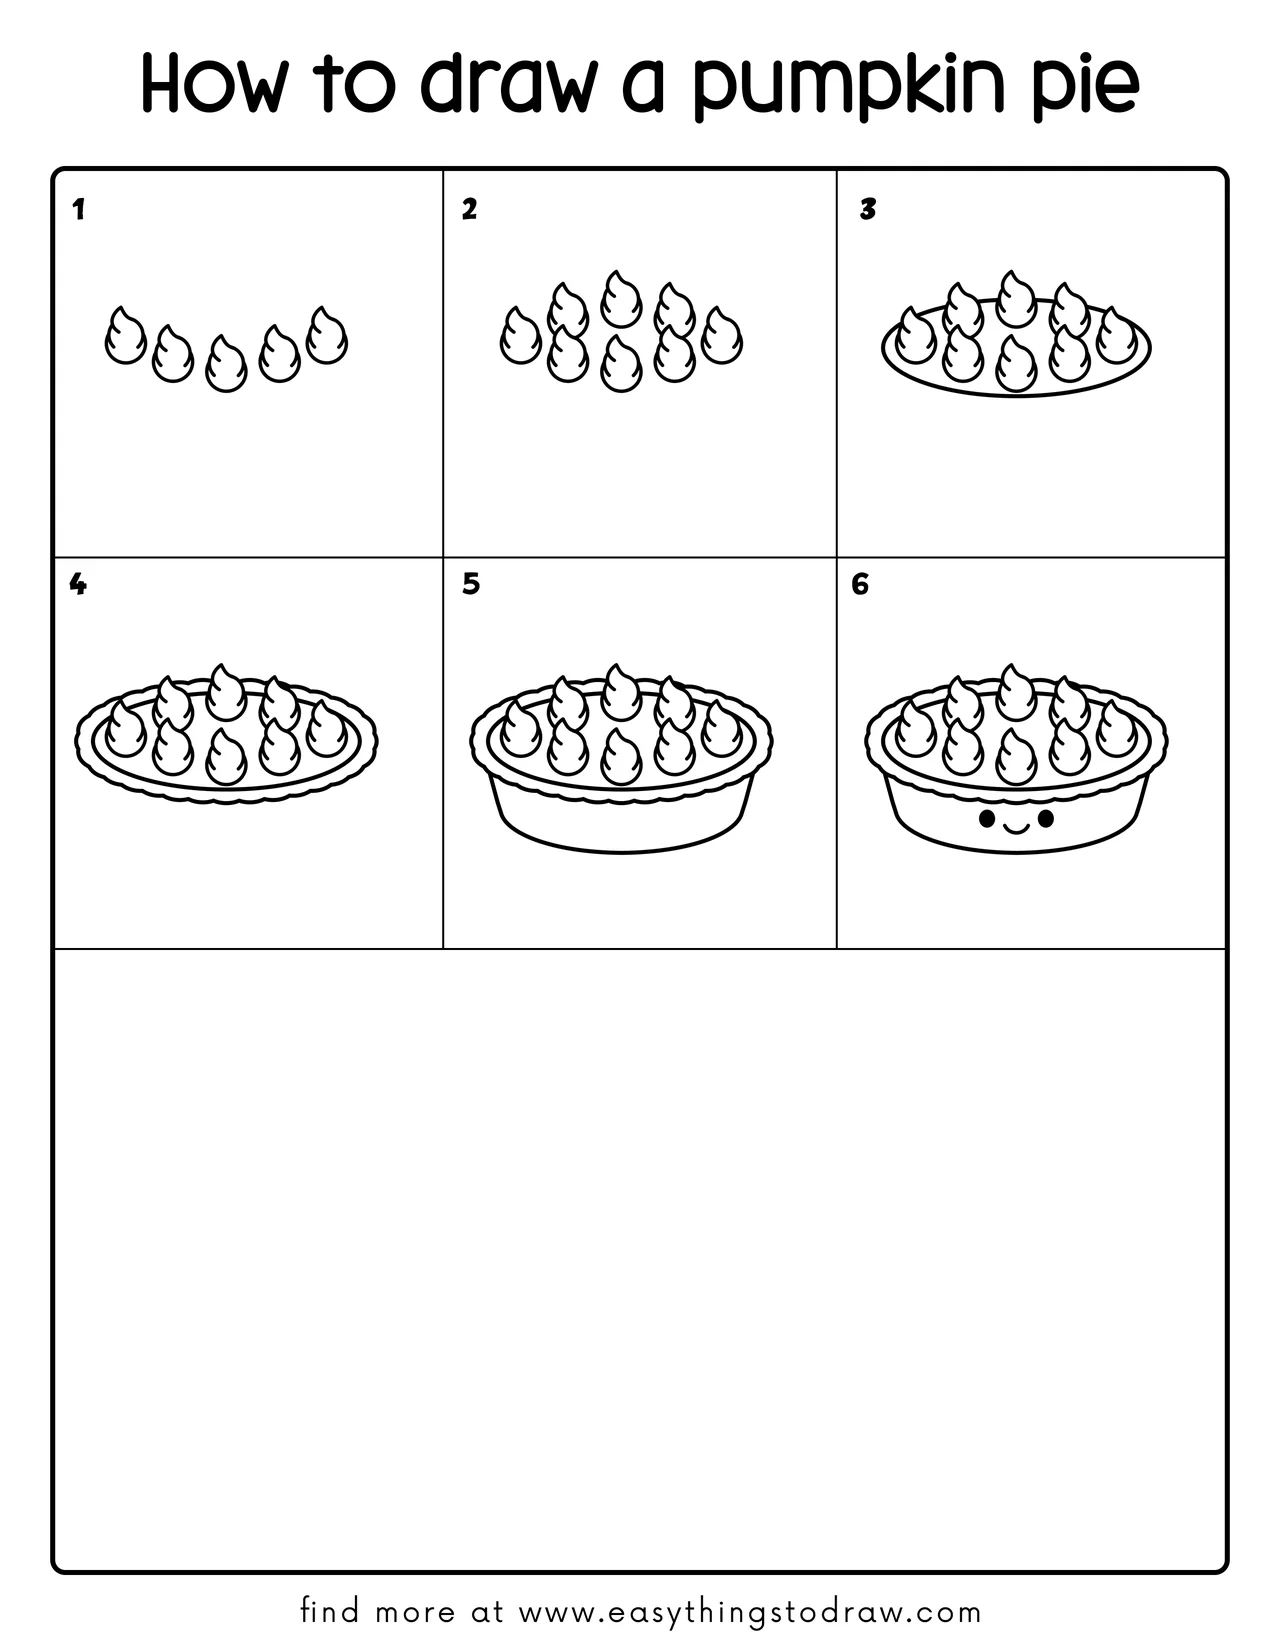
Step 1 – Start with Whipped Cream Swirls
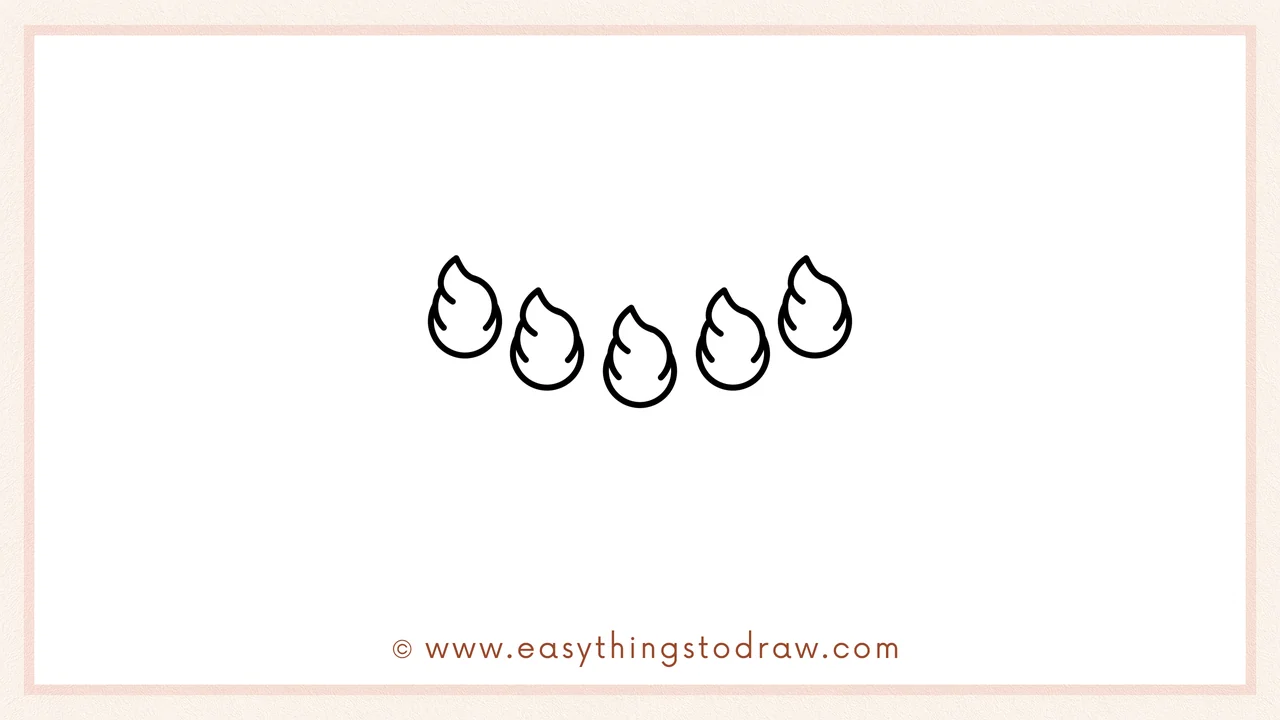
Draw five small whipped cream swirls in a curved line across the middle of your page. Each one looks like a soft, puffy flame or teardrop shape.
Step 2 – Add More Whipped Cream
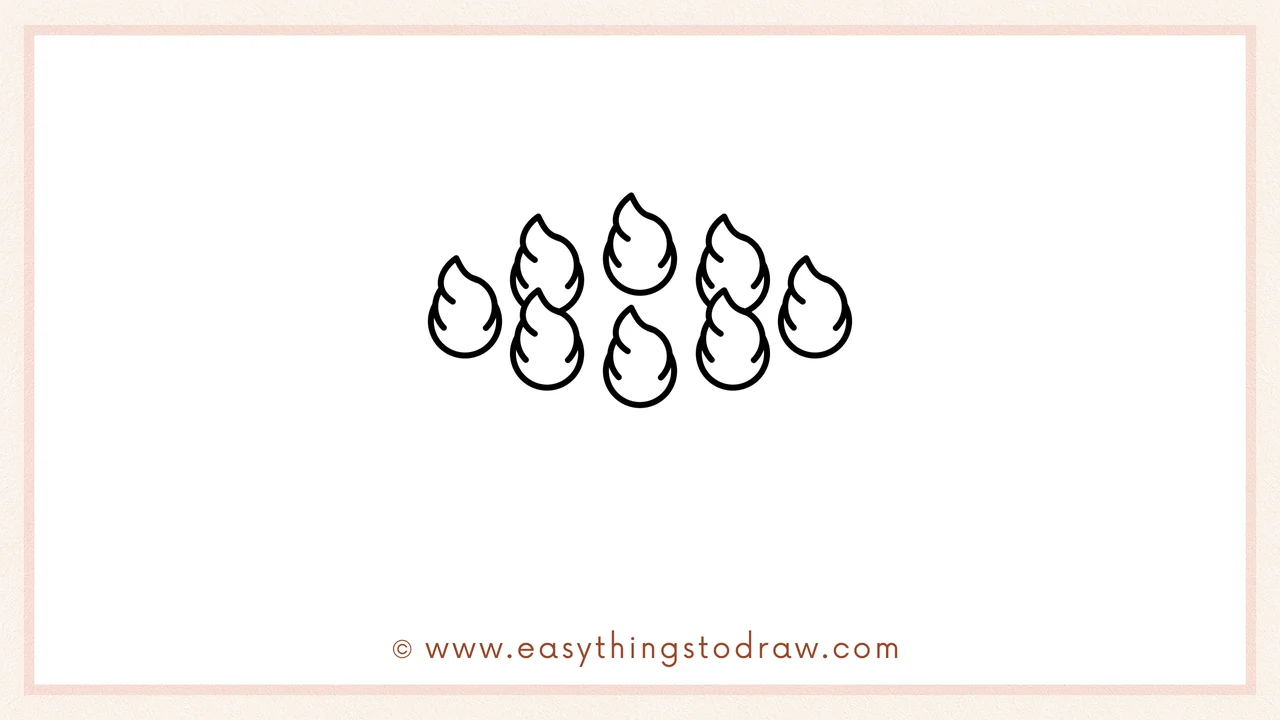
Draw four more swirls behind the first row, filling in the top layer of the pie. Stagger them slightly so it looks layered and full.
Step 3 – Draw the Pie’s Top Edge
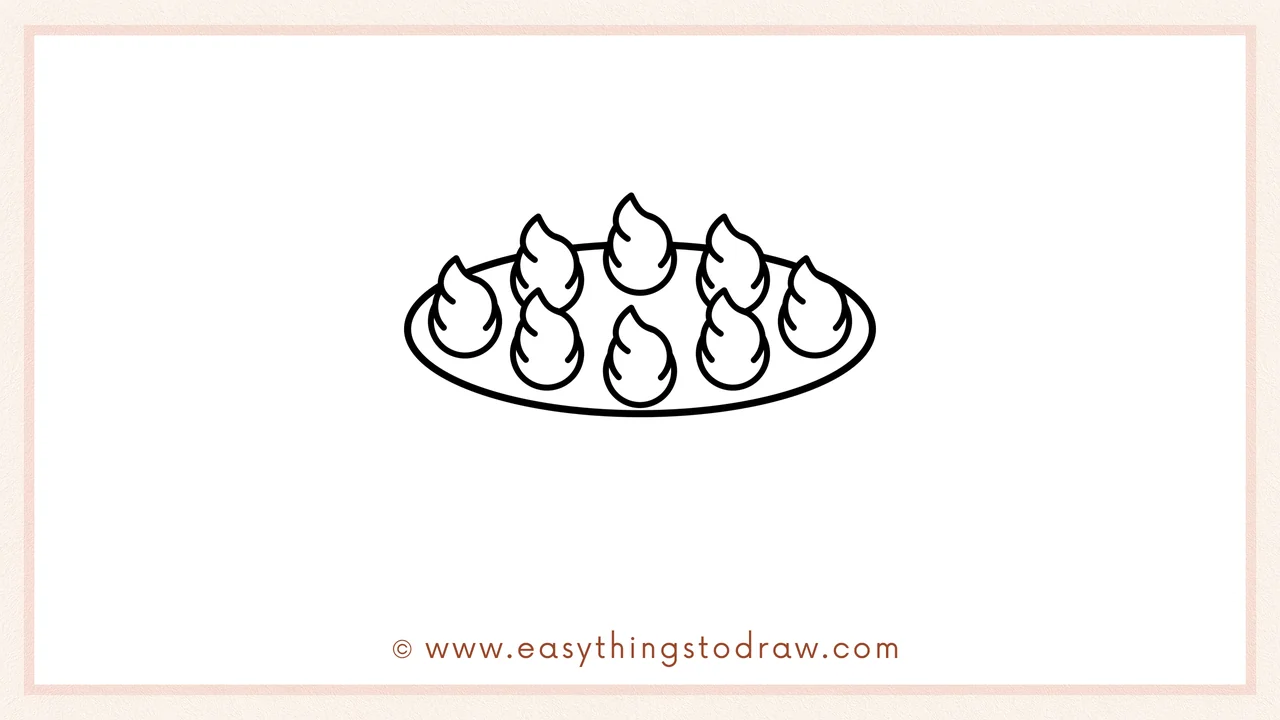
Now draw an oval shape that surrounds all the whipped cream. This will be the top surface of the pie, like a dessert plate.
Step 4 – Add the Pie Crust
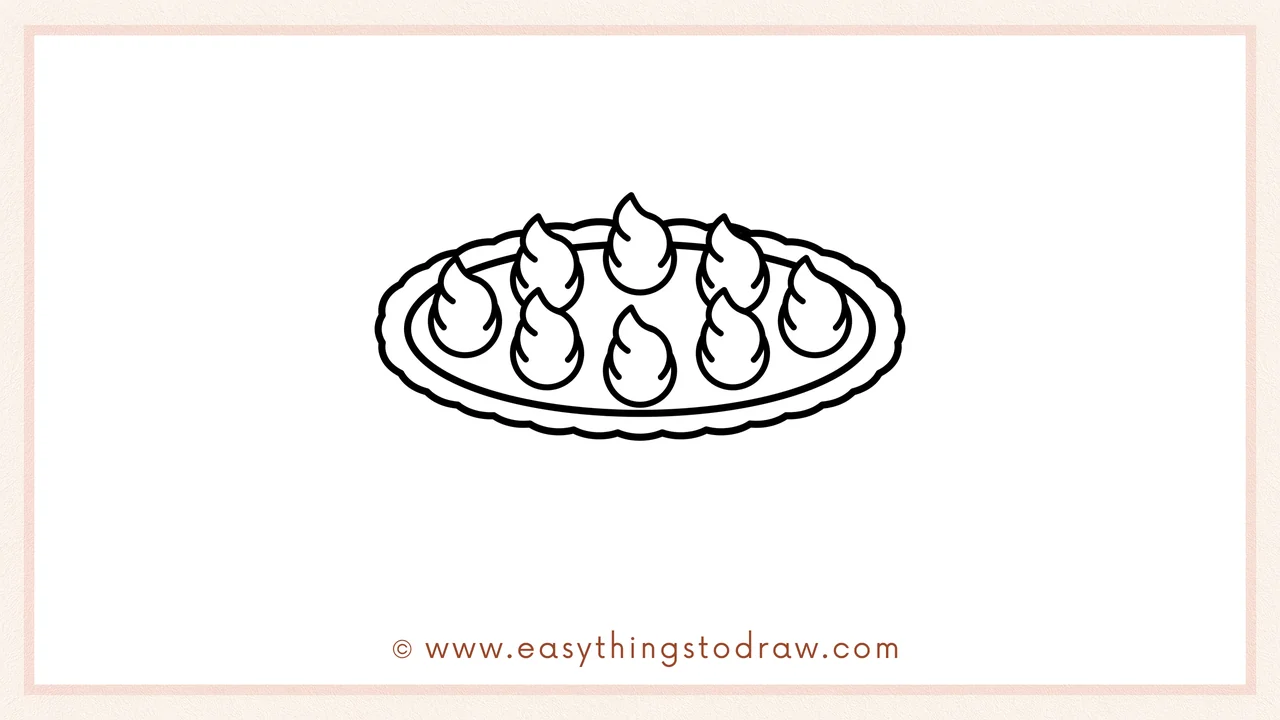
Around the oval, draw a scalloped line to create the wavy crust. This gives your pie that delicious baked look!
Step 5 – Draw the Pie Dish
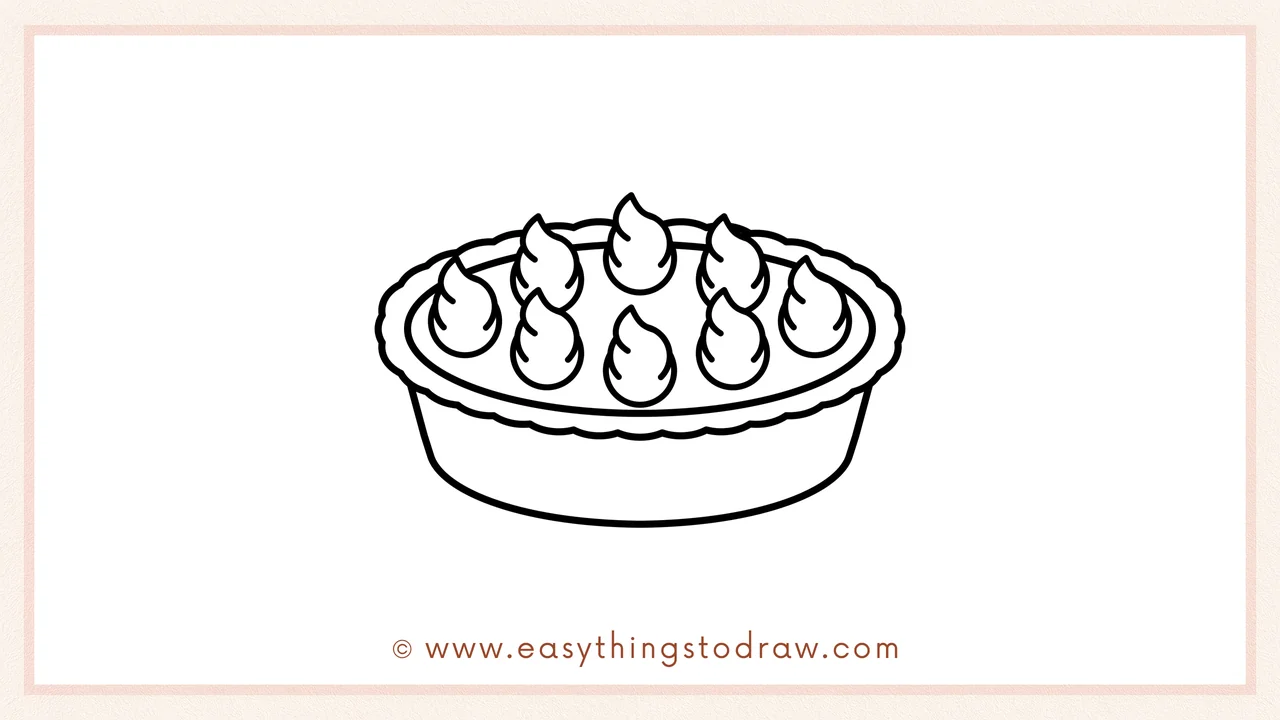
Beneath the crust, draw a curved base to complete the pie dish. Add two side lines going down and connect them to form the round dish bottom.
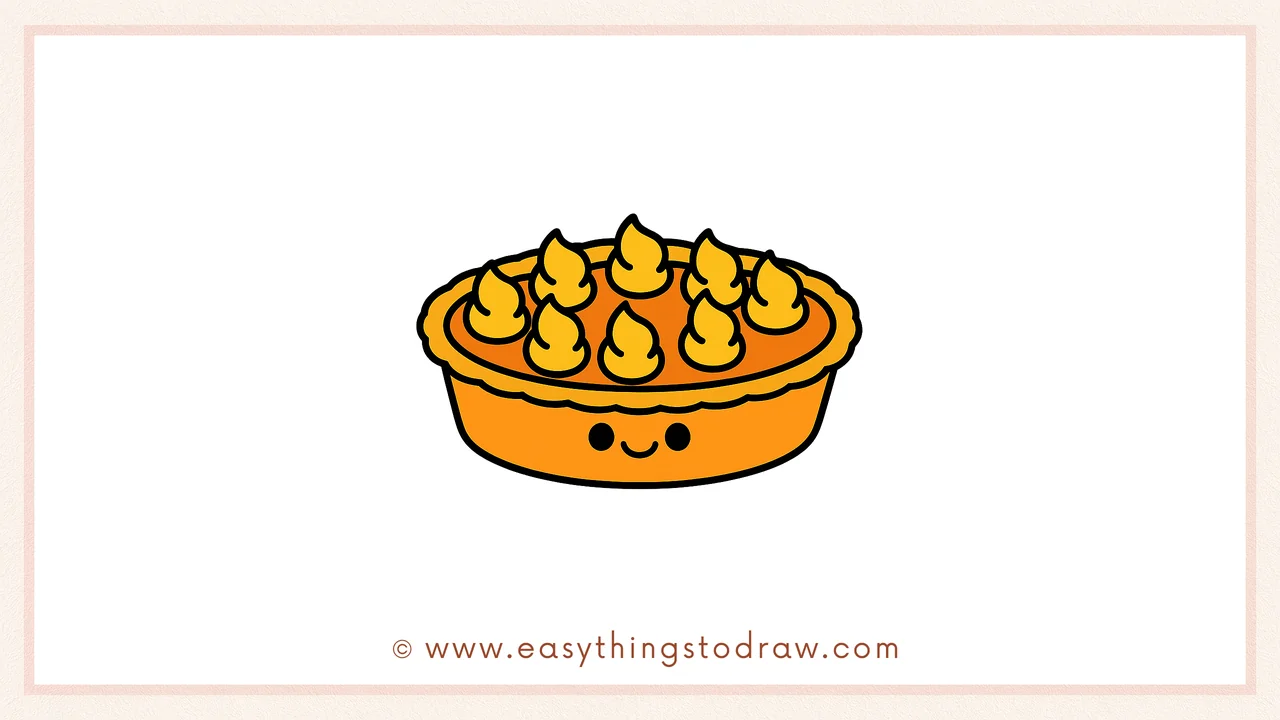
Step 6 – Add a Cute Face
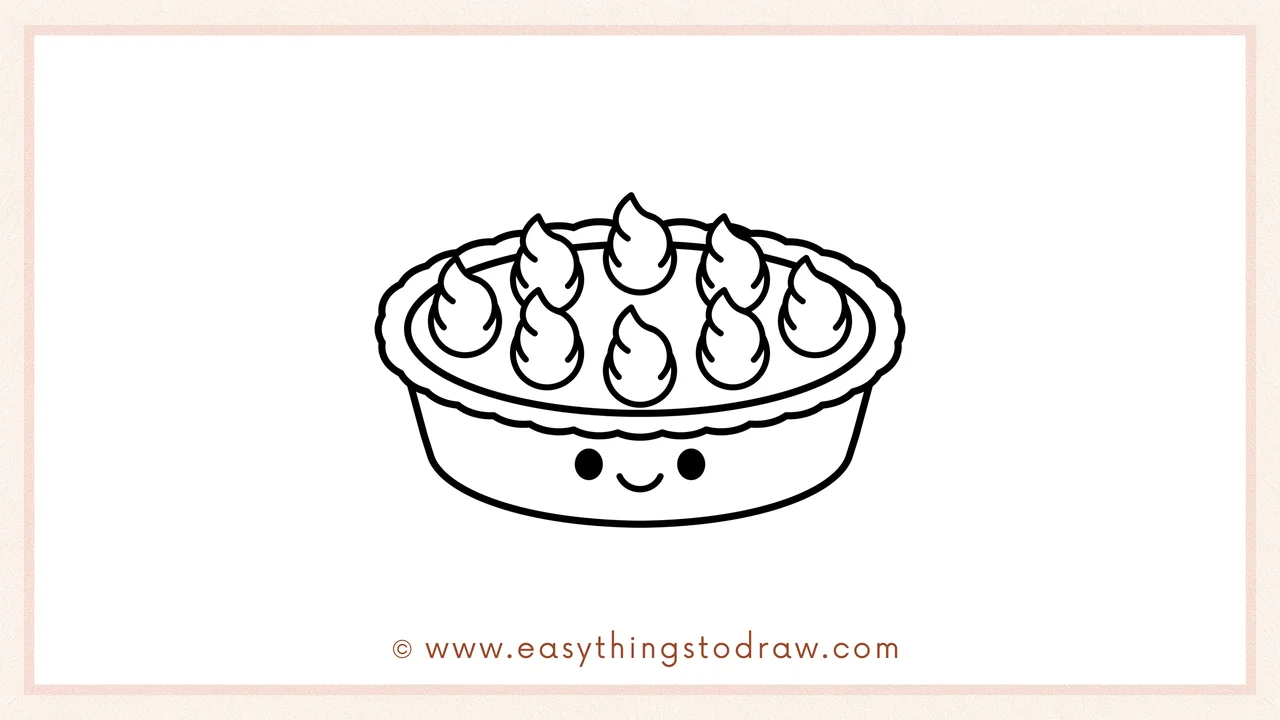
Let’s give your pumpkin pie some sweet personality! Draw two black eyes and a smiling mouth on the pie dish. Now it looks happy to be served!
Frequently Asked Questions (FAQ)
Can I add a different topping to the pie?
Sure! You can add fruit slices, drizzle chocolate syrup, or even a tiny scoop of ice cream on top.
What if I want a different pie flavor?
Just change the color when you color it in — red for cherry, brown for chocolate, or yellow for lemon!
Is this suitable for younger kids?
Yes! It uses simple shapes and is great for beginners around age 4 and up.
Can I decorate the background?
Absolutely! Add a Thanksgiving table, leaves, or even a smiling turkey friend next to it.
Printable Drawing Tutorials
Download Printable How to draw a pumpkin pie Drawing Tutorials
You Did It!
Awesome job, artist! You just created a super cute Thanksgiving pumpkin pie ready to be shared (on paper!). Want to make it even more festive? Try adding a mini pilgrim hat, doodle a pie server beside it, or turn it into a pie family with friends! Print it, hang it, or gift it — this dessert drawing is full of cozy charm.
