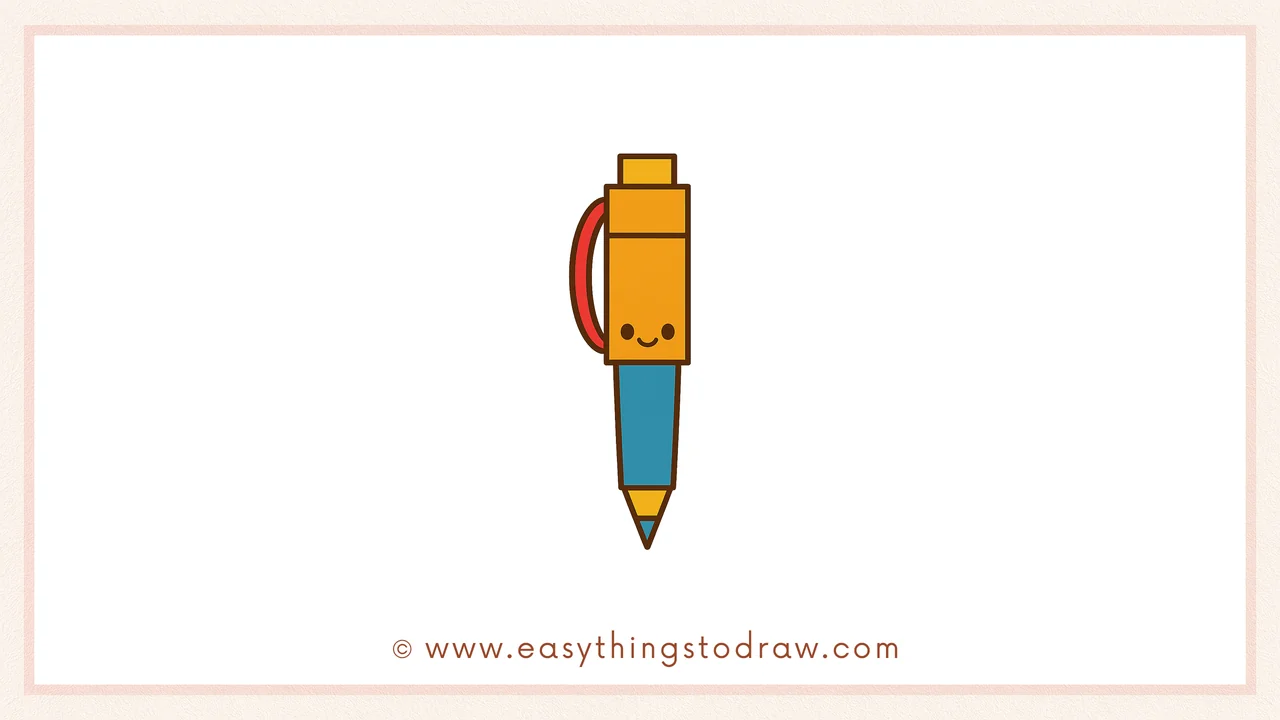
Ready to doodle something fun and useful? In this easy pen drawing tutorial for kids and beginners, we’ll show you how to sketch a cartoon-style pen in just six simple steps. It’s perfect for young artists, preschoolers, or anyone who wants to practice basic shapes while having fun. This easy cartoon pen drawing for beginners will boost your creativity and sharpen your drawing skills. Let’s get sketching!
What You Need:
- A pencil
- An eraser
- A black marker (for outlining)
- Coloring tools (crayons, markers, or colored pencils)
- Drawing paper
Step by Step Pen Drawing Instructions
Step 1 – Start with a Long Rectangle
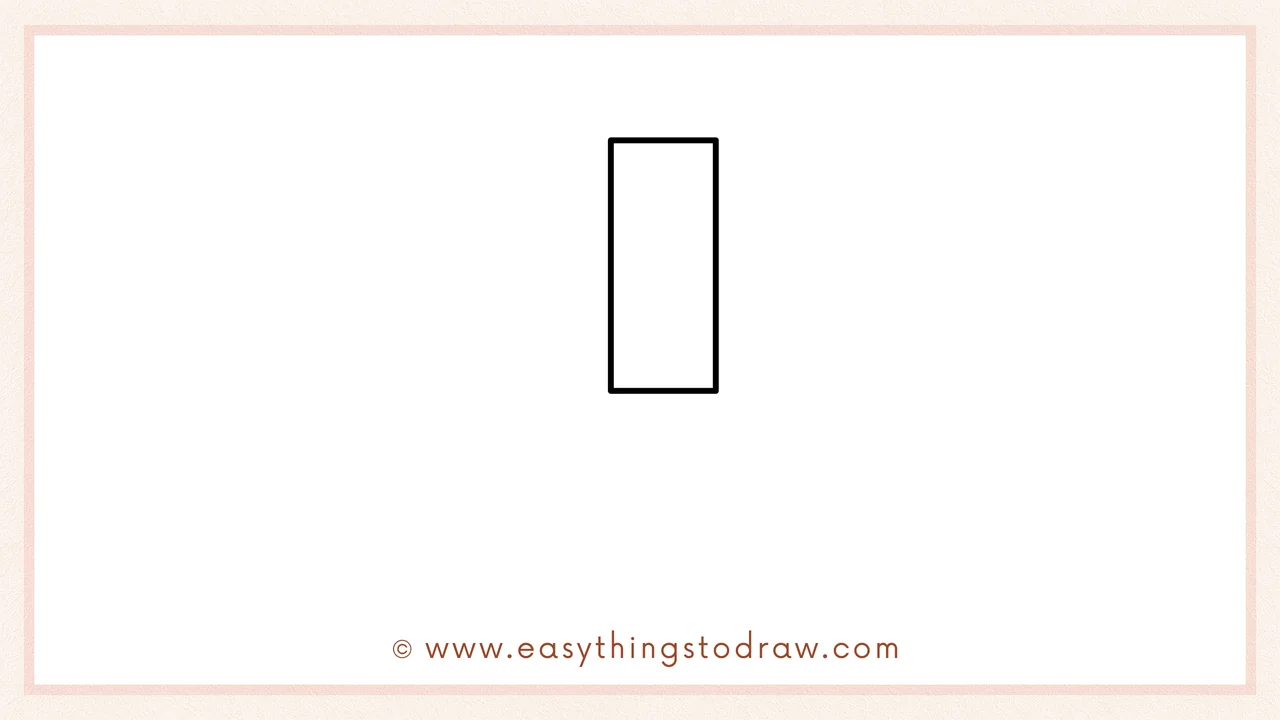
Draw a tall, narrow rectangle in the center of your paper. This will be the body of the pen. Keep the lines straight and vertical—it looks just like a standing popsicle stick!
Step 2 – Add the Top Clip Section
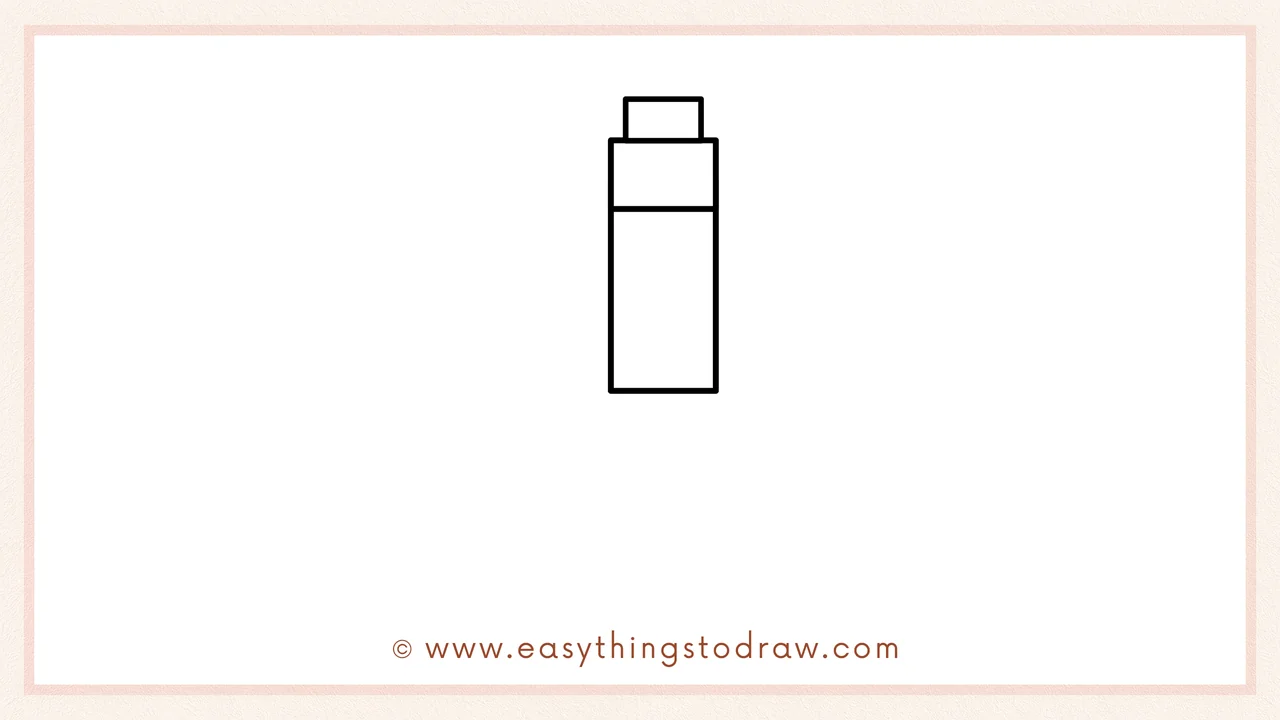
Now draw a small rectangle on top of the big one, and divide the original tall rectangle in half with a horizontal line. This creates the click-top and grip area of the pen.
Step 3 – Draw the Pen Clip
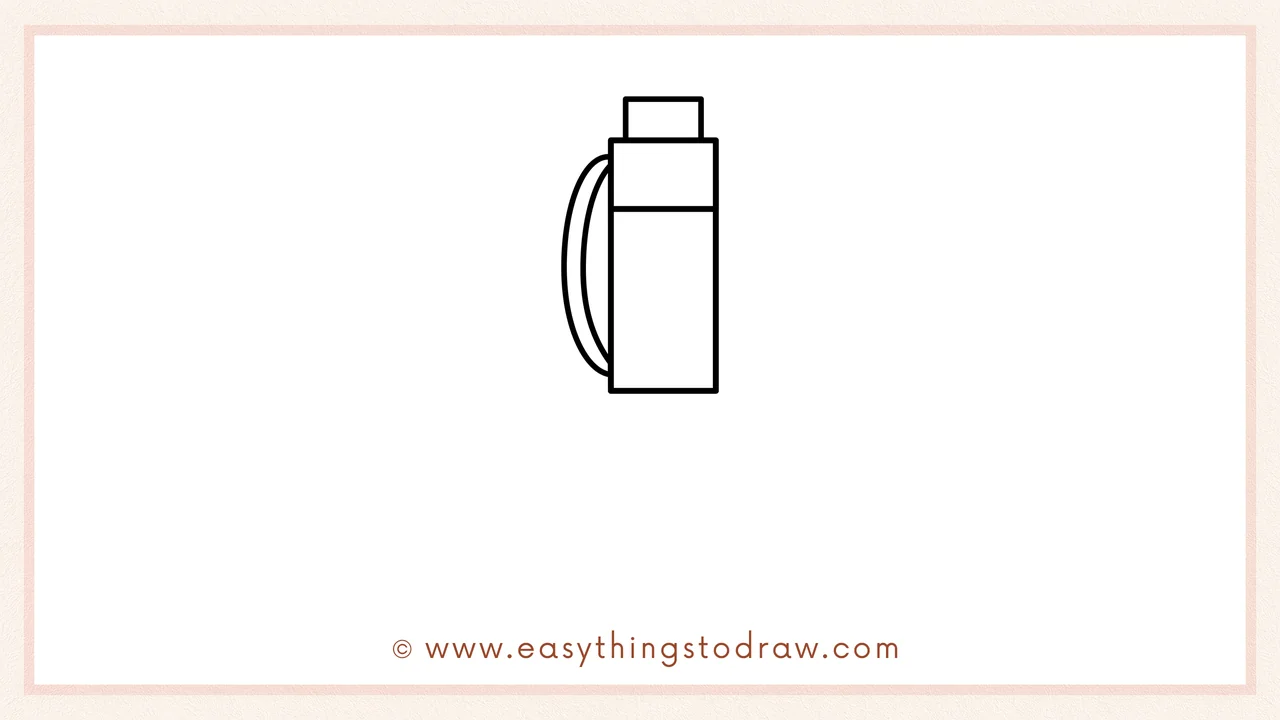
On the left side of the top section, draw two curved lines that loop downward—this is the pen clip! It looks like an upside-down candy cane.
Step 4 – Add the Tapered Tip
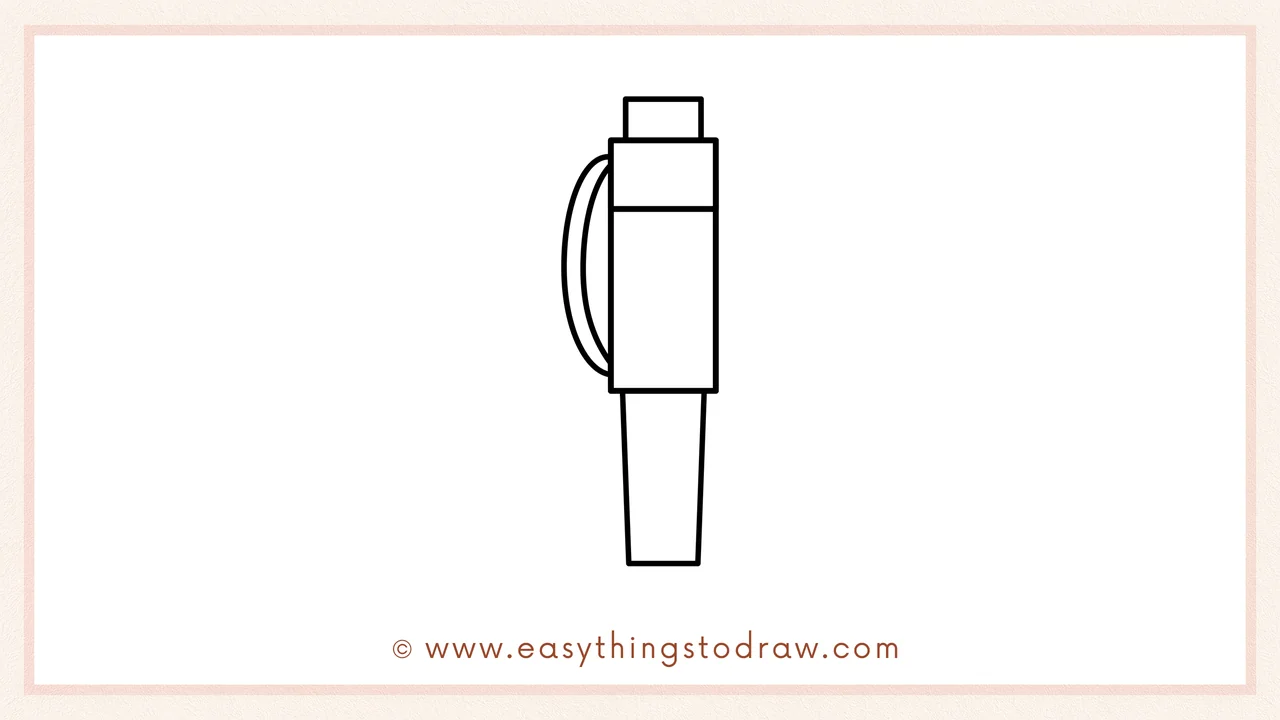
Draw a trapezoid shape below the pen body, tapering toward the bottom. This forms the part that holds the pen’s tip.
Step 5 – Draw the Pen Tip

At the very bottom, draw a small triangle pointing down with a tiny dot at the end—that’s the pen’s tip! Now it’s ready to write!
Step 6 – Add a Cute Face!
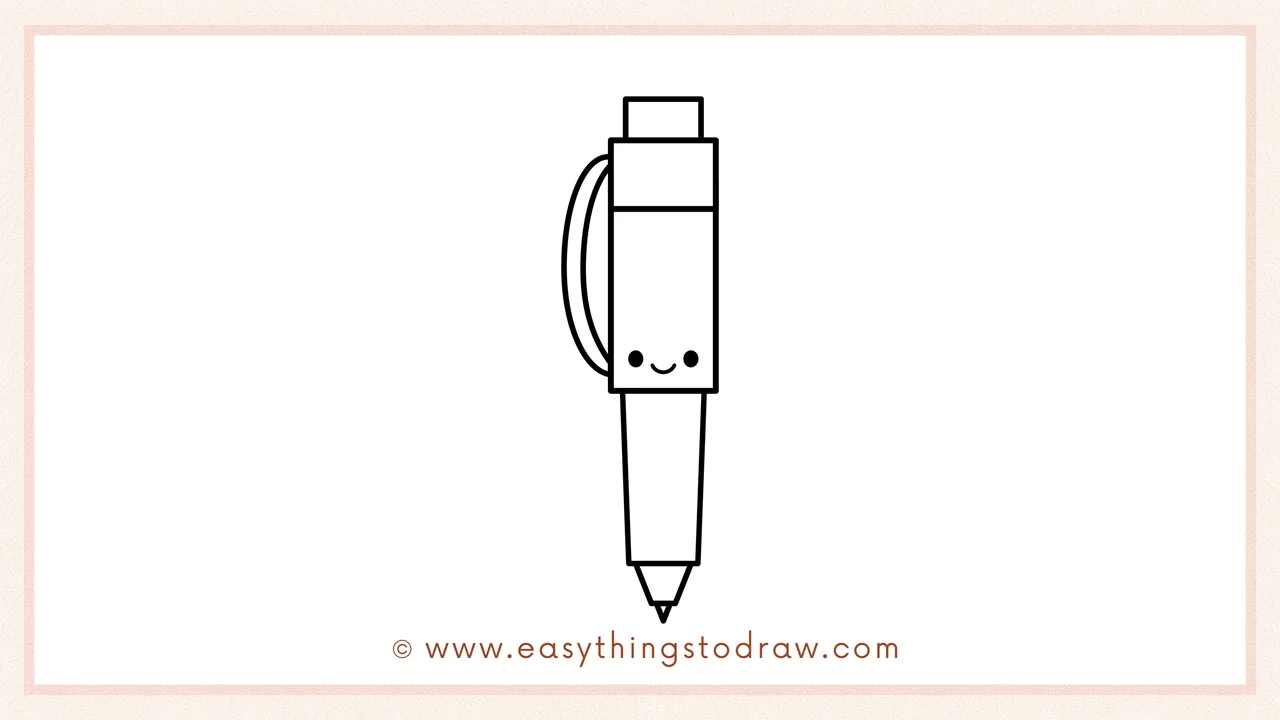
Let’s give our pen some personality! Add two dots for eyes and a little “u” shape for a smile. Now your pen looks cheerful and fun!
Frequently Asked Questions (FAQ)
Can I draw different types of pens with this guide?
Yes! Once you understand the basic shapes, you can try drawing markers, fountain pens, or even highlighters.
Should I add colors to my pen drawing?
Definitely! Bright colors make your drawing pop and adding patterns or labels makes it more fun.
Is this tutorial good for classroom activities?
Yes, it’s perfect for art class, especially for teaching kids how to use shapes to build objects.
What if I make a mistake while drawing?
No worries! Just use your eraser and try again. Drawing is all about practice and creativity.
Printable Drawing Tutorials
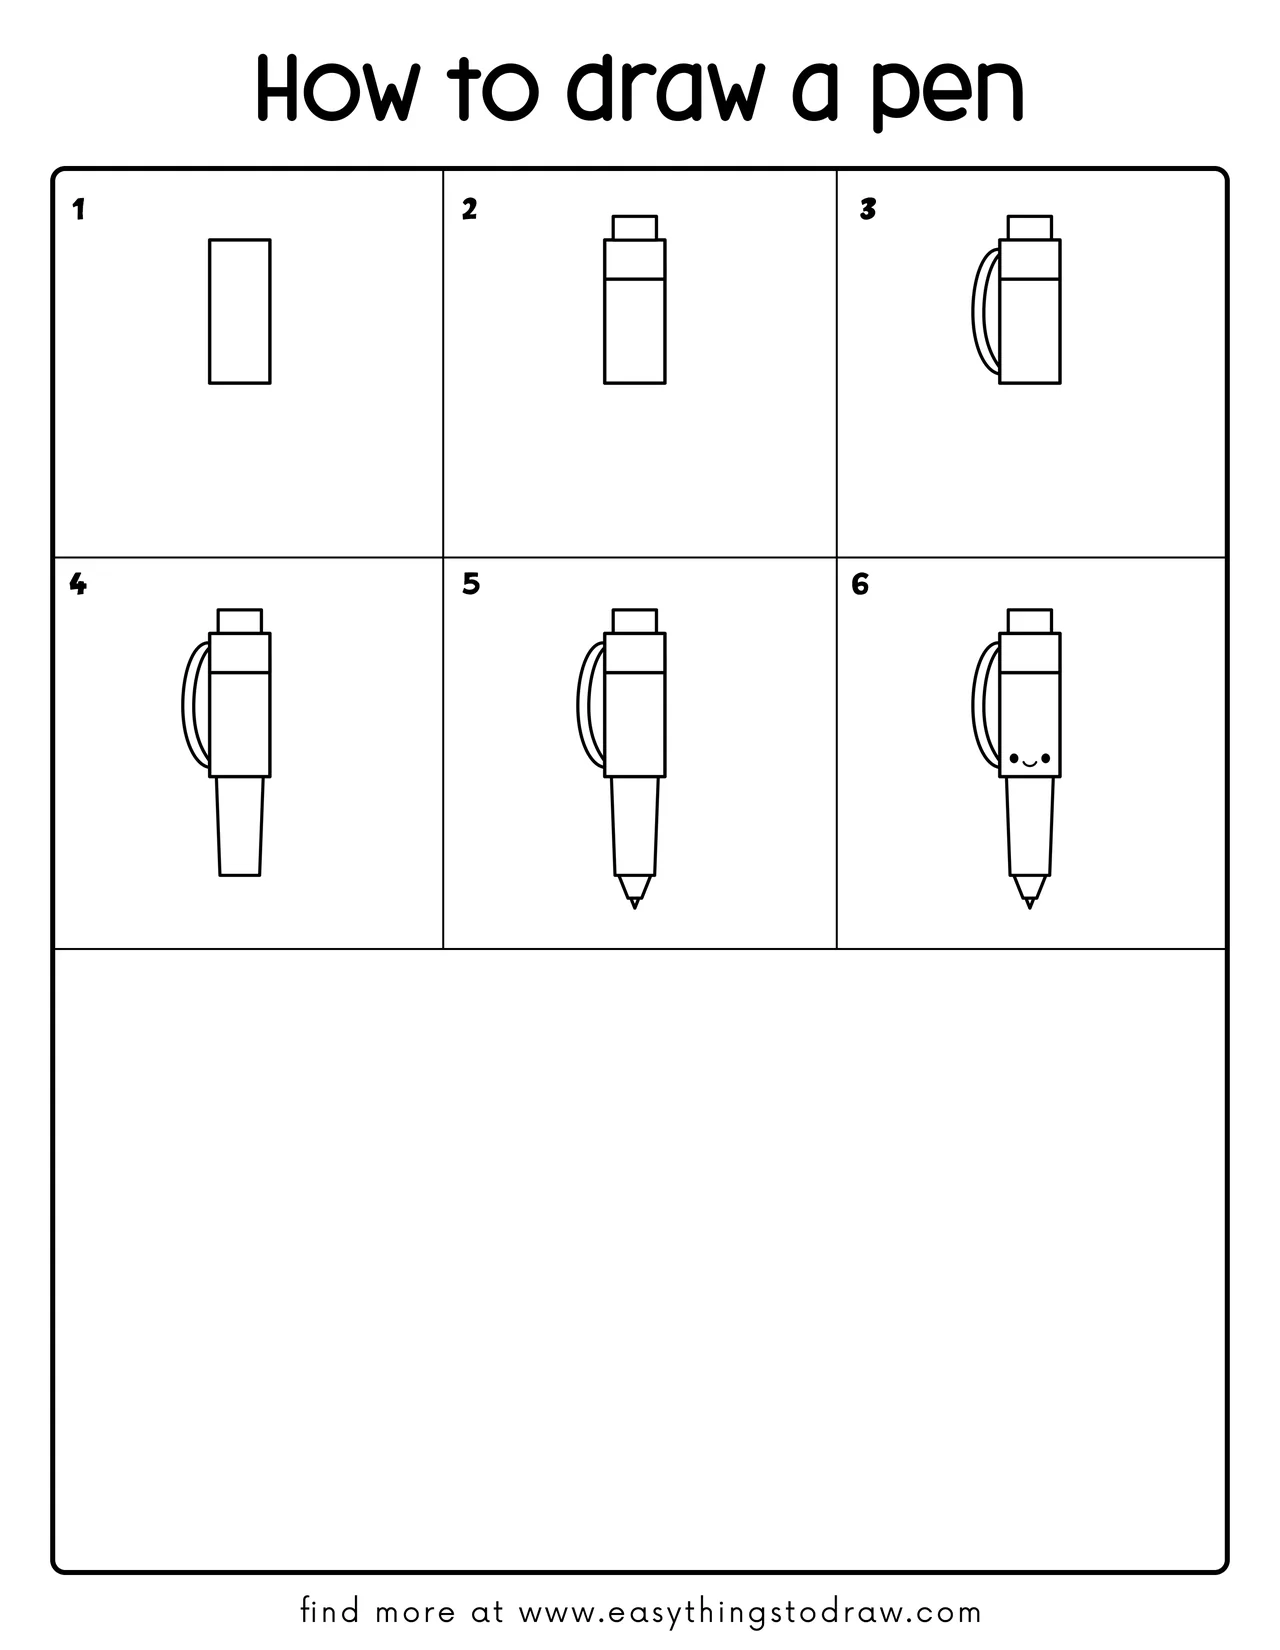
Download Printable How to draw a pen Drawing Tutorials
You Did It!
Awesome job drawing your cool cartoon pen! You followed every shape and line, and now you’ve created a fun and expressive object. Want to add your own twist? Try drawing a fun design on the pen body, give it a patterned clip, or sketch a notebook buddy beside it. Share your masterpiece with friends or hang it on the wall to show your creativity. Keep drawing and come back for more tutorials soon!
