Ready to turn a simple object into something super adorable? In this step-by-step paperclip drawing tutorial for kids and beginners, you’ll learn how to sketch a cartoon-style clip that’s full of personality. It’s a quick, easy drawing project perfect for young artists and school supply fans. By the end, you’ll have a smiling little clip to brighten up your sketchbook!
What You Need:
- A pencil
- An eraser
- A black marker (for outlining)
- Coloring tools (crayons, markers, or colored pencils)
- Drawing paper
Step by Step Paperclip Drawing Instructions
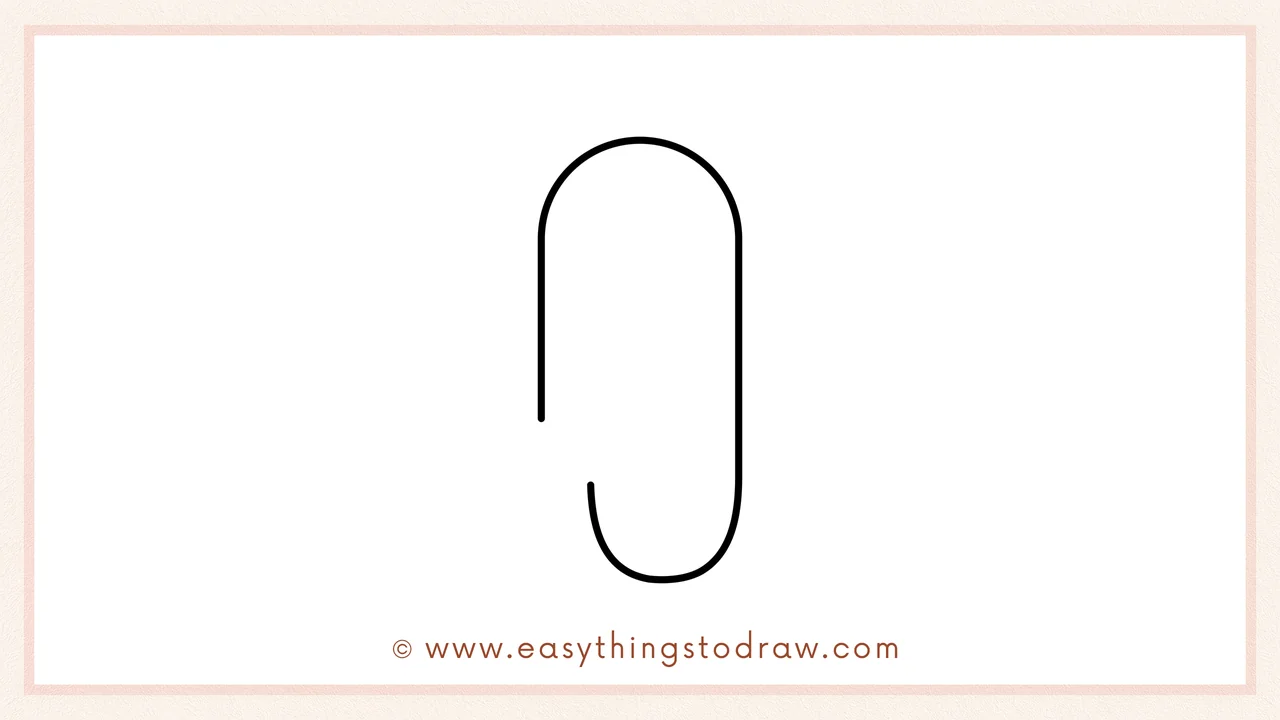
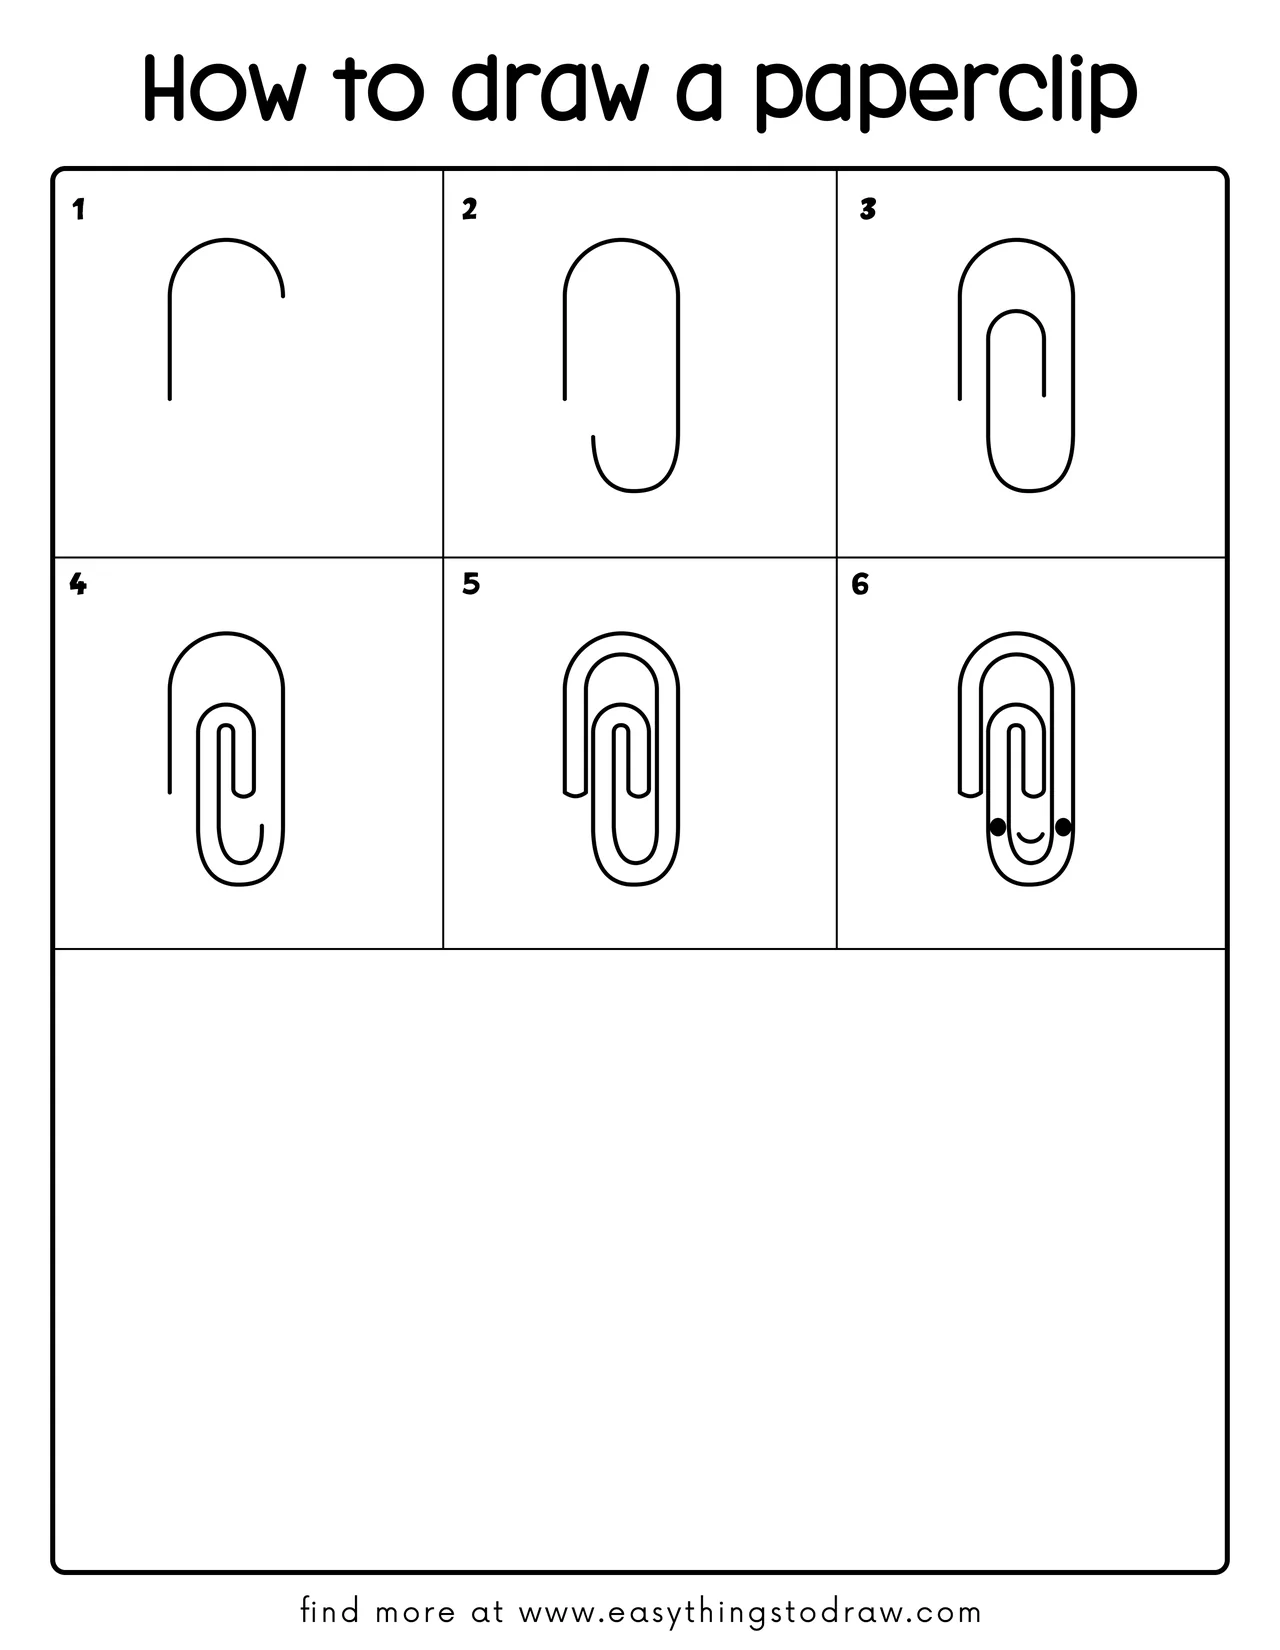
Step 1 – Start the Outer Curve

Begin by drawing a long upside-down “U” shape. This is the outer edge of the paperclip.
Step 2 – Complete the Outer Loop
From the bottom ends, curve the lines back toward each other to form the rounded bottom of the clip.
Step 3 – Add the Inner Loop
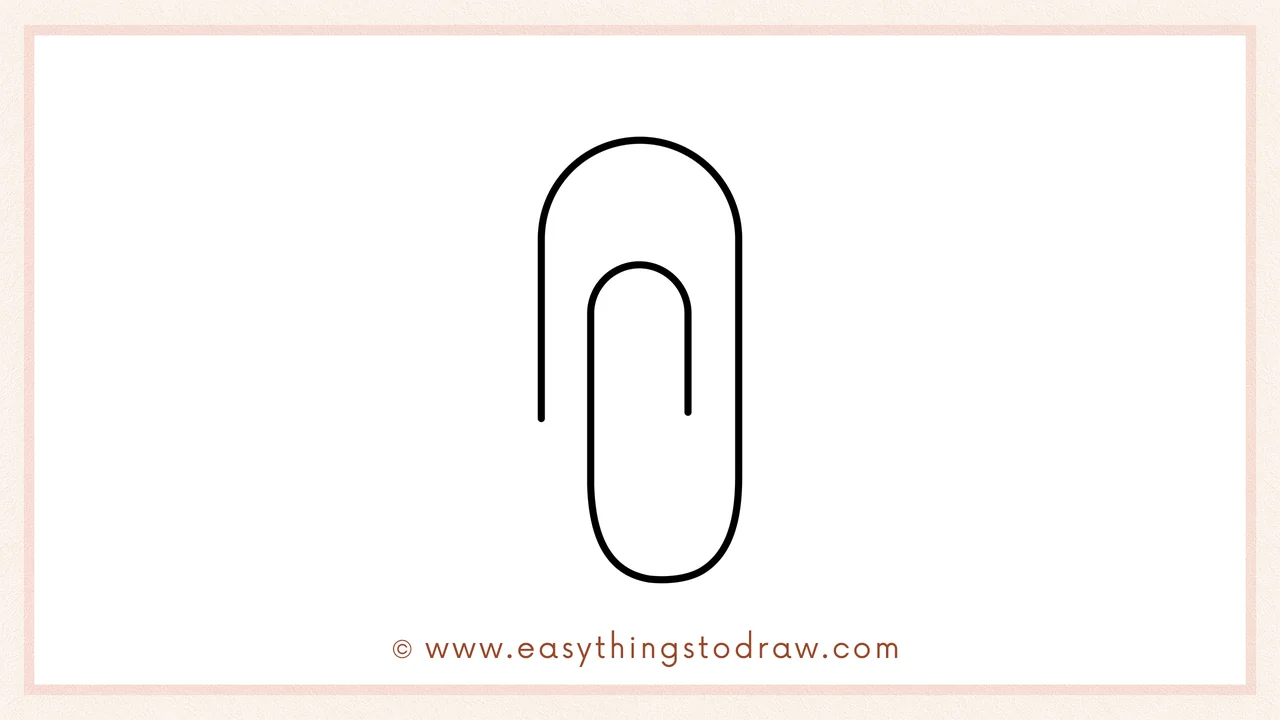
Now draw a smaller “U” shape inside the first one, a bit higher up. This is the second layer of the clip.
Step 4 – Finish the Inner Line
Continue drawing the inner line downward, curving it at the bottom to match the shape of the outer layer.
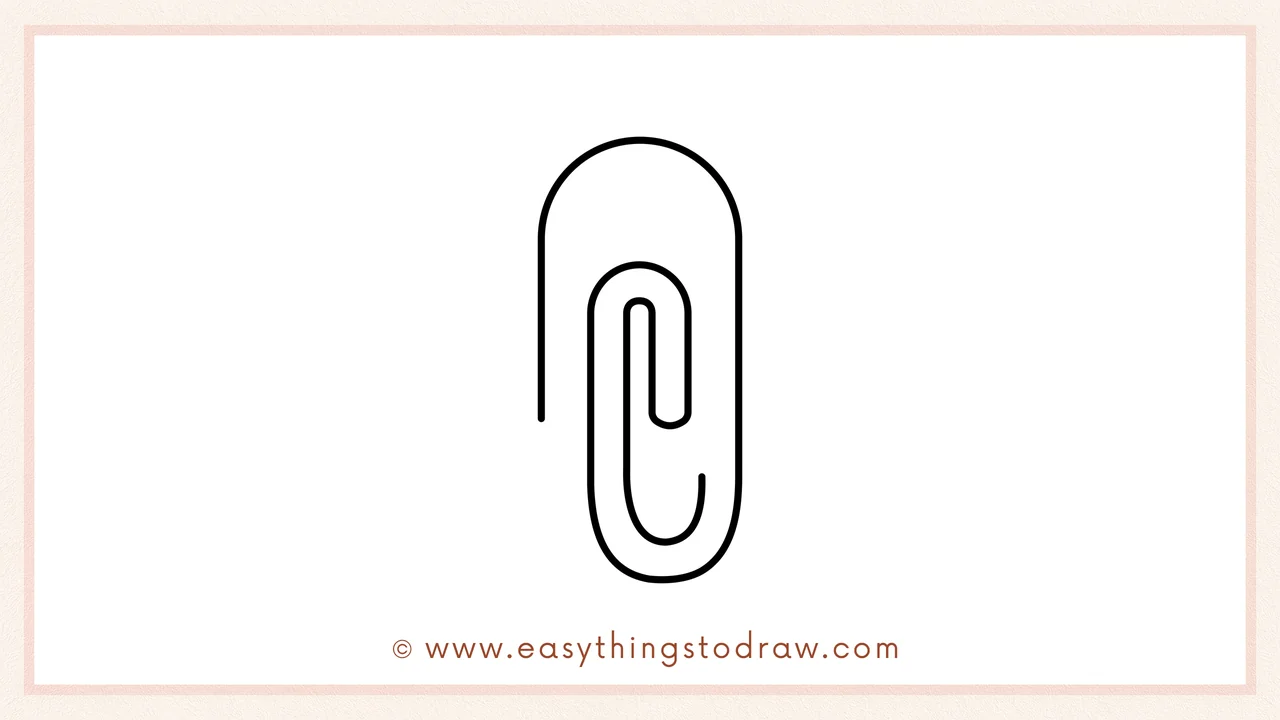
Step 5 – Add the Final Layer
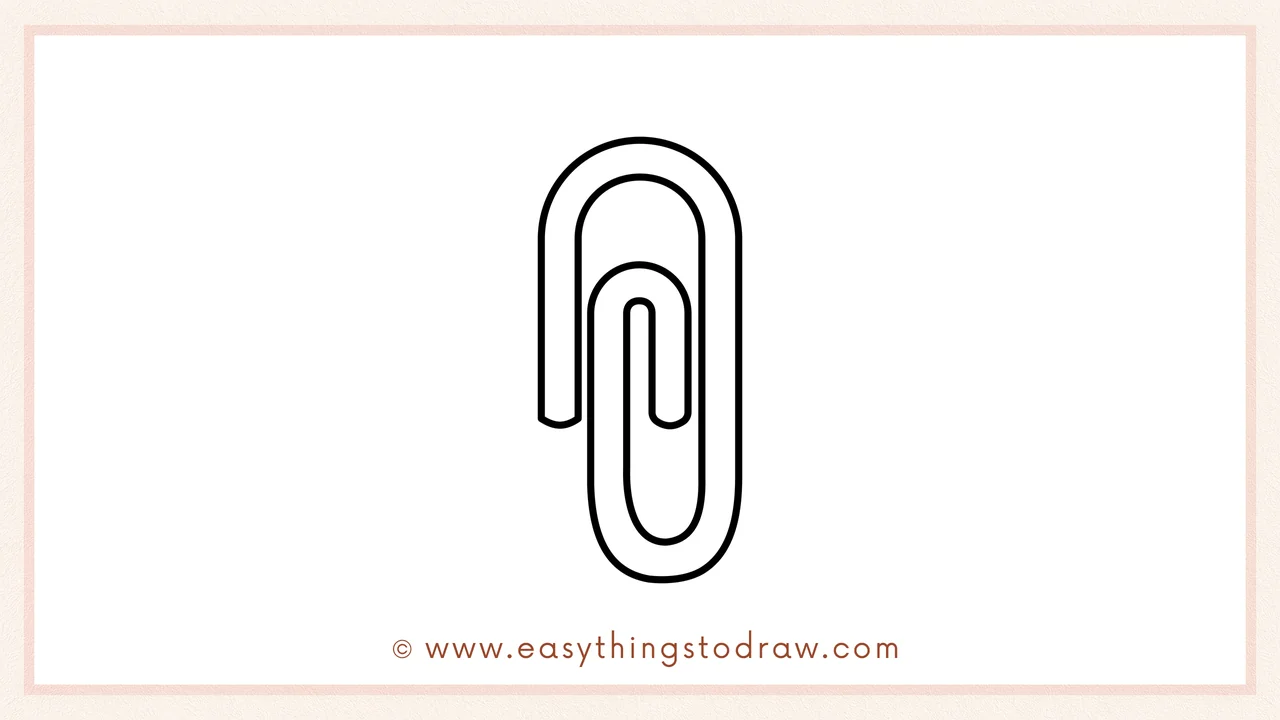
Draw the smallest loop inside the middle one, mimicking the same curved shape. Your paperclip is now complete!
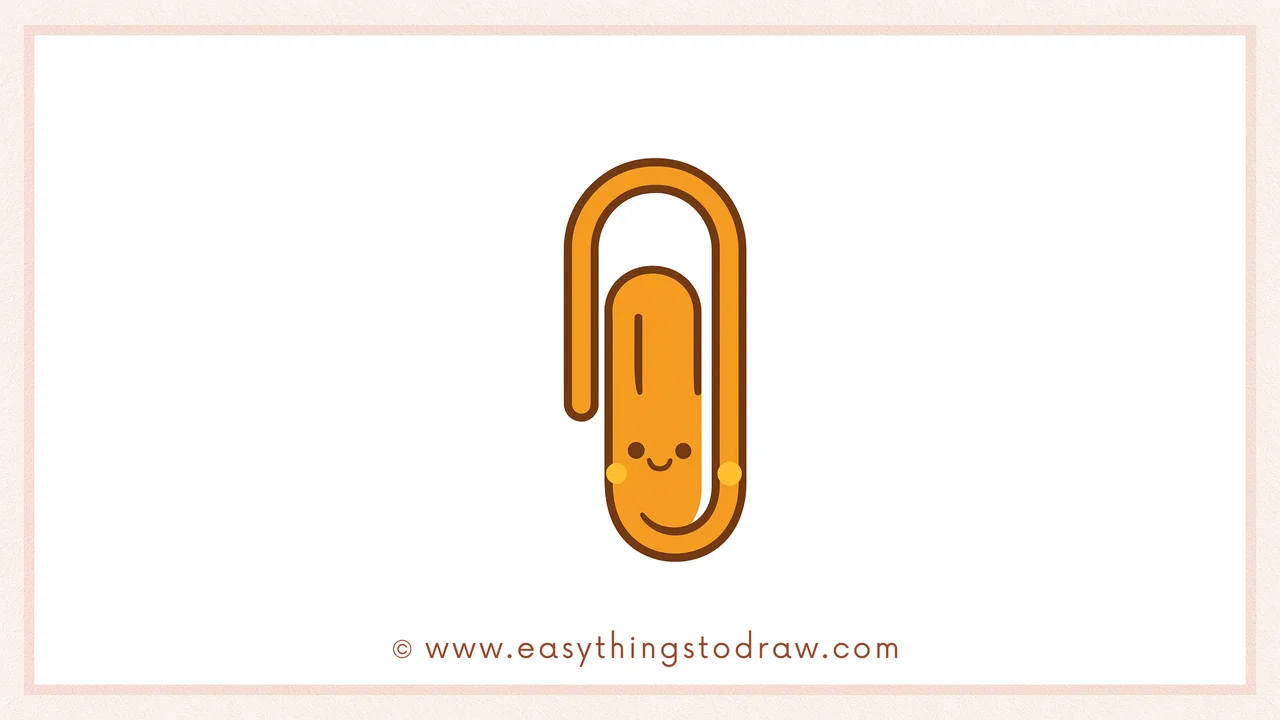
Step 6 – Draw a Happy Face
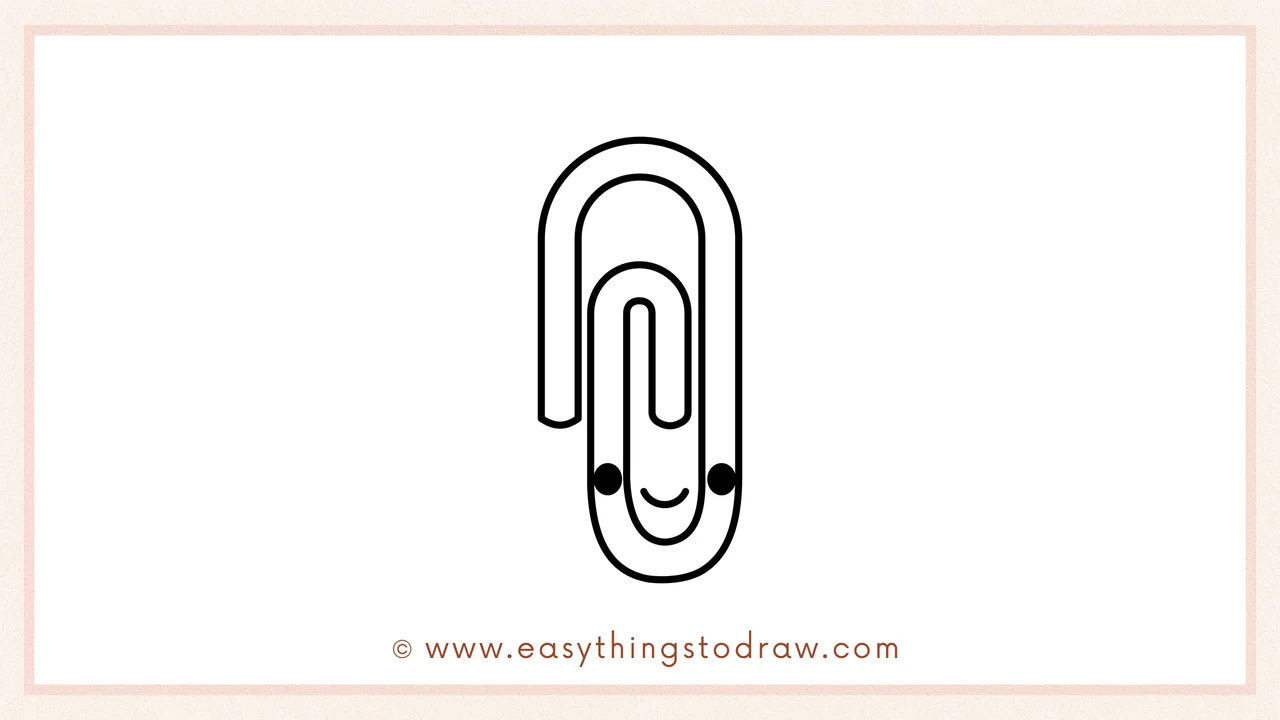
Time to bring it to life! Draw two cute eyes and a smiling mouth near the bottom of the clip.
Frequently Asked Questions (FAQ)
Can I make the paperclip into a character?
Absolutely! You can give it hands, legs, a hat, or even turn it into a superhero clip!
What colors should I use?
Silver or gray works for a realistic look, but feel free to use rainbow colors or patterns for a fun twist.
Is this drawing suitable for younger kids?
Yes! The simple lines and shapes are great for preschoolers and beginner artists.
Can I draw other stationery characters too?
Definitely! Try drawing a smiling pencil, notebook, or eraser next to your paperclip!
Printable Drawing Tutorials
Download Printable How to draw a paperclip Drawing Tutorials
You Did It!
Awesome job drawing your cheerful little paperclip! It may be a small item, but with your creativity, it now has a big personality. You can customize it with fun colors, make a whole family of clips, or use it in a comic strip with other school supplies. Keep having fun and let your imagination clip together even more ideas!
