Let’s draw a paintbrush that’s ready to help you create something colorful and magical! This easy drawing guide is perfect for kids, beginners, and young artists. In just six simple steps, you’ll sketch a cartoon-style paintbrush with a big smile. Let’s bring your art supplies to life!

What You Need:
- A pencil
- An eraser
- A black marker (for outlining)
- Coloring tools (crayons, markers, or colored pencils)
- Drawing paper
Step by Step Paintbrush Drawing Instructions
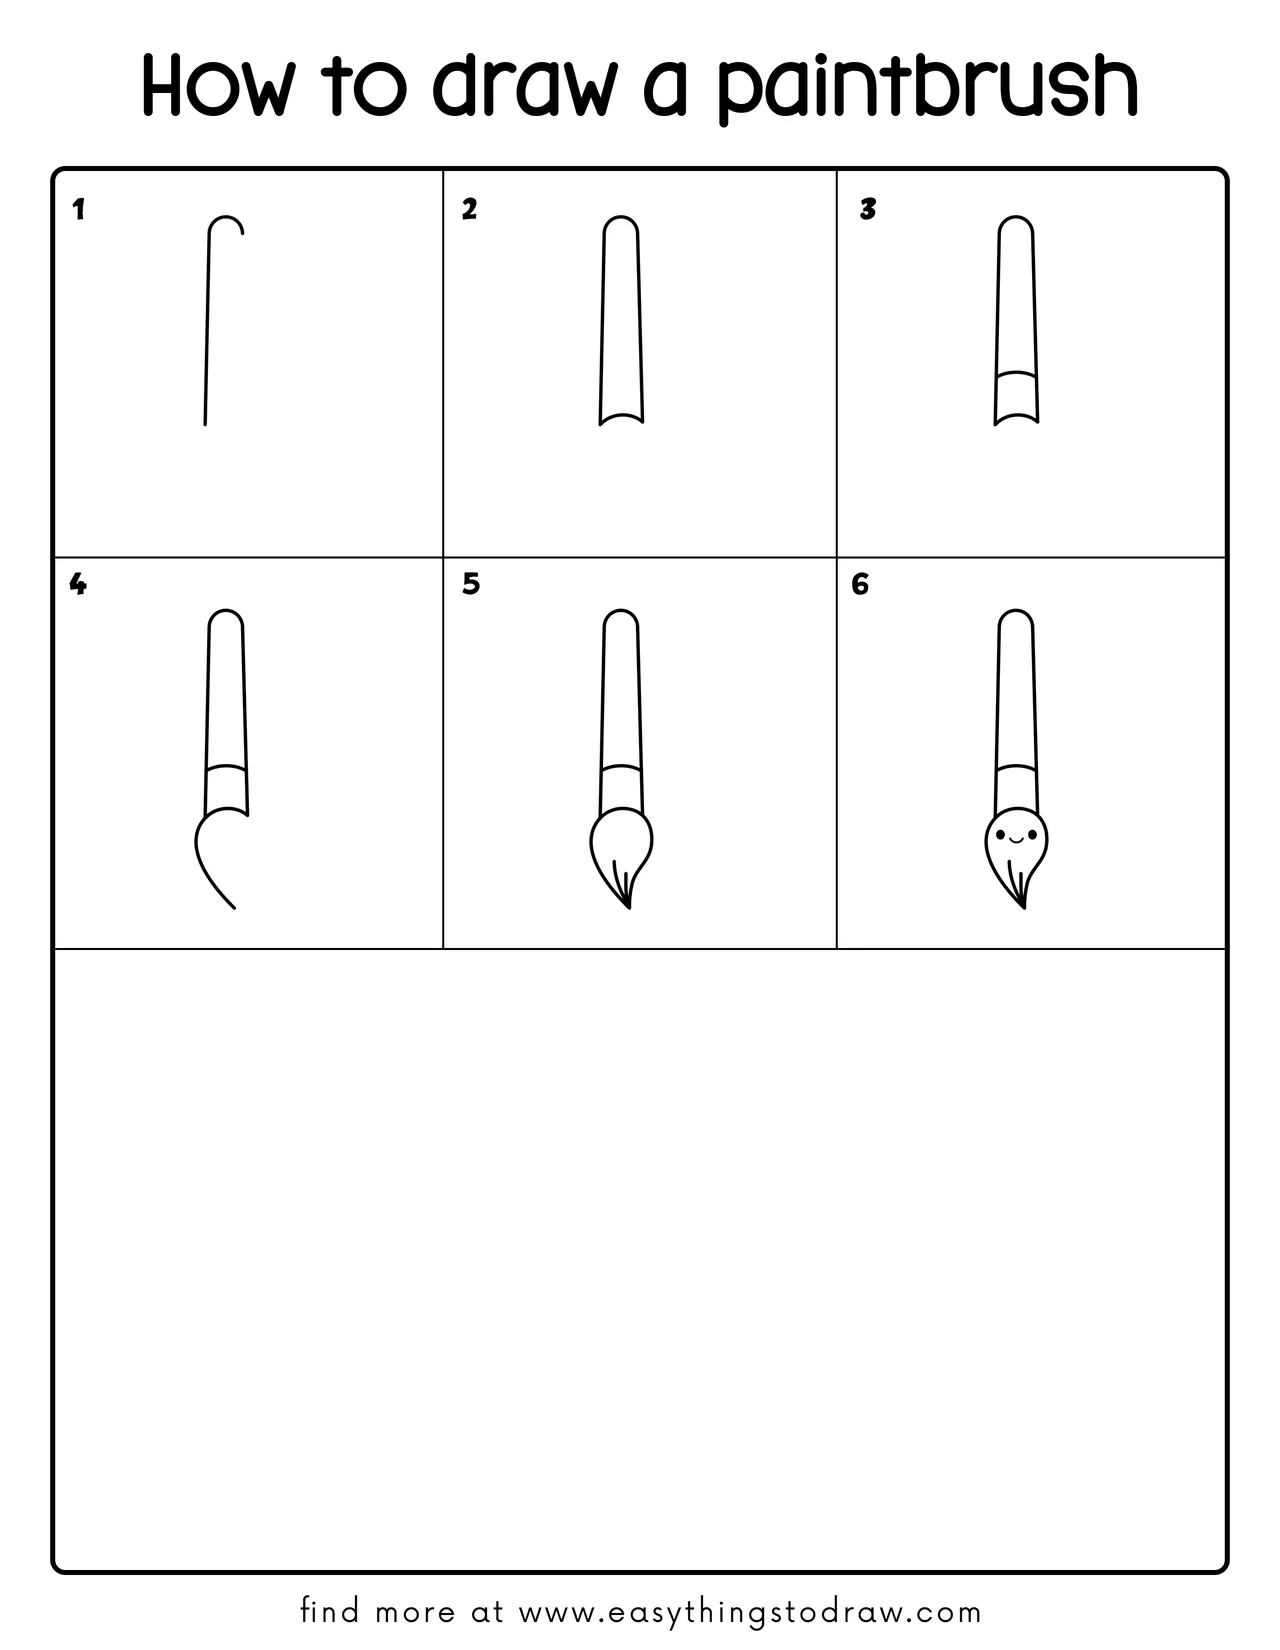
Step 1 – Draw a Curved Line for the Handle

Start by drawing a long vertical line with a rounded hook at the top. This will be the side of your paintbrush handle.
Step 2 – Complete the Handle Shape
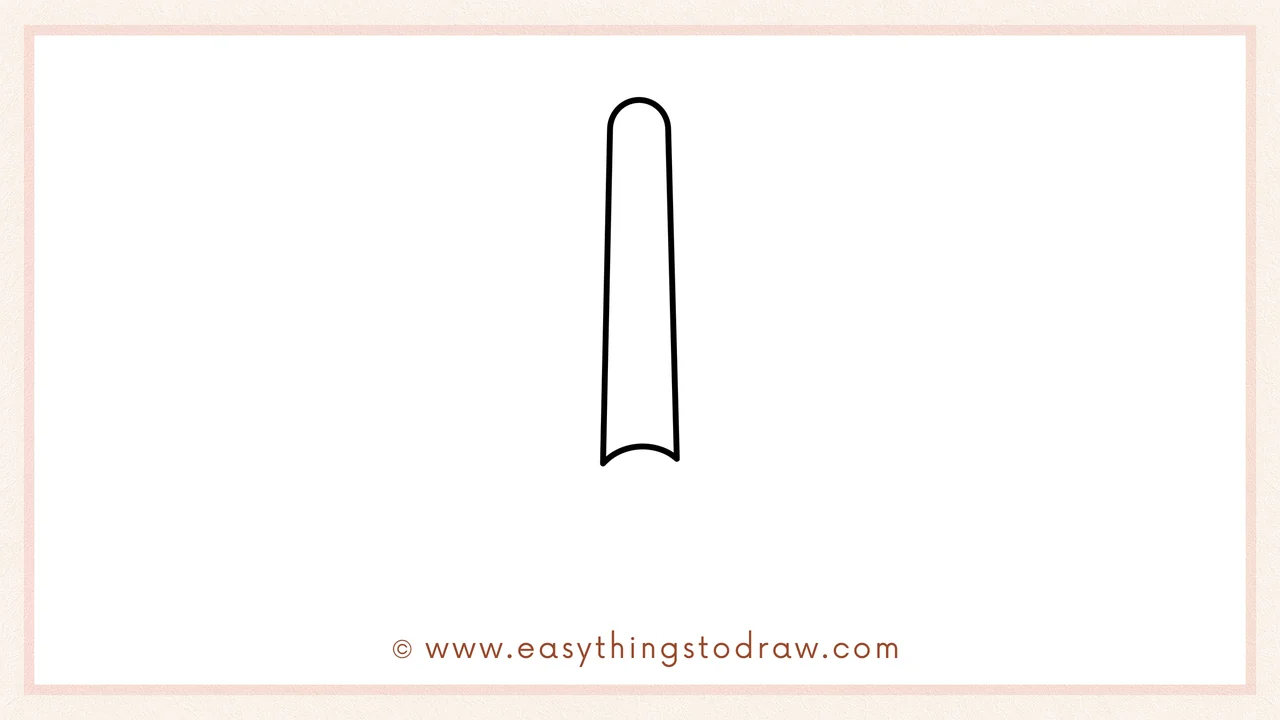
Now draw another line on the right side to match the first, and connect the bottom with a “V” dip. The shape should look like a long stick with a rounded top and notched bottom.
Step 3 – Add the Metal Ferrule

Draw a curved band across the bottom of the handle. This is the ferrule—the part that holds the bristles.
Step 4 – Start the Bristles
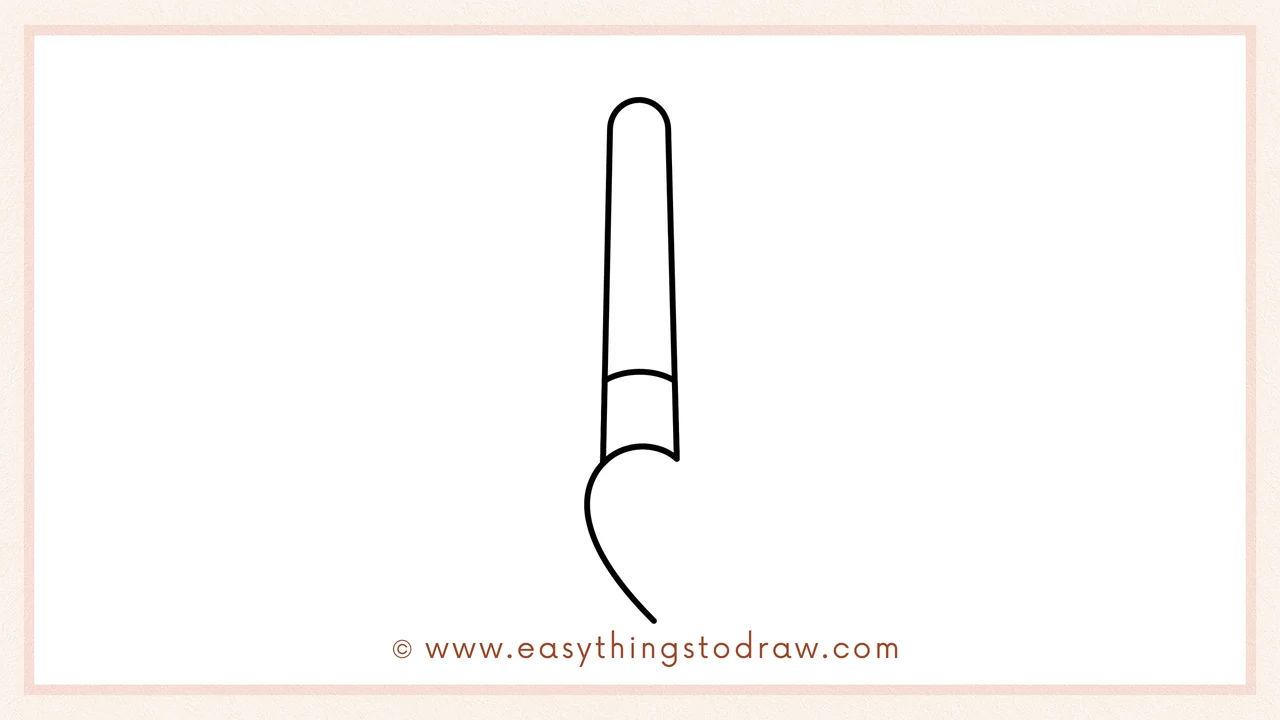
From the bottom of the ferrule, draw a rounded shape like a bulb, and curve one line outwards to start forming the paintbrush tip.
Step 5 – Finish the Paintbrush Tip
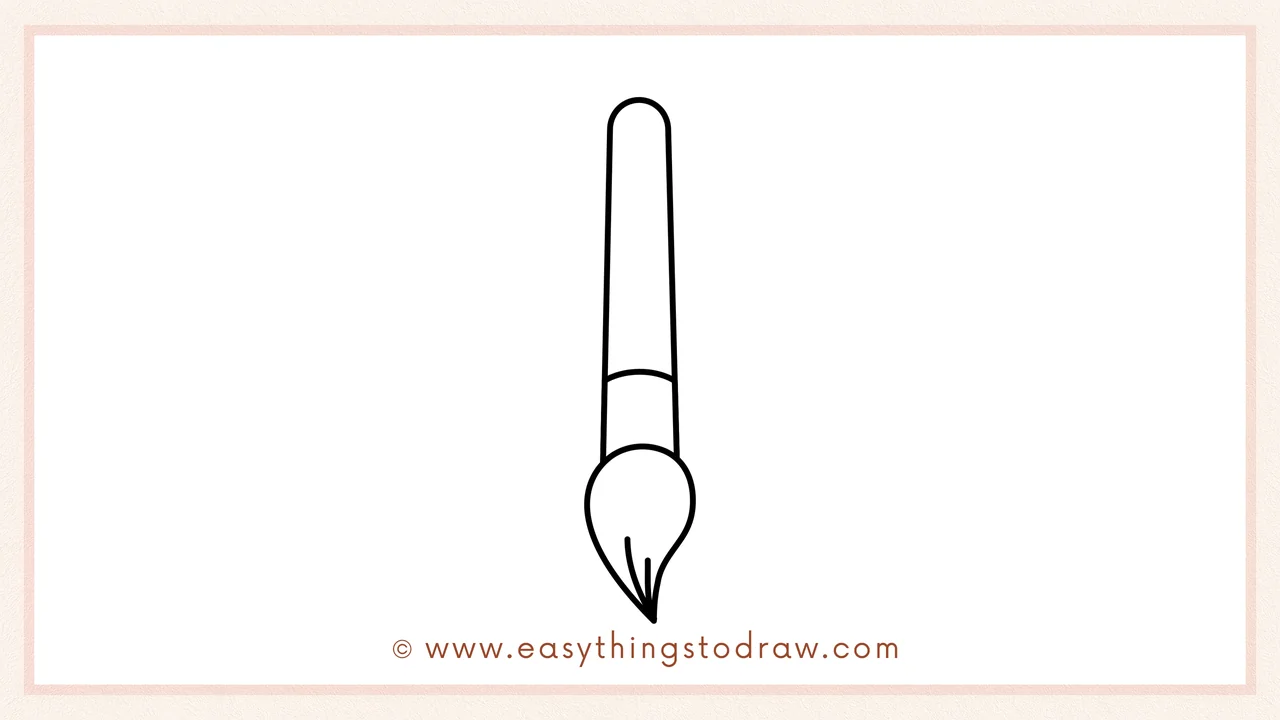
Now draw the other side of the brush and add two thin lines inside to show the pointy bristles. The shape should look soft and flowy at the bottom.
Step 6 – Add a Cute Face
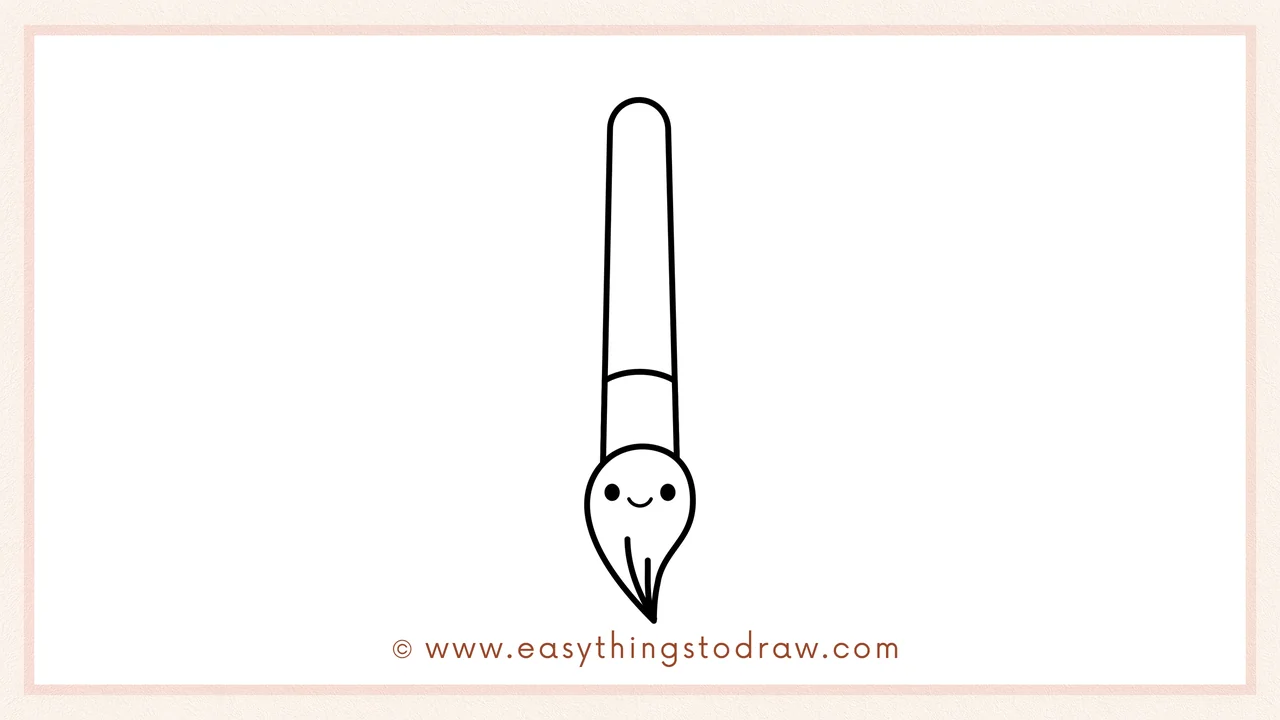
Make it fun! Draw two small black dots for eyes and a smiling mouth right on the ferrule. Your paintbrush is now full of personality and ready to paint!
Frequently Asked Questions (FAQ)
Can I add paint to the brush tip?
Yes! Try drawing blue, red, or rainbow paint dripping from the tip to make it more creative.
What colors should I use?
Try wooden brown or pastel pink for the handle, silver for the ferrule, and your favorite color for the bristles!
Can I give the paintbrush accessories?
Of course! Add a bow tie, a little hat, or even sparkles around it.
Is this tutorial good for beginners?
Absolutely. The shapes are simple, and each step builds gently on the last.
Printable Drawing Tutorials
Download Printable How to draw a paintbrush Drawing Tutorials
You Did It!
Awesome work—your paintbrush looks adorable and ready for action! You can pair it with a smiling palette or a canvas with rainbow swirls. Don’t forget to give your paintbrush a name and maybe a story. Print this tutorial and try drawing a whole art supply team next time!
