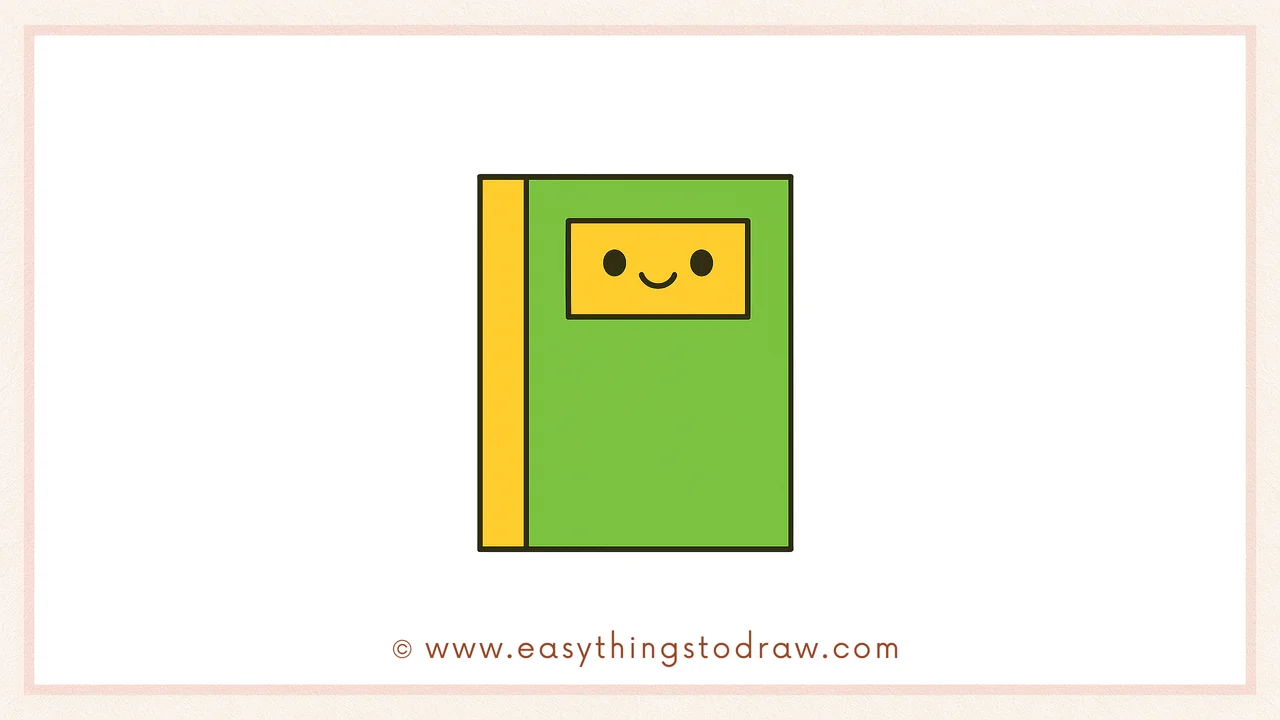
Want to draw your own school supplies? Let’s start with a super cute notebook! This beginner-friendly drawing guide will help kids sketch a cartoon notebook with simple shapes and a happy personality. Grab your pencil and follow along—perfect for school-themed art or creative journaling fun!
What You Need:
- A pencil
- An eraser
- A black marker (for outlining)
- Coloring tools (crayons, markers, or colored pencils)
- Drawing paper
Step by Step Notebook Drawing Instructions
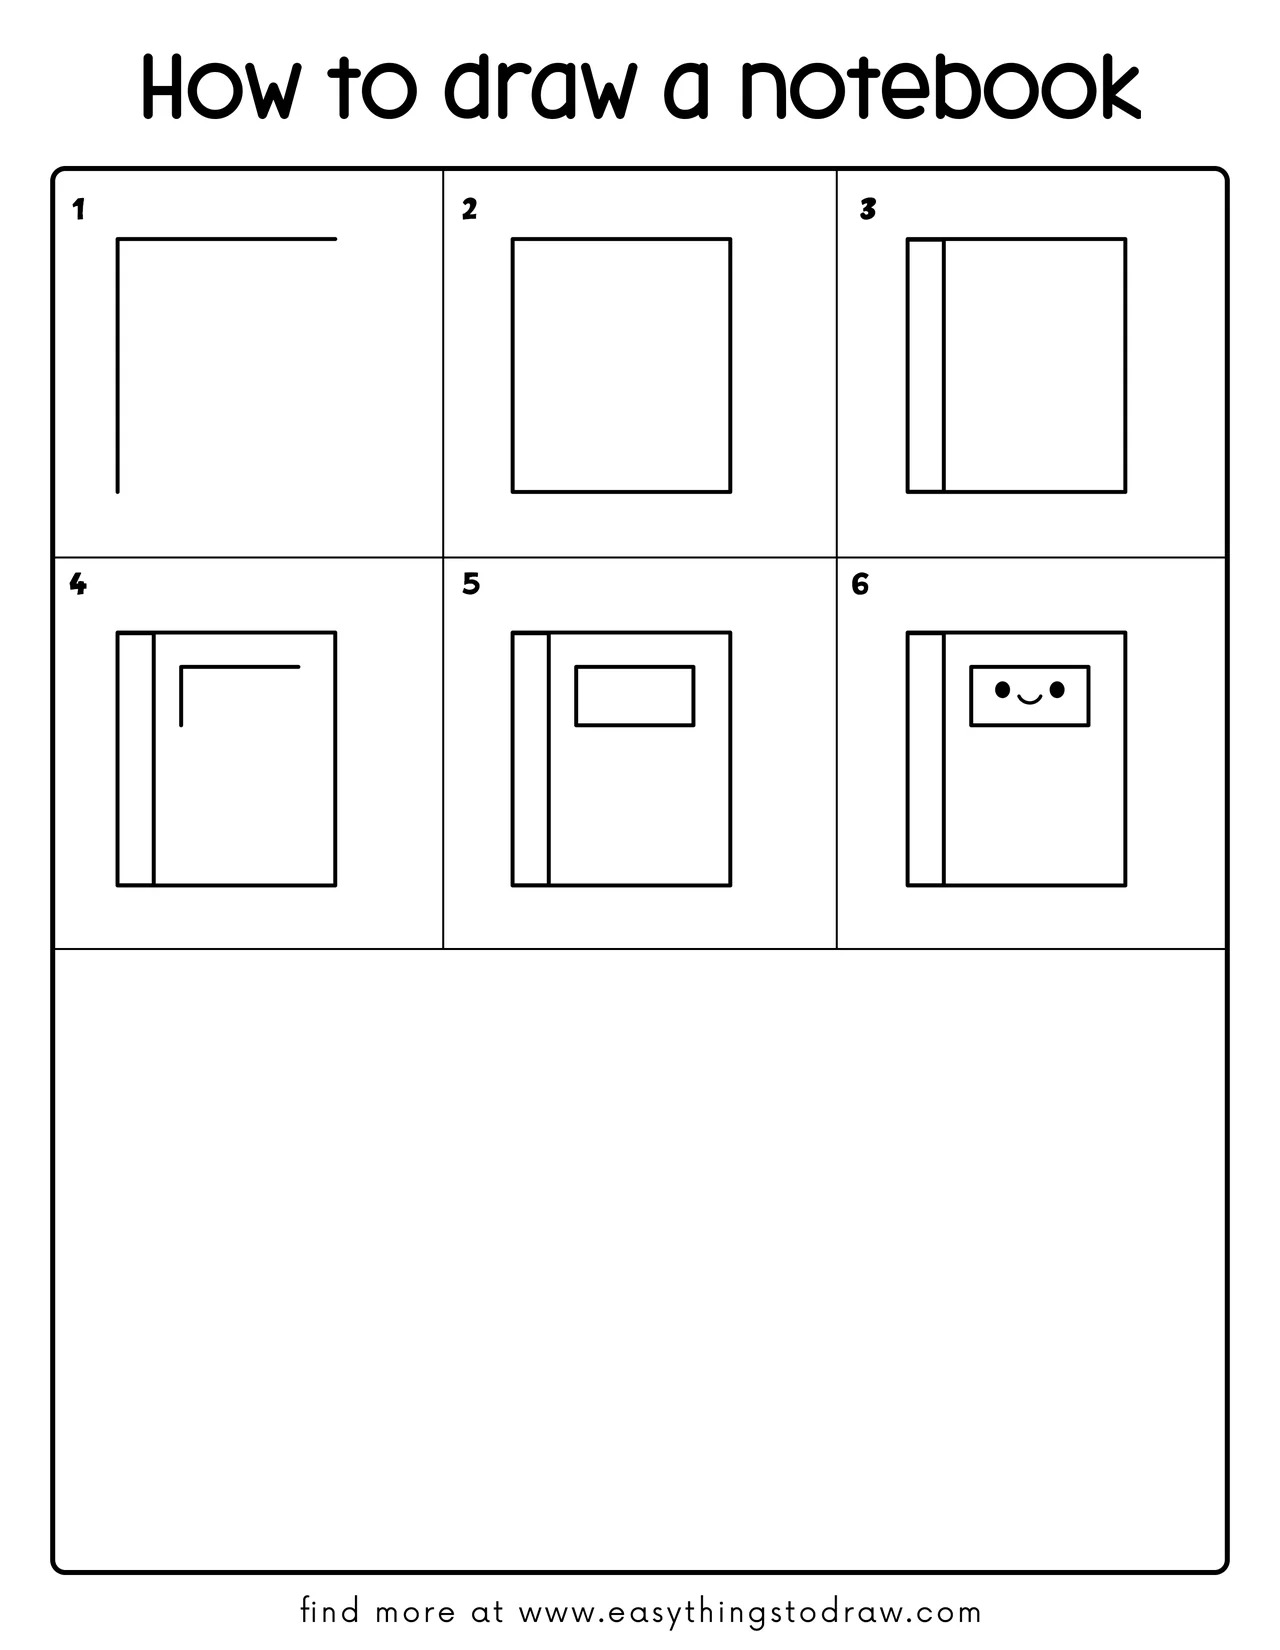
Step 1 – Draw the Left and Top Sides
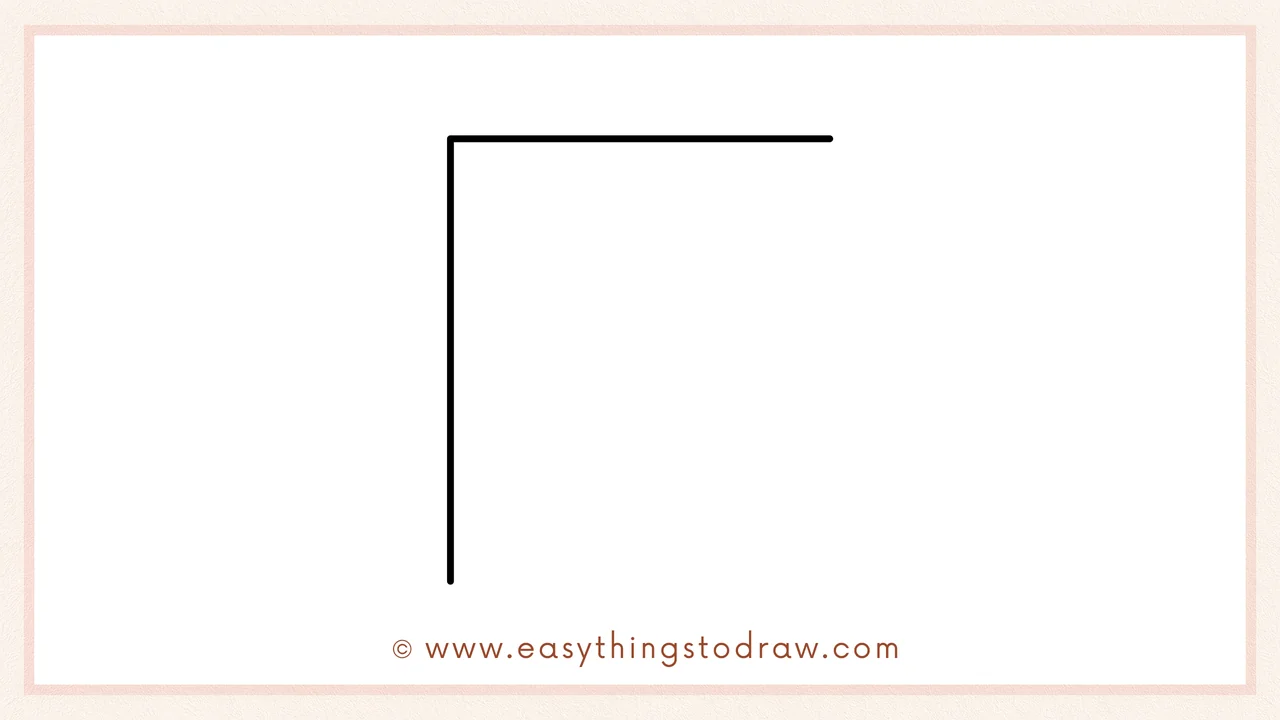
Start with an “L” shape near the top left of your paper. Make the lines straight and long—this will become the left and top sides of your notebook.
Step 2 – Complete the Rectangle
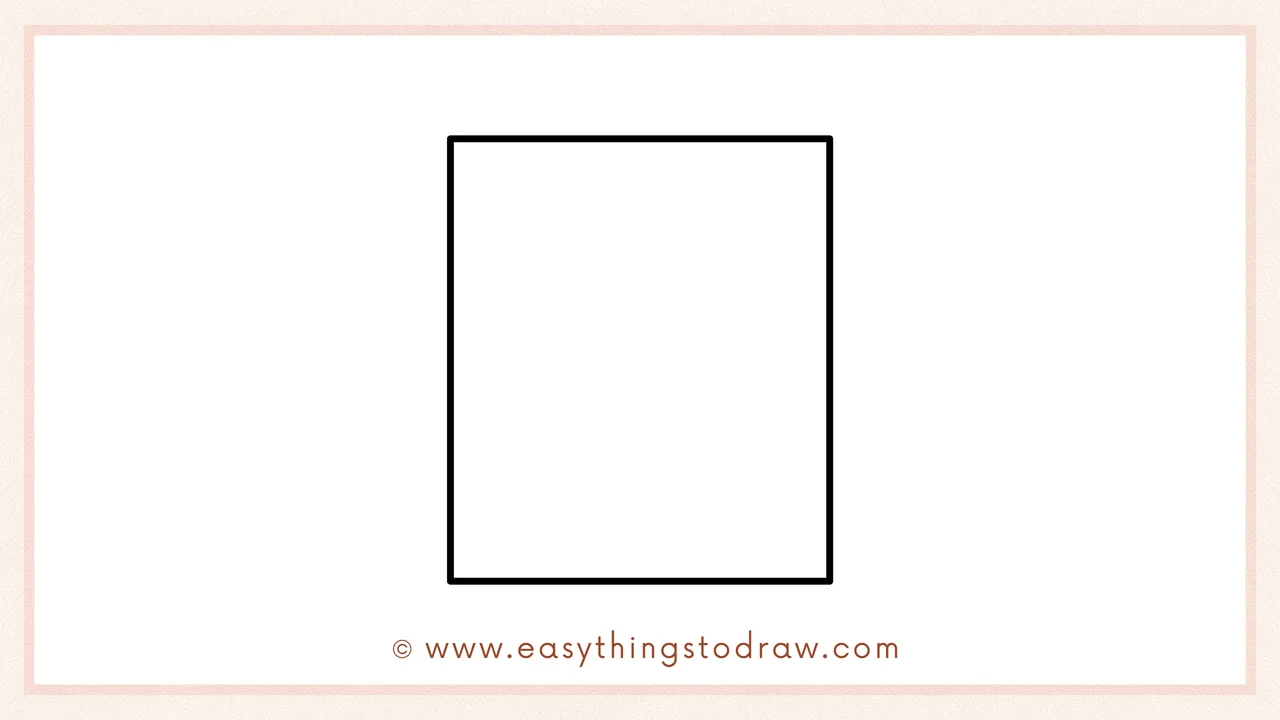
Now connect the lines to form a full rectangle. This is the main shape of your notebook.
Step 3 – Add the Spine Line
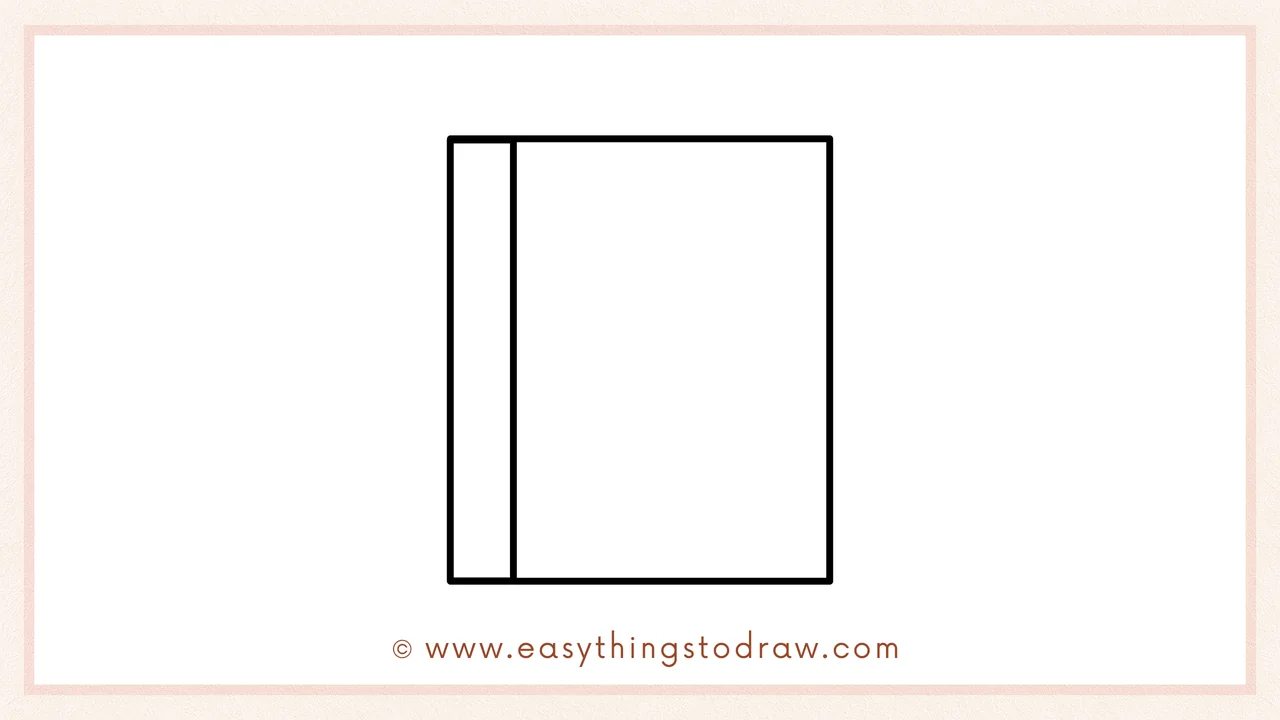
Draw a vertical line near the left edge to show the spine of the notebook. This gives it the look of a real book cover.
Step 4 – Sketch a Label Outline

Inside the front cover, draw a smaller “L” shape to begin the label. This is where a title or name can go.
Step 5 – Finish the Label

Complete the label by connecting the lines into a full rectangle. Now your notebook has a nameplate!
Step 6 – Add a Cute Face Inside the Label
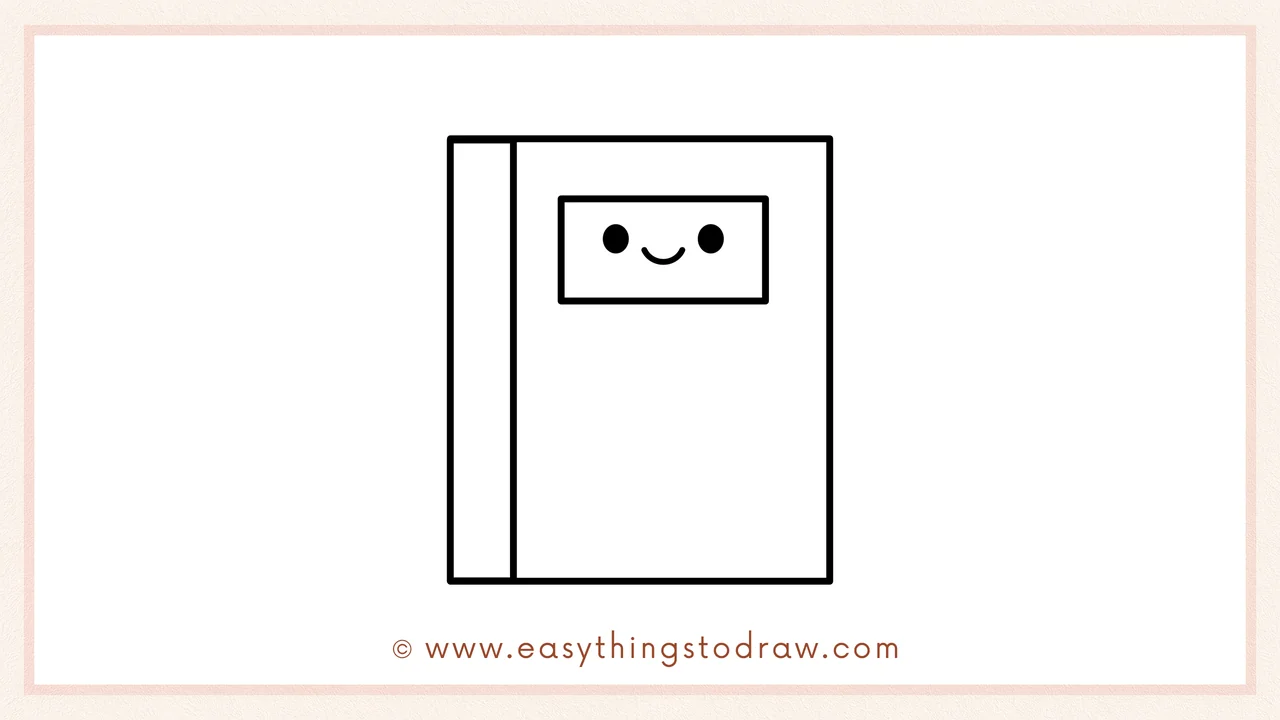
Time to give your notebook some charm! Inside the label, add two black dots for eyes and a small curved smile between them. Now your notebook is smiling!
Frequently Asked Questions (FAQ)
Can I decorate the notebook with extra doodles?
Absolutely! Try stars, lightning bolts, hearts, or even school subjects written in the label.
What color should I make the notebook?
Any color works! Try classic blue, bold red, or pastel purple. You can also do rainbow stripes!
Is this tutorial good for kindergarten kids?
Yes! The steps are simple and use basic shapes. Perfect for ages 4–10.
Can I draw more than one notebook?
Of course! Try drawing a stack of notebooks in different colors for a full school vibe.
Printable Drawing Tutorials
Download Printable How to draw a notebook Drawing Tutorials
You Did It!
Awesome job drawing your own notebook! Now that you’ve created one, try making it special—add stickers, draw lined pages, or give it a name like “My Dream Ideas.” You can even draw a matching pencil or backpack next. Don’t forget to show your artwork to someone proud of you!
