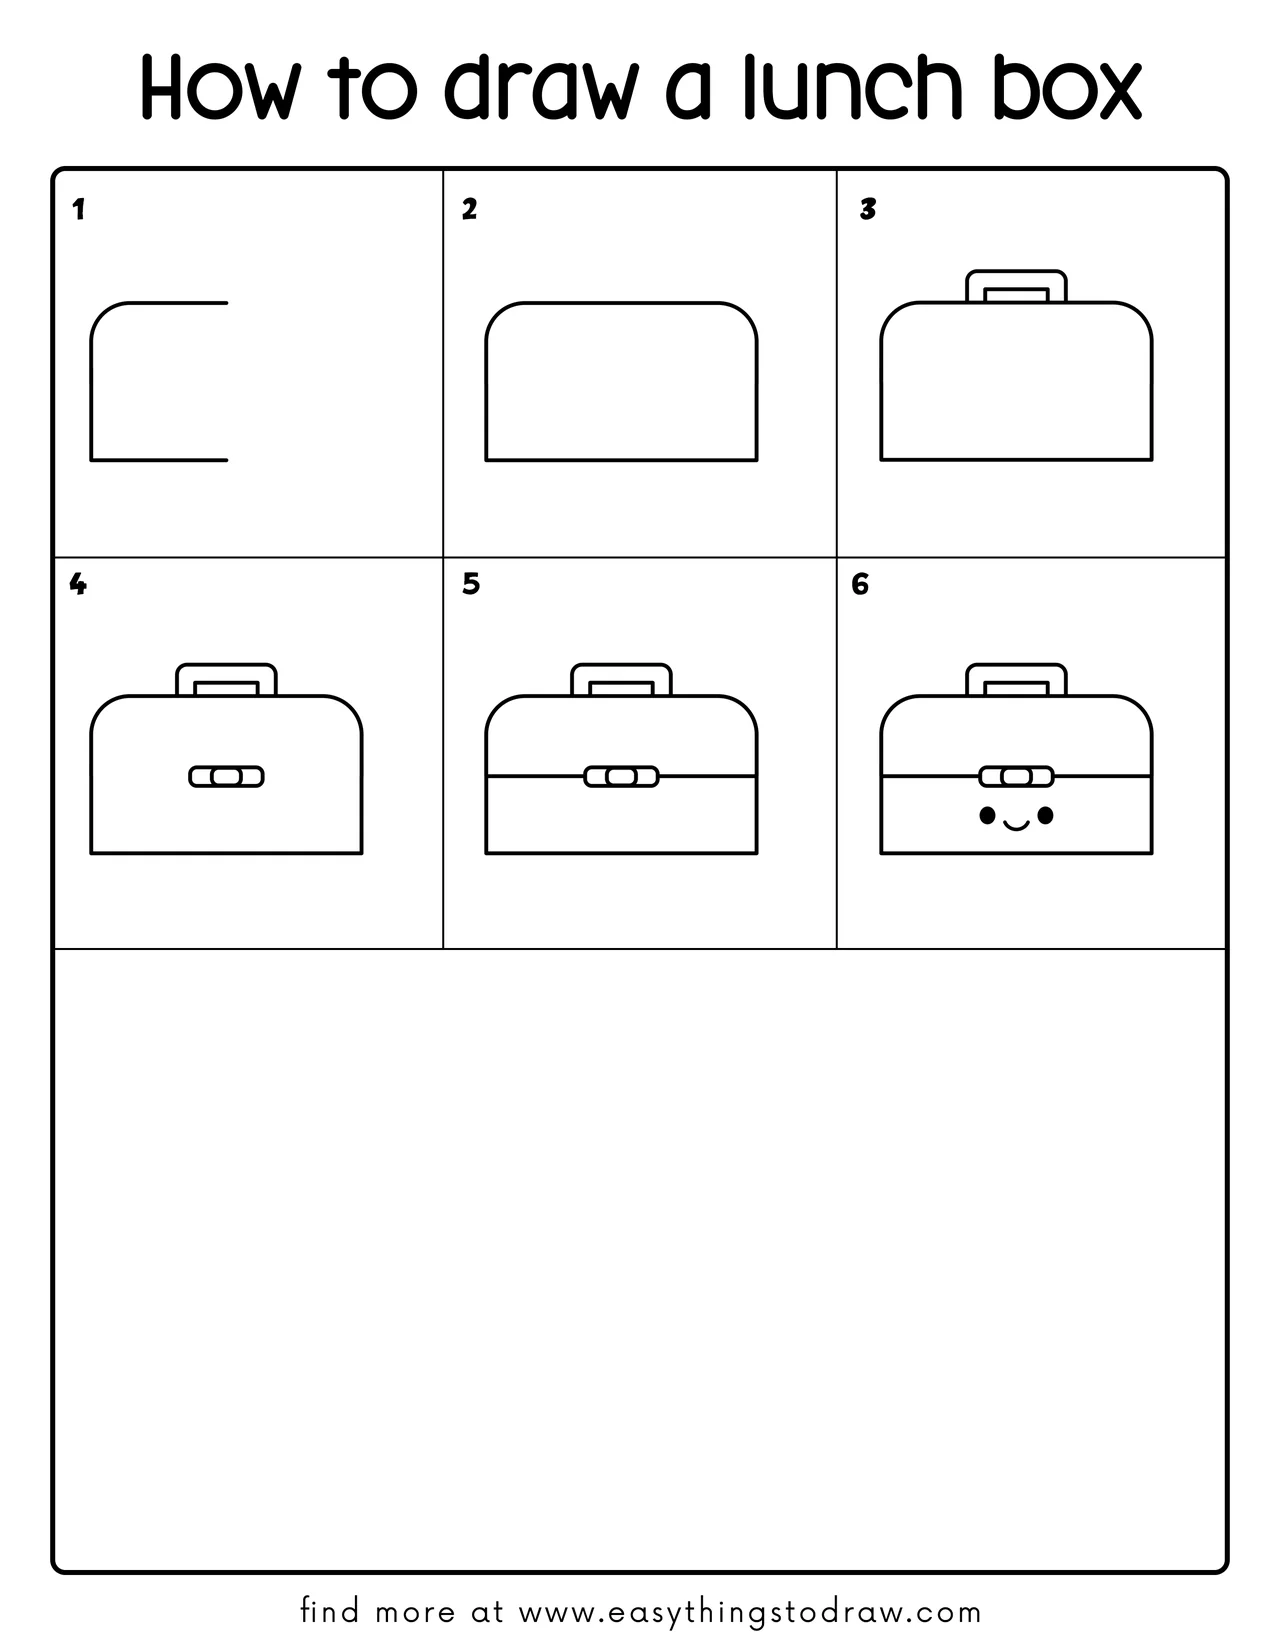
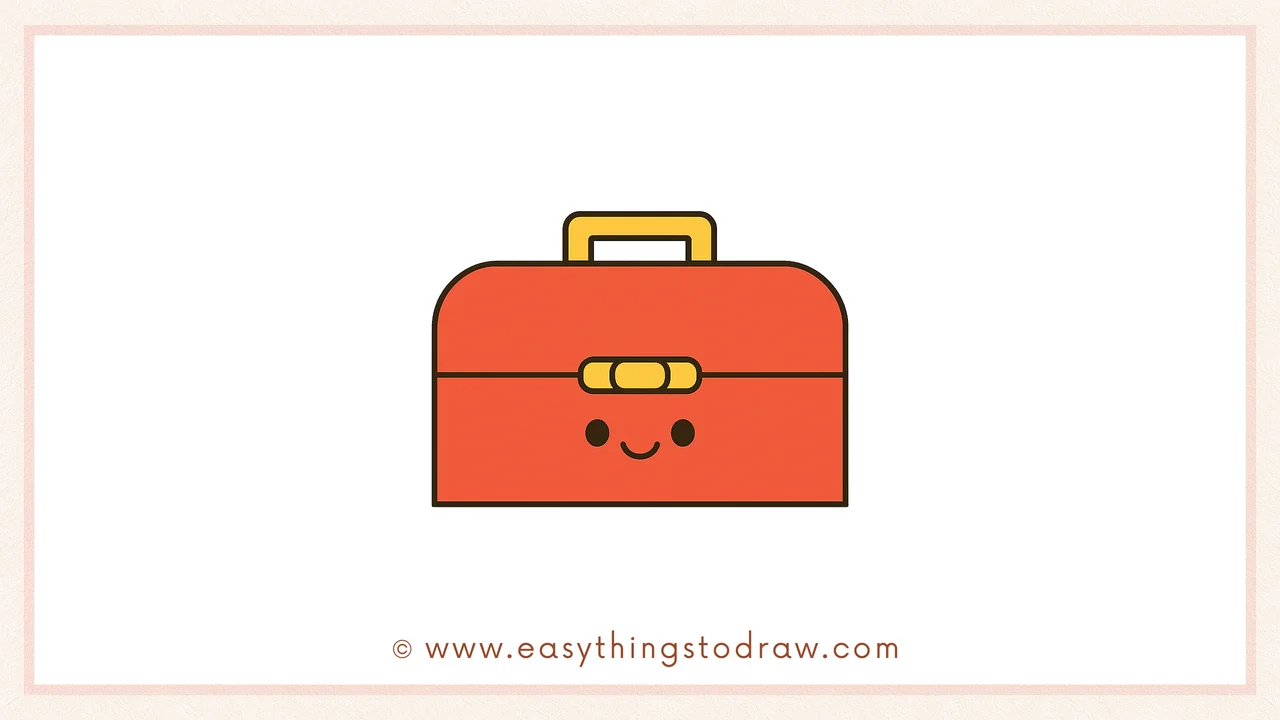
Drawing your own lunch box is a super fun way to imagine all the tasty snacks inside! In this step-by-step tutorial, kids and beginners can follow along to create a cute cartoon lunch box with a happy face. This drawing project is simple, creative, and perfect for young artists who love to doodle everyday objects.
What You Need:
- A pencil
- An eraser
- A black marker (for outlining)
- Coloring tools (crayons, markers, or colored pencils)
- Drawing paper
Step by Step Lunch Box Drawing Instructions
Step 1 – Start with the Rounded Left Corner
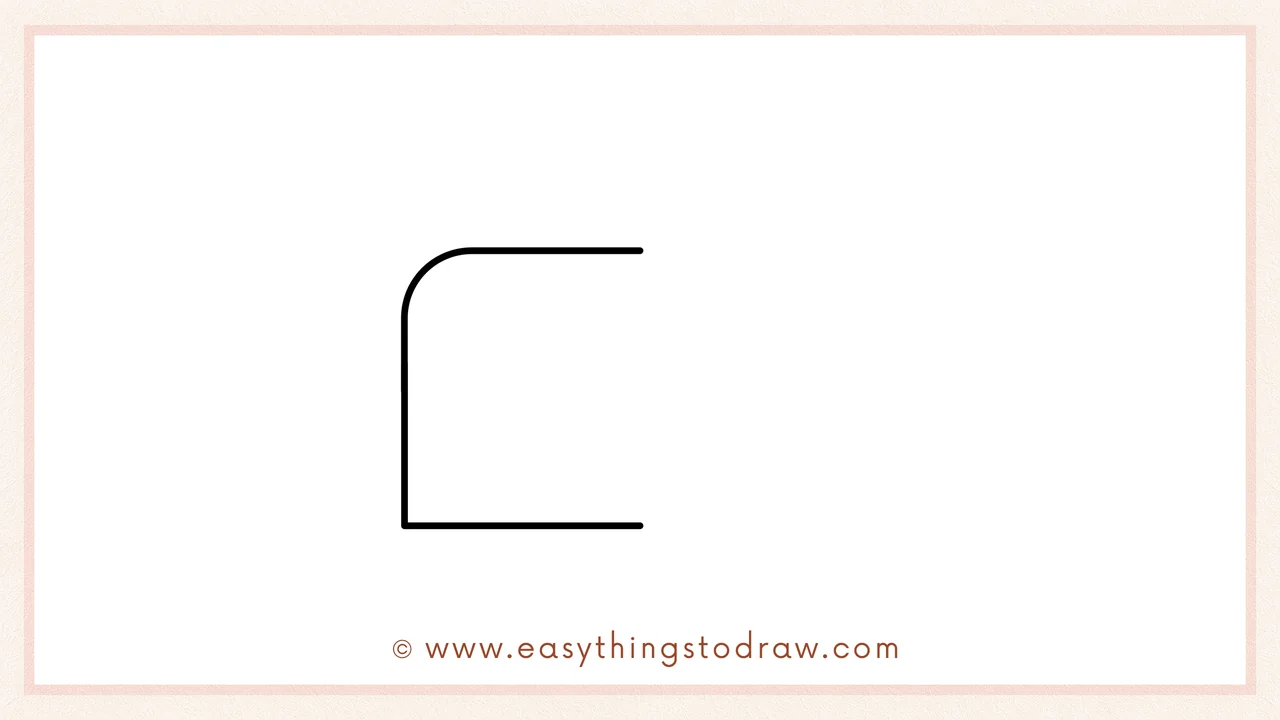
Draw a large backward “L” shape on the left side. Make the top part rounded to form the curved top-left corner of the lunch box.
Step 2 – Complete the Rectangle with a Rounded Top
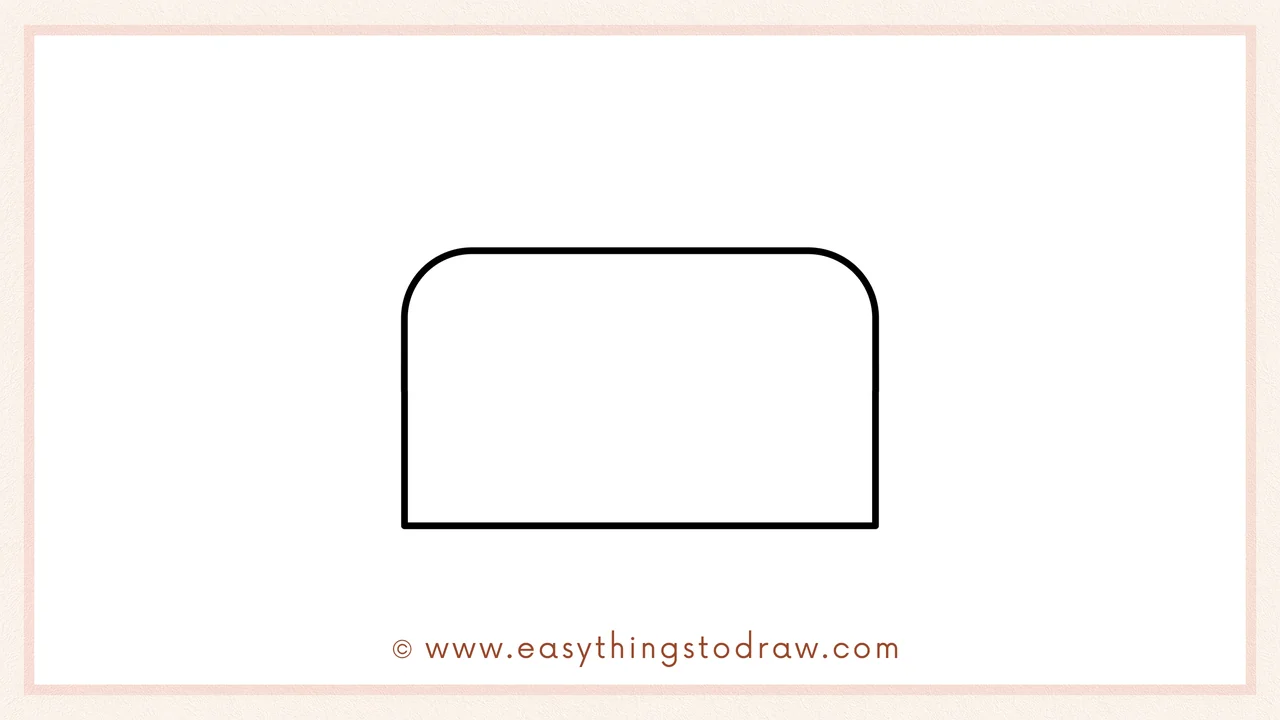
Now extend the top and bottom lines to the right to form a wide rectangle with rounded top corners. This makes the full body of the lunch box.
Step 3 – Add the Handle on Top
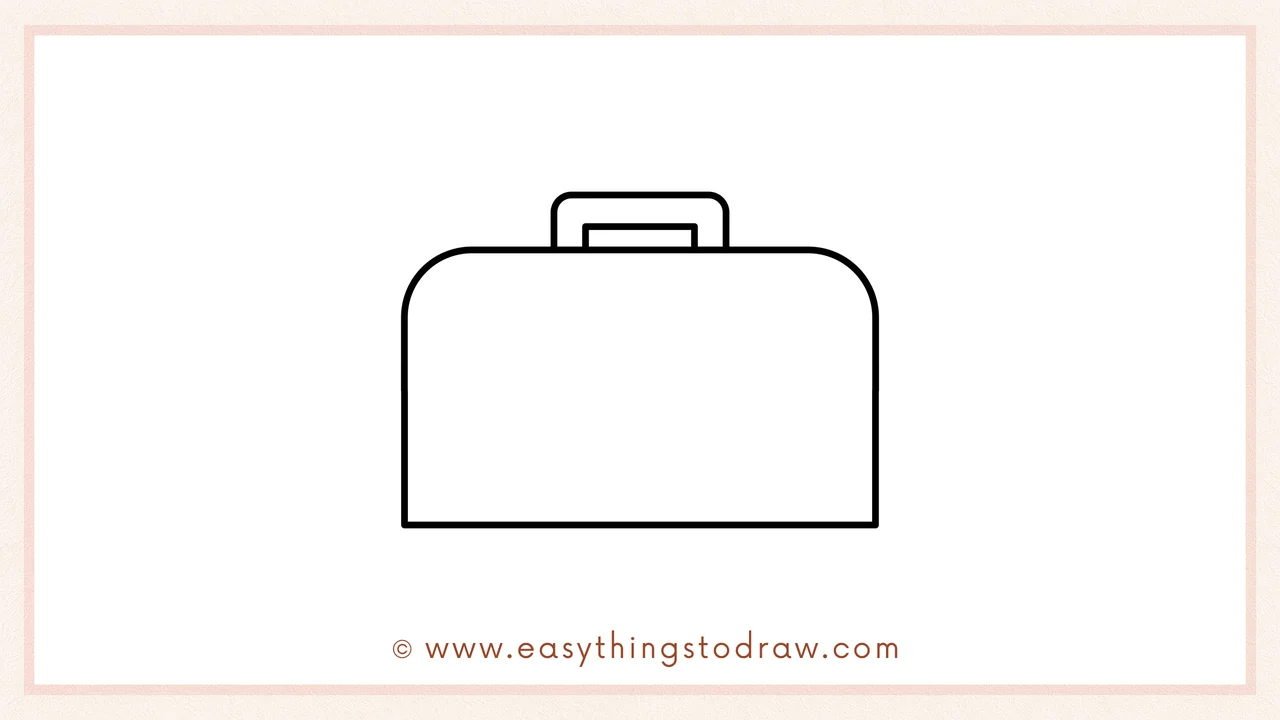
Draw a rectangular handle on the top center of the lunch box. Start with a smaller rectangle inside a larger one to make it look 3D.
Step 4 – Draw the Center Clasp
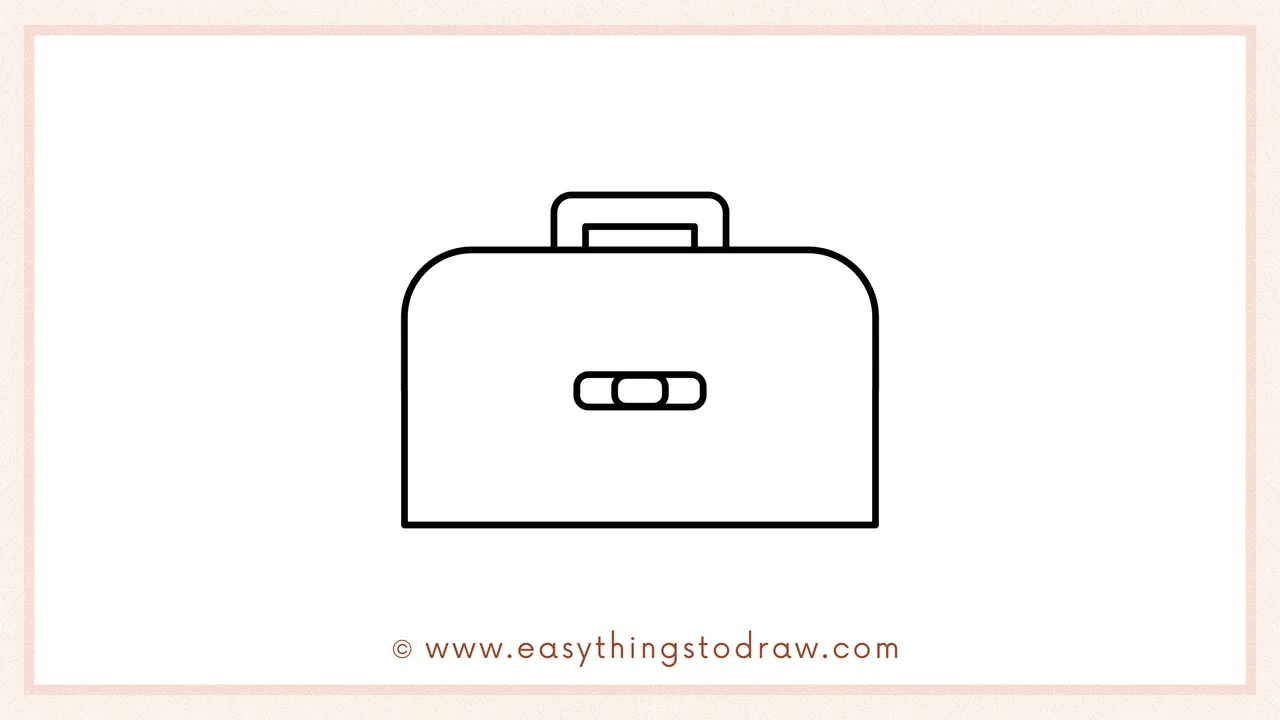
Add an oval-shaped buckle clasp in the center of the box. This will help your lunch box stay “shut” and look more realistic.
Step 5 – Divide the Lid from the Base
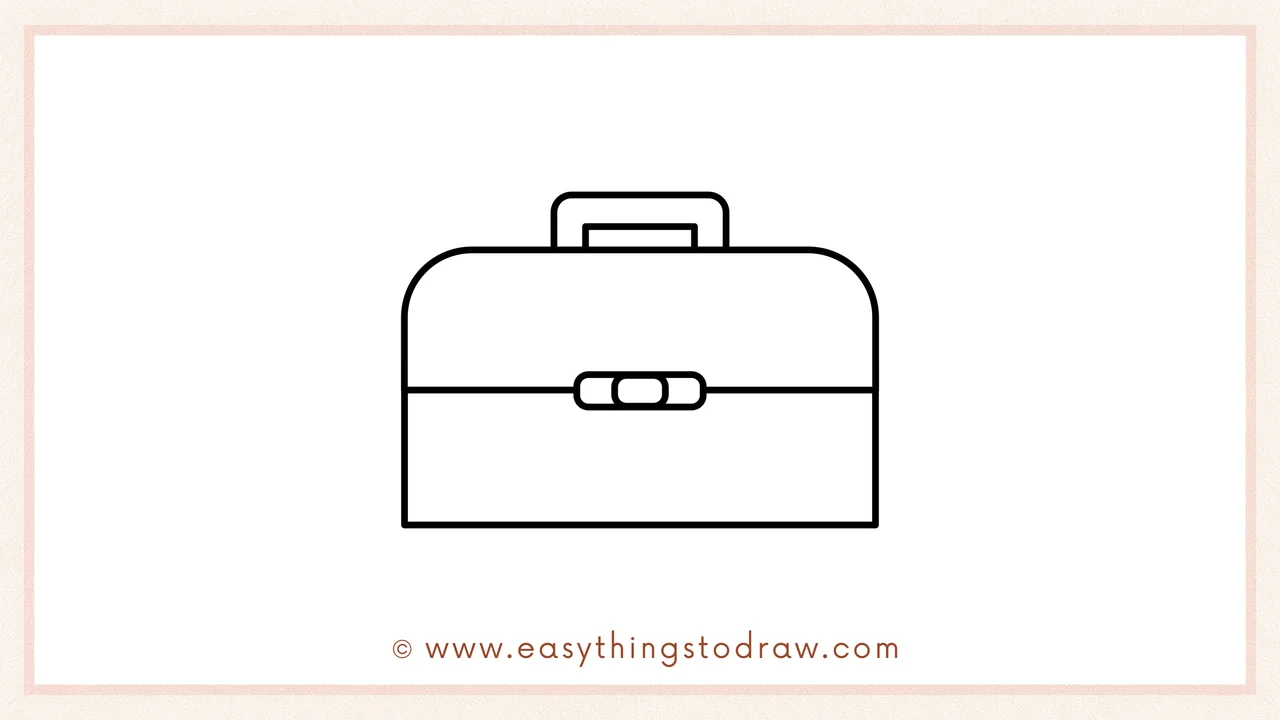
Draw a horizontal line across the middle of the box, running behind the clasp. Now your lunch box has a clear lid and base!
Step 6 – Add a Happy Face!
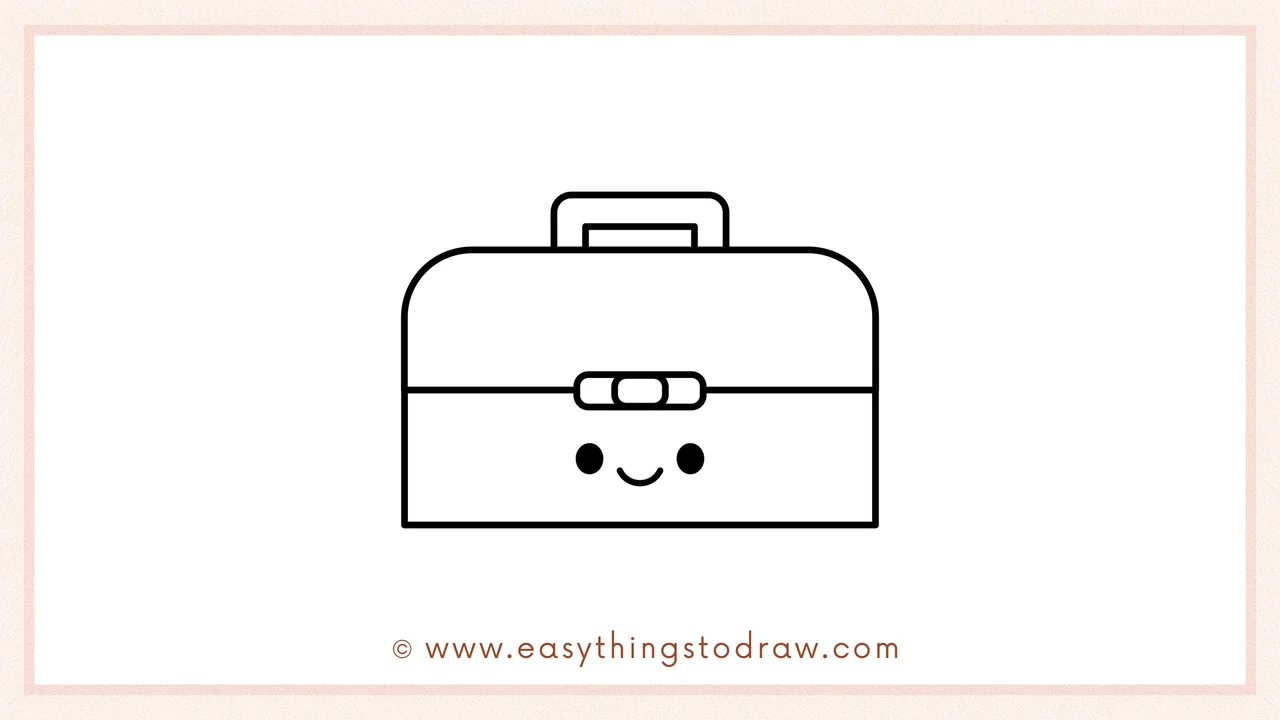
Let’s give it personality! Add two black dots for eyes and a little smile right under the clasp. Your lunch box is officially adorable!
Frequently Asked Questions (FAQ)
Can I draw food inside the lunch box too?
Yes! Try drawing a sandwich, fruit, or cookies peeking out the top.
What colors should I use?
Bright lunch box colors like red, blue, green, or even pink work great. You can also add fun patterns!
Is this tutorial okay for young kids?
Definitely. The simple shapes make it great for ages 4 and up.
Can I change the clasp or handle shape?
Of course! Try making a round clasp or even a zippered look — make it your own!
Printable Drawing Tutorials
Download Printable How to draw a lunch box Drawing Tutorials
You Did It!
Great job drawing your cartoon lunch box! Whether it’s filled with yummy snacks or just showing off its happy face, your drawing is full of charm. Want to personalize it? Add a name tag, stickers, or draw it on a picnic blanket scene. Don’t forget to show your friends or put it on the fridge!

