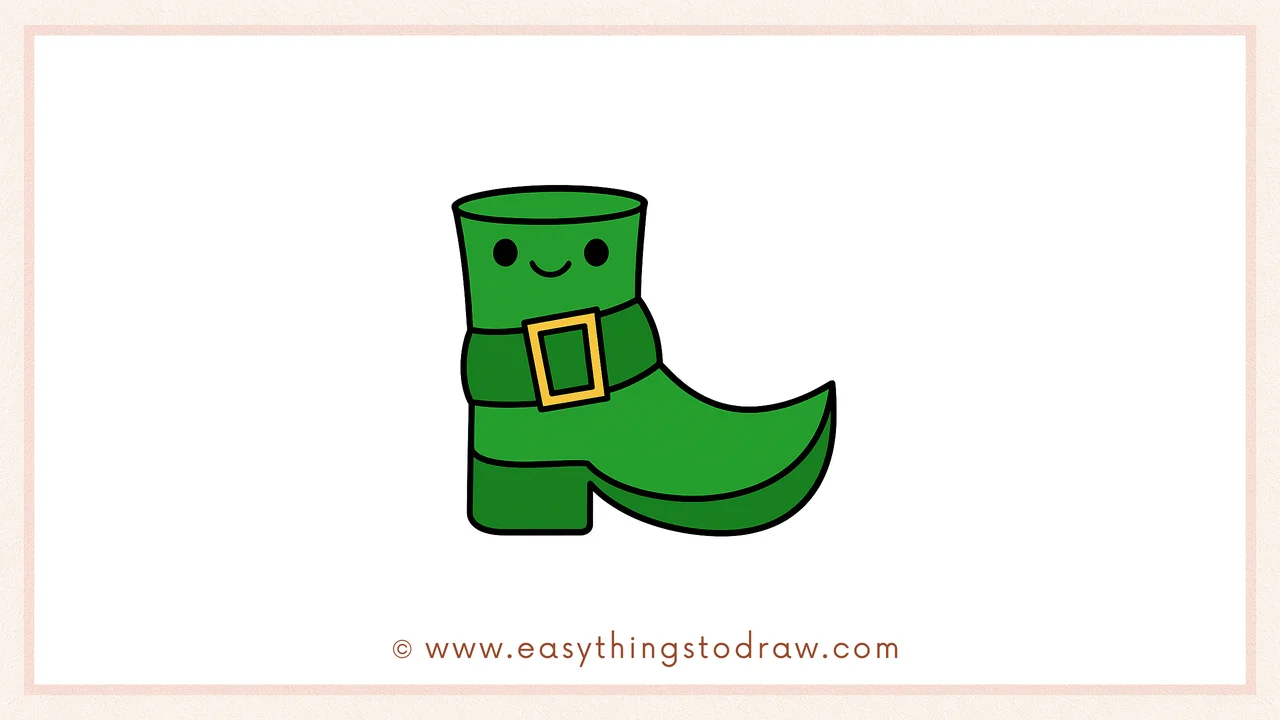
Ever wonder what kind of shoes leprechauns wear? Now you can draw one! In this step-by-step boot drawing tutorial, we’ll show you how to create a lucky leprechaun boot — complete with a curled toe and shiny buckle. Perfect for St. Patrick’s Day fun!
This guide is perfect for:
- Kids who love magical creatures and Irish legends 🍀
- Beginners looking to draw clothing and accessories ✏️
- Teachers and parents planning festive holiday crafts 👞
👩🎨 Created by Easy Things to Draw
We specialize in making easy, step-by-step drawing tutorials just for kids and beginners. Every lesson is developed by certified educators who know how to break art down into fun and simple shapes.
With over a decade of experience in teaching art to young learners, we focus on confidence-building creativity through clear instructions and playful designs.
✨ Why This Leprechaun Boot Tutorial Is Magical
👢 Whimsical Design for Young Artists
This cartoon boot has a curl, a buckle, and big personality!📐 Easy Shape Breakdown
Each step uses beginner-friendly curves, ovals, and rectangles👩🏫 Teacher-Reviewed Instructions
All steps are approved for clarity and classroom use🎨 Add Your Own Style
Kids can add sparkles, rainbow socks, or even gold coming out!
🔒 100% Safe and Classroom Ready
We make sure all our drawing guides:
– Are age-appropriate and ad-free
– Can be printed for easy offline use
– Align with educational art standards
Let’s Get Started!
Ready to draw a boot fit for a tiny treasure-guarding leprechaun? Grab your pencil and follow along below!
What You Need:
- A pencil
- An eraser
- A black marker (for outlining)
- Coloring tools (crayons, markers, or colored pencils)
- Drawing paper
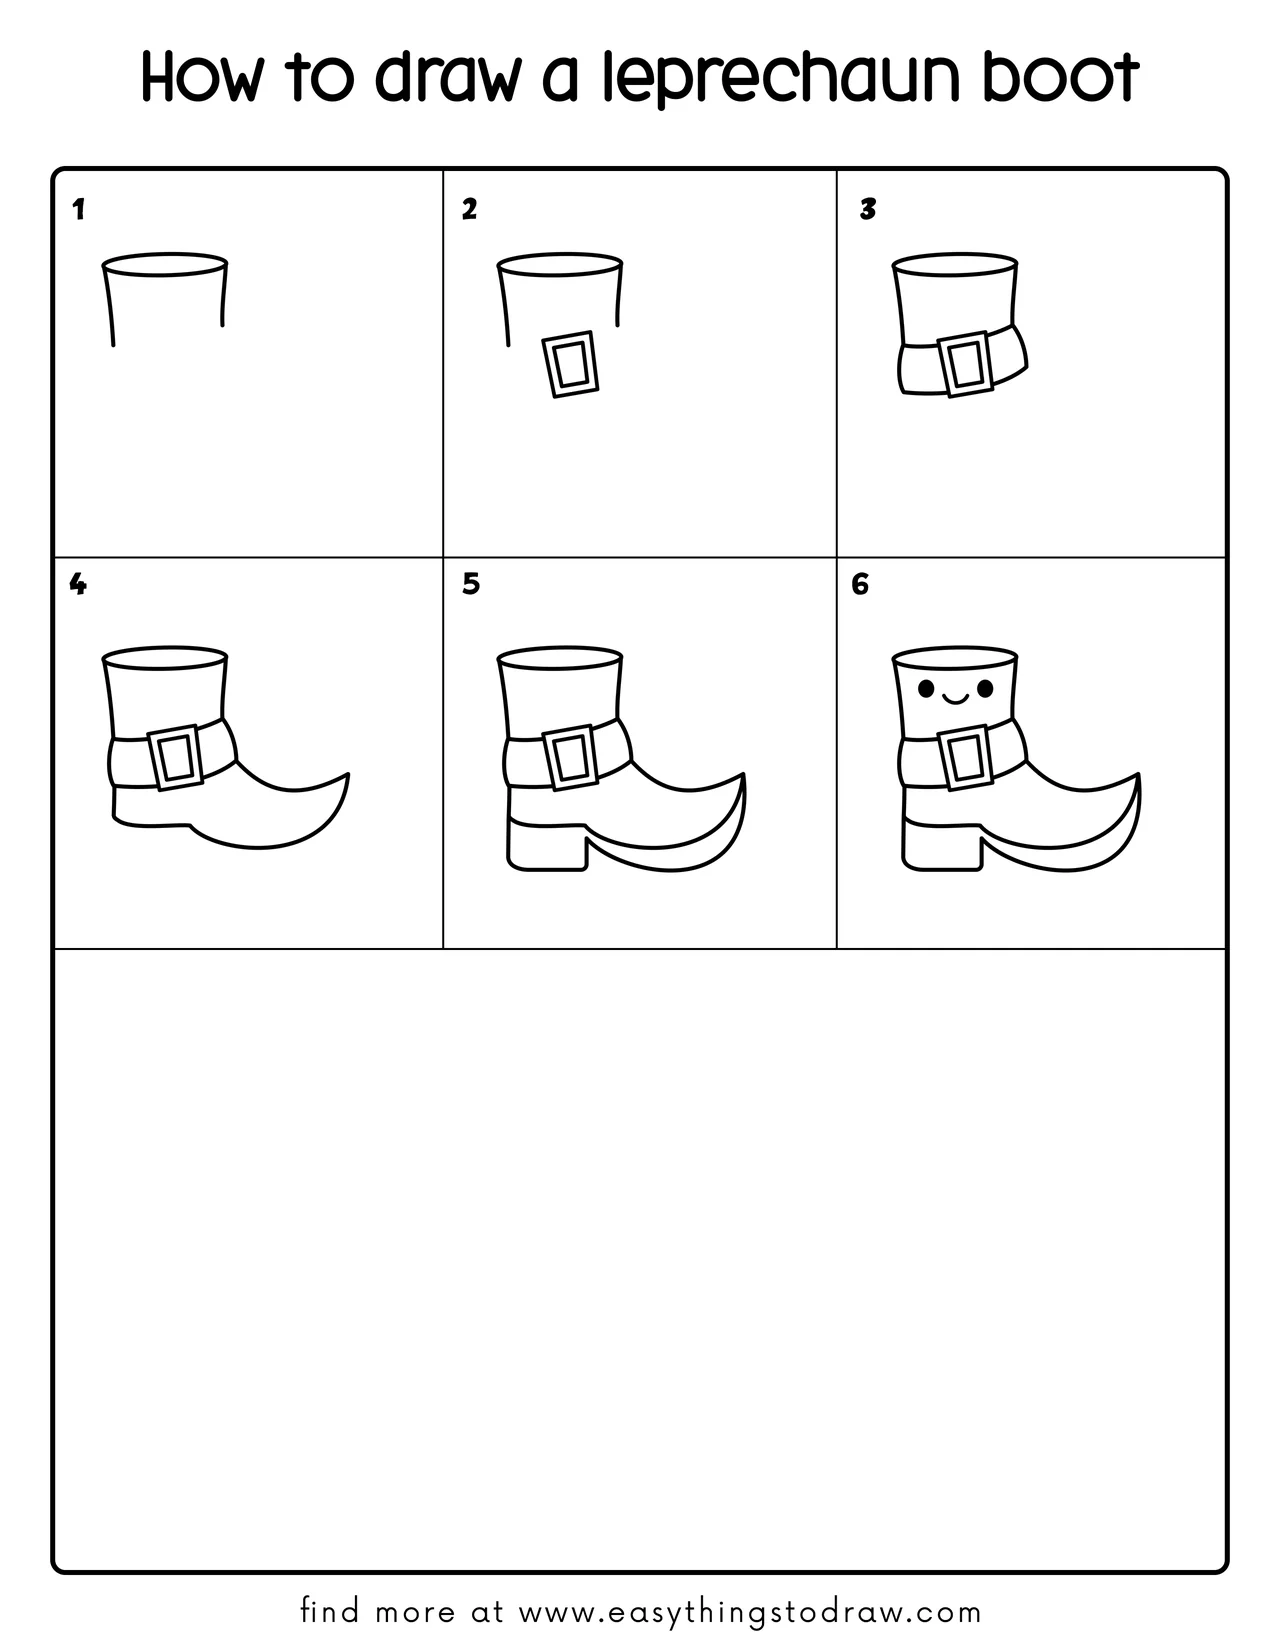
Step by Step Leprechaun Boot Drawing Instructions
Step 1 – Start the Boot Top
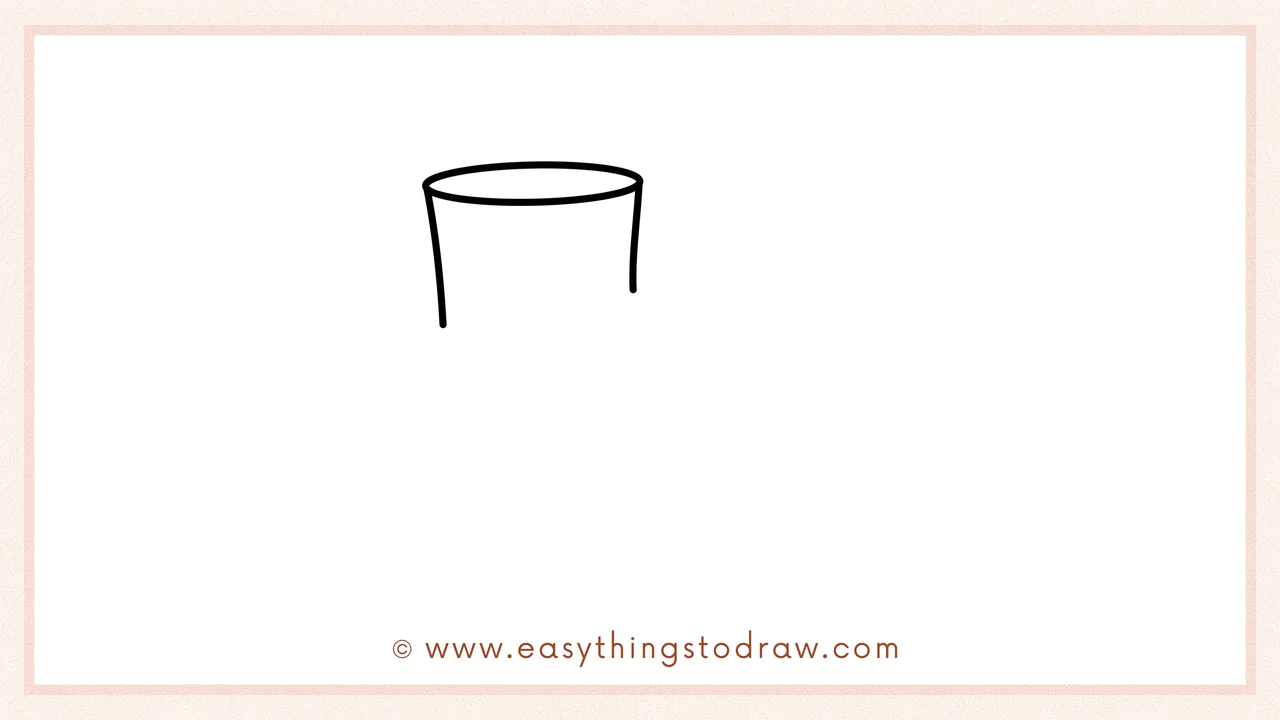
Draw an oval near the top for the boot opening, then add two vertical curved lines going down for the sides.
Step 2 – Add a Belt Buckle
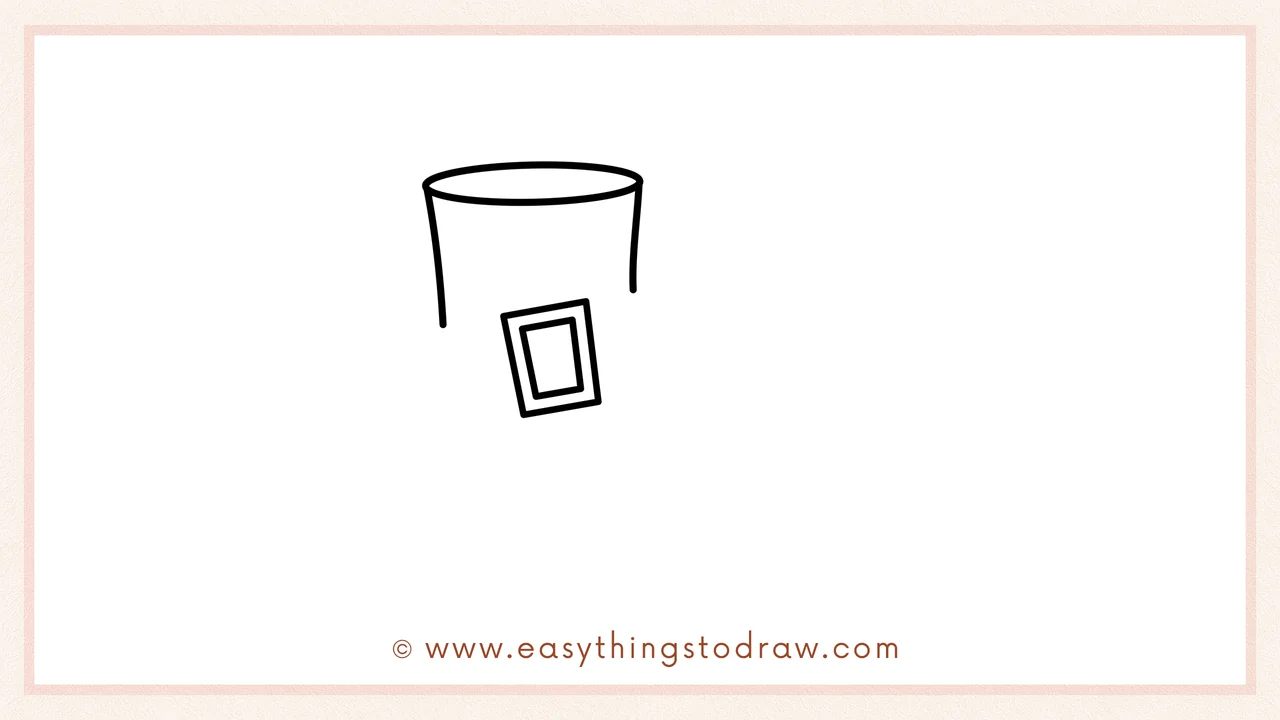
Draw a slanted square with a smaller square inside — this is the shiny belt buckle!
Step 3 – Draw the Belt Band
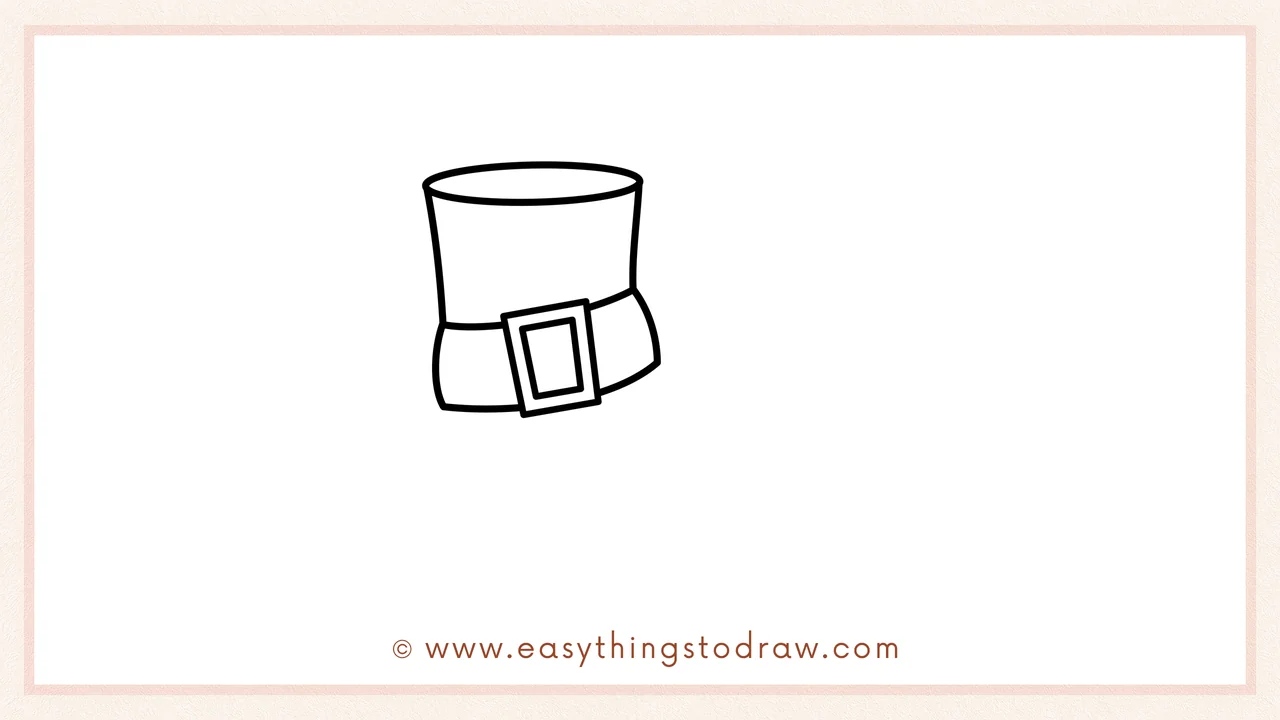
Wrap the buckle with two curved lines around the boot — now it looks like a real leprechaun’s magical strap!
Step 4 – Sketch the Curled Toe
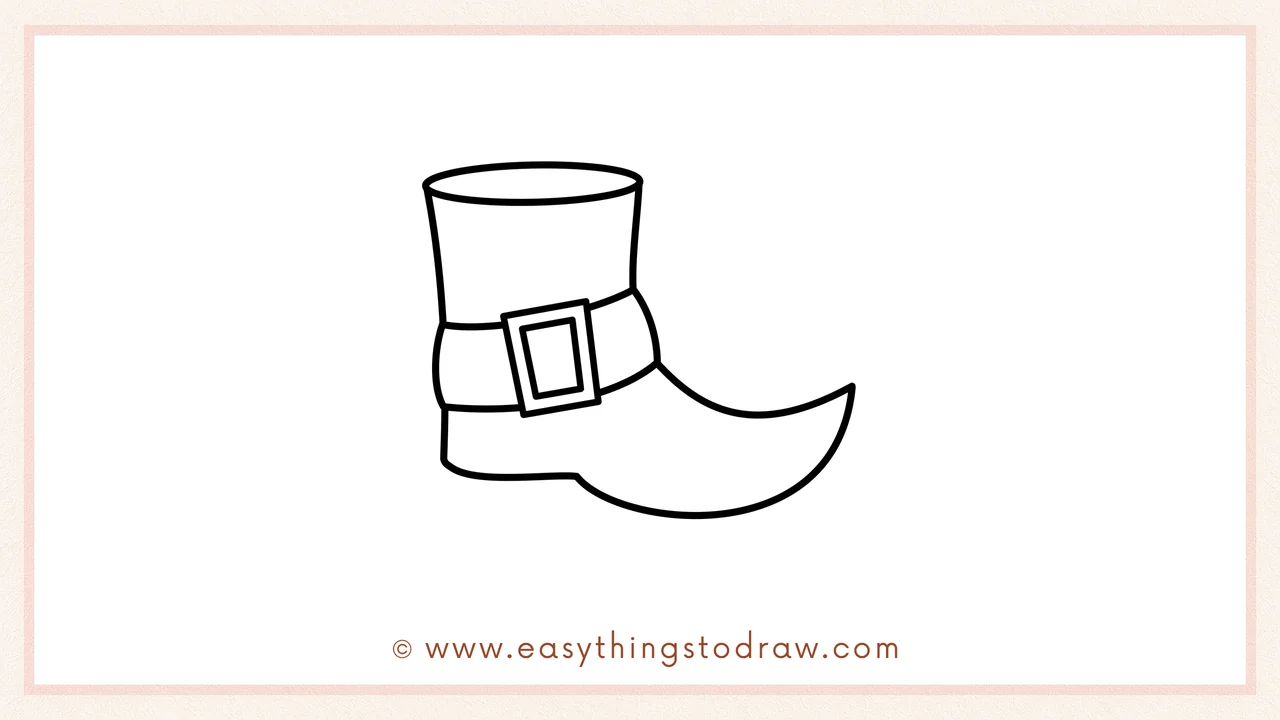
Now draw the front of the boot — a long line that curves into a curled toe. Add the bottom part of the boot as a flat shape.
Step 5 – Outline the Sole and Add Detail
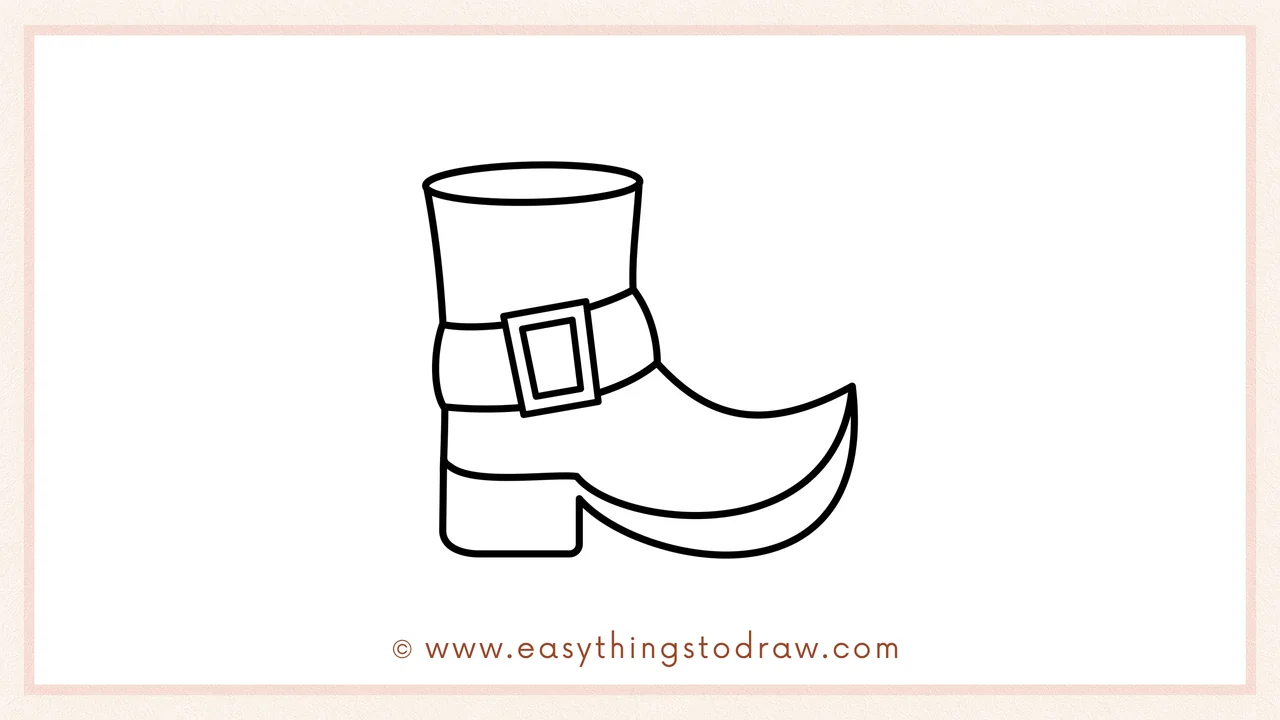
Draw another line under the toe to show the sole. This makes the boot look more 3D and grounded.
Step 6 – Add a Smiley Face (Optional!)
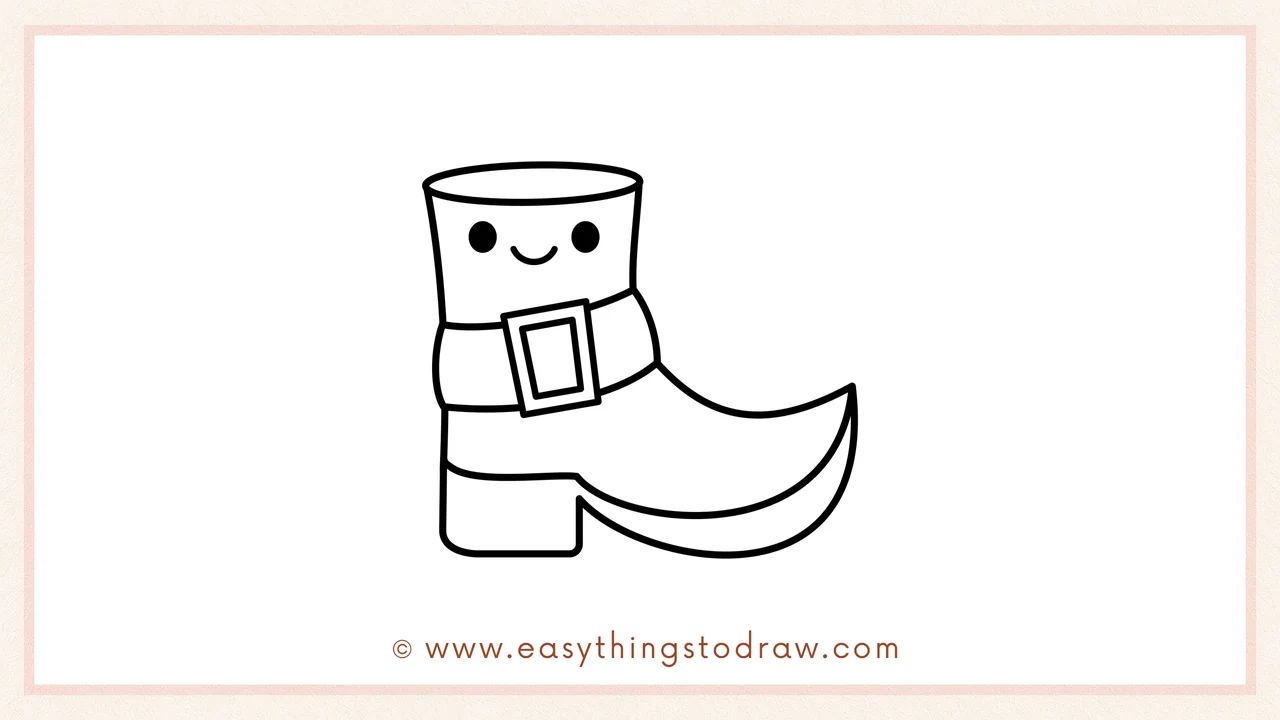
Give your boot some Irish cheer by adding two dot eyes and a happy smile right above the buckle.
Frequently Asked Questions (FAQ)
Can I change the shape of the boot?
Yes! Feel free to make your leprechaun boot taller, pointier, or even turn it into a sneaker. Creativity is encouraged!
What color should I use?
Green, gold, black, and brown are traditional St. Patrick’s Day colors, but rainbow boots are totally awesome too.
Is this tutorial okay for group crafts?
Definitely! It’s fun, simple, and perfect for classroom, homeschool, or party activities.
What if my buckle isn’t perfect?
That’s okay! Handmade art is unique. A wonky buckle gives your boot personality — just like a real leprechaun might wear.
Printable Drawing Tutorials
Download Printable How to draw a leprechaun boot Drawing Tutorials
You Did It!
Bravo! You just finished drawing a magical leprechaun boot — and it looks ready for a parade or a treasure hunt. Want to make it even cooler? Add stripes on the socks, rainbow shoelaces, or a trail of gold coins coming out!
🍀 Show off your drawing to friends and family
📸 Post it online and tag us if you’d like
🖨️ Print the guide and color your boot in different ways!
