Are you ready to sketch a grinning pumpkin pal? In this fun step-by-step Halloween art tutorial, kids and beginners will learn how to draw a classic jack-o’-lantern with triangle eyes and a toothy smile. It’s an easy and festive project perfect for spooky season decorating or doodling fun!

What You Need:
- A pencil
- An eraser
- A black marker (for outlining)
- Coloring tools (crayons, markers, or colored pencils)
- Drawing paper
Step by Step Jack-O’-Lantern Drawing Instructions
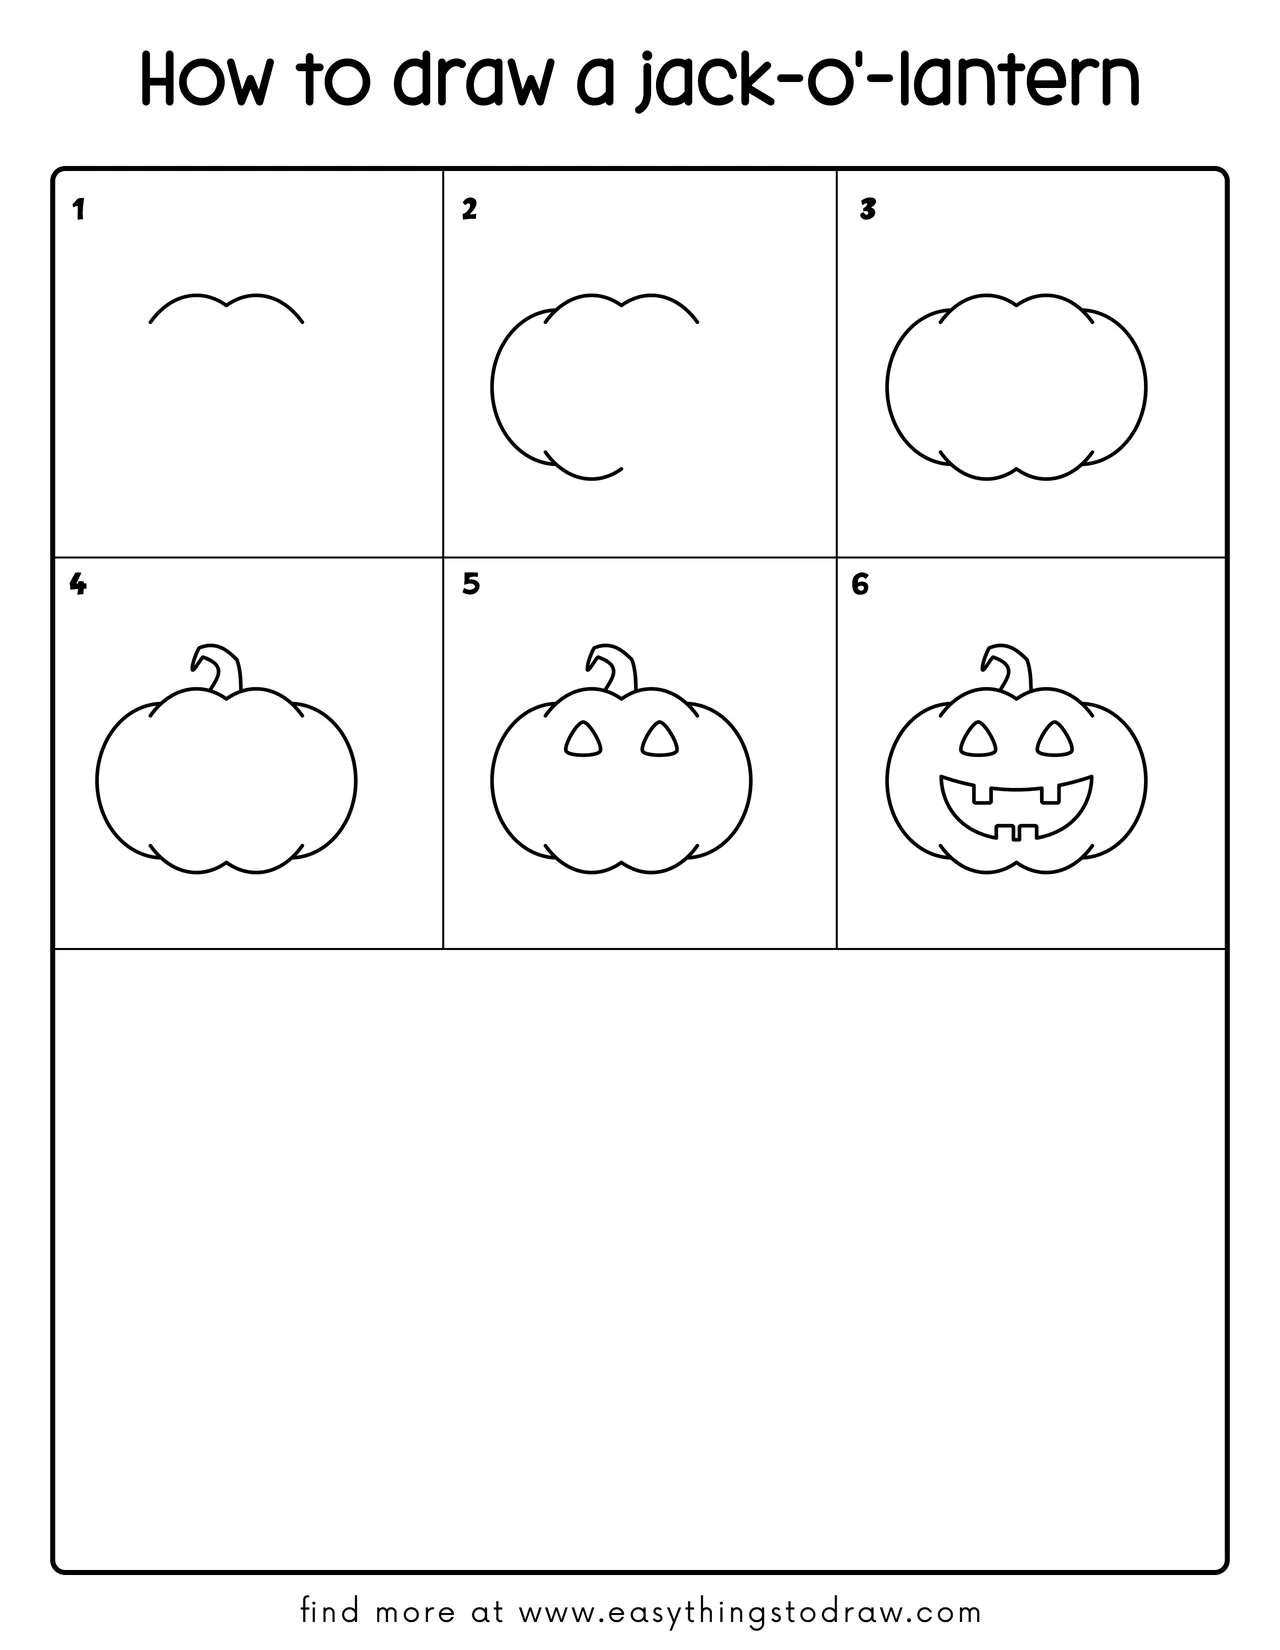
Step 1 – Start with the Pumpkin Top
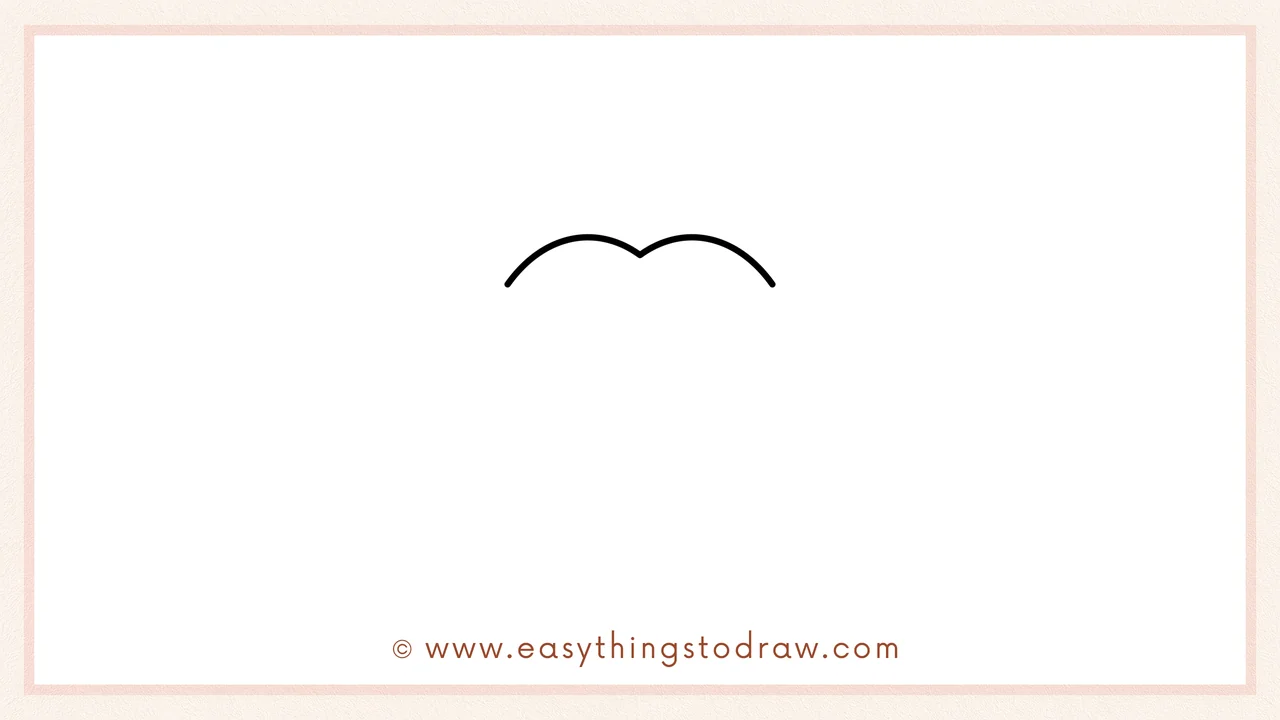
Begin by drawing two bumps side by side near the top of your page—this will be the pumpkin’s upper ridges.
Step 2 – Add Side Curves
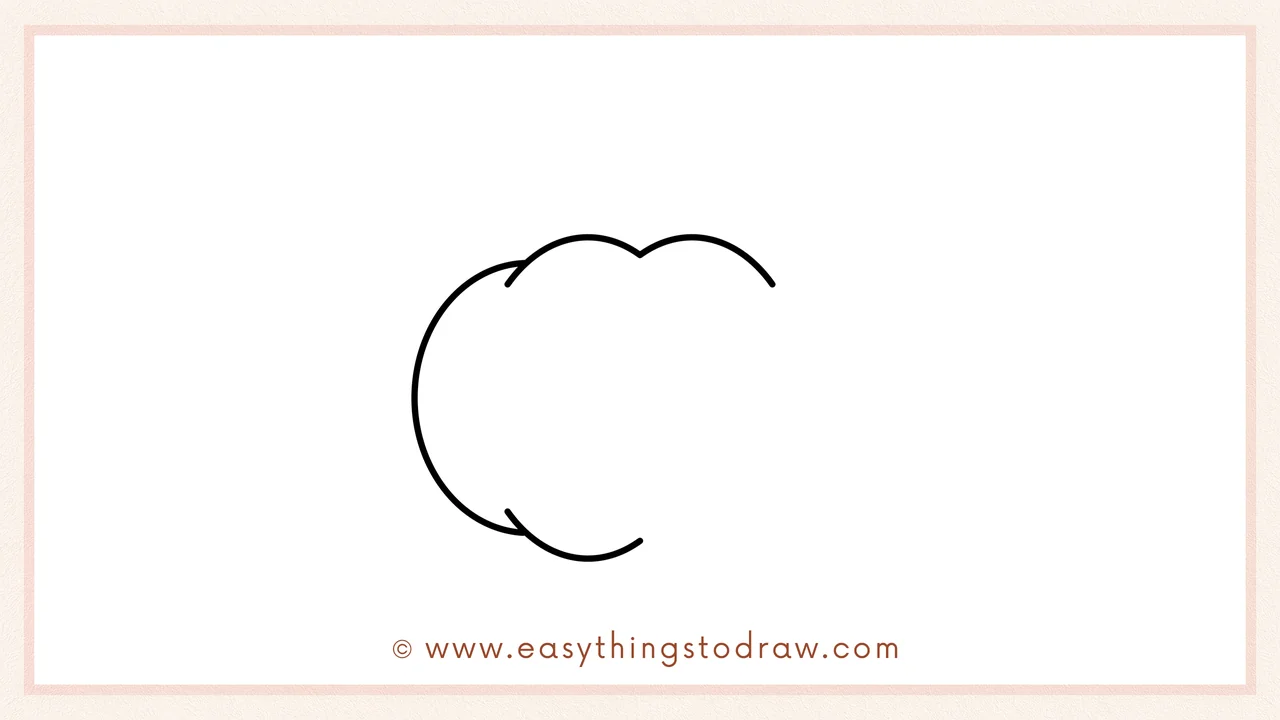
Draw curvy lines going downward from each bump to start shaping the sides of the pumpkin.
Step 3 – Complete the Pumpkin Shape
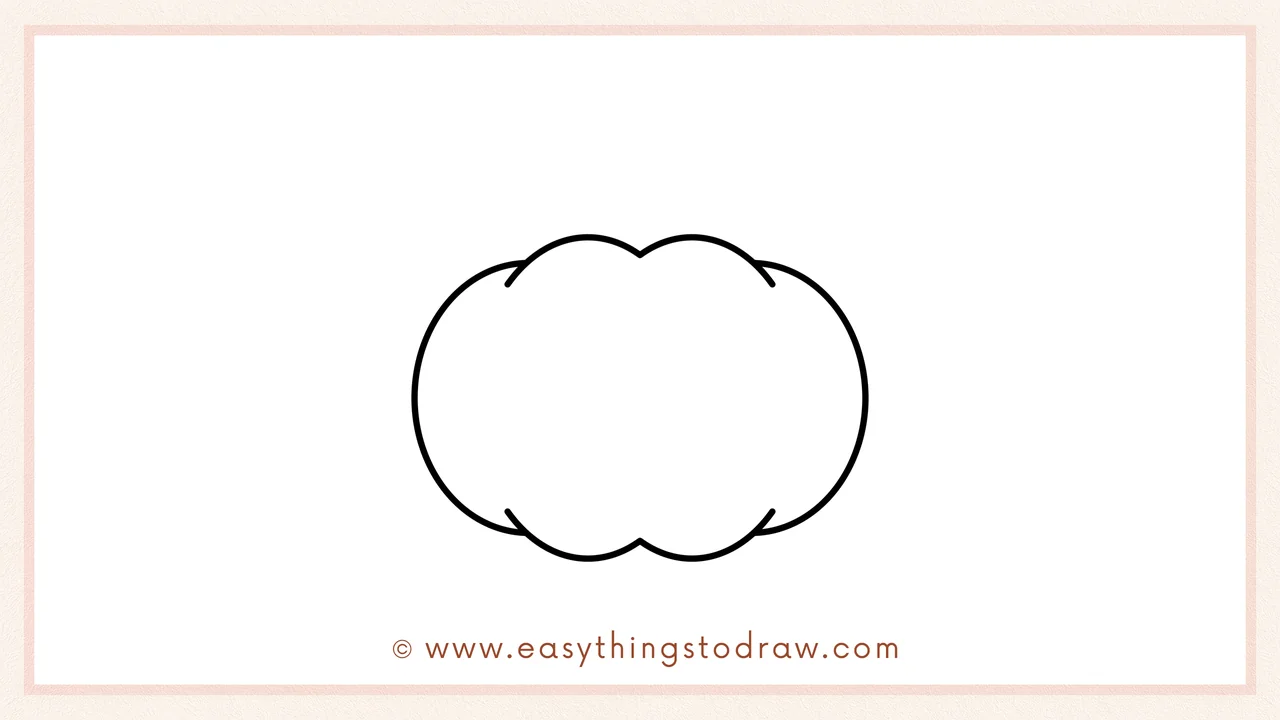
Now draw more bumps along the bottom to finish the round, ridged pumpkin body.
Step 4 – Draw the Pumpkin Stem
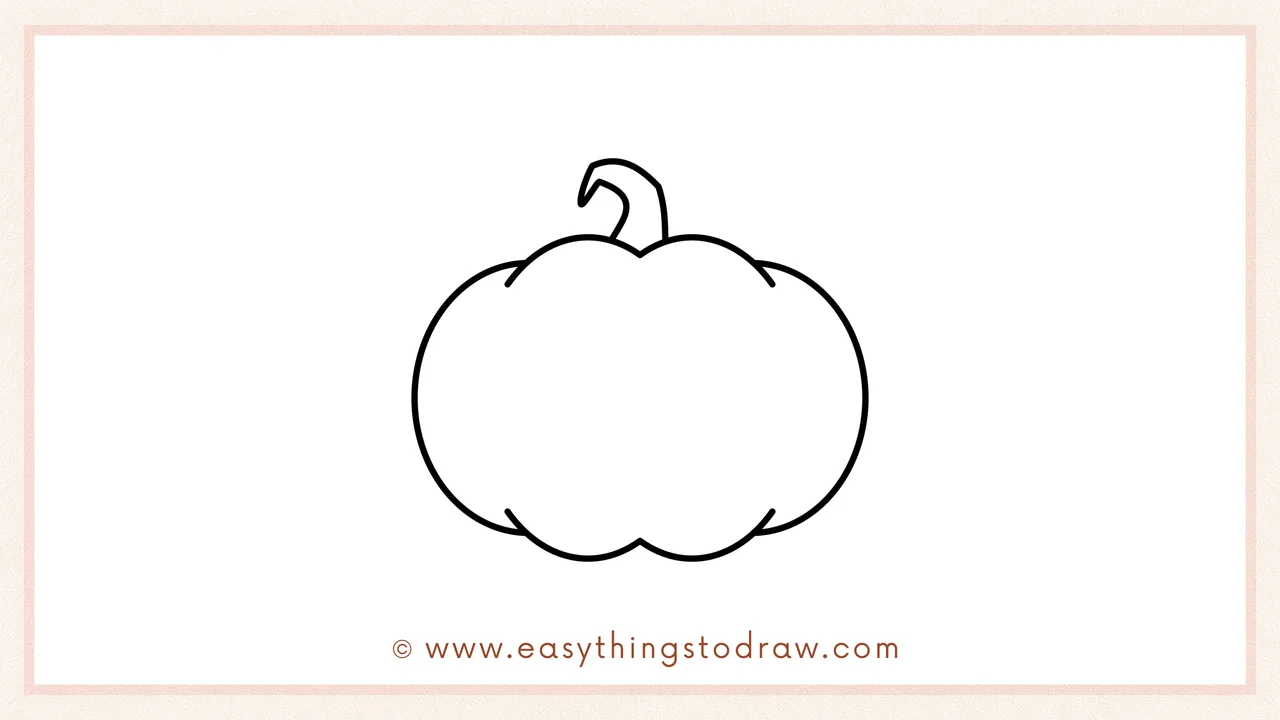
Add a twisty little stem on top using curved lines—it looks like a soft hook.
Step 5 – Add Triangle Eyes
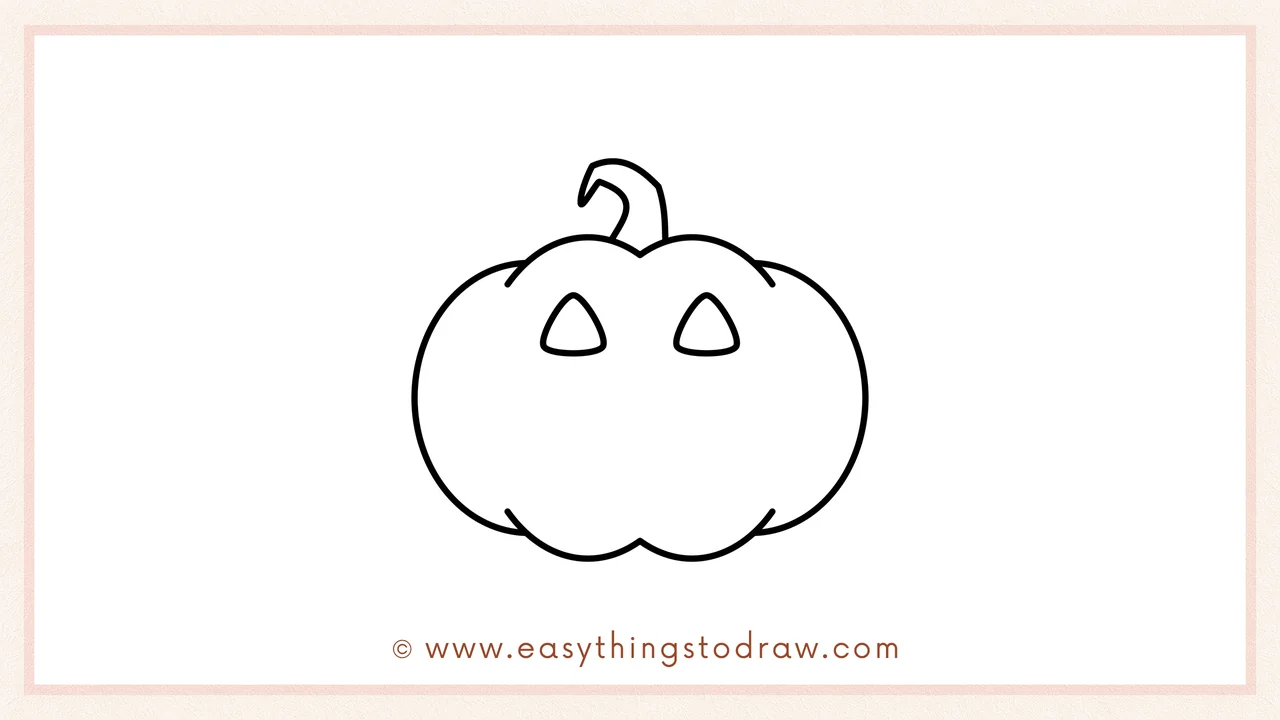
Draw two simple triangle shapes for the eyes in the center of the pumpkin’s face.
Step 6 – Draw a Toothy Smile
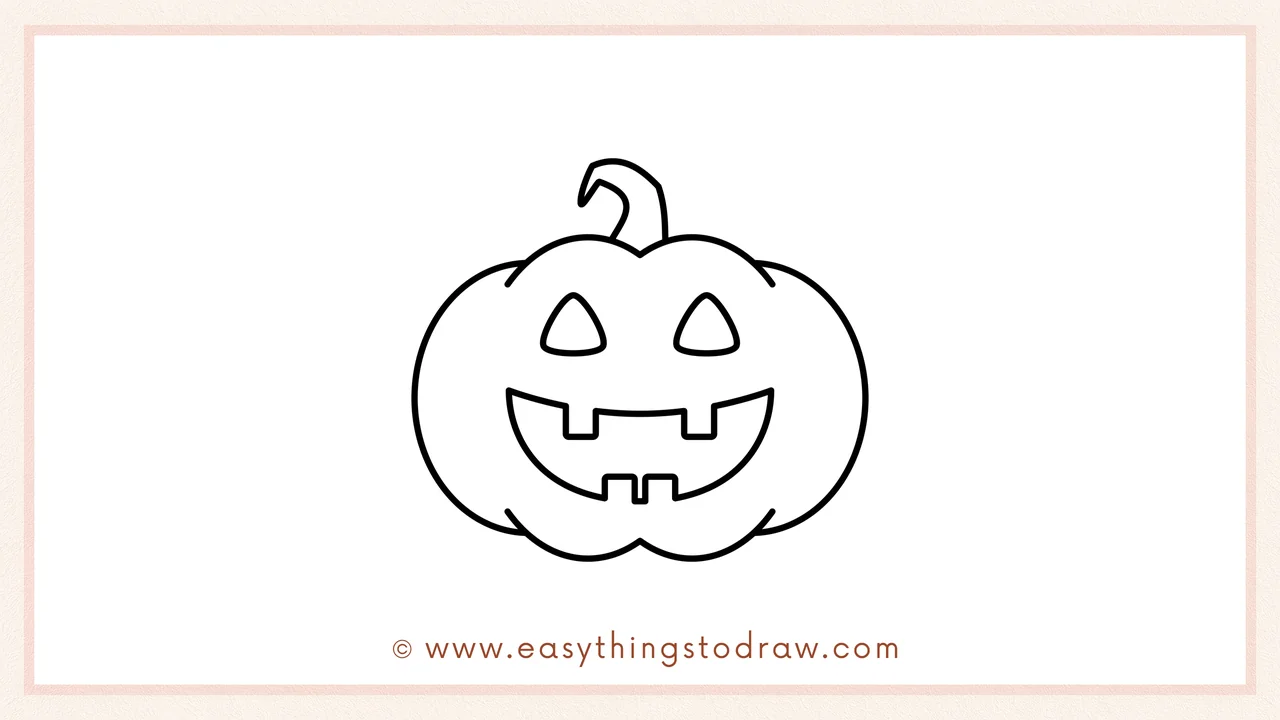
Give your jack-o’-lantern a big smile with square teeth. Make it as spooky or silly as you like!
Frequently Asked Questions (FAQ)
Can I change the face design?
Of course! Try hearts for eyes, a surprised mouth, or even vampire teeth.
What colors should I use?
Orange for the pumpkin, green or brown for the stem, and black or yellow for the face parts.
Can I add a background?
Yes! Try adding a full moon, stars, falling leaves, or spooky trees to complete your Halloween scene.
What if I want it to look scary?
Easy! Sharpen the eye angles or make the smile more jagged—it’s your design!
Printable Drawing Tutorials
Download Printable How to draw a jack-o’-lantern Drawing Tutorials
You Did It!
You just drew an awesome jack-o’-lantern! Whether it’s cheerful, goofy, or creepy, your pumpkin pal is perfect for Halloween fun. Try making a whole pumpkin patch with different expressions. Keep creating and enjoy the spooky season with your art!
