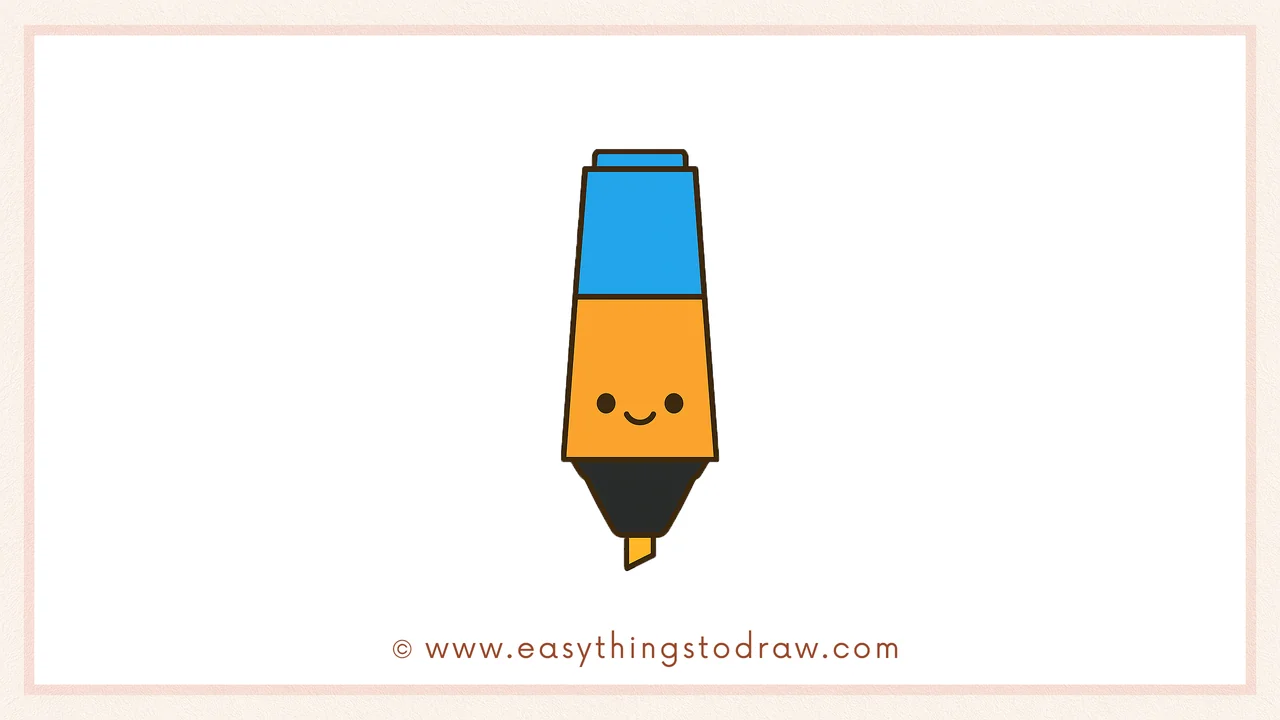
Get ready to brighten up your art with this fun and easy highlighter drawing! In this step-by-step guide, you’ll learn how to draw a cute cartoon highlighter pen with a happy face and angled tip. It’s perfect for school-themed drawings, art supply collections, or just for fun!
What You Need:
- A pencil
- An eraser
- A black marker (for outlining)
- Coloring tools (crayons, markers, or colored pencils)
- Drawing paper
Step by Step Highlighter Drawing Instructions
Step 1 – Draw the Left and Top Sides
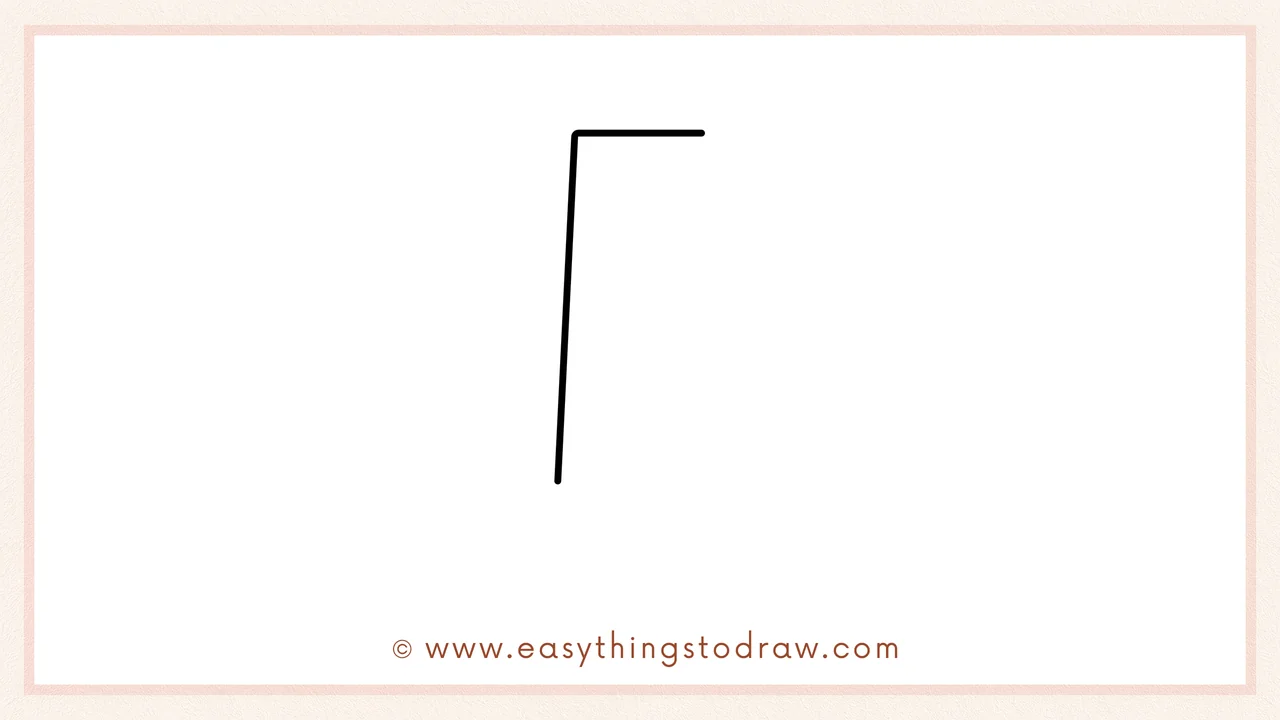
Start by drawing a tall angled “L” shape. This will be the left and top edge of the highlighter’s body.
Step 2 – Complete the Body
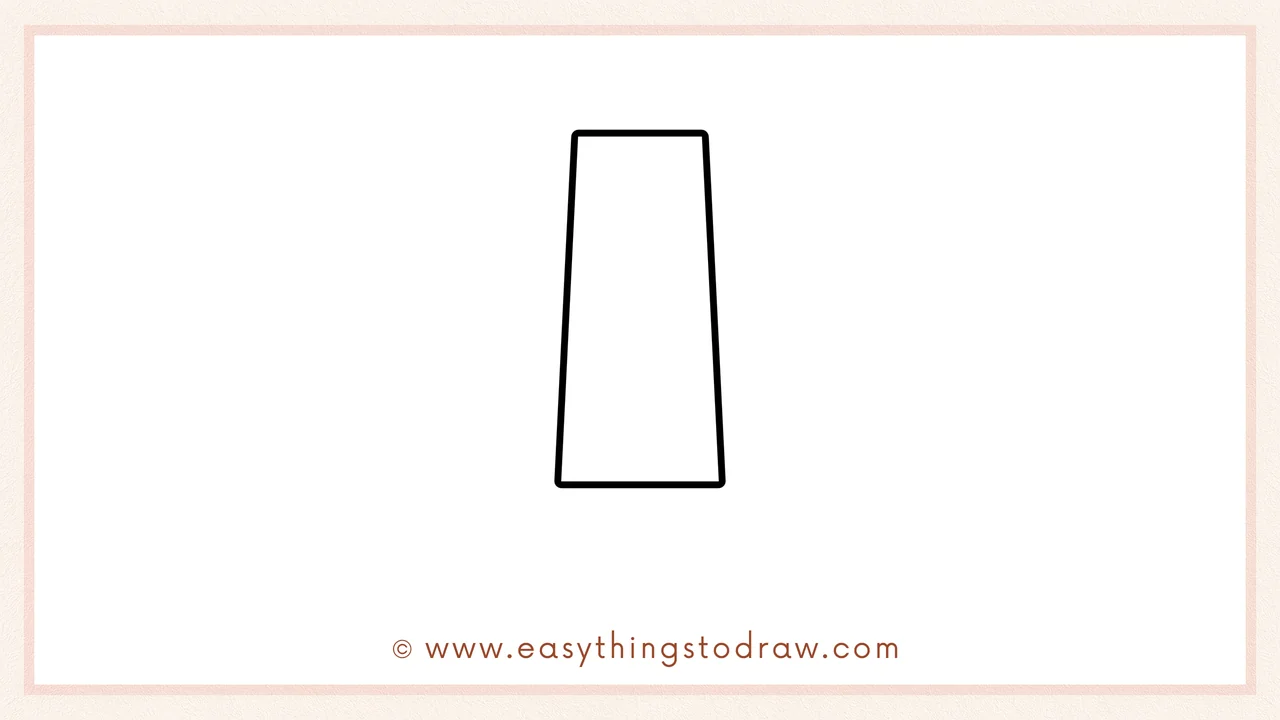
Now close the shape with a matching angled line on the right and a flat bottom edge. You should have a wide top and a narrow base — the body of your highlighter!
Step 3 – Add the Cap
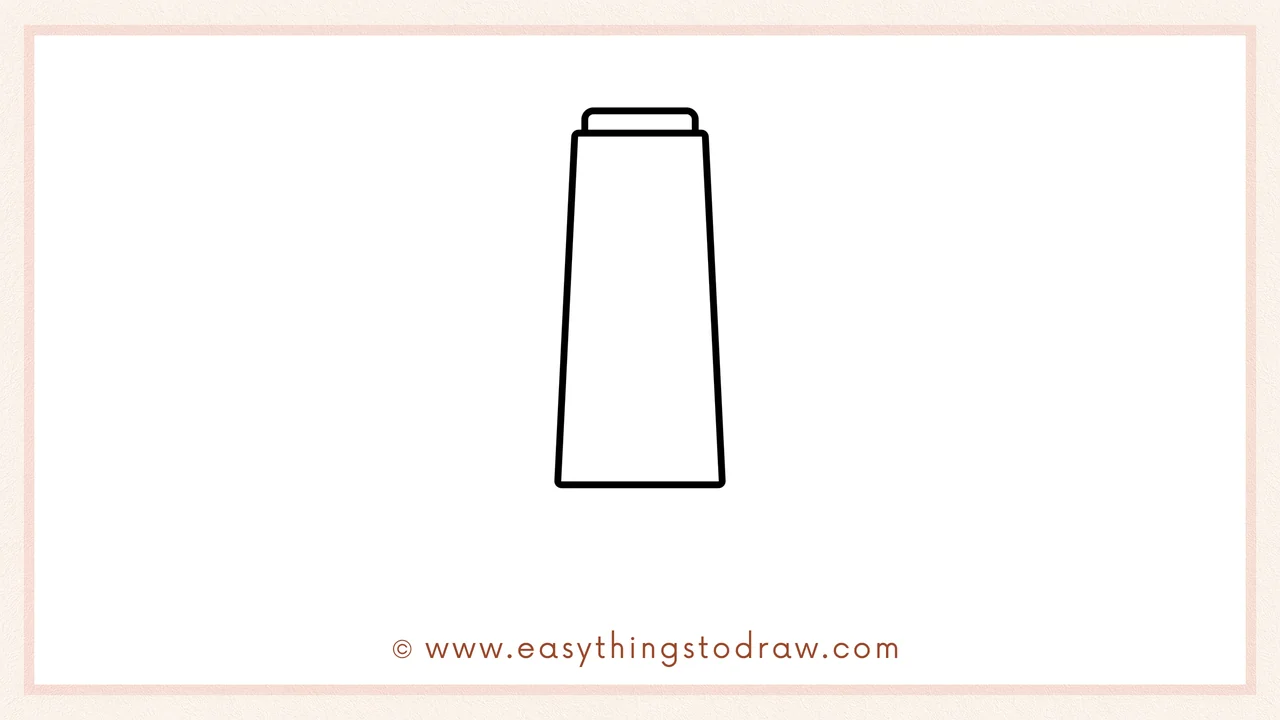
At the top, draw a small rounded rectangle sitting on the highlighter. This is the cap of the pen.
Step 4 – Draw the Bottom Edge
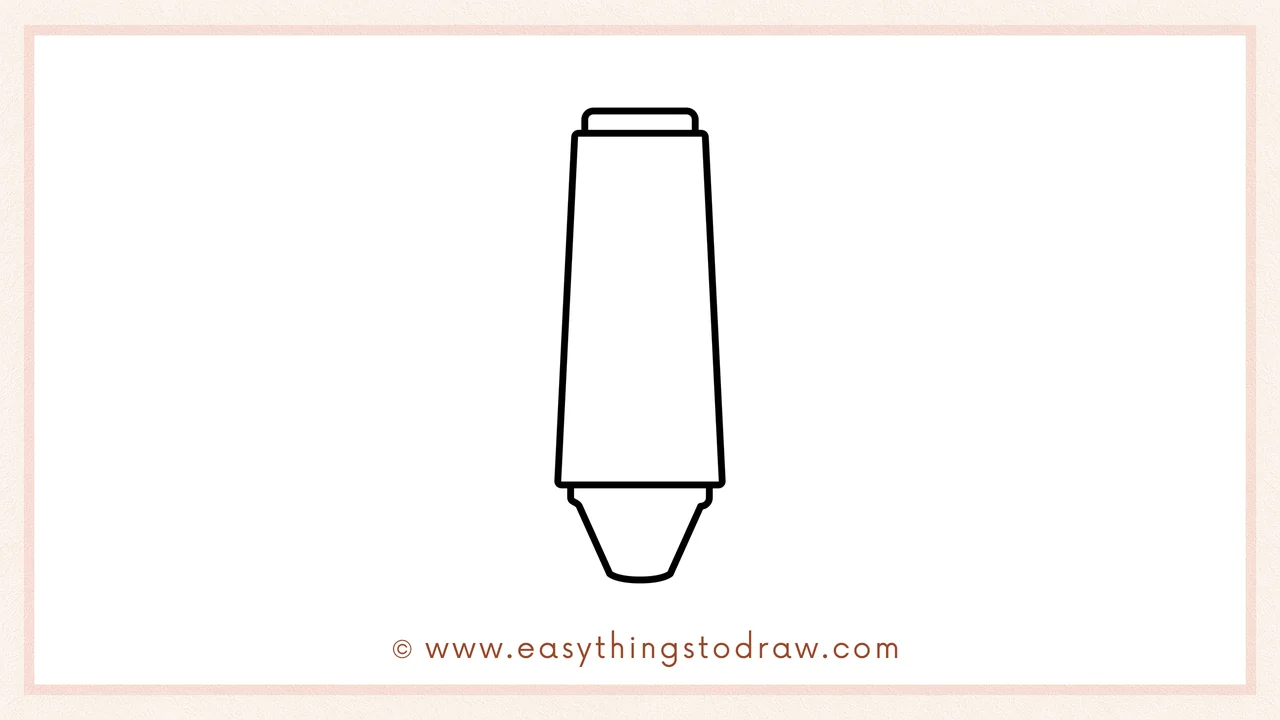
Now draw a small slanted shape at the bottom of the highlighter. This will become the angled tip section of the pen.
Step 5 – Add the Marker Tip
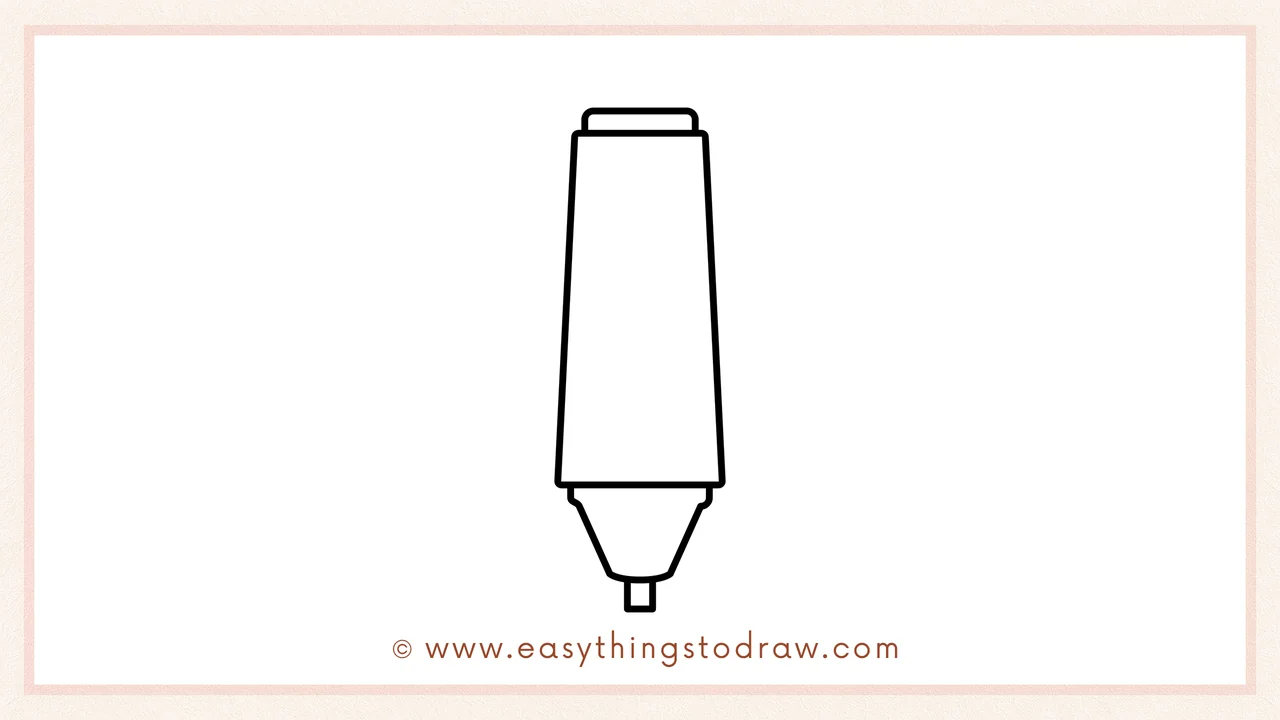
Draw a tiny rectangular tip at the very bottom — this is the highlighter’s writing end!
Step 6 – Draw a Cute Face
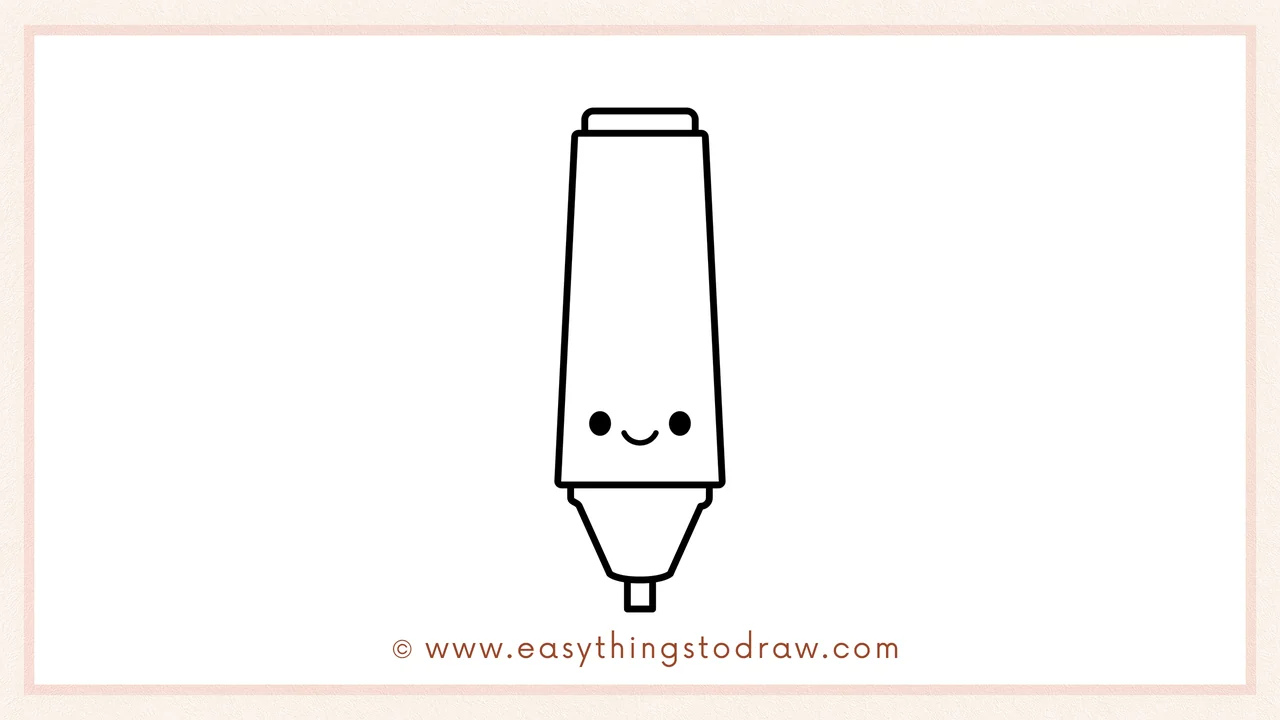
Make your highlighter super cute by adding two dot eyes and a smile near the lower middle of the pen body.
Frequently Asked Questions (FAQ)
What colors should I use for my highlighter?
Classic colors like yellow, pink, green, and blue work great. You can also go wild with rainbow or pastel shades!
Can I add details like sparkles or labels?
Absolutely! Add brand logos, stars, hearts, or even a name tag to personalize it.
Is this drawing suitable for classroom decorations?
Yes! This cute pen is perfect for back-to-school posters, name tags, or desk labels.
What if I want to draw a whole pen set?
Go for it! Try drawing markers, pencils, pens, and more — each with their own smiley face.
Printable Drawing Tutorials
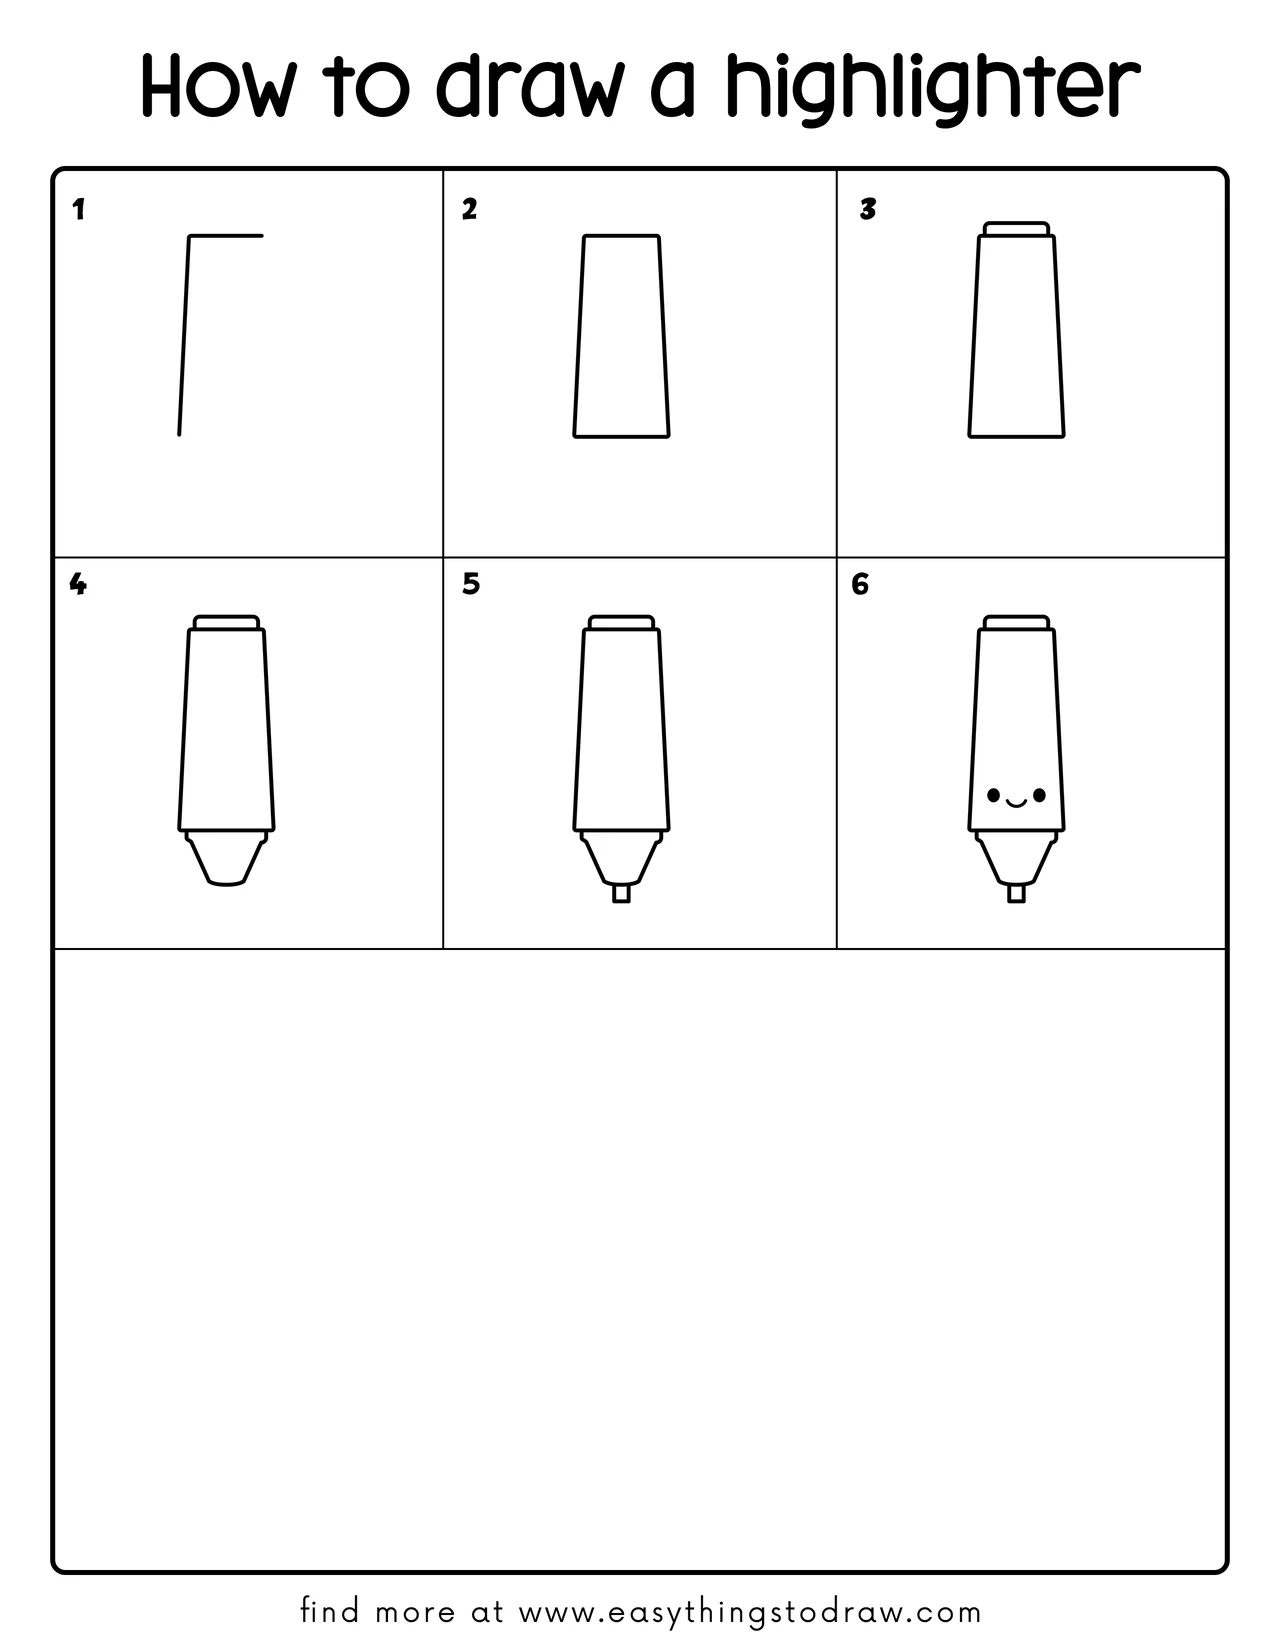
Download Printable How to draw a highlighter Drawing Tutorials
You Did It!
Awesome job drawing your cheerful little highlighter! Now your pencil case has a bright and happy new friend. You can customize it even more, draw it in use with squiggly highlights, or add it to a full art tools collection. Keep shining and drawing with color and creativity!
