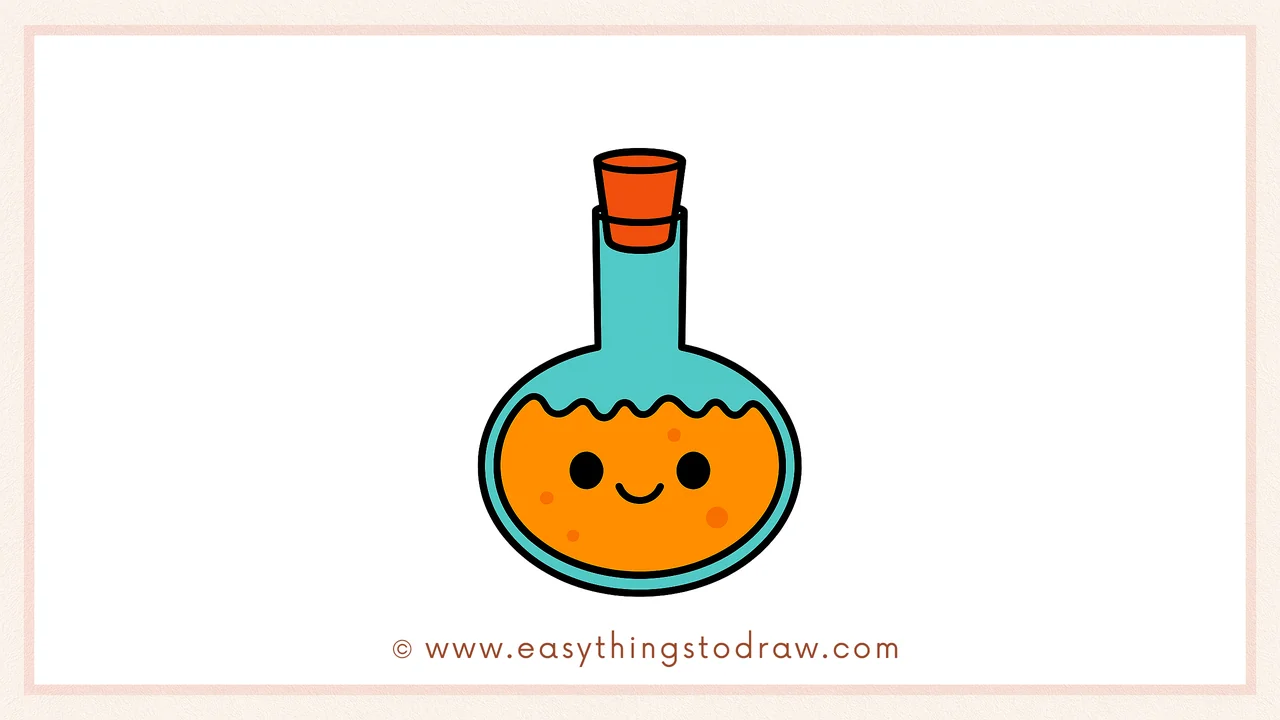
Ready to mix some magical fun? In this easy step-by-step drawing tutorial, we’ll show you how to draw a cute Halloween potion in a round glass bottle. With bubbly potion lines and a friendly smile, this spooky science sketch is perfect for kids, classrooms, or witchy art time!
What You Need:
- A pencil
- An eraser
- A black marker (for outlining)
- Coloring tools (crayons, markers, or colored pencils)
- Drawing paper
Step by Step Halloween Potion Drawing Instructions
Step 1 – Start with the Bottom Curve
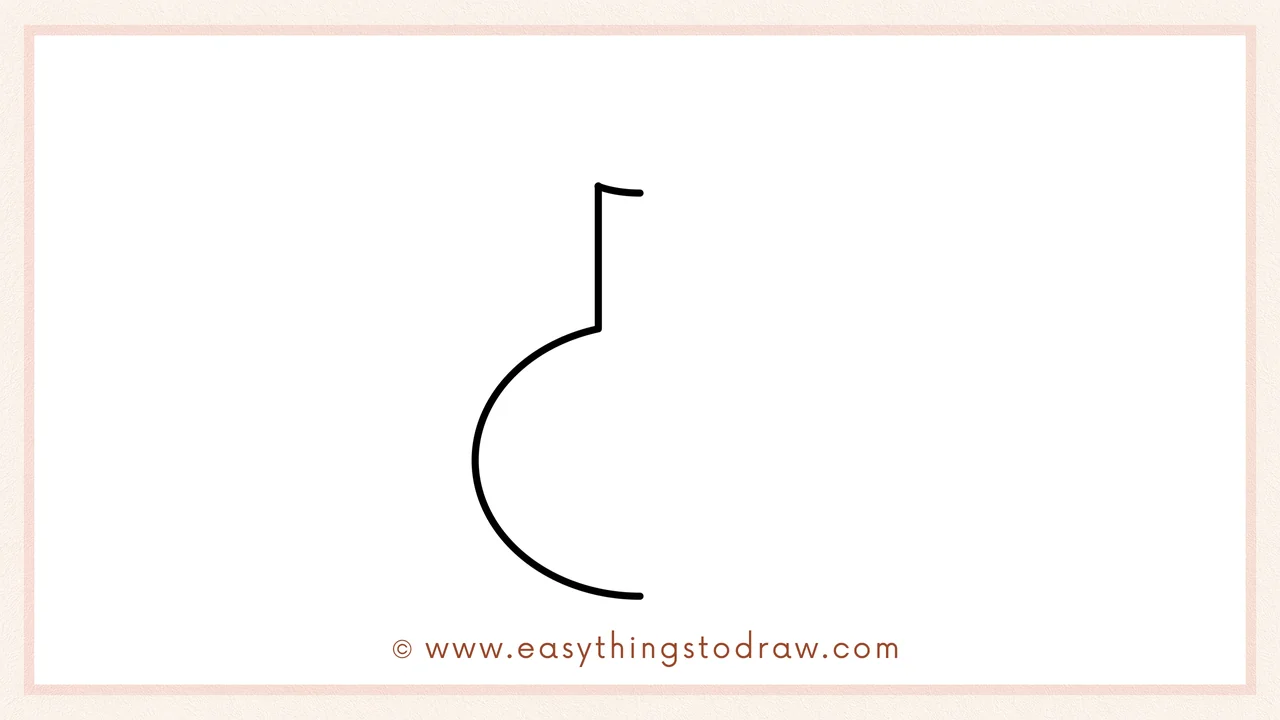
Begin by drawing a large open curve like a wide letter “C” near the bottom of your page. This will become the round base of your potion bottle.
Step 2 – Complete the Bottle Shape
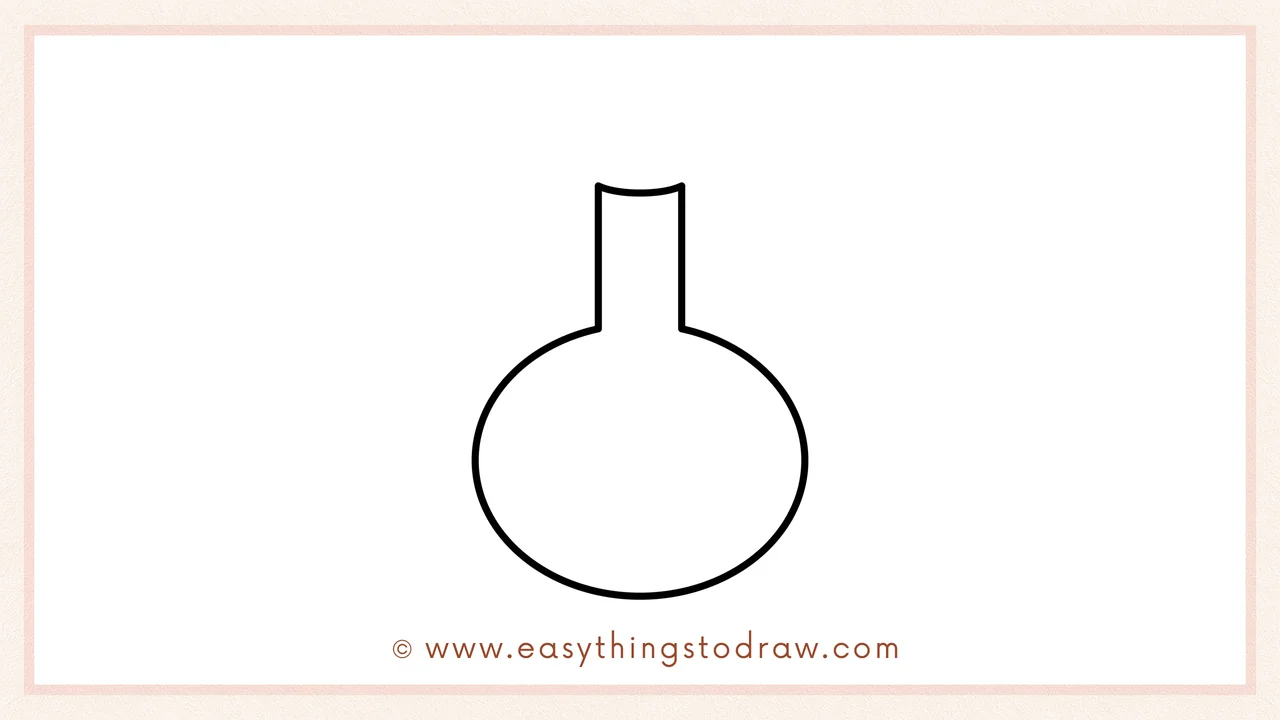
Add a straight vertical neck to the top of the curve and connect the sides into a full circle. You now have a basic potion bottle!
Step 3 – Draw the Cork Stopper
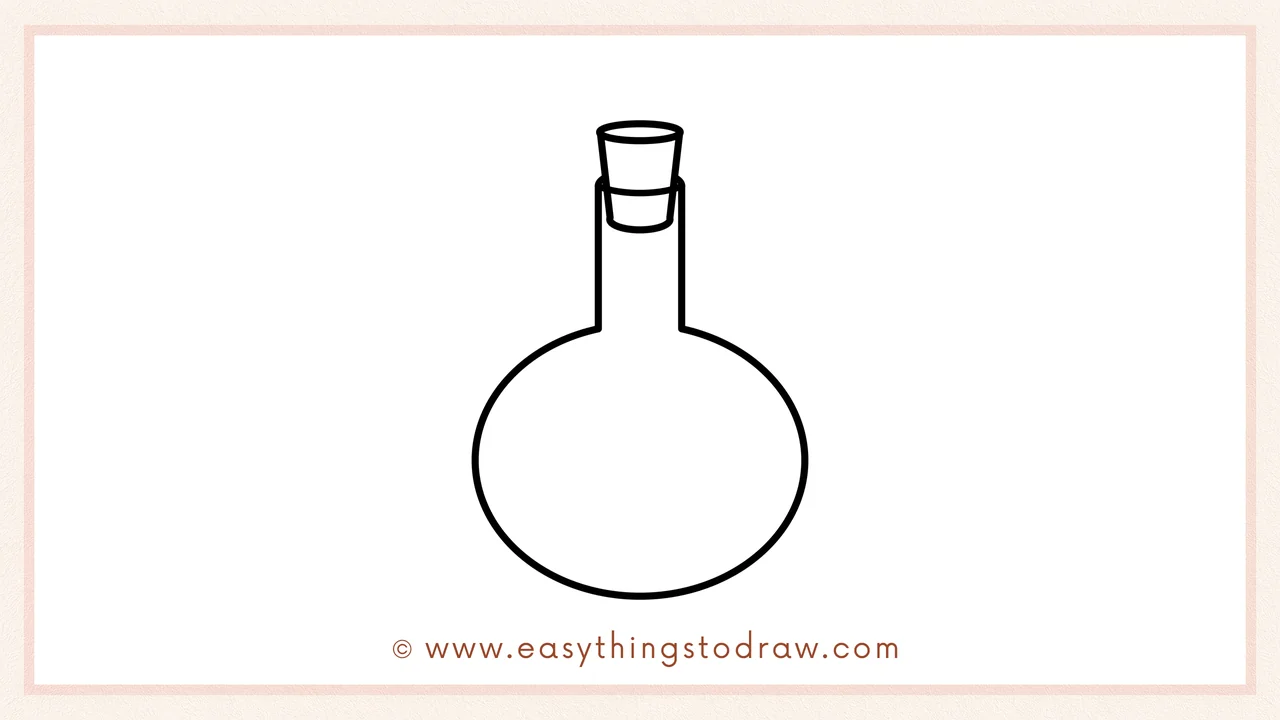
On top of the neck, draw a small oval. Add two slightly angled vertical lines and close them at the top with a curved line to form the cork.
Step 4 – Draw the Liquid Level and Bottle Rim
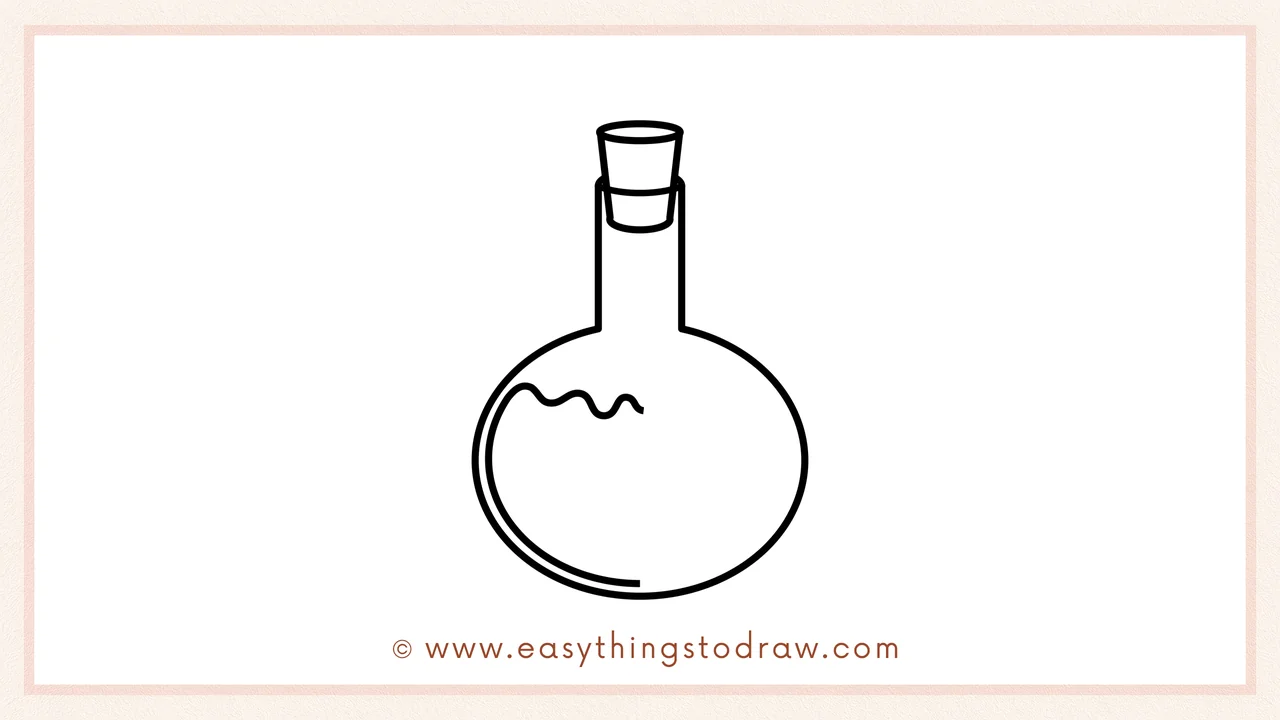
Inside the round potion bottle, draw a gentle wavy line going from left to right. This shows the top of the potion inside. Then, near the bottom of the bottle, draw a curved outline along the left edge to give the glass a thick rim.
Step 5 – Fill the Bottle with Potion
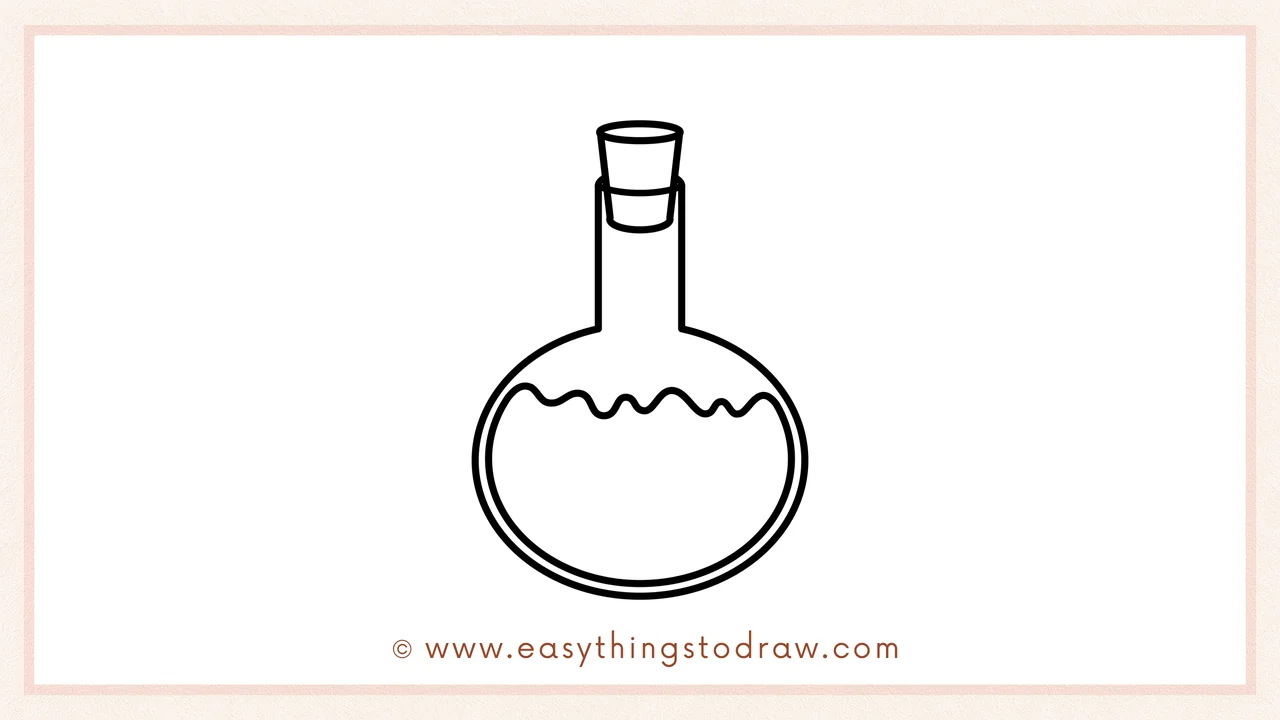
Take the wavy line you started earlier and extend it all the way across the round bottle, connecting both sides. This makes the potion look full and bubbly inside!
Step 6 – Add a Cute Face
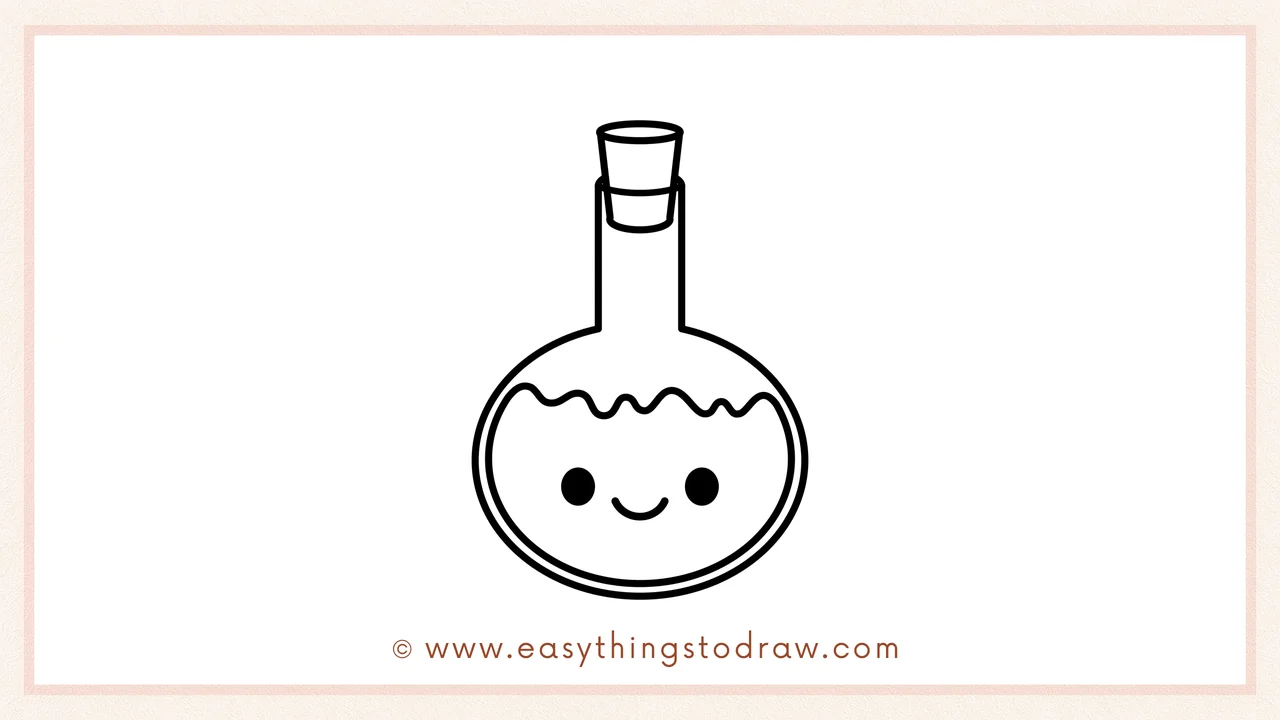
Give your potion bottle two round eyes and a sweet smiling mouth just under the liquid. Now your potion is not only magical, but adorable too!
Frequently Asked Questions (FAQ)
Can I change the potion color?
Yes! Try green for slime potion, purple for magic, or orange for pumpkin juice.
What else can I draw inside the potion?
You can add bubbles, stars, tiny ghosts, eyeballs, or sparkles for extra Halloween fun.
What if I want to make it spooky instead of cute?
Give it sharp eyes, angry brows, or a skull-shaped stopper!
Is this a good Halloween classroom activity?
Absolutely! It’s simple, creative, and fits perfectly with a spooky art lesson.
Printable Drawing Tutorials
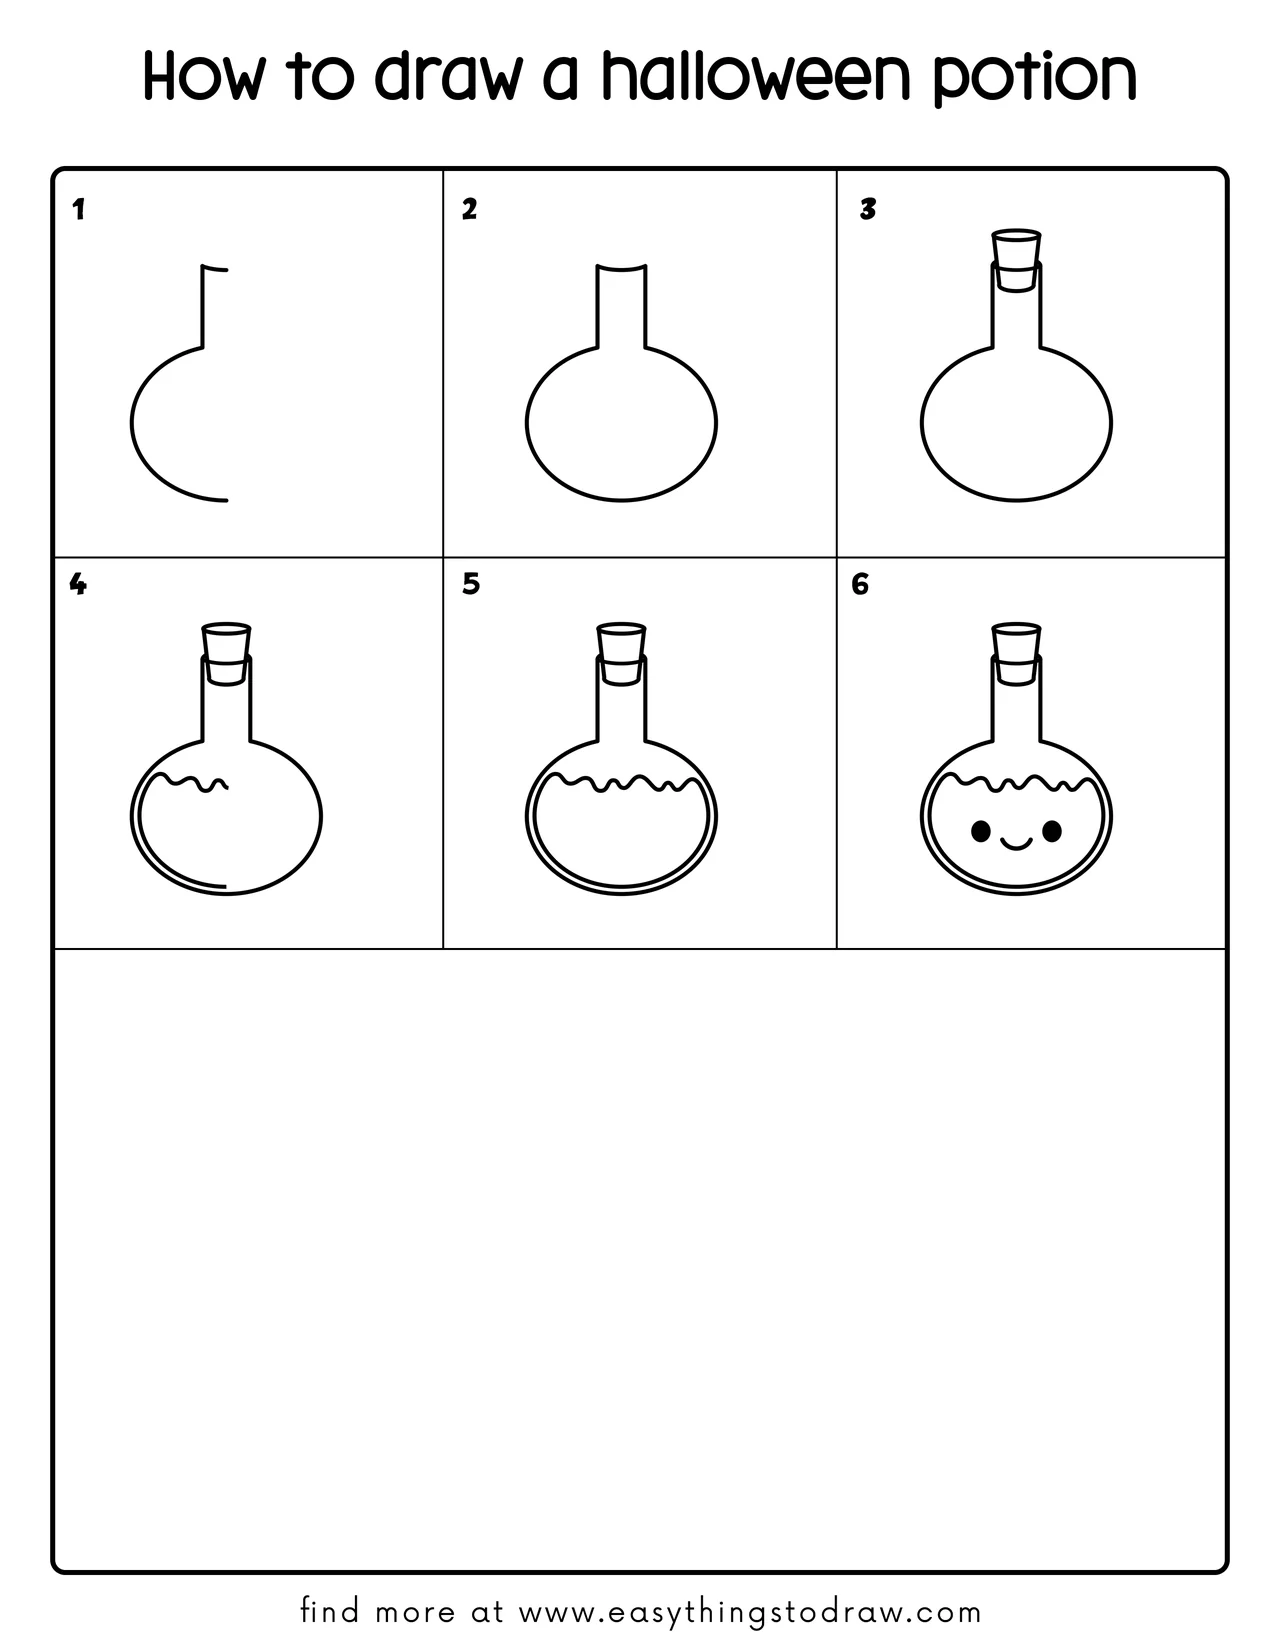
Download Printable How to draw a halloween potion Drawing Tutorials
You Did It!
Woohoo! You just created your own Halloween potion drawing. Whether it’s for witches, wizards, or friendly ghosts, this magical bottle is bursting with creativity. Don’t forget to color it in and add your own spooky spell labels or background!
