Looking to draw a lucky four-leaf clover but not sure how to start? You’re in the perfect place! In this beginner-friendly tutorial, we’ll guide you through six easy steps to sketch a fun and friendly cartoon clover — no drawing experience needed.
This guide is perfect for:
- Young kids learning to draw cute nature shapes 🍀
- Beginners who enjoy creative seasonal projects ✏️
- Parents and teachers seeking holiday-themed art lessons 🎨
👩🎨 Why Learn From Us?
At Easy Things to Draw, our mission is to help kids and beginners build artistic confidence with simple, step-by-step lessons. Every tutorial is created with children in mind and developed by real art educators who know how to make drawing fun and accessible.
Our certified art teachers have over 10 years of experience helping children express themselves through art, both in classrooms and online. We simplify each project to make learning joyful and frustration-free.
✅ What Makes This Clover Drawing Tutorial Special?
🌟 Experience-Based Teaching
Created by educators with real-world teaching knowledge🔵 Shape Simplification
Each leaf is broken down into round, easy-to-copy curves👨🏫 Educator-Reviewed Content
Reviewed for clarity, creativity, and classroom use🎨 Creative Freedom Encouraged
Kids can decorate the clover with faces, sparkles, or even turn it into a character!
🔒 Safe, Reliable, and Classroom-Ready
We know how important it is to keep art time fun and appropriate. That’s why our tutorials:
– Are free of ads and distractions
– Include printable-friendly formats
– Are safe for schools and home learning
🍀 Let’s Start Drawing!
Ready to draw your own lucky four-leaf clover? Grab a pencil and paper — we’ll walk you through it step by step!

What You Need:
- A pencil
- An eraser
- A black marker (for outlining)
- Coloring tools (crayons, markers, or colored pencils)
- Drawing paper
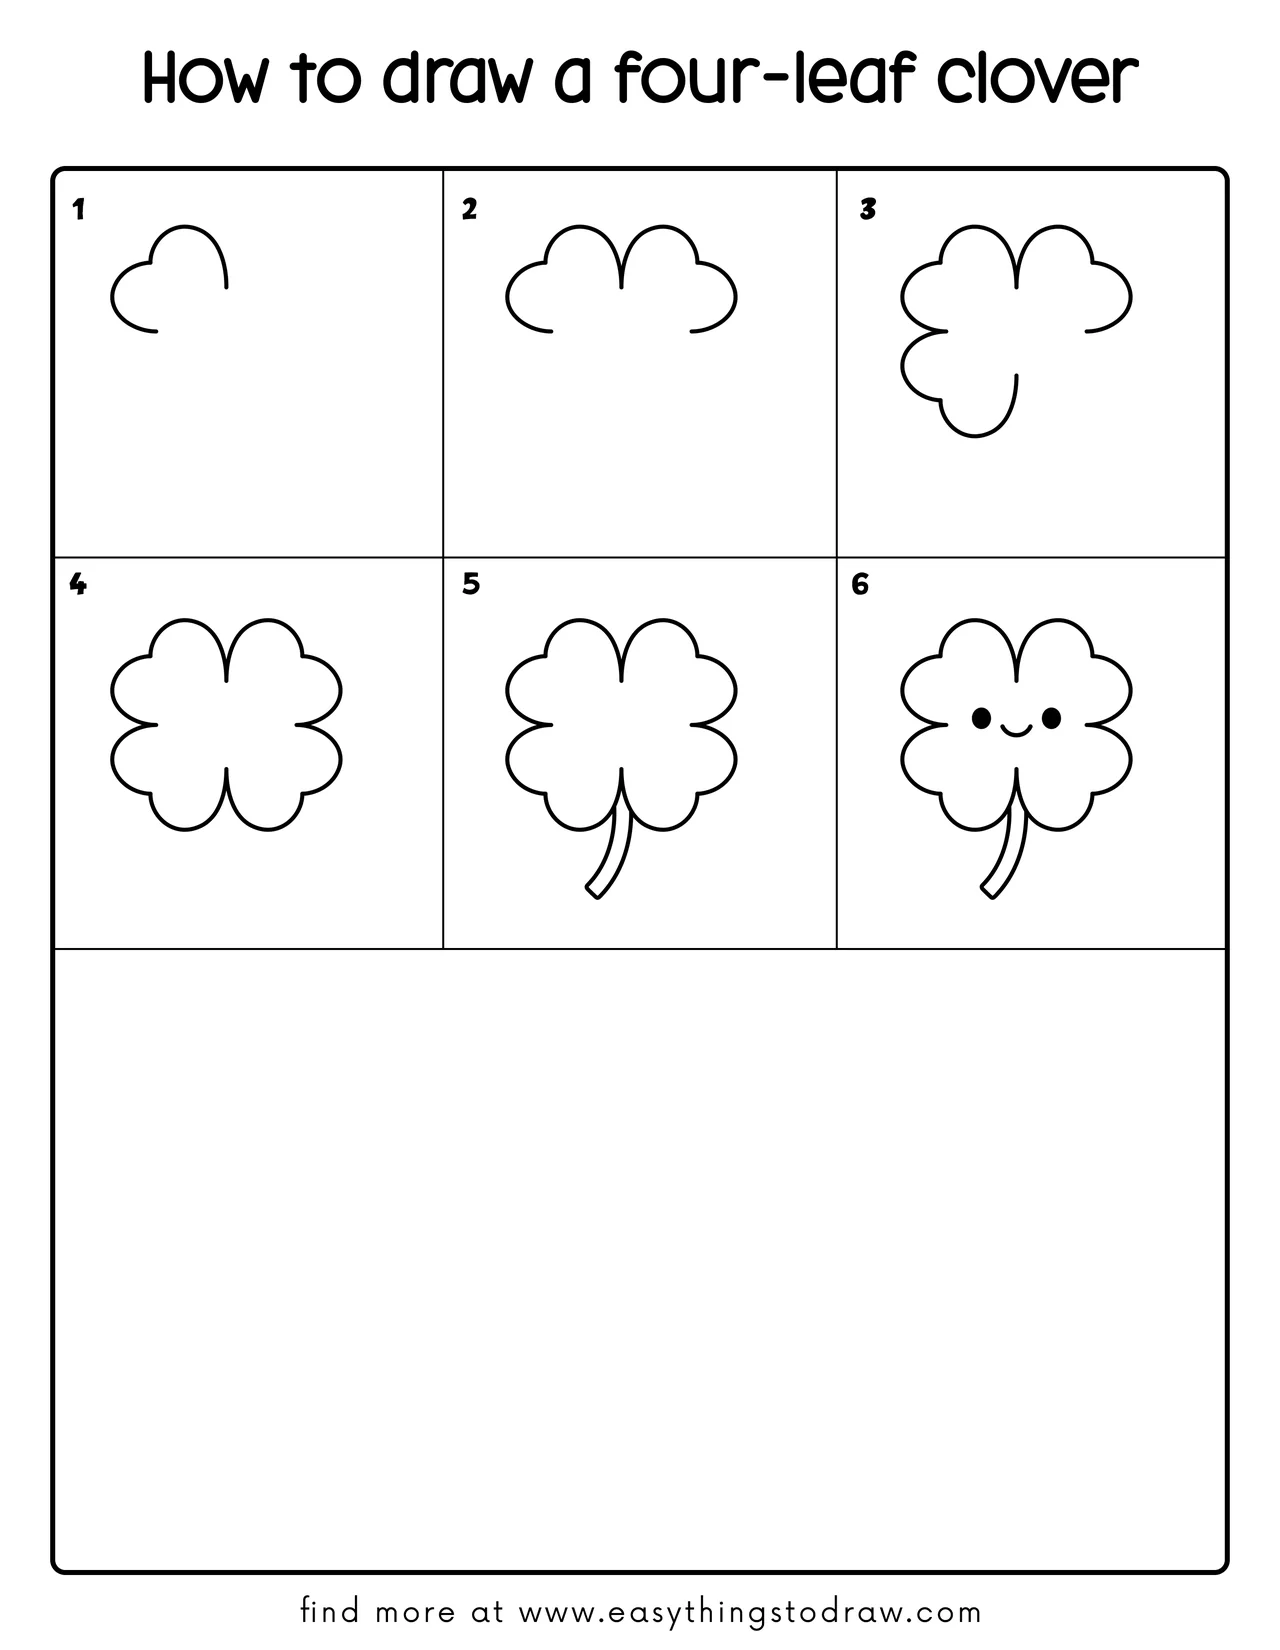
Step by Step Four-Leaf Clover Drawing Instructions
Step 1 – Start with One Leaf Bump
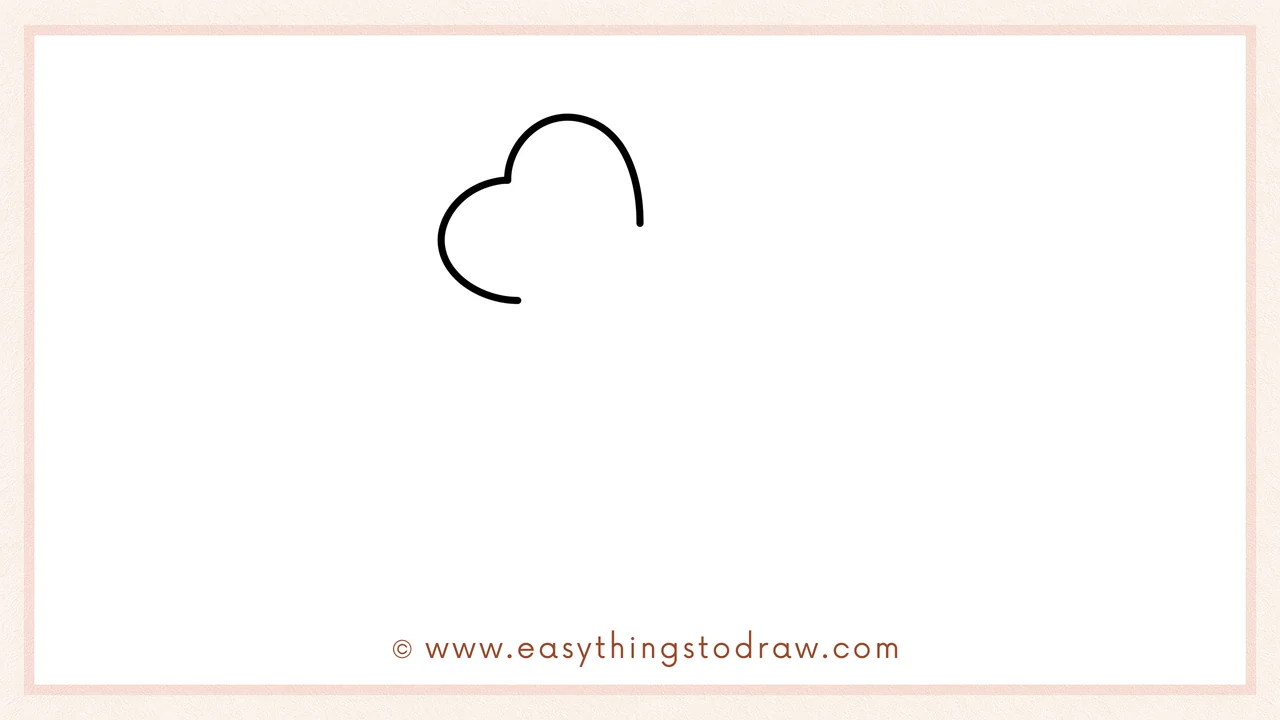
Begin at the top with a big round curve that looks like a bouncy heart bump. This will be the top left part of your clover leaf.
Step 2 – Add a Second Leaf Curve
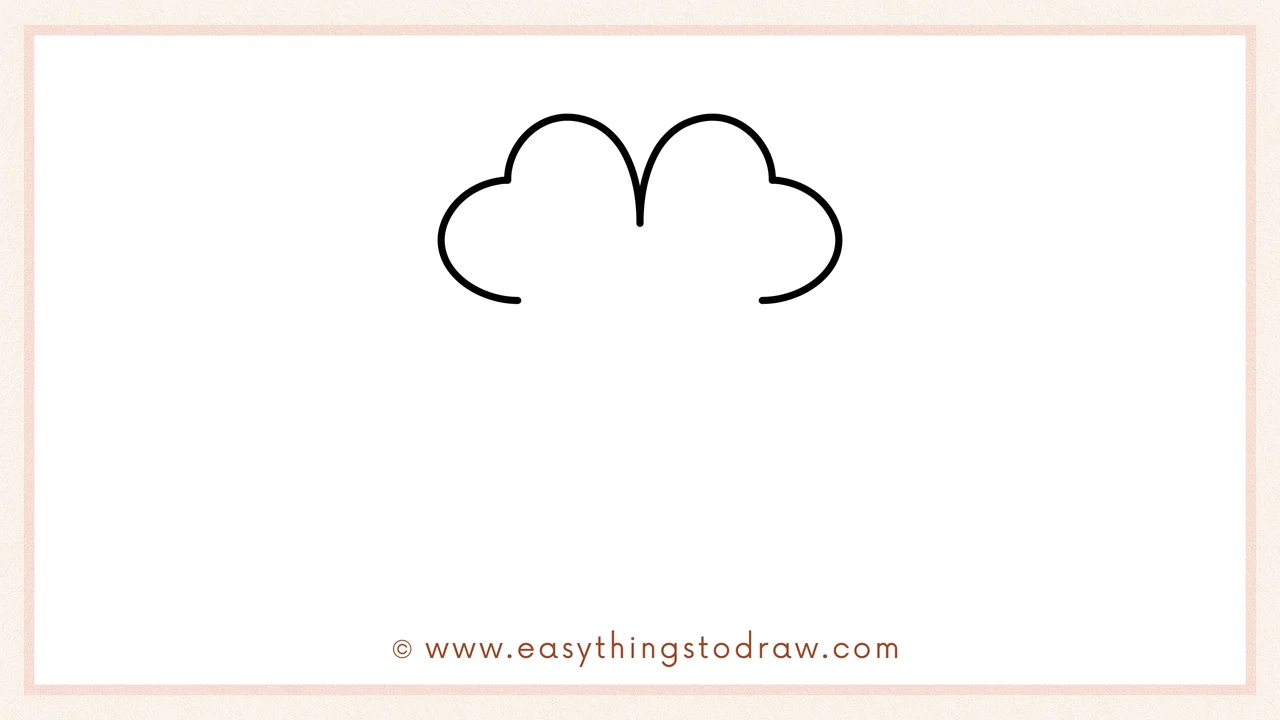
Next to the first bump, draw another similar rounded curve to form the top right clover leaf. It should mirror the first one.
Step 3 – Draw the Side and Bottom Leaf
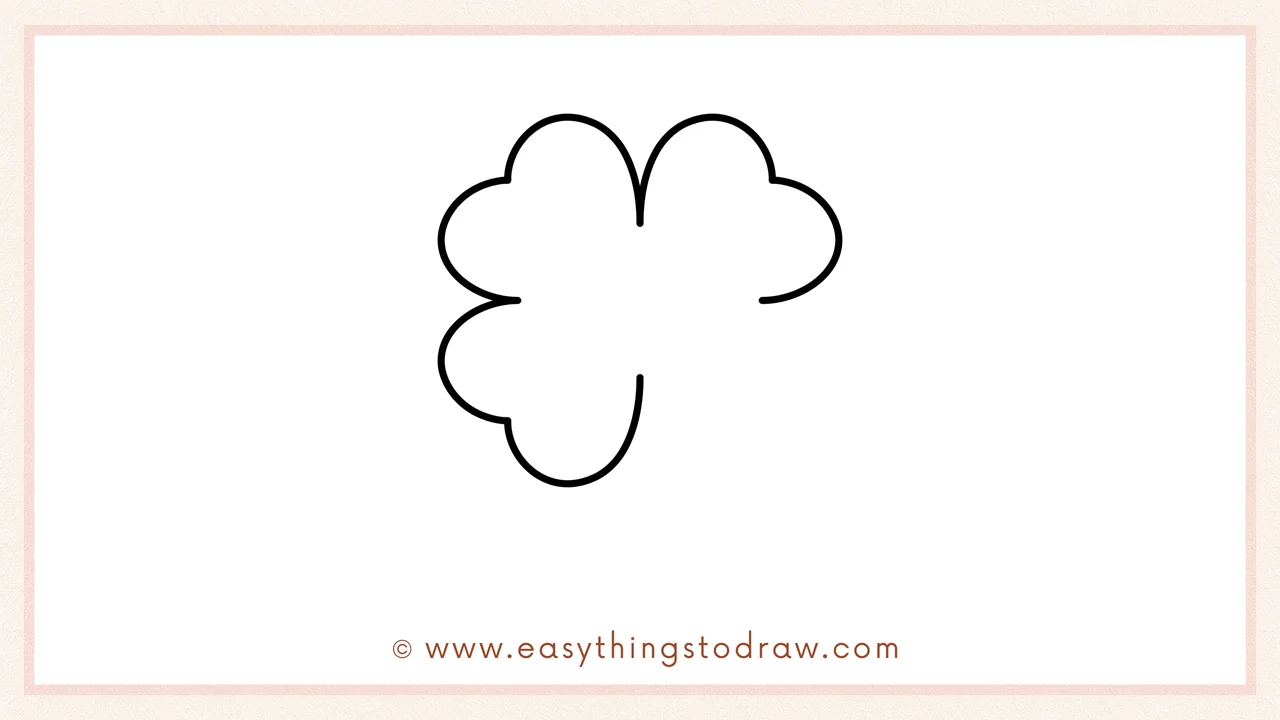
Add another rounded bump on the left side, and then curve one more bump down at the bottom to create the third leaf.
Step 4 – Finish the Last Leaf
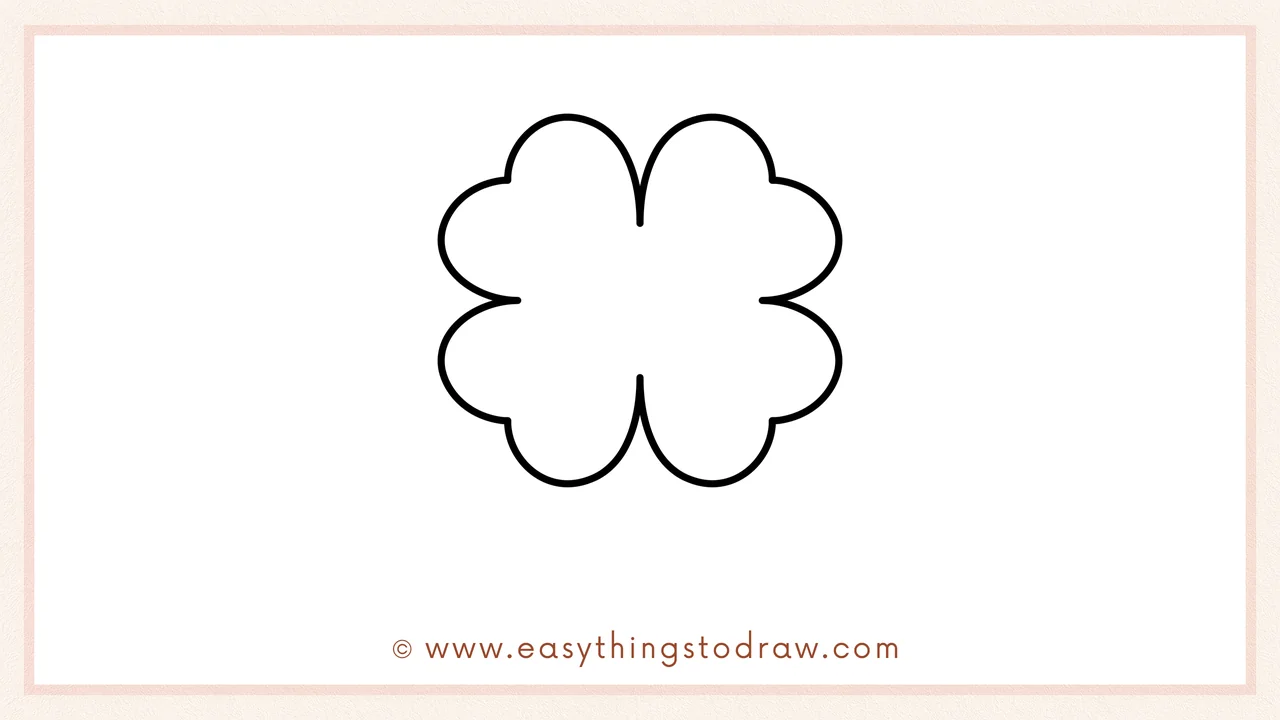
Now draw the final rounded bump on the right side. You now have four clover leaves — great work!
Step 5 – Draw the Stem

Underneath the clover, add a fun little curve for the stem. You can make it wiggly or straight!
Step 6 – Add a Smiley Face (Optional!)
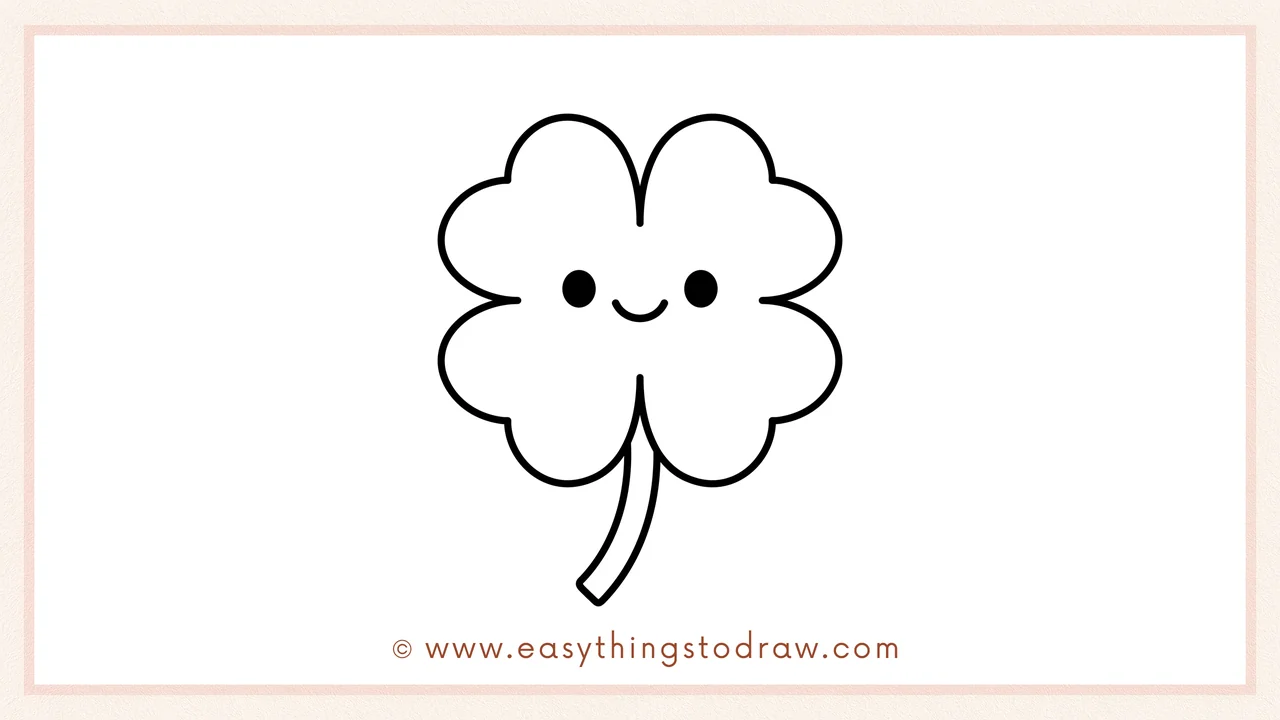
Give your clover some personality! Draw two dots for eyes and a tiny curved smile in the middle.
Frequently Asked Questions (FAQ)
What colors should I use for my four-leaf clover?
Green is the classic color, but feel free to experiment with rainbows, sparkles, or even neon clovers!
Can I turn my clover into a character?
Absolutely! Add glasses, arms, hats, or even give your clover a tiny pet — imagination is welcome!
Is this tutorial good for St. Patrick’s Day?
Yes! This clover drawing is perfect for St. Patrick’s Day activities at home or in the classroom.
What if I make a mistake while drawing?
No worries at all! Use your eraser, or just turn the mistake into something creative — like an extra leaf or a bug friend.
Printable Drawing Tutorials
Download Printable How to draw a four-leaf clover Drawing Tutorials
You Did It!
Hooray — you just drew your very own lucky four-leaf clover! 🌟 Whether it’s for St. Patrick’s Day, a greeting card, or just for fun, this cute drawing is full of good vibes. Add a funny face, give it a name, or draw a rainbow background to make it shine even more.
Don’t forget to share your masterpiece with friends or tag us online. And if you had fun, print this tutorial out and try it again with a twist — maybe a five-leaf clover next time?
Happy drawing!
