Drawing a pen holder can be a fun way to organize your creativity on paper! In this easy drawing tutorial for kids and beginners, we’ll guide you through sketching an adorable cartoon-style pen holder. With simple shapes, cheerful supplies, and a big smile, this step-by-step drawing is perfect for young artists.
What You Need:
- A pencil
- An eraser
- A black marker (for outlining)
- Coloring tools (crayons, markers, or colored pencils)
- Drawing paper
Step by Step Pen Holder Drawing Instructions
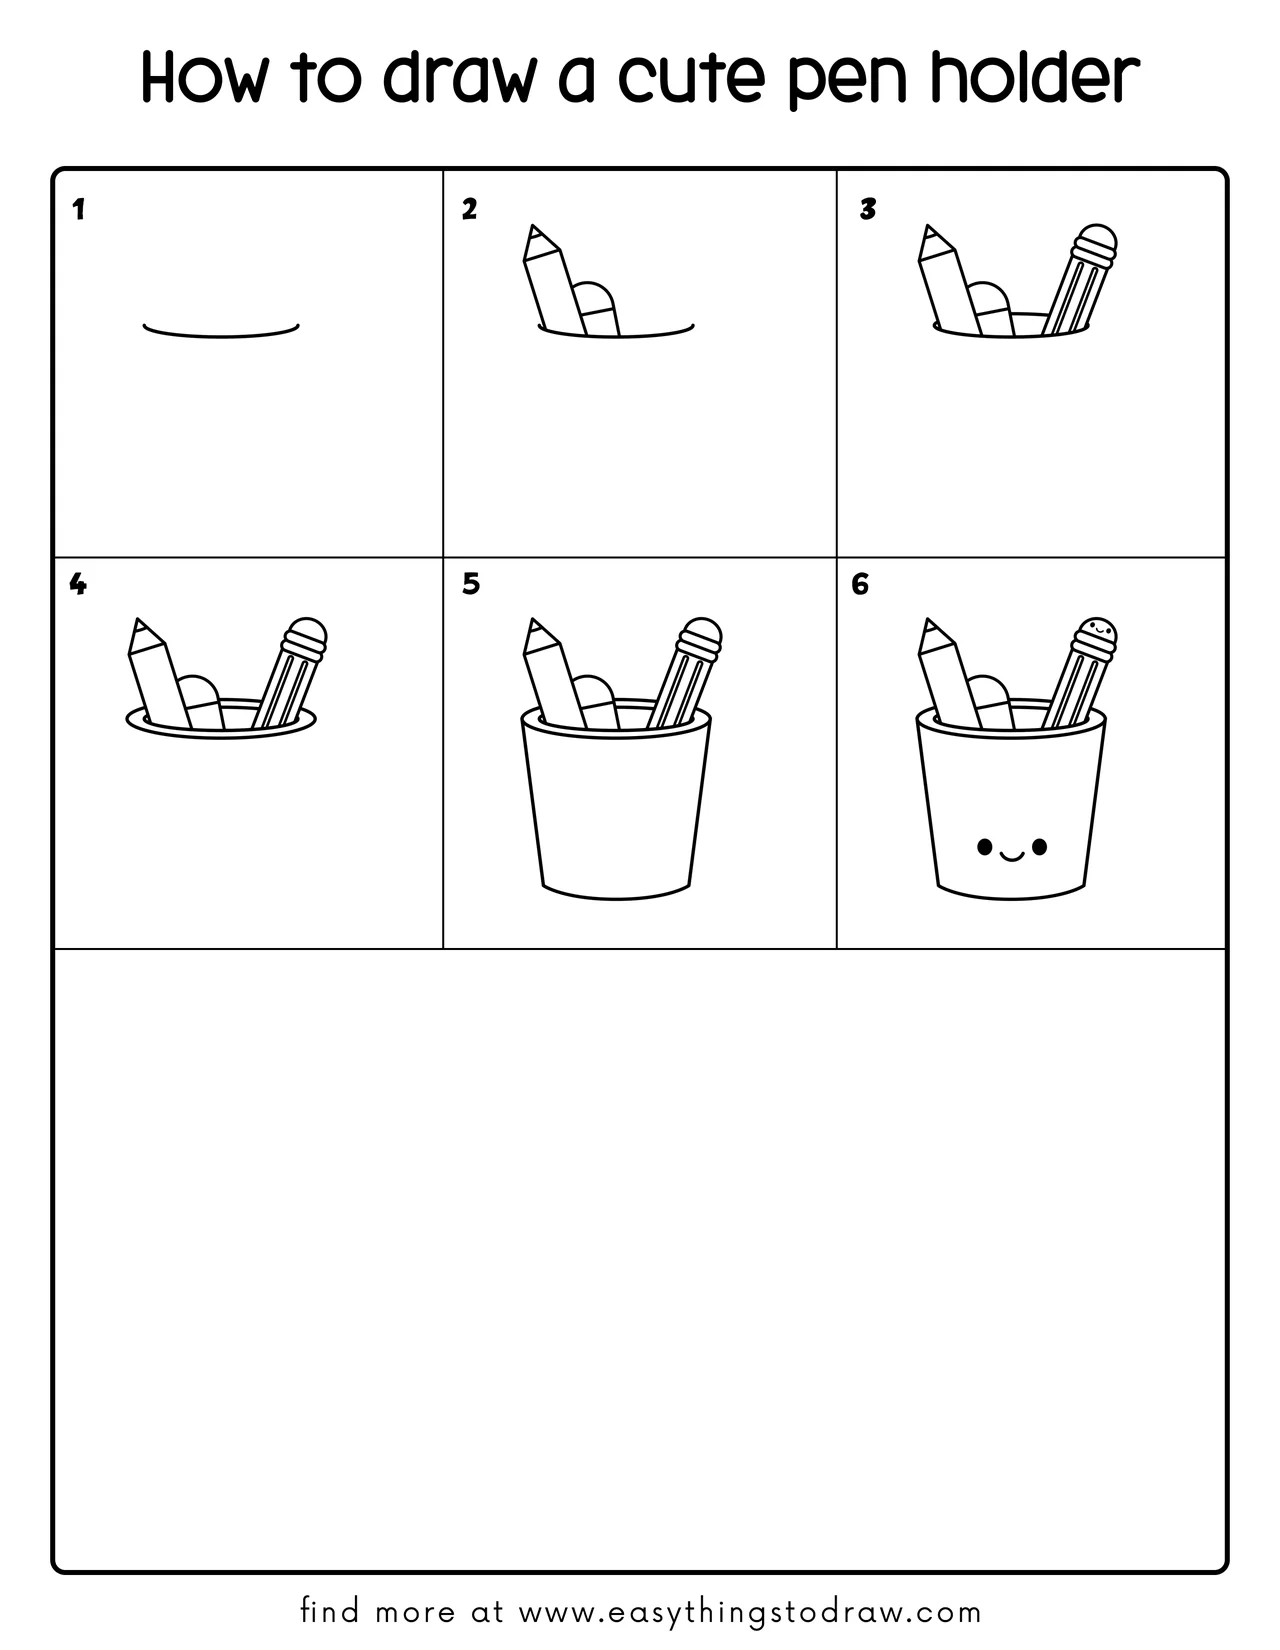
Step 1 – Draw a Curved Line for the Opening
Start by drawing a wide curved line in the upper middle of your paper. This will be the top rim of the pen holder, like you’re peeking inside.
Step 2 – Add a Pencil and Eraser Inside
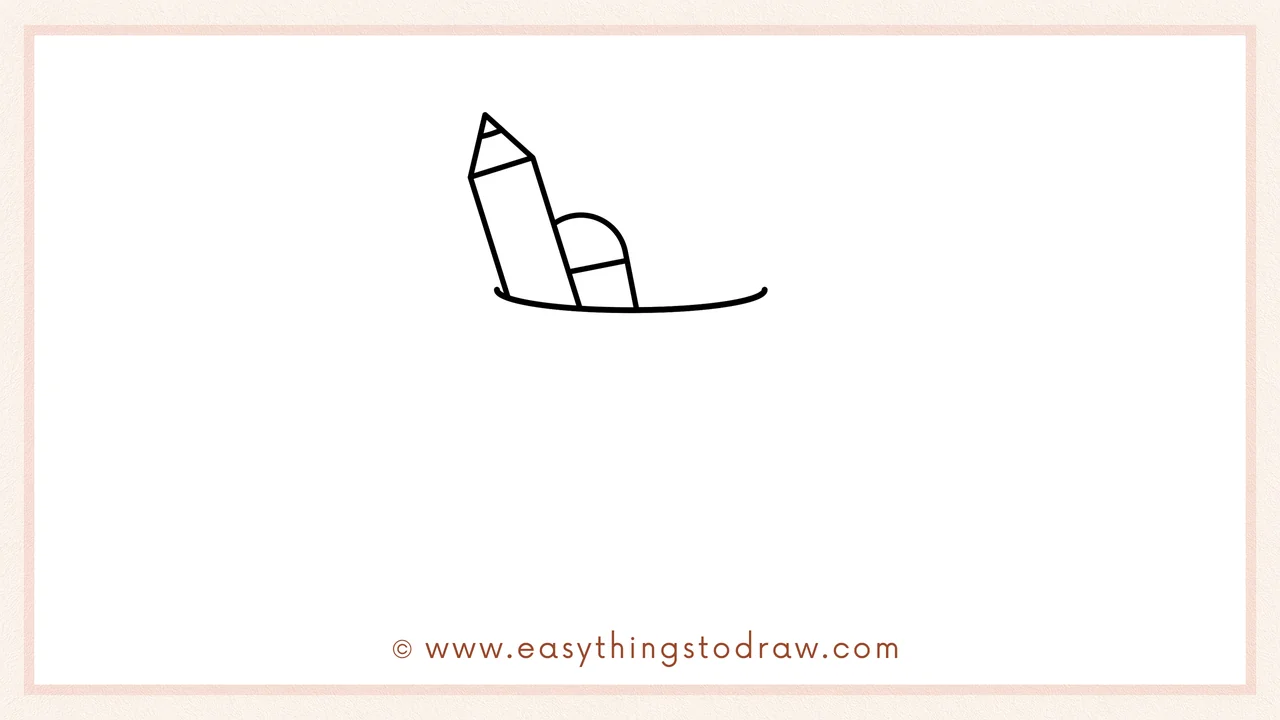
Inside the rim, draw a tall pencil tilted to the left, and a half-circle eraser resting beside it. These will look like they’re standing inside the cup.
Step 3 – Draw the Second Pencil
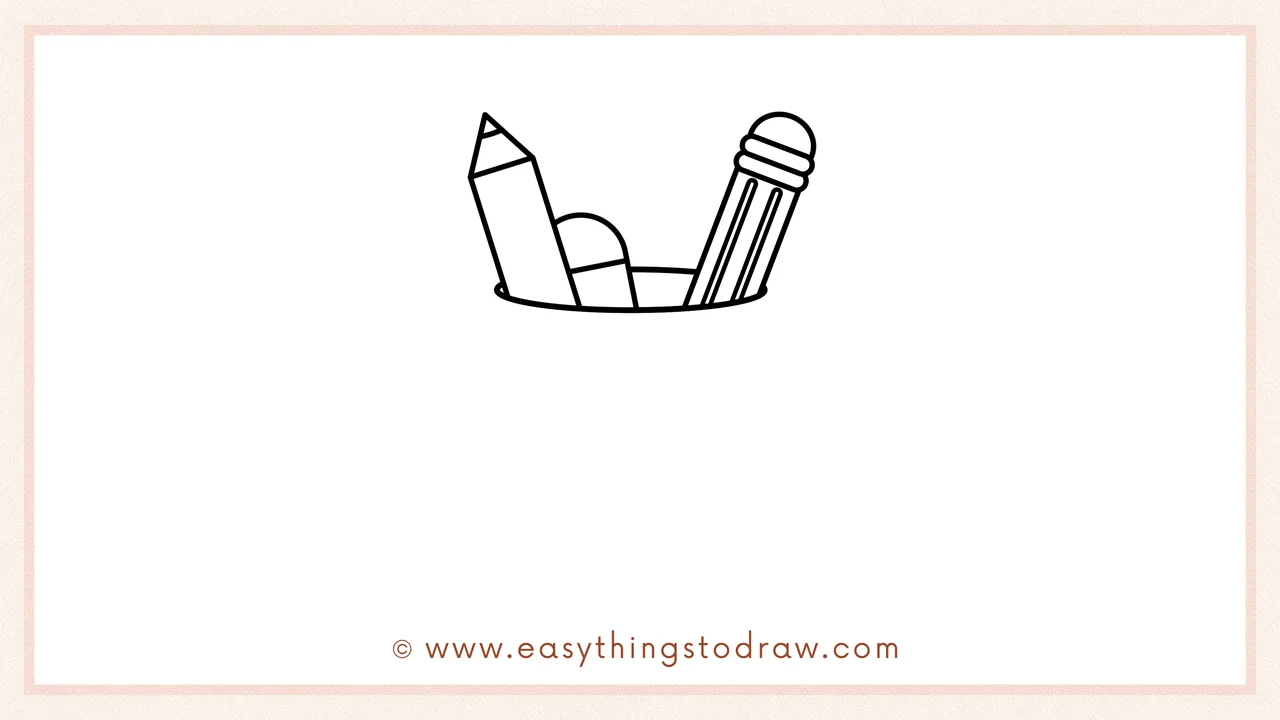
Next, add a second pencil beside the first one, leaning slightly to the right. Draw its eraser top and the decorative lines to make it look real.
Step 4 – Complete the Rim with a Full Oval
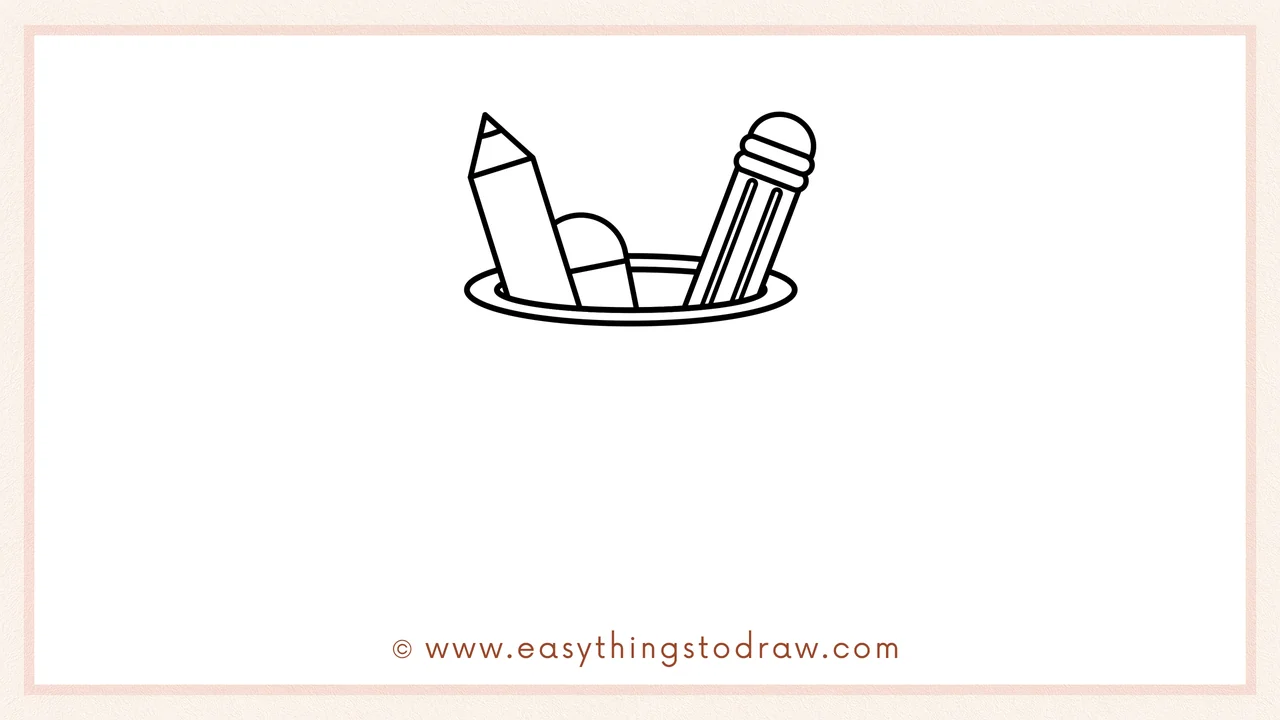
Now close the opening by drawing a complete oval around the curved line. This finishes the top edge of the pen holder and frames the objects inside.
Step 5 – Draw the Pen Holder Body
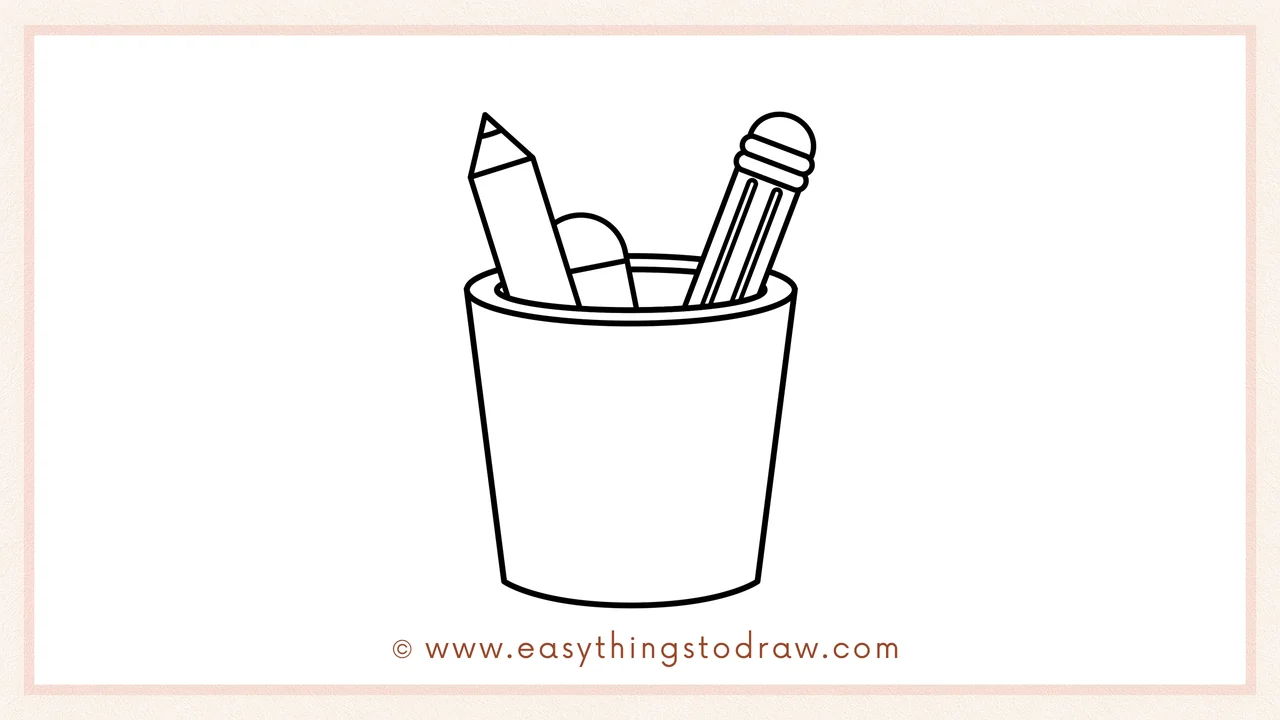
From the sides of the oval, draw two slanted lines downward and connect them with a curved bottom. This forms the cup that holds all your supplies.
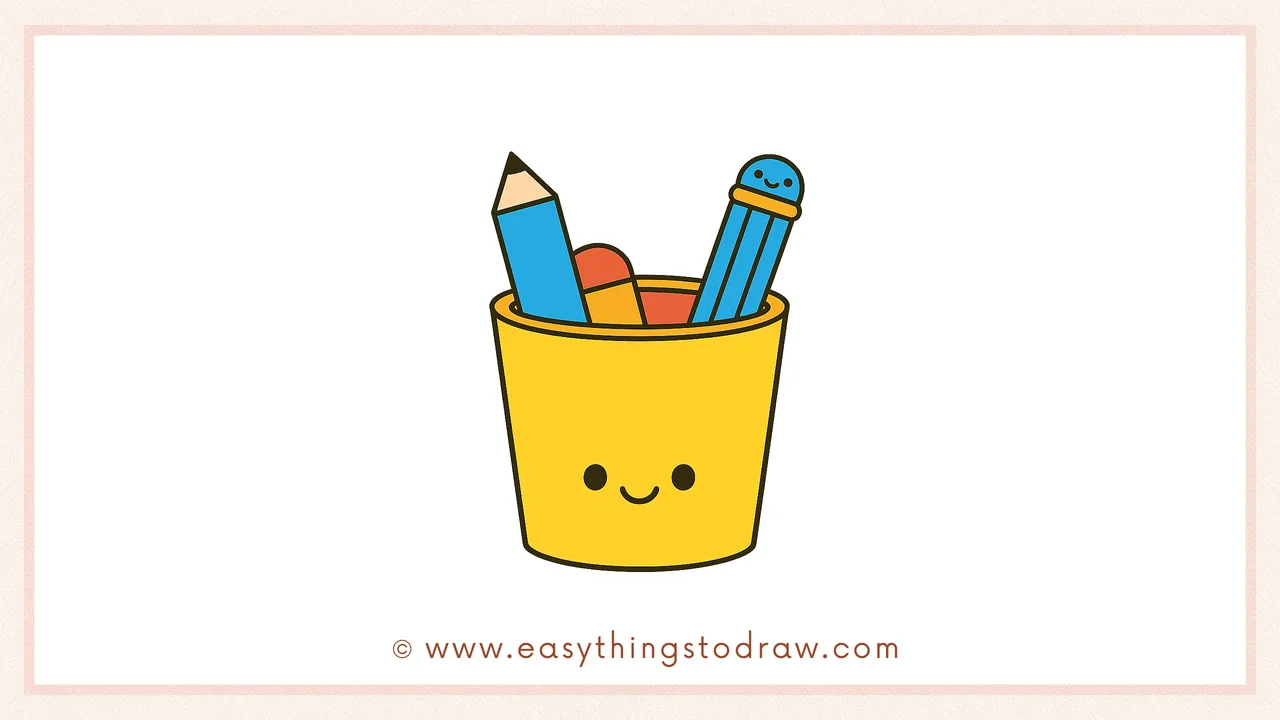
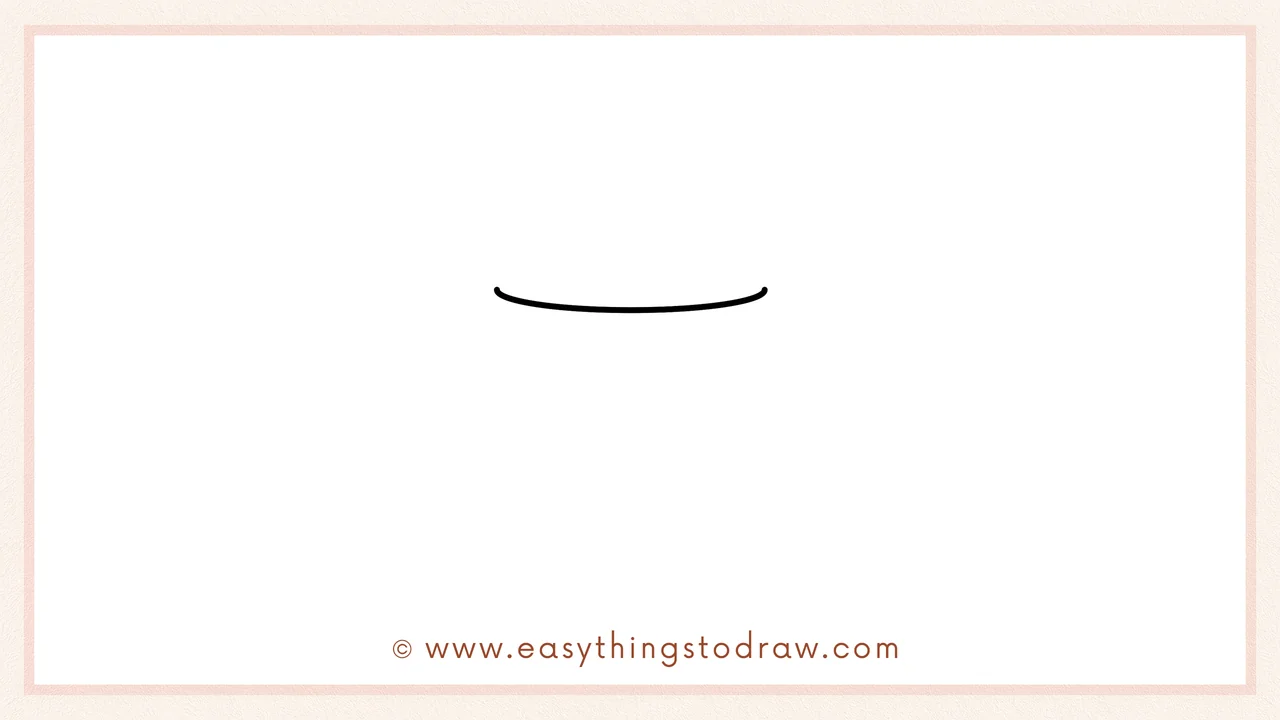
Step 6 – Add a Cute Face to the Pen Holder
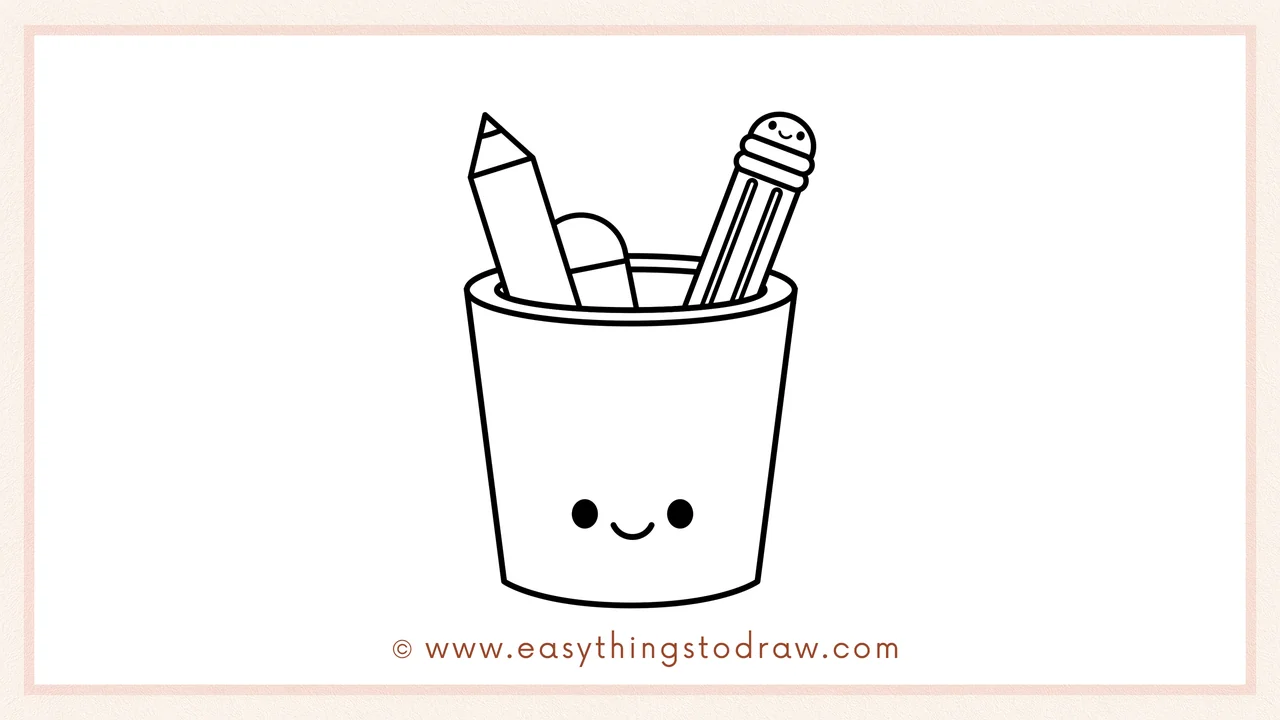
Now give your pen holder some personality! Draw two small round eyes and a “u” shaped smile. Optional: decorate the eraser with a happy face too!
Frequently Asked Questions (FAQ)
Can I add more items inside the pen holder?
Absolutely! You can draw scissors, rulers, pens, or markers — whatever you like!
What colors should I use to color the drawing?
Use your favorite colors! Bright tones like red, blue, yellow, or even rainbow patterns look amazing.
Is this good for beginner kids?
Yes! This step-by-step guide is perfect for preschool and elementary students.
Can I add my own decorations?
Of course! Try stars, stripes, hearts, or speech bubbles to make it unique.
Printable Drawing Tutorials
Download Printable How to draw a cute pen holder Drawing Tutorials
You Did It!
Yay! You’ve drawn an adorable pen holder full of school supplies and smiles. Try personalizing it with your name, extra tools, or even a little desk scene. Print this tutorial and draw it again in different styles. Great job — keep on creating!
