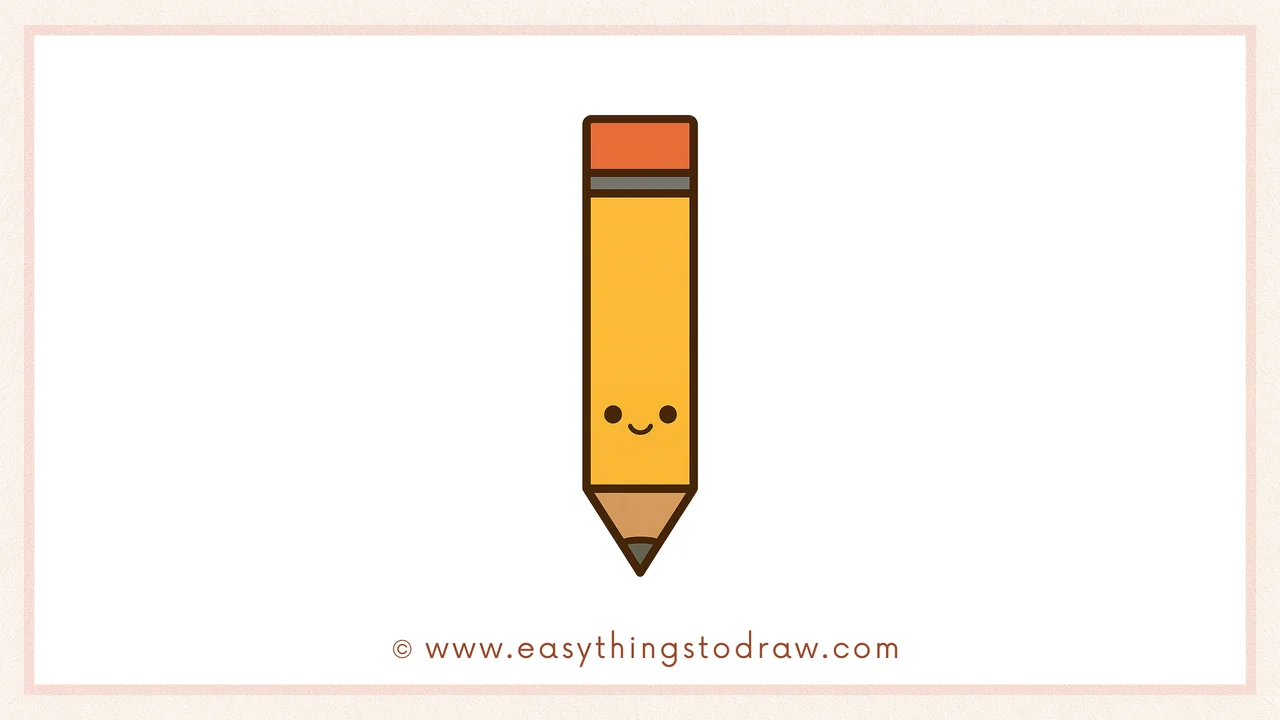
Ready to sketch something that helps you sketch? In this easy drawing tutorial for kids and beginners, you’ll learn how to draw a cute cartoon colored pencil step by step. With a smiling face and sharp point, this little pencil is perfect for back-to-school art or classroom-themed doodles. Let’s draw it together!
What You Need:
- A pencil
- An eraser
- A black marker (for outlining)
- Coloring tools (crayons, markers, or colored pencils)
- Drawing paper
Step by Step Colored Pencil Drawing Instructions
Step 1 – Draw the Left Side and Top

Start by drawing a tall “L” shape. This will become the left edge and top of the pencil body.
Step 2 – Complete the Rectangle
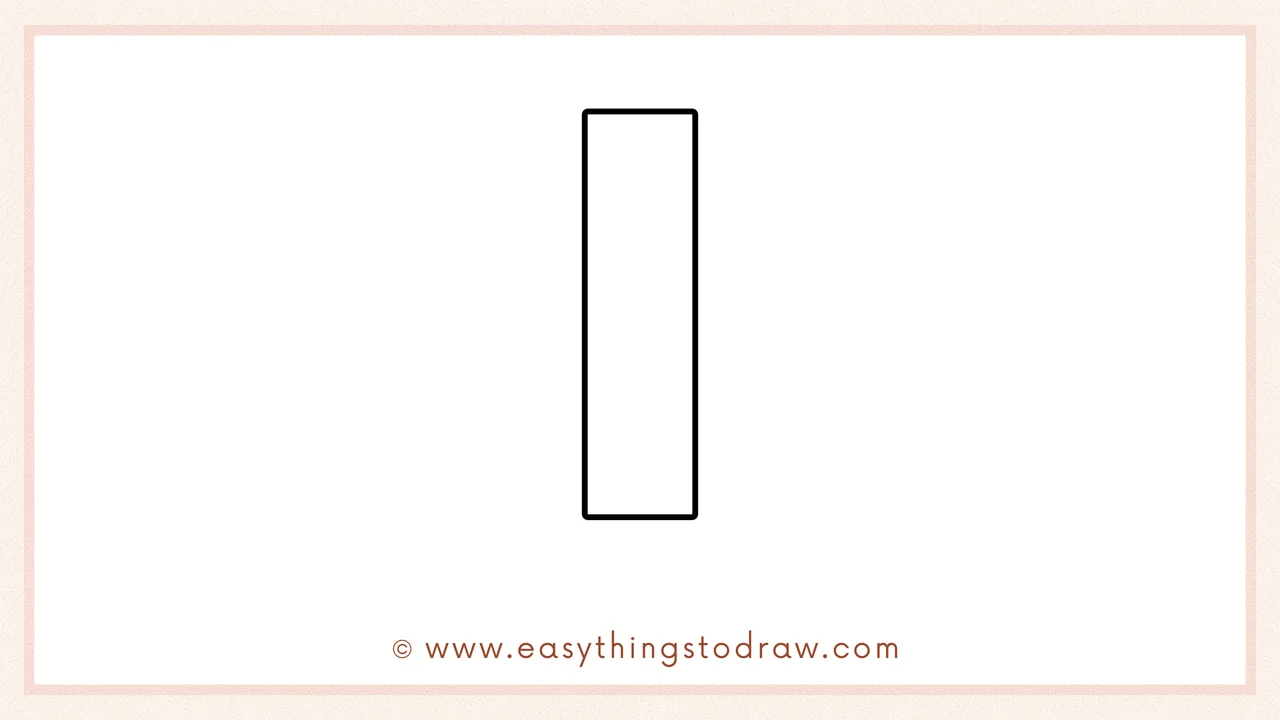
Now finish the rectangular shape by adding the right and bottom lines. This is the main body of your colored pencil.
Step 3 – Begin the Pencil Tip
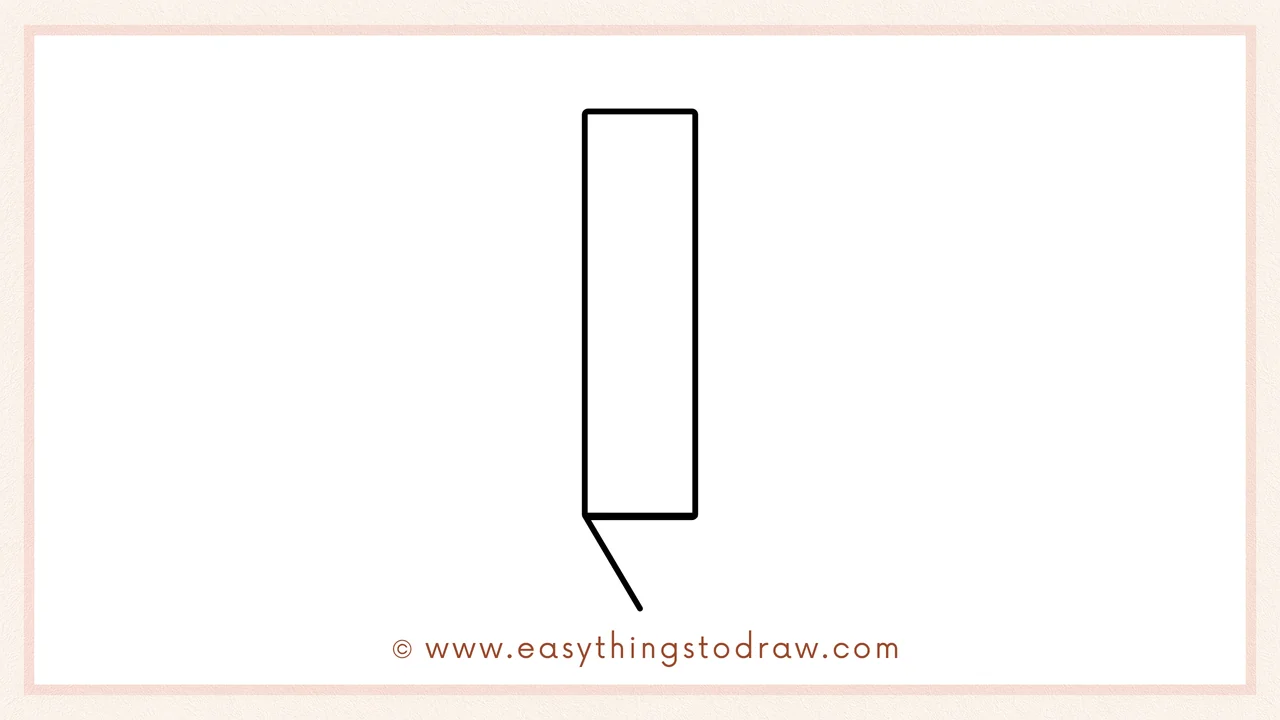
Draw one angled line starting from the bottom edge, going inward like the start of a triangle.
Step 4 – Complete the Tip
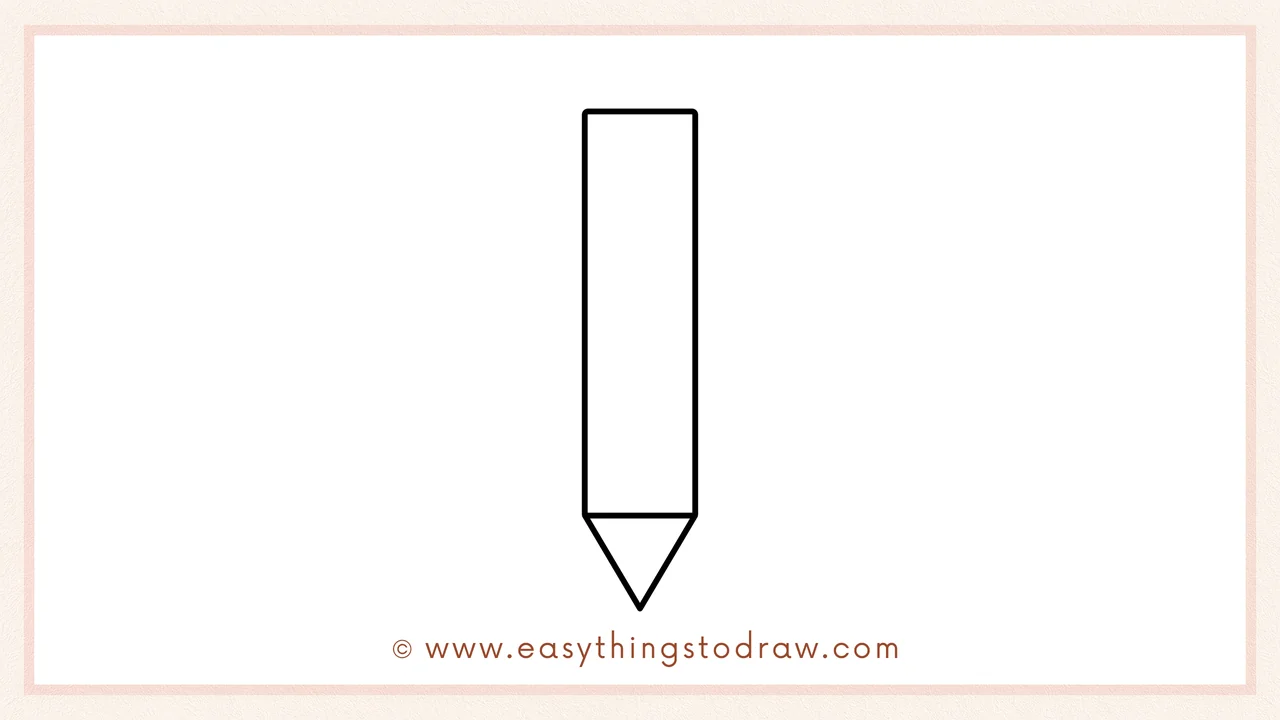
Now draw the other angled side to complete the triangle. This makes your pencil sharp and pointy!
Step 5 – Add the Lead and Detail Line
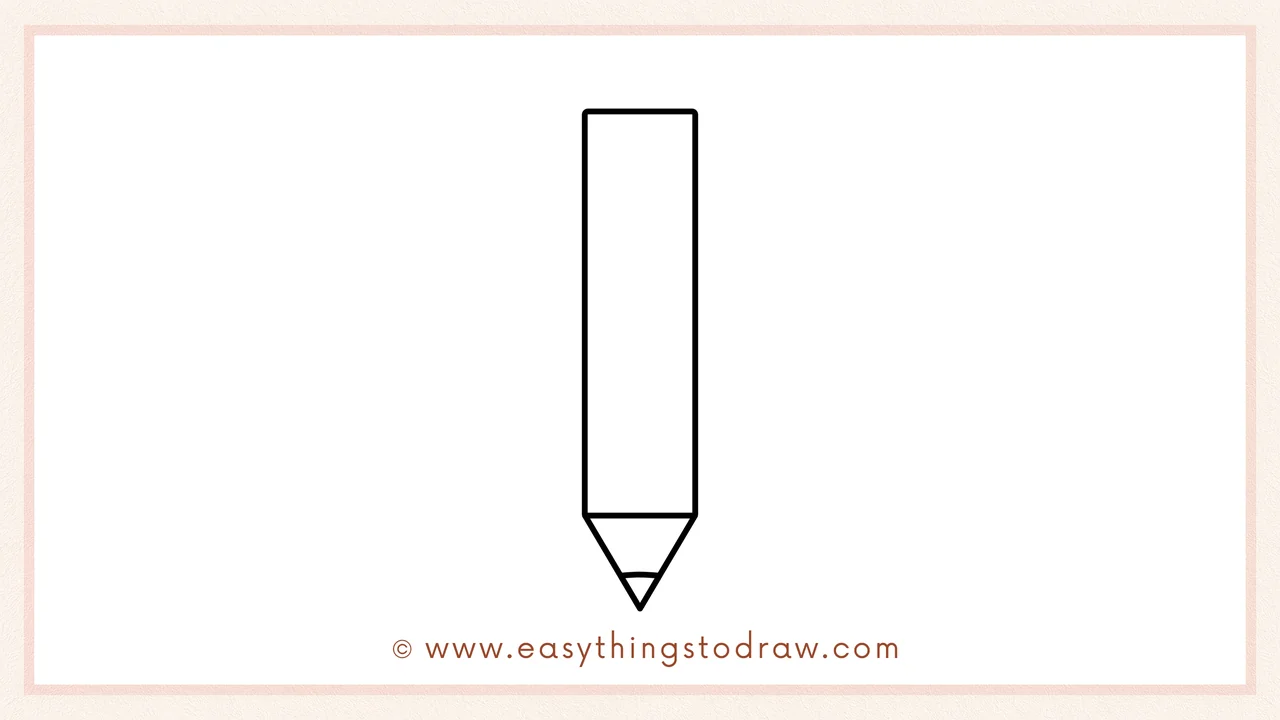
Draw a small curved line across the bottom triangle — that’s the pencil’s lead. Now it looks ready to write or color!
Step 6 – Add a Cute Face
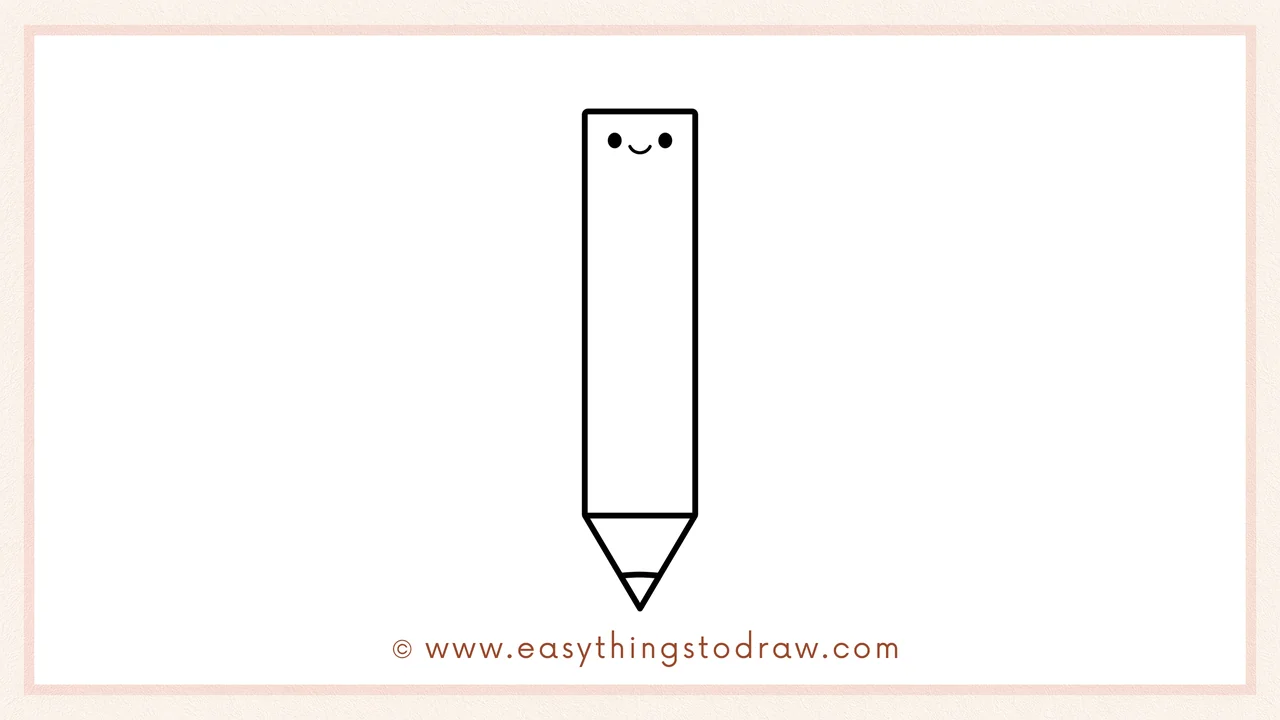
Time to make it adorable! Draw two small eyes and a smiling mouth near the top of the pencil.
Frequently Asked Questions (FAQ)
Can I make the pencil a different shape?
Sure! Try a shorter or thicker version, or one with a rounded eraser top.
What colors work best for a colored pencil drawing?
Bright colors like red, blue, green, yellow, or rainbow styles work great for fun results!
Can I draw other school tools to match?
Yes! You can draw a notebook, sharpener, eraser, or backpack to go with it.
What if my pencil tip isn’t perfect?
That’s okay! Every drawing is different — just do your best and have fun!
Printable Drawing Tutorials
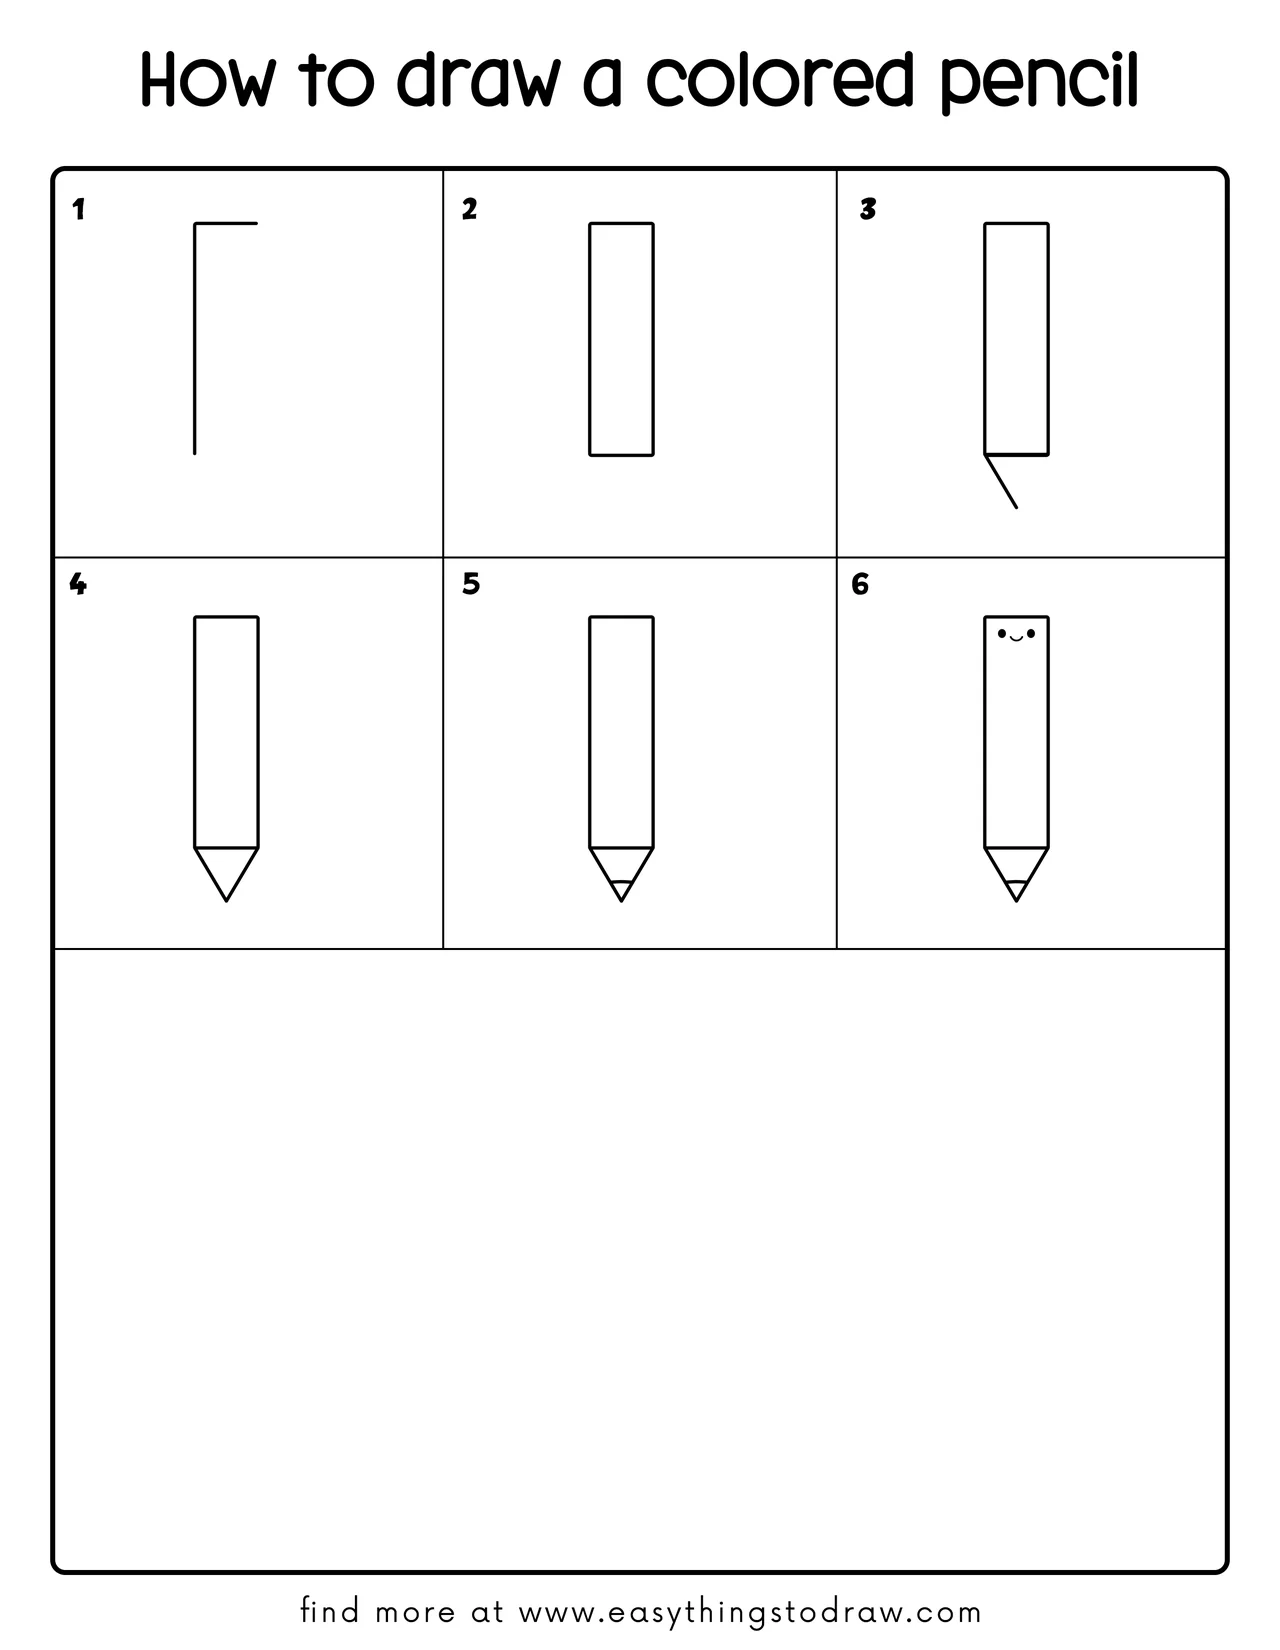
Download Printable How to draw a colored pencil Drawing Tutorials
You Did It!
Great work drawing your cheerful colored pencil! Whether it’s red, blue, striped, or even glittery, your pencil has tons of personality. You can draw a full set in different colors, add fun accessories like glasses or a hat, or even turn it into a pencil family. Keep drawing and let your creativity shine!
