Want to add something spooky but sweet to your Halloween art? Learn how to draw a cute cartoon coffin in just a few easy steps! This Halloween-themed drawing is perfect for kids and beginners who love adding a friendly twist to spooky symbols. By the end, your coffin will be smiling back at you!

What You Need:
- A pencil
- An eraser
- A black marker (for outlining)
- Coloring tools (crayons, markers, or colored pencils)
- Drawing paper
Step by Step Coffin Drawing Instructions
Step 1 – Begin with the Left and Top Sides
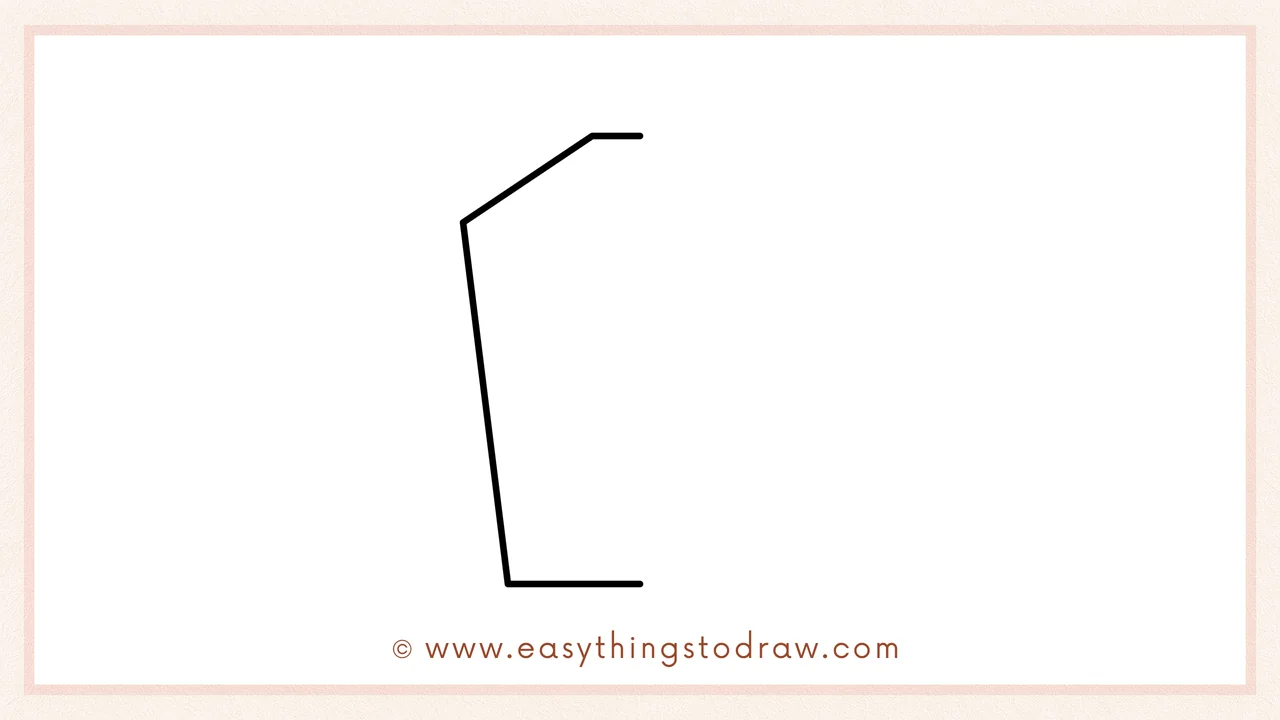
Start by drawing the left side of the coffin as a long angled line. Then add two short lines across the top and bottom.
Step 2 – Complete the Coffin Shape
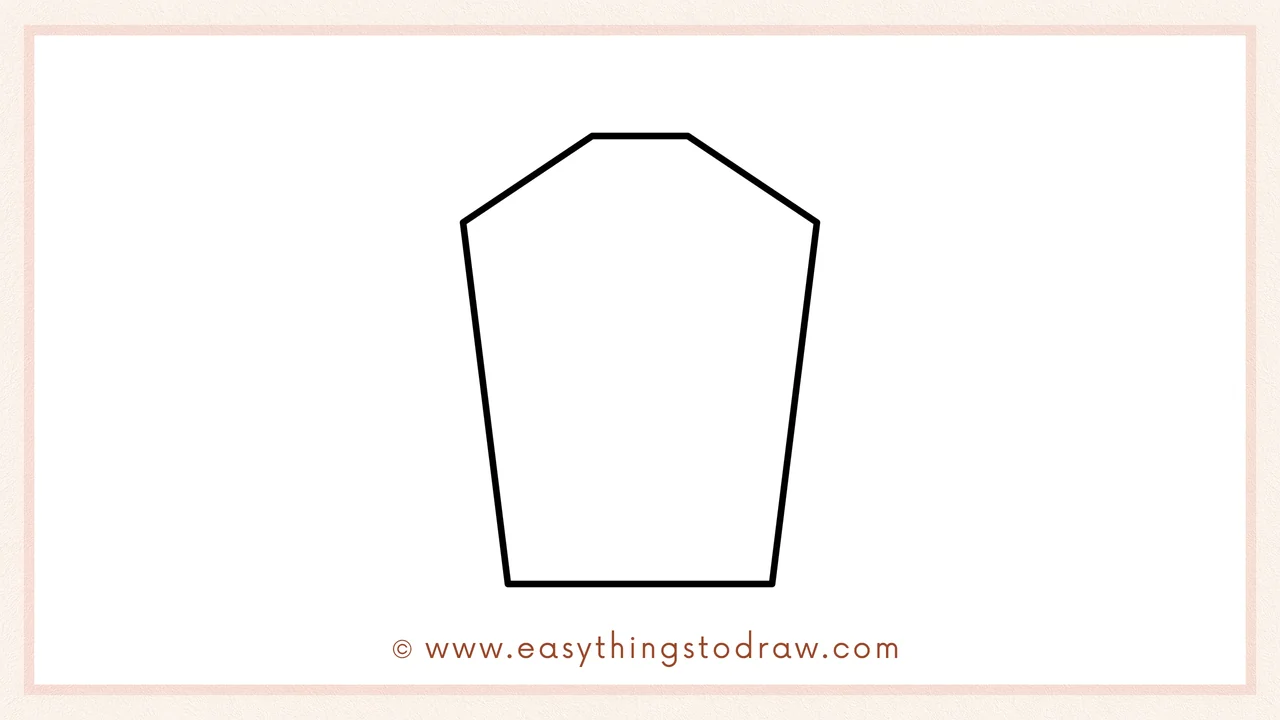
Now draw the right side with a matching angled line, and connect it to the top and bottom to form the full coffin outline.
Step 3 – Add the First Inner Border
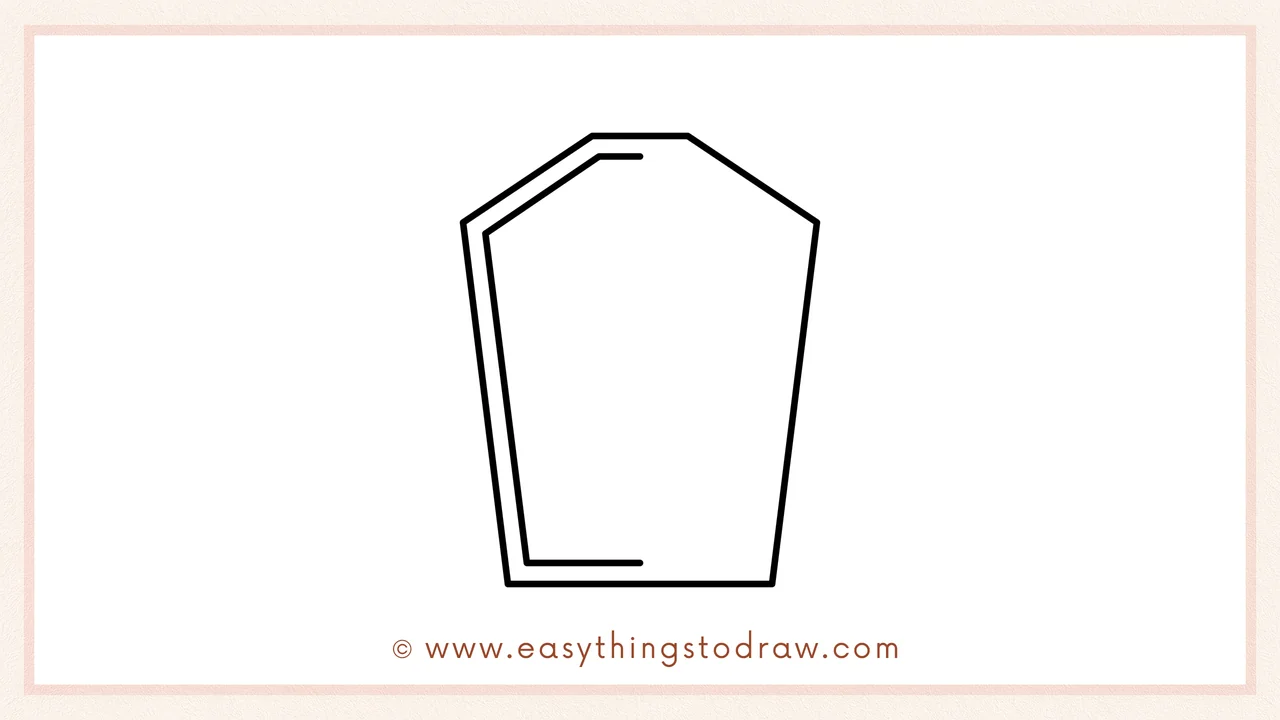
Inside the coffin, draw a slightly smaller version of the same coffin shape. This inner outline follows the same angles and creates a nice border effect.
Step 4 – Complete the Full Inner Border
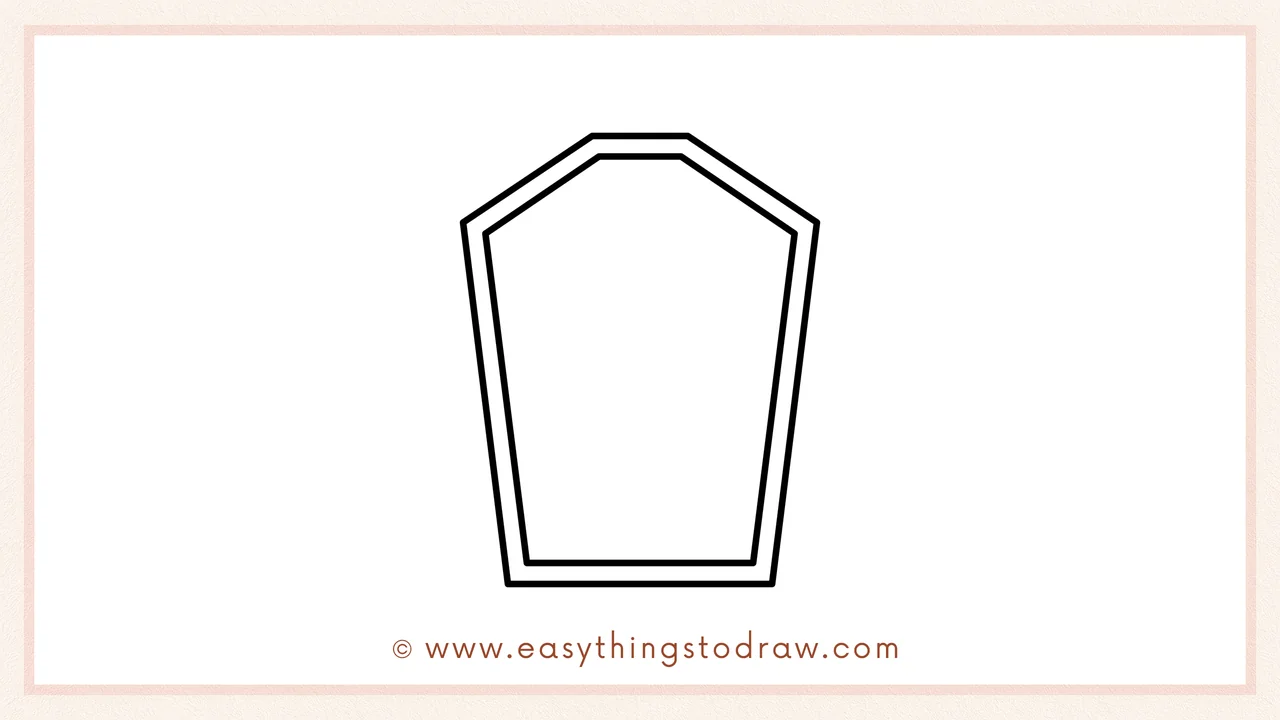
Now connect the top part of the inner outline to form a closed inner coffin shape. This makes the design more complete and neat.
Step 5 – Add the Second Inner Border
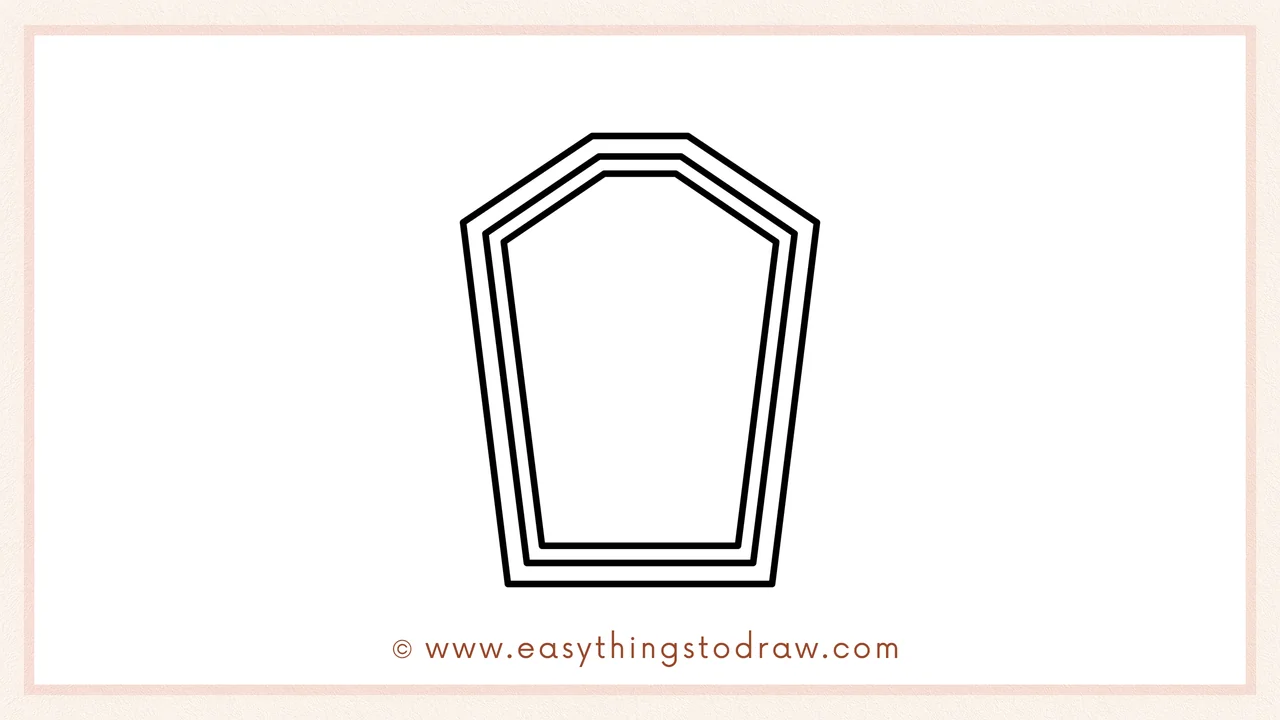
Draw another slightly smaller shape inside the last one. You now have three nested coffin shapes, giving it a bold, layered look.
Step 6 – Add a Cute Face
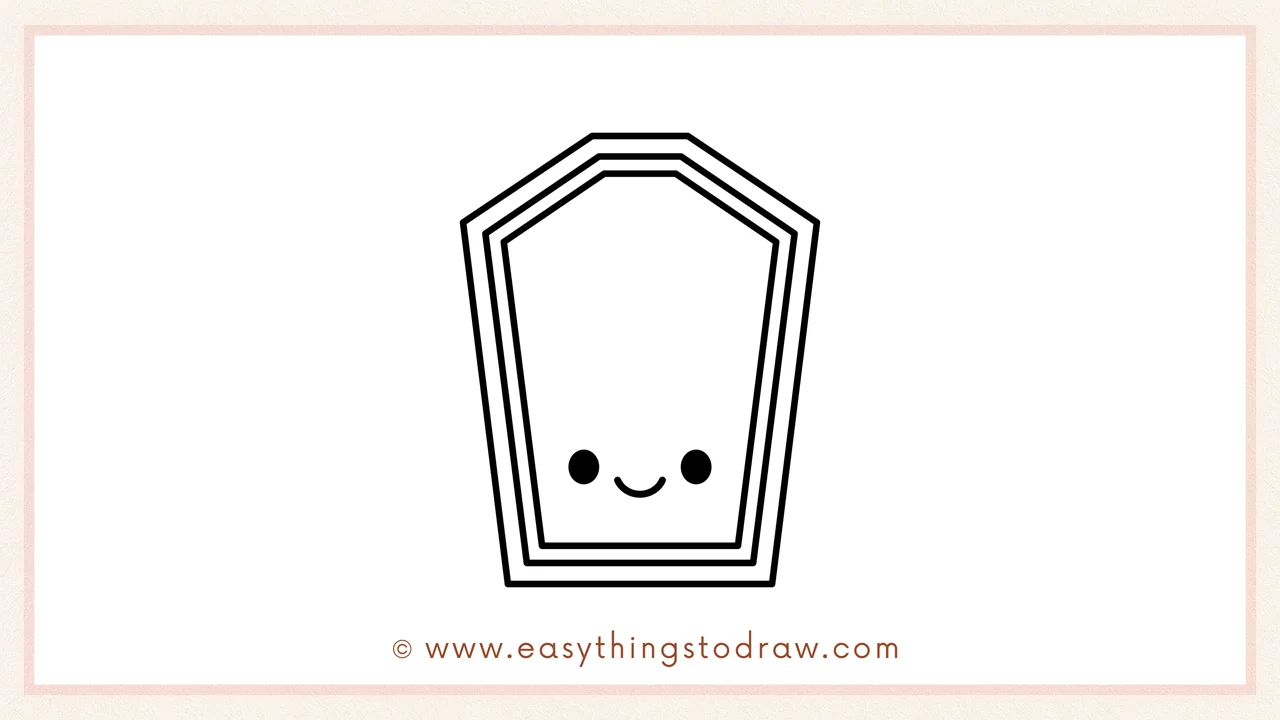
Time to make it friendly! Add two round eyes and a smiling mouth in the center. It’s a happy little coffin ready for Halloween!
Frequently Asked Questions (FAQ)
Can I decorate the coffin with Halloween symbols?
Yes! Try adding a bat, spiderweb, cross, or skull on the outer borders.
What colors should I use for the coffin?
Traditional black, brown, or gray works well – or try purple, green, or orange for a fun Halloween twist!
Is this drawing too spooky for little kids?
Not at all – the smiley face makes it super friendly and fun for all ages!
Can I make more cute Halloween objects?
Absolutely! Draw this coffin alongside a pumpkin, ghost, or cauldron for a full spooky scene.
Printable Drawing Tutorials
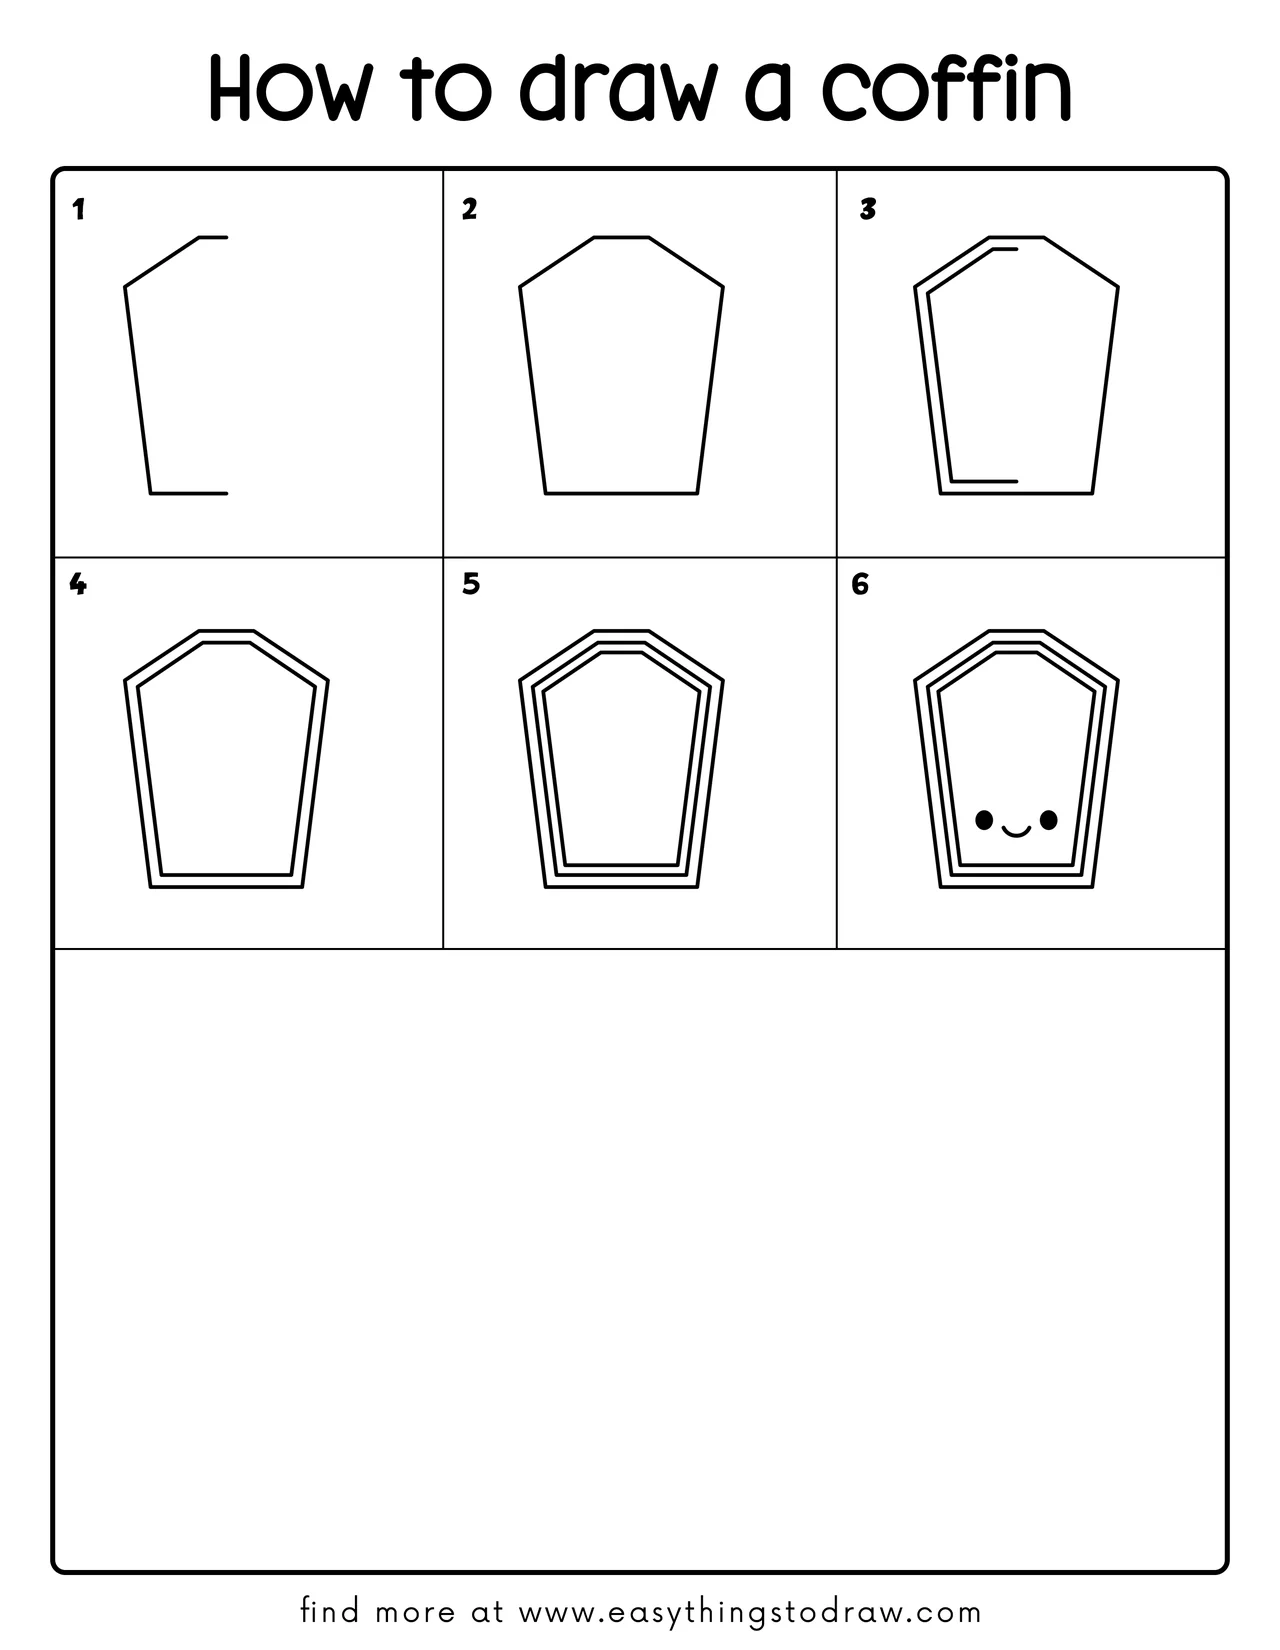
Download Printable How to draw a coffin Drawing Tutorials
You Did It!
Great job, artist! You just turned something spooky into something sweet with your cute cartoon coffin. Now grab your colors and bring it to life! Add glowing lights, stars, or other Halloween characters to complete your scene. Keep drawing, keep smiling, and keep creating magical fun!
