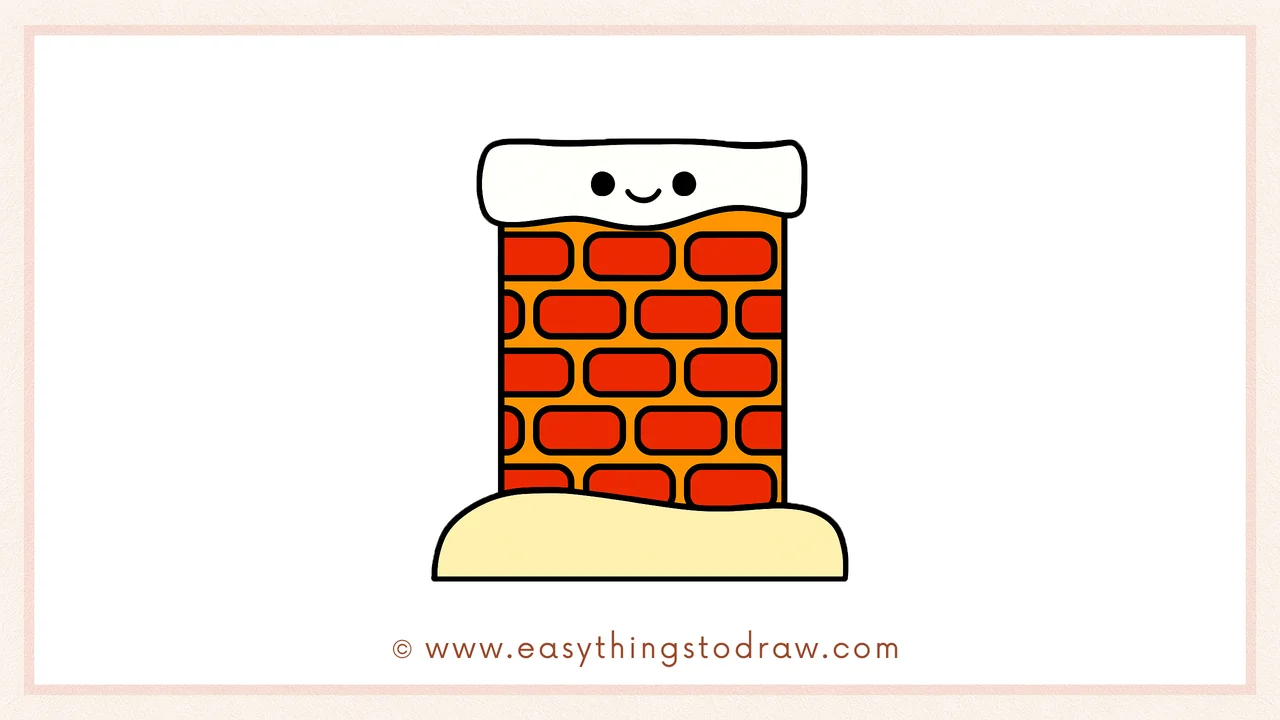
Ever wondered how Santa slides down the chimney? Let’s bring that magical moment to life by learning how to draw a festive Christmas chimney! This easy step-by-step drawing tutorial for kids and beginners shows how to turn basic shapes into a brick chimney with snow, charm, and a friendly smile.
This guide is perfect for:
– Kids exploring holiday-themed art ✨
– Beginners practicing rectangles and patterns 🧱
– Parents and teachers creating festive classroom activities 🎅
🎨 Why Learn From Us?
At Easy Things to Draw, we’re passionate about turning creative curiosity into confidence. All of our drawing guides are made by certified educators with over a decade of experience teaching art to children.
We specialize in step-by-step tutorials that are fun, age-appropriate, and stress-free—so every child can learn at their own pace!
✅ What Makes This Chimney Drawing Special?
🧱 Simple Brick Pattern
The chimney is built using easy rounded rectangles that are fun to draw🌨️ Festive Snow Details
Adds holiday charm with snowy tops and curved shapes😊 Optional Cartoon Face
Gives your chimney extra personality with a smile and eyes🧠 Education-Approved Layout
Reviewed by art teachers for clarity and ease of use
🔒 Safe and Ready for Kids
– 100% ad-free and safe for school use
– Printable for classroom and at-home fun
– Free from complex or inappropriate content
🎄 Let’s Draw This Christmas Chimney Together!
Grab your pencil and let’s build a cozy cartoon chimney perfect for Santa’s big entrance!
What You Need:
- A pencil
- An eraser
- A black marker (for outlining)
- Coloring tools (crayons, markers, or colored pencils)
- Drawing paper
Step by Step Christmas Chimney Drawing Instructions
Step 1 – Draw the Snowy Top
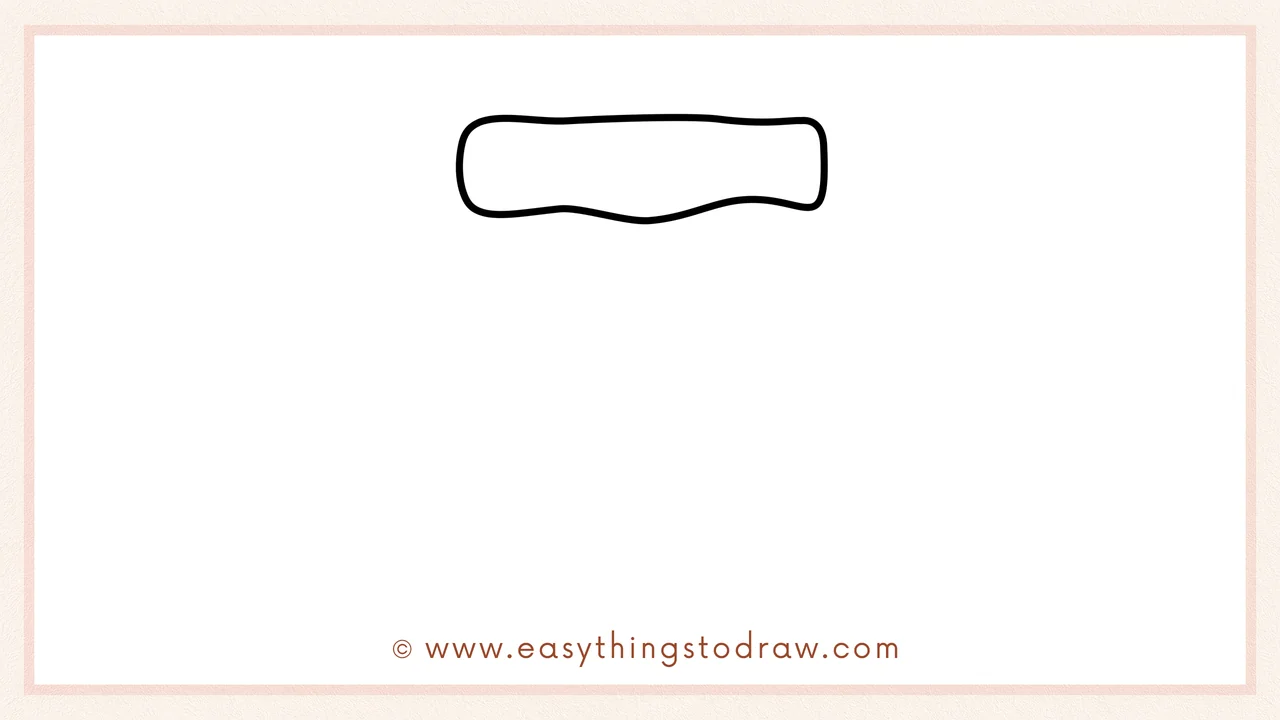
Start with a wide rectangle at the top with a wavy bottom edge. This will be the snowy top of your chimney.
Step 2 – Draw the Snowy Base
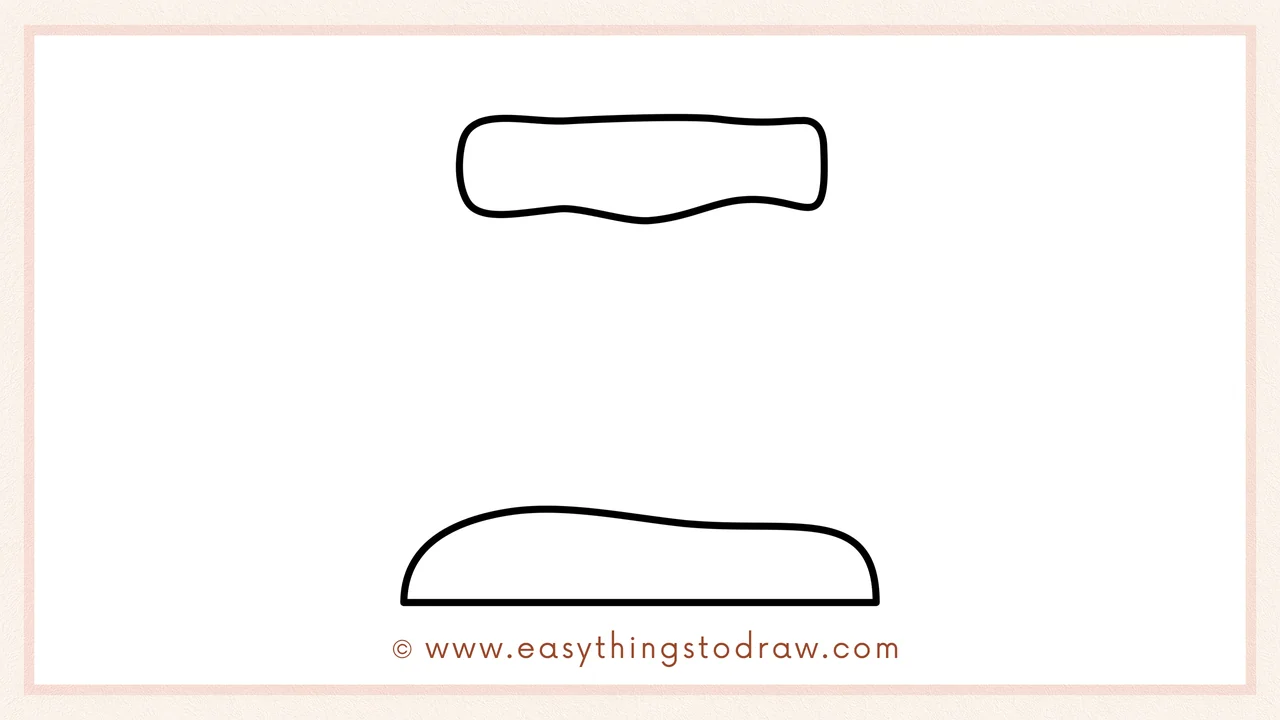
Under the snow top, draw a big, rounded rectangle for the chimney base. It should curve gently and feel soft like snow.
Step 3 – Add the Chimney Walls

Now connect the top and base by drawing two straight lines down from the snow top to the base—this creates the brick chimney body.
Step 4 – Draw the First Row of Bricks
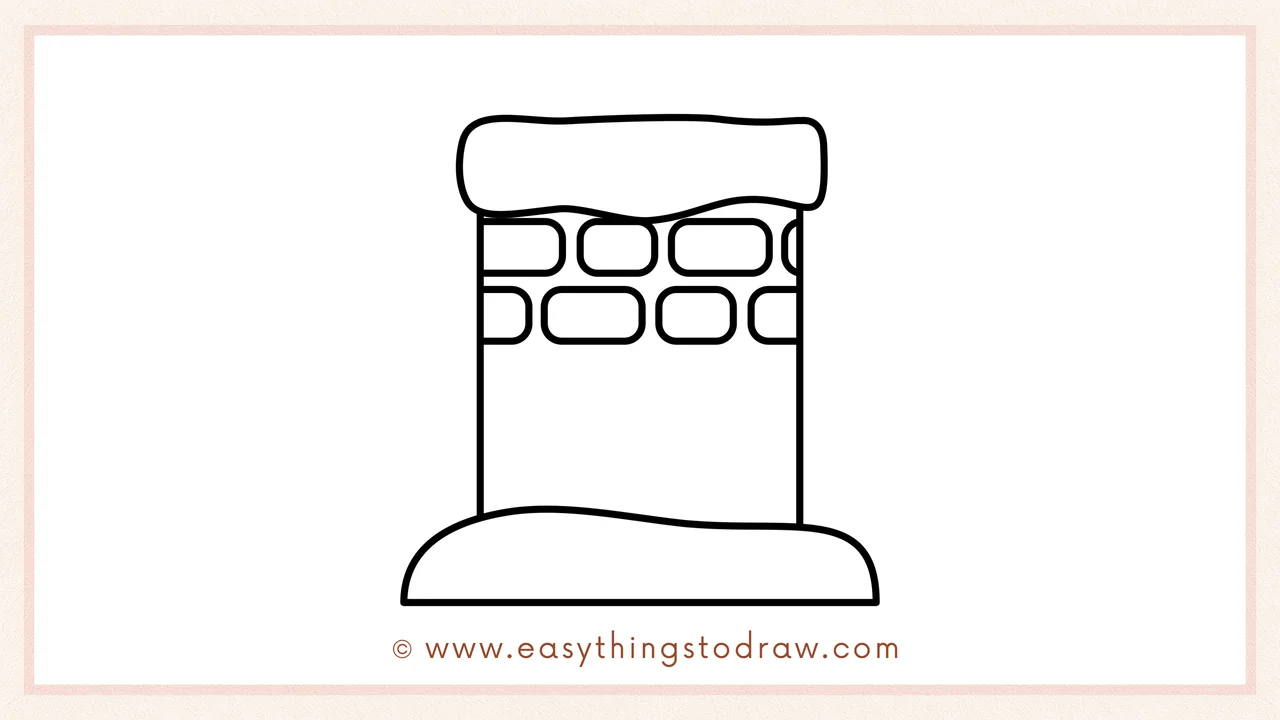
Start filling the chimney with small, rounded rectangles to make it look like bricks. Begin with a row near the top.
Step 5 – Fill In More Bricks
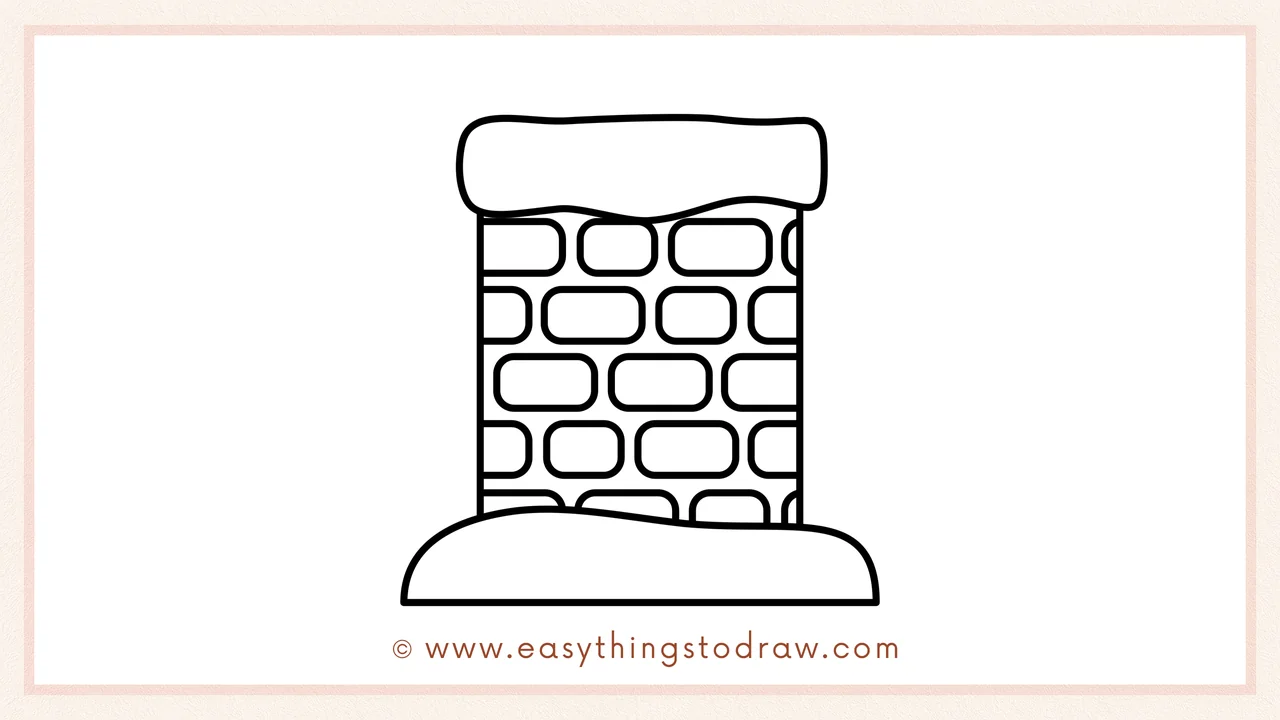
Add more rows of bricks all the way down to the bottom. Stagger the bricks a little to make them look like real masonry.
Step 6 – Add a Face and Color It In!
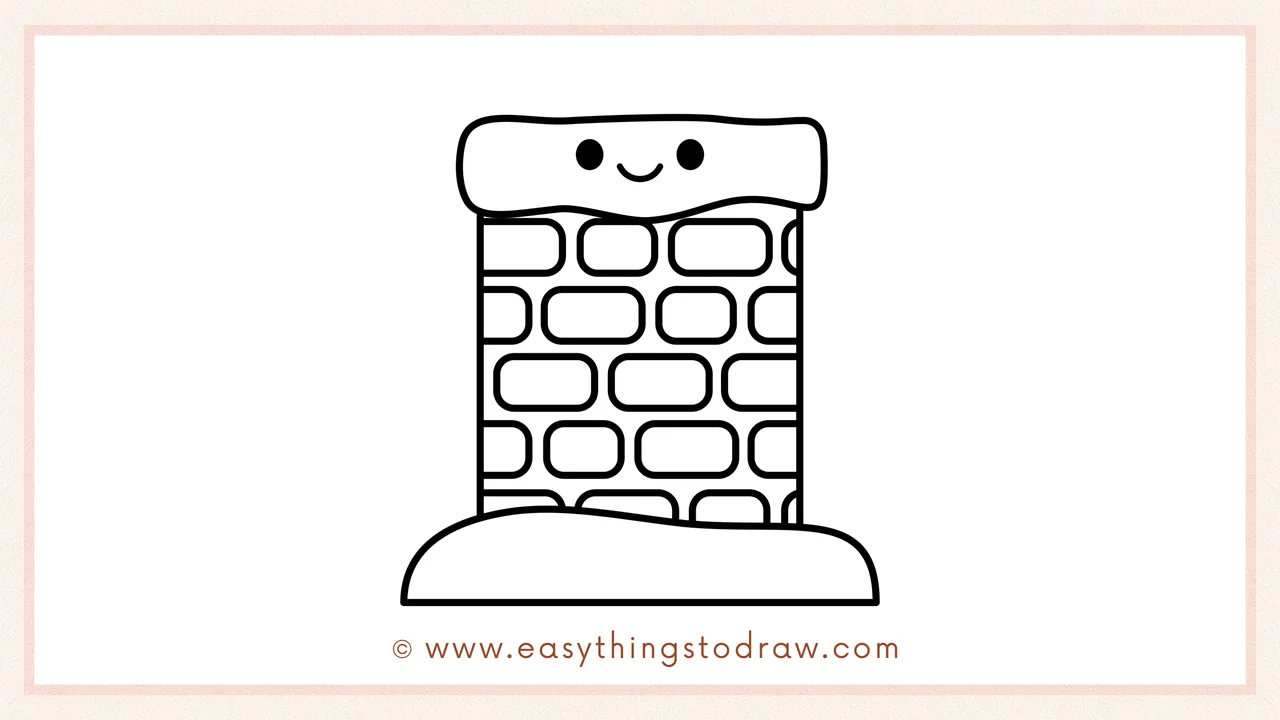
Draw two little eyes and a smile in the snow cap if you’d like to make it cute! Then color in the bricks red or brown, and the snow white with light blue shadows.
Frequently Asked Questions (FAQ)
Can I draw Santa in the chimney too?
Yes! Try sketching Santa’s hat or boots popping out from the snowy top for extra fun.
What colors work best for the bricks?
Red, orange, or brown bricks are classic—but don’t be afraid to try creative colors like pink or blue!
How do I make the snow look real?
Use white with light blue or gray shadows along the edges to give your snow a fluffy, wintery feel.
Is this chimney tutorial classroom-safe?
Absolutely! It’s ad-free, printable, and designed specifically for beginner artists and classrooms.
Printable Drawing Tutorials

Download Printable How to draw a christmas chimney Drawing Tutorials
You Did It!
Great job! You’ve built a wonderful Christmas chimney ready for Santa’s visit. You can add stars in the background, snowflakes, or even draw Santa peeking out the top!
Hang your chimney on the fridge, turn it into a card, or draw it again with stockings and decorations. You’re the artist—make it magical!
