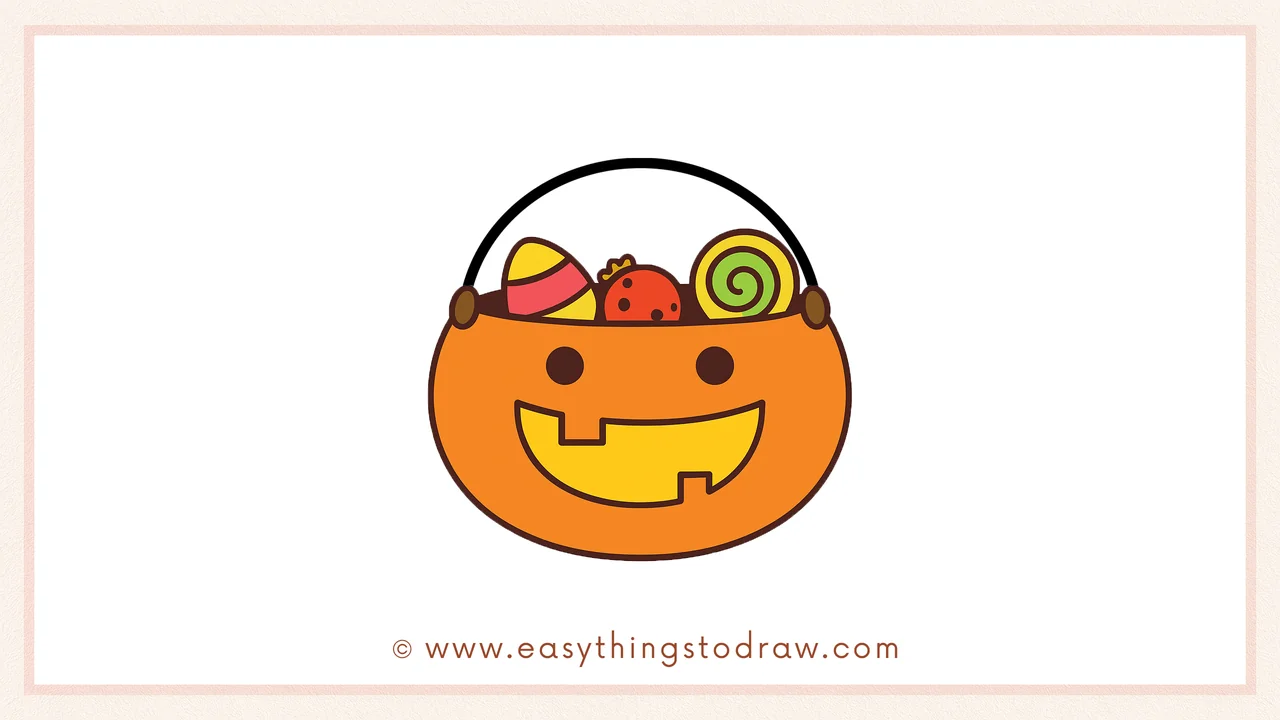
Get ready to draw the sweetest trick-or-treat surprise! In this easy tutorial, you’ll learn how to draw a cartoon candy bucket with a happy face and a pile of yummy treats inside. This step-by-step Halloween drawing is perfect for kids and beginners. It’s fun, festive, and full of personality – just like your favorite bucket of candy!
What You Need:
- A pencil
- An eraser
- A black marker (for outlining)
- Coloring tools (crayons, markers, or colored pencils)
- Drawing paper
Step by Step Candy Bucket Drawing Instructions
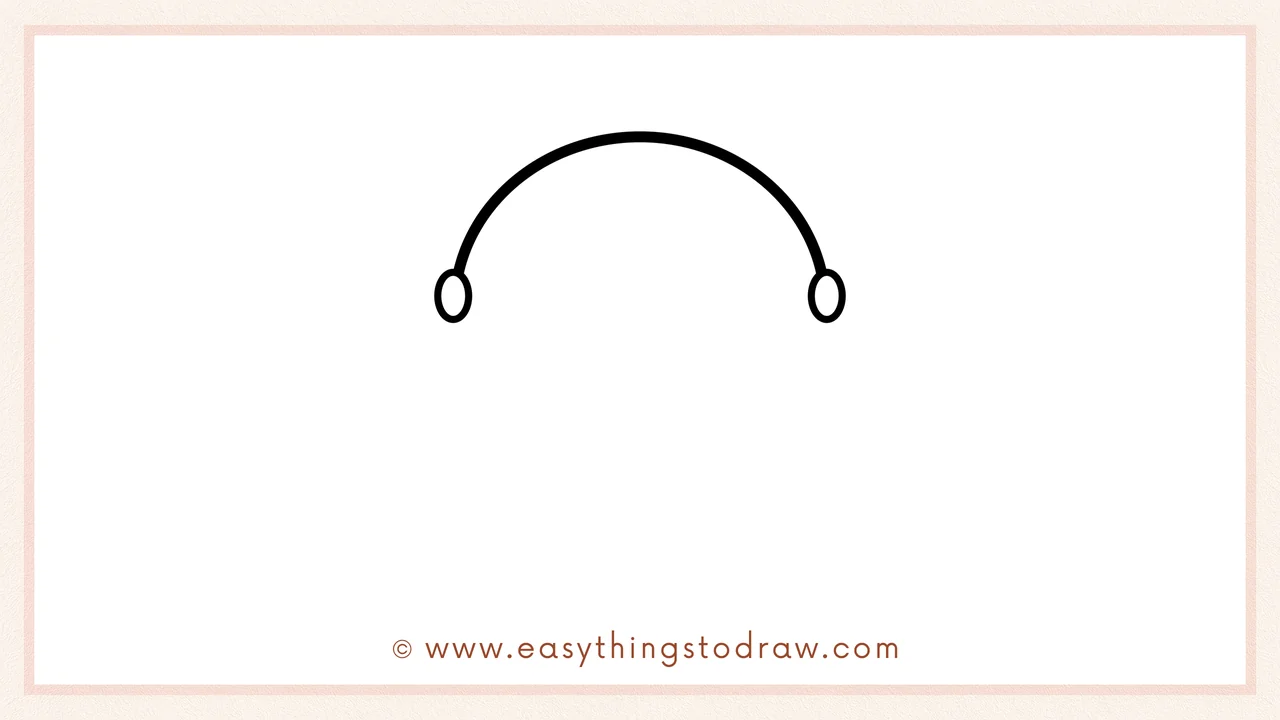
Step 1 – Draw the Handle and Side Clips
Start with a large upside-down “U” shape near the top of your paper. Add an oval on each end – these are the clips where the handle connects to the bucket.
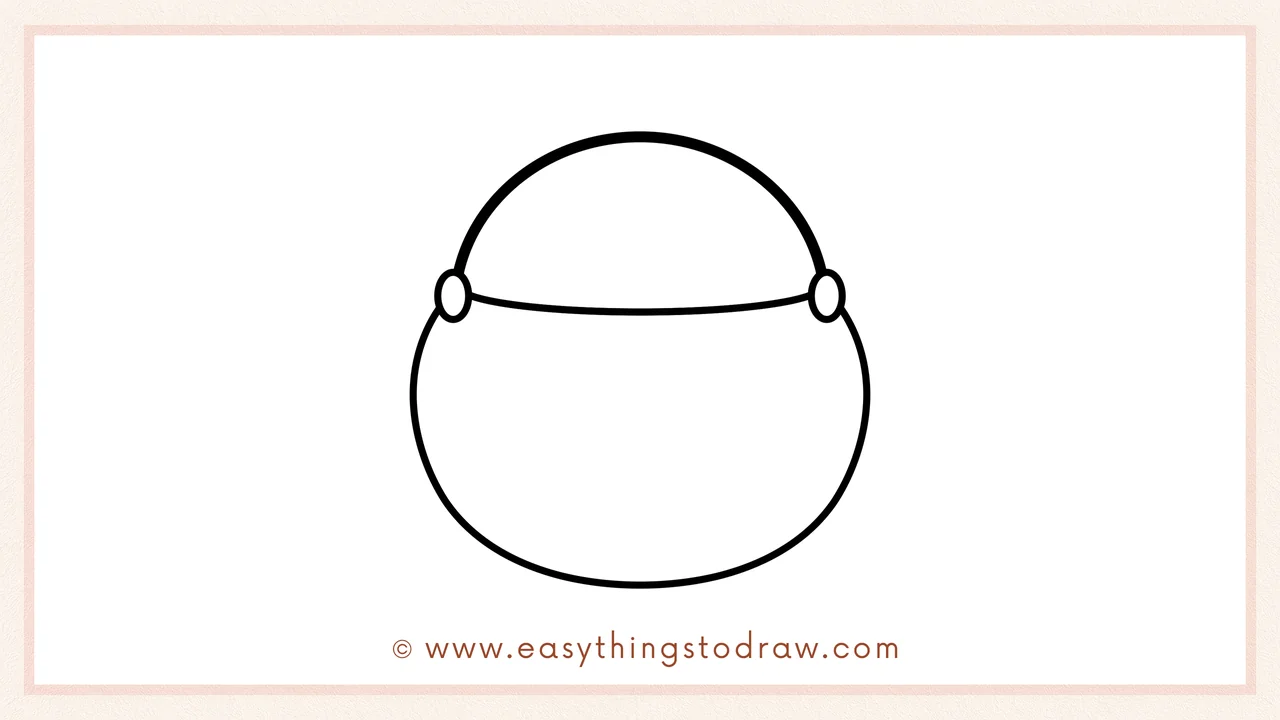
Step 2 – Draw the Bucket Shape
Under the handle, draw a big round shape like a pumpkin or bowl. Connect both clip ovals to the bottom of the bucket with a smooth curve.
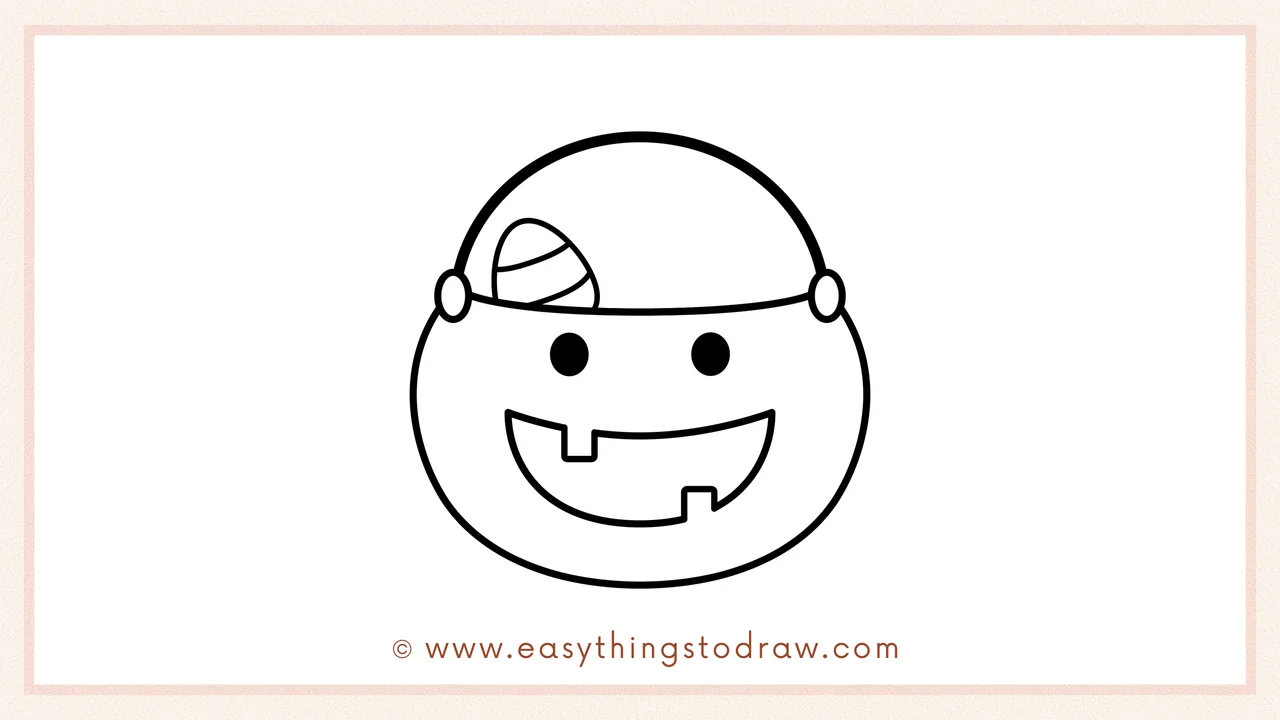
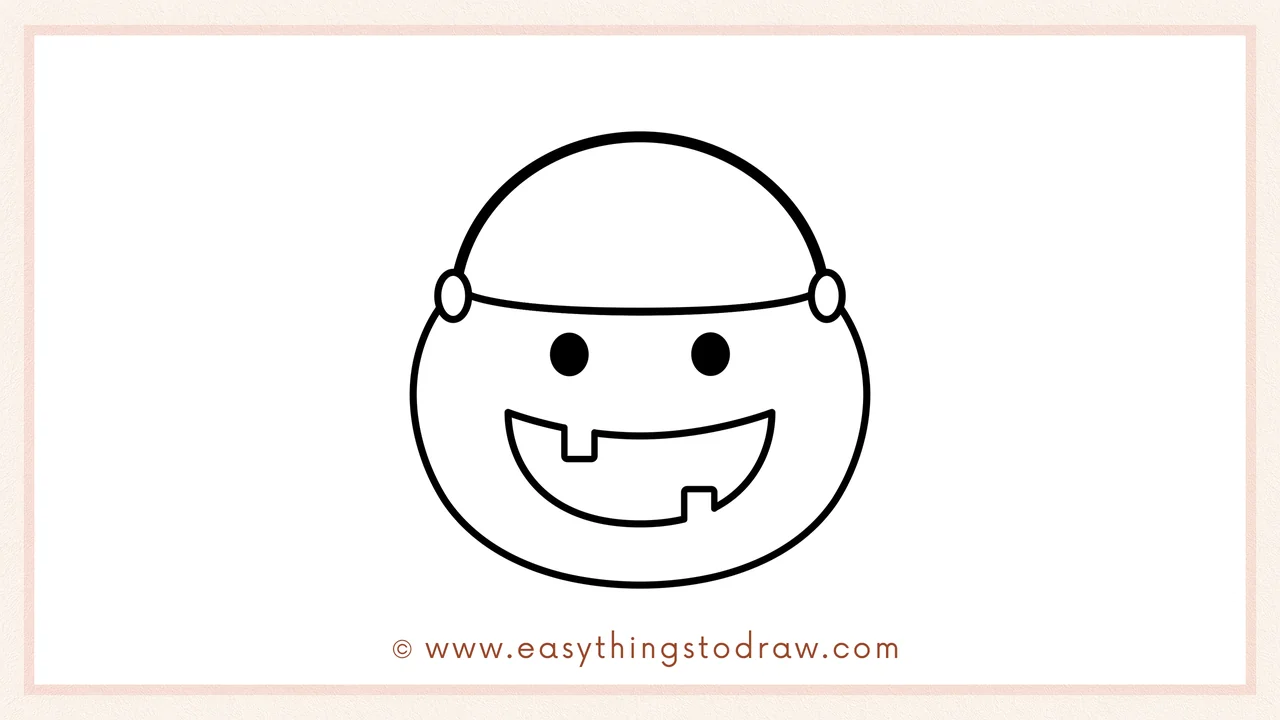
Step 3 – Add the Face
Draw two round eyes in the upper middle area of the bucket. Then, sketch a big smiling mouth below with a few square-shaped missing teeth – like a cute jack-o’-lantern!
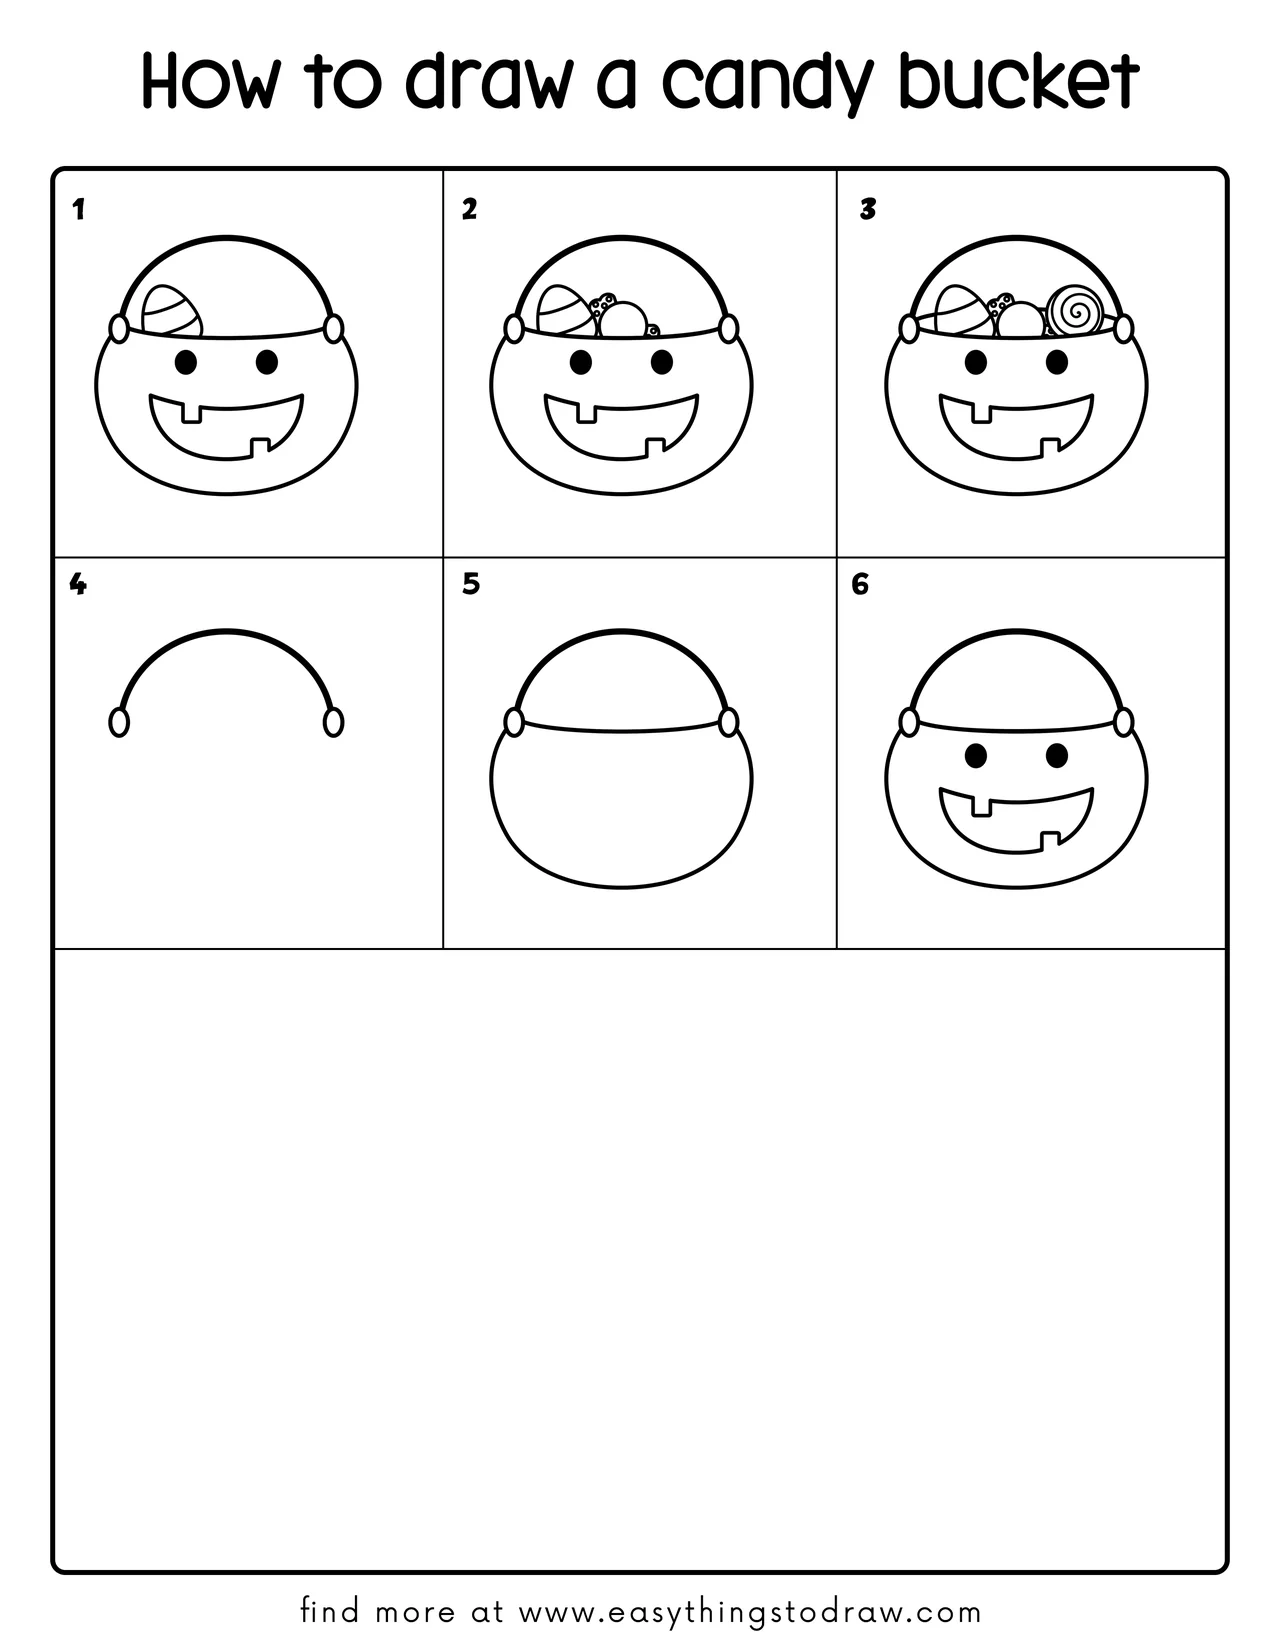
Step 4 – Start Filling It with Candy
Begin with one big candy at the top left of the bucket. It can be egg-shaped with fun patterns like stripes or swirls.
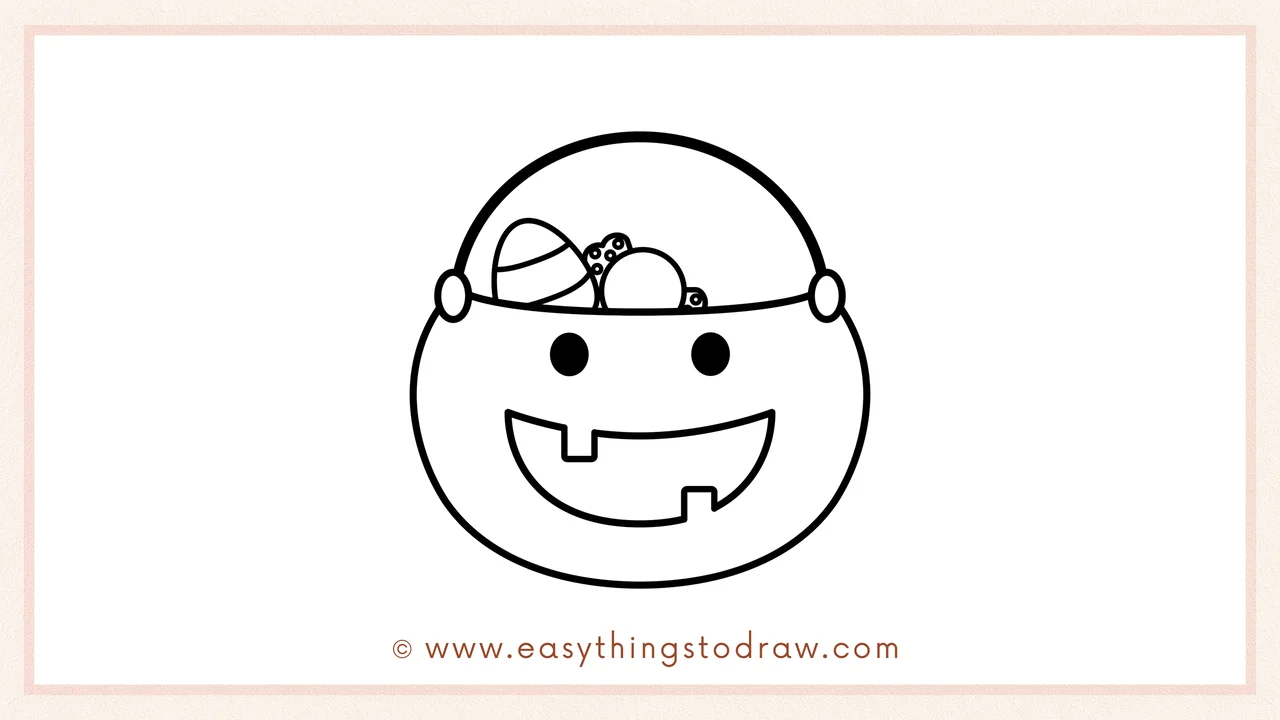
Step 5 – Add More Treats
Now draw more candies filling the top of the bucket. Mix shapes like round ones, wrapped pieces, and tiny dotted treats to make it look super full and fun.
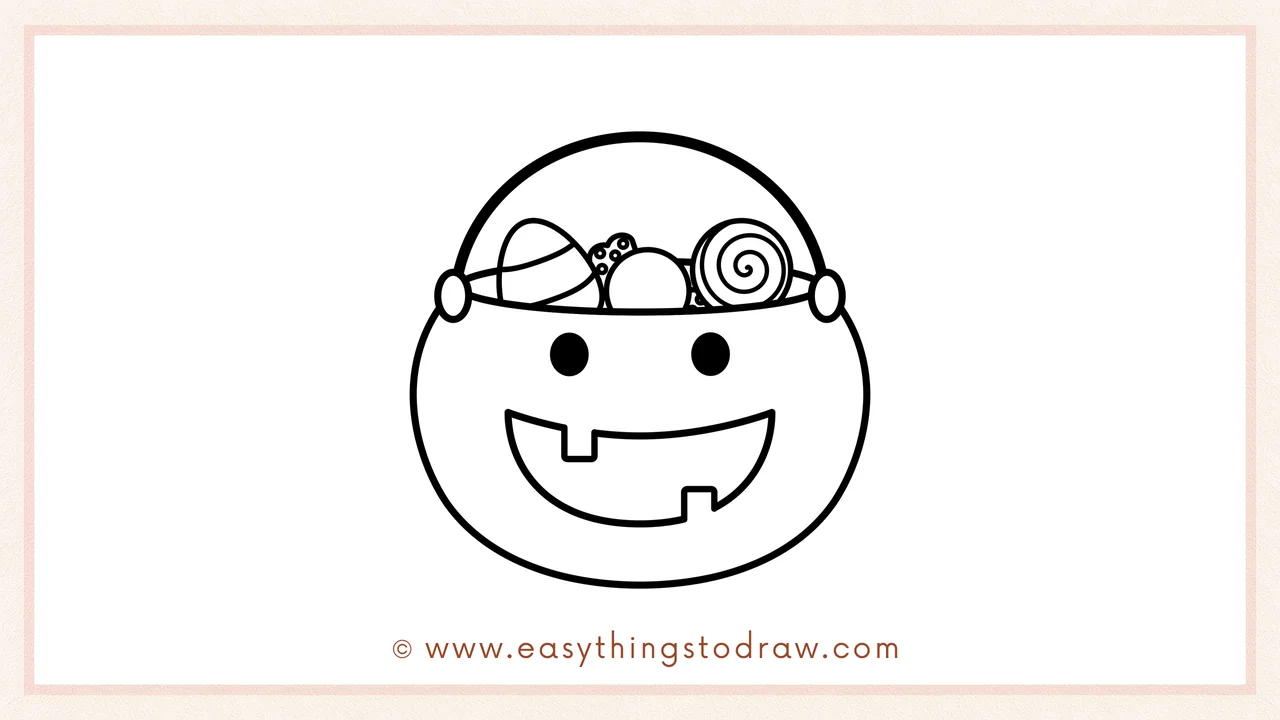
Step 6 – Complete the Top with Final Candy Details
Finish your bucket by adding a big spiral lollipop or swirl candy on the right side. Now your treat bucket is bursting with sweetness!
Frequently Asked Questions (FAQ)
Can I change the candy types?
Yes! Add chocolate bars, gummy worms, or even candy corn – whatever you love most.
What colors should I use to color it?
Try orange or purple for the bucket, and use bright, varied colors for the candies to make them pop.
Is this good for Halloween cards or crafts?
Absolutely! You can draw this on greeting cards, trick-or-treat bags, or coloring pages.
Can I turn it into a character?
Yes! Add arms, legs, or a costume to your candy bucket to make it even more fun.
Printable Drawing Tutorials
Download Printable How to draw a candy bucket Drawing Tutorials
You Did It!
Way to go! You just drew a super sweet and cheerful Halloween candy bucket. Doesn’t it look like it’s ready for trick-or-treating? Now go ahead and color it in, decorate it with stickers, or draw even more candy buckets with different faces. Keep creating and have a blast – your art is a real treat!
