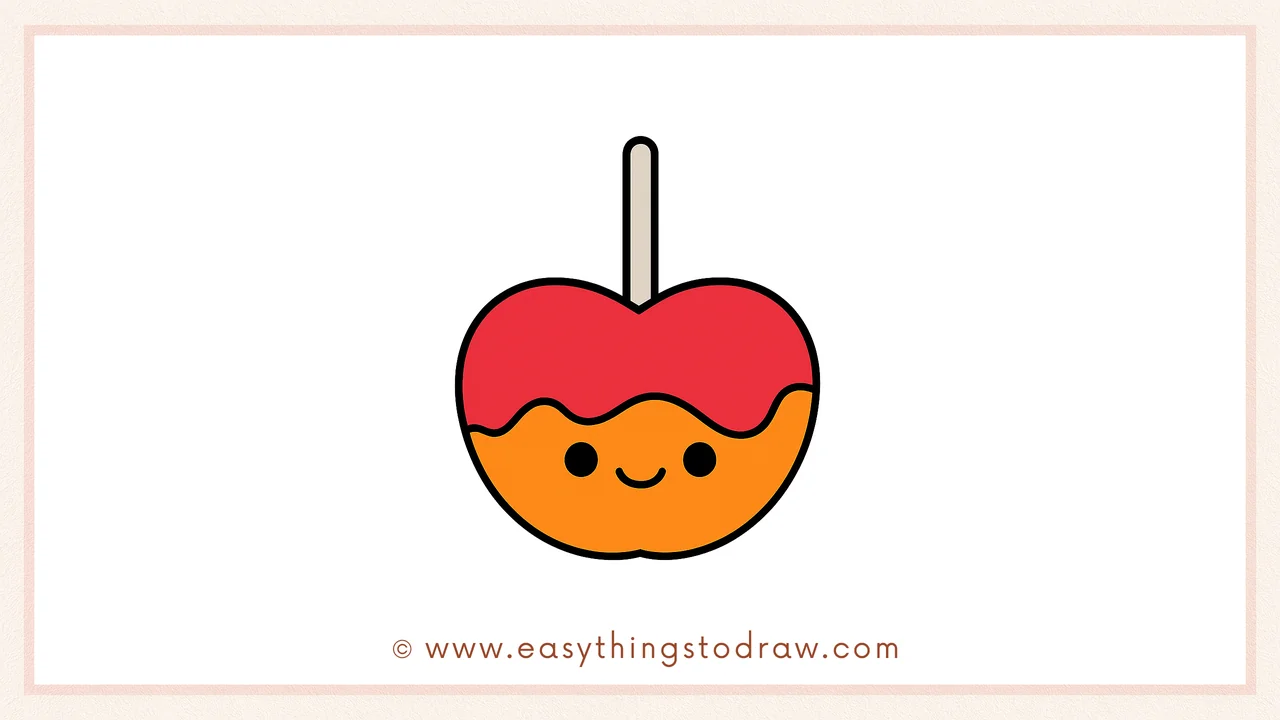
Get ready for a sweet and spooky treat! In this fun and easy tutorial, we’ll show you how to draw a cute candy apple with a smiling face. This step-by-step drawing is perfect for Halloween, fall festivals, or anyone who loves sugary snacks. Great for kids and beginners, this candy apple drawing uses simple shapes and smooth lines to make art both fun and tasty-looking!
What You Need:
- A pencil
- An eraser
- A black marker (for outlining)
- Coloring tools (crayons, markers, or colored pencils)
- Drawing paper
Step by Step Candy Apple Drawing Instructions
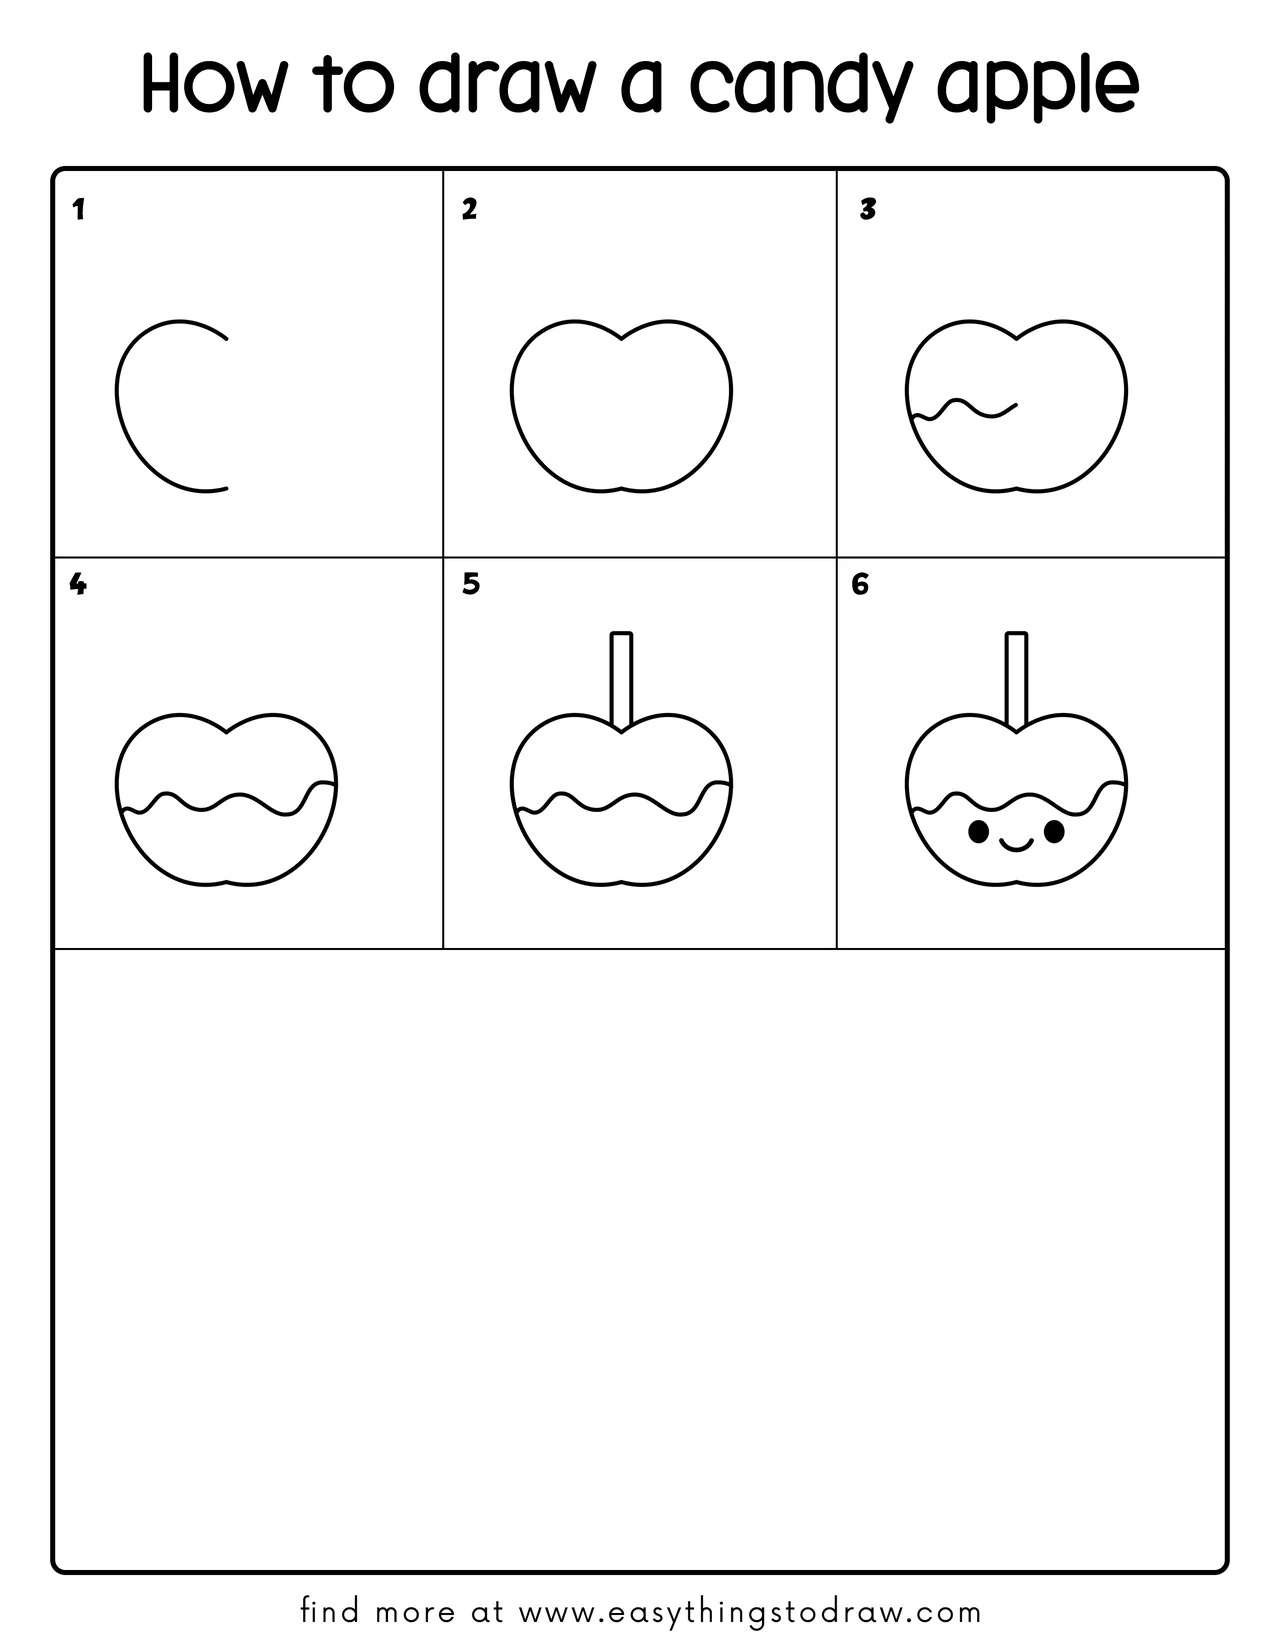
Step 1 – Draw a Round Apple Side
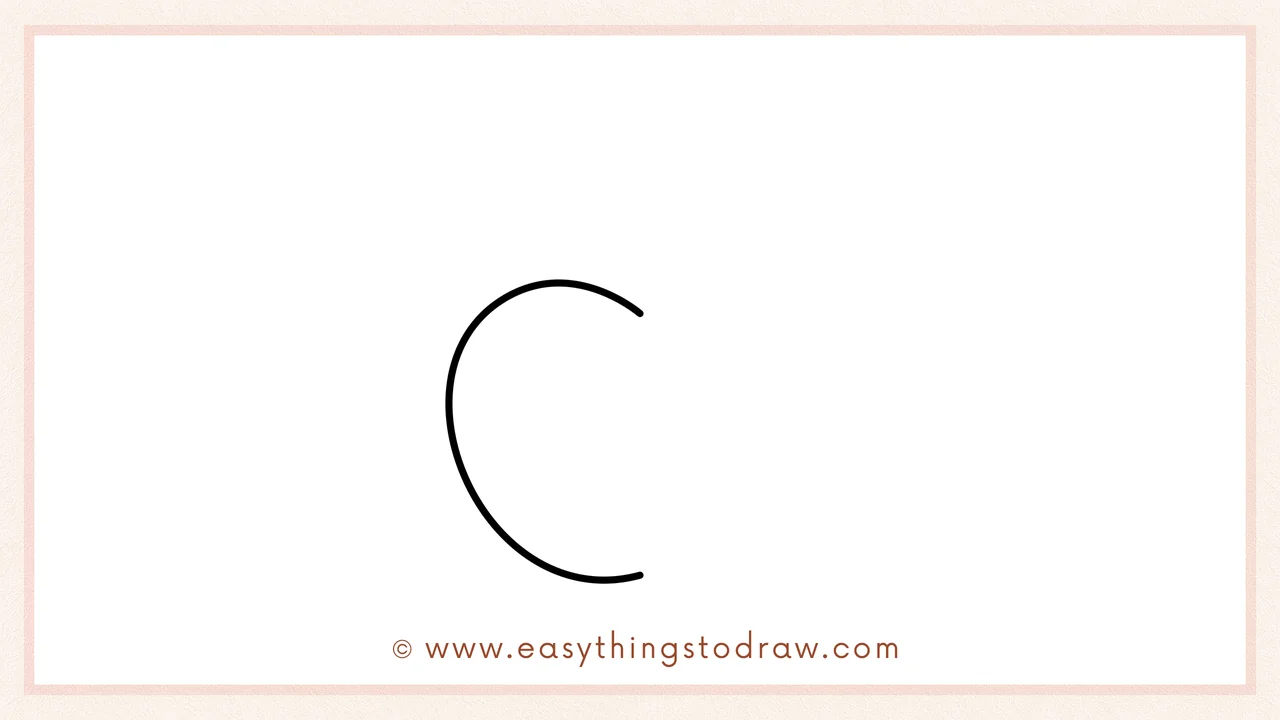
Start with a large “C” shape on the left side of your page. This is one half of the apple’s curved edge – nice and plump!
Step 2 – Complete the Apple Shape
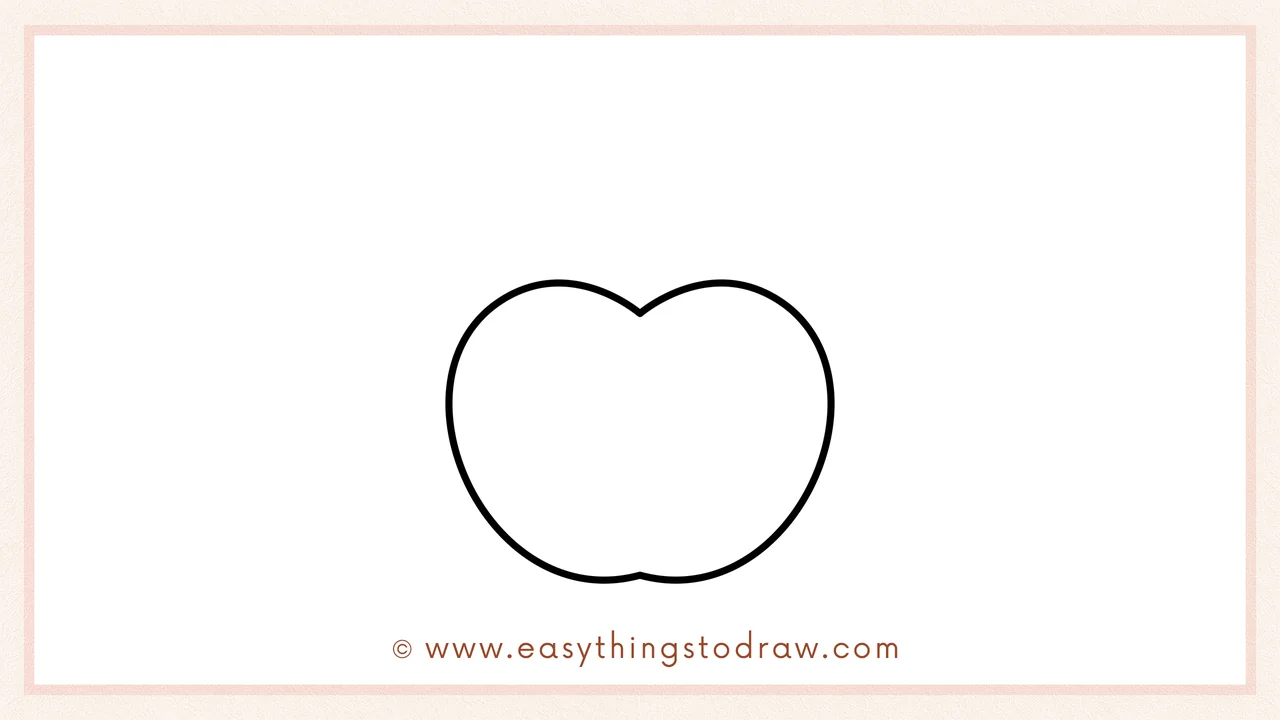
Now draw a mirrored curve on the right and connect the two tops with a small dip in the center. You should have a full apple shape that’s a bit like a heart or pumpkin.
Step 3 – Add the Candy Dip Line
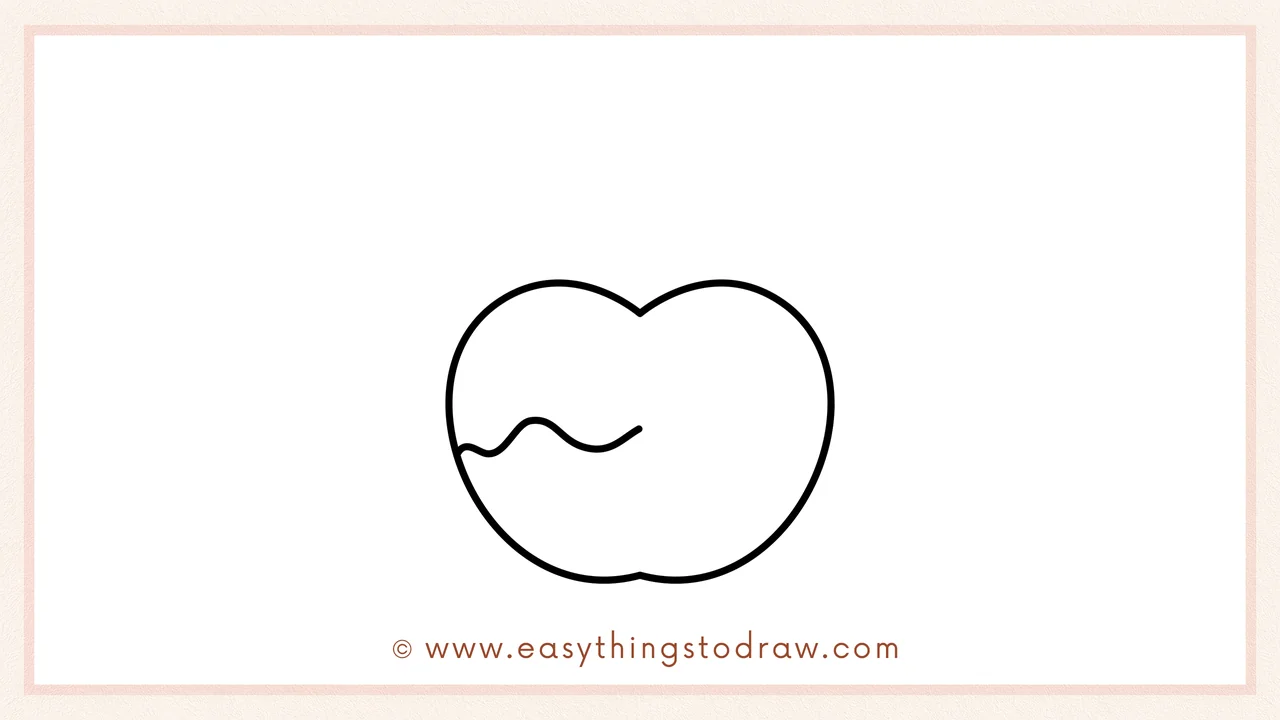
Inside the apple, draw a bumpy horizontal line from left to right. This is the line where the gooey candy coating ends.
Step 4 – Complete the Candy Coating
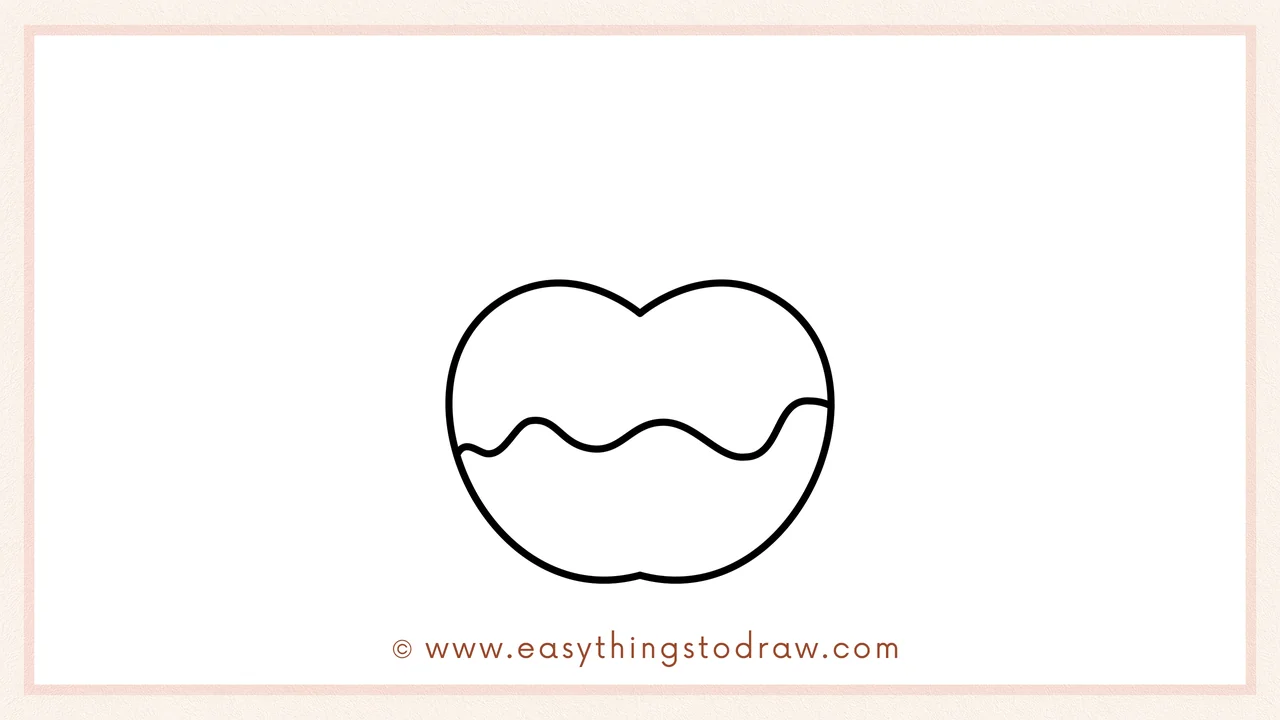
Extend that wavy line all the way to the right side. Make sure it hugs the apple shape to look like melted sugar – now your apple is sweetly dipped!
Step 5 – Draw the Stick
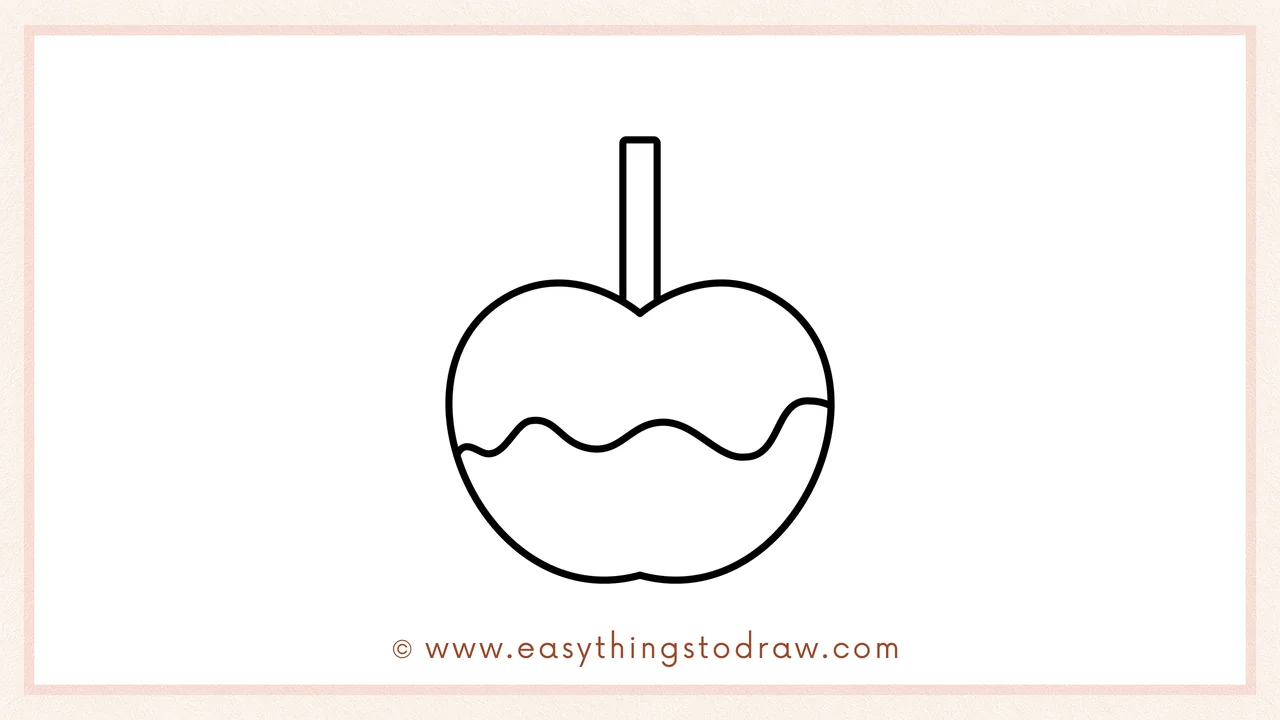
Add a small rectangle at the top center of the apple. This is the stick your candy apple is on. Make it straight and tall enough to hold.
Step 6 – Add a Happy Face
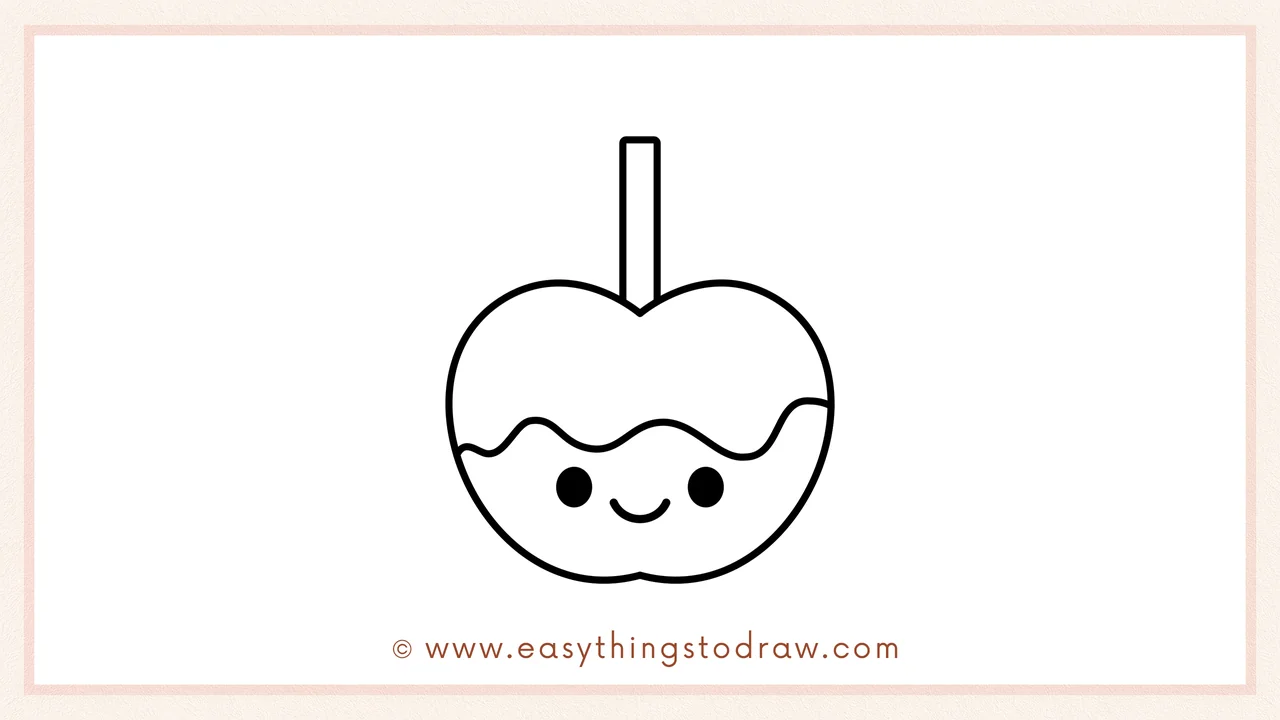
Let’s make it extra sweet! Draw two round eyes below the candy coating and a smiling mouth between them. Your candy apple is now full of joy!
Frequently Asked Questions (FAQ)
Can I draw different toppings on the apple?
Yes! Try drawing sprinkles, nuts, or a chocolate drizzle for extra decoration.
What colors should I use to color this candy apple?
Red or green for the apple, and caramel, pink, or chocolate brown for the candy layer. Yum!
Is this drawing okay for small kids?
Absolutely! It’s great for ages 4 and up with its easy curves and playful face.
Can I turn it into a Halloween treat?
Of course! Add spooky eyes, a ghost-shaped candy, or even a little bat bowtie.
Printable Drawing Tutorials
Download Printable How to draw a candy apple Drawing Tutorials
You Did It!
Sweet work! You just drew the cutest candy apple around. Doesn’t it look delicious and happy? Now you can color it your favorite flavor, add glitter, or draw a whole tray of tasty apple friends. Show off your sweet creation, and come back for more fun tutorials anytime!
