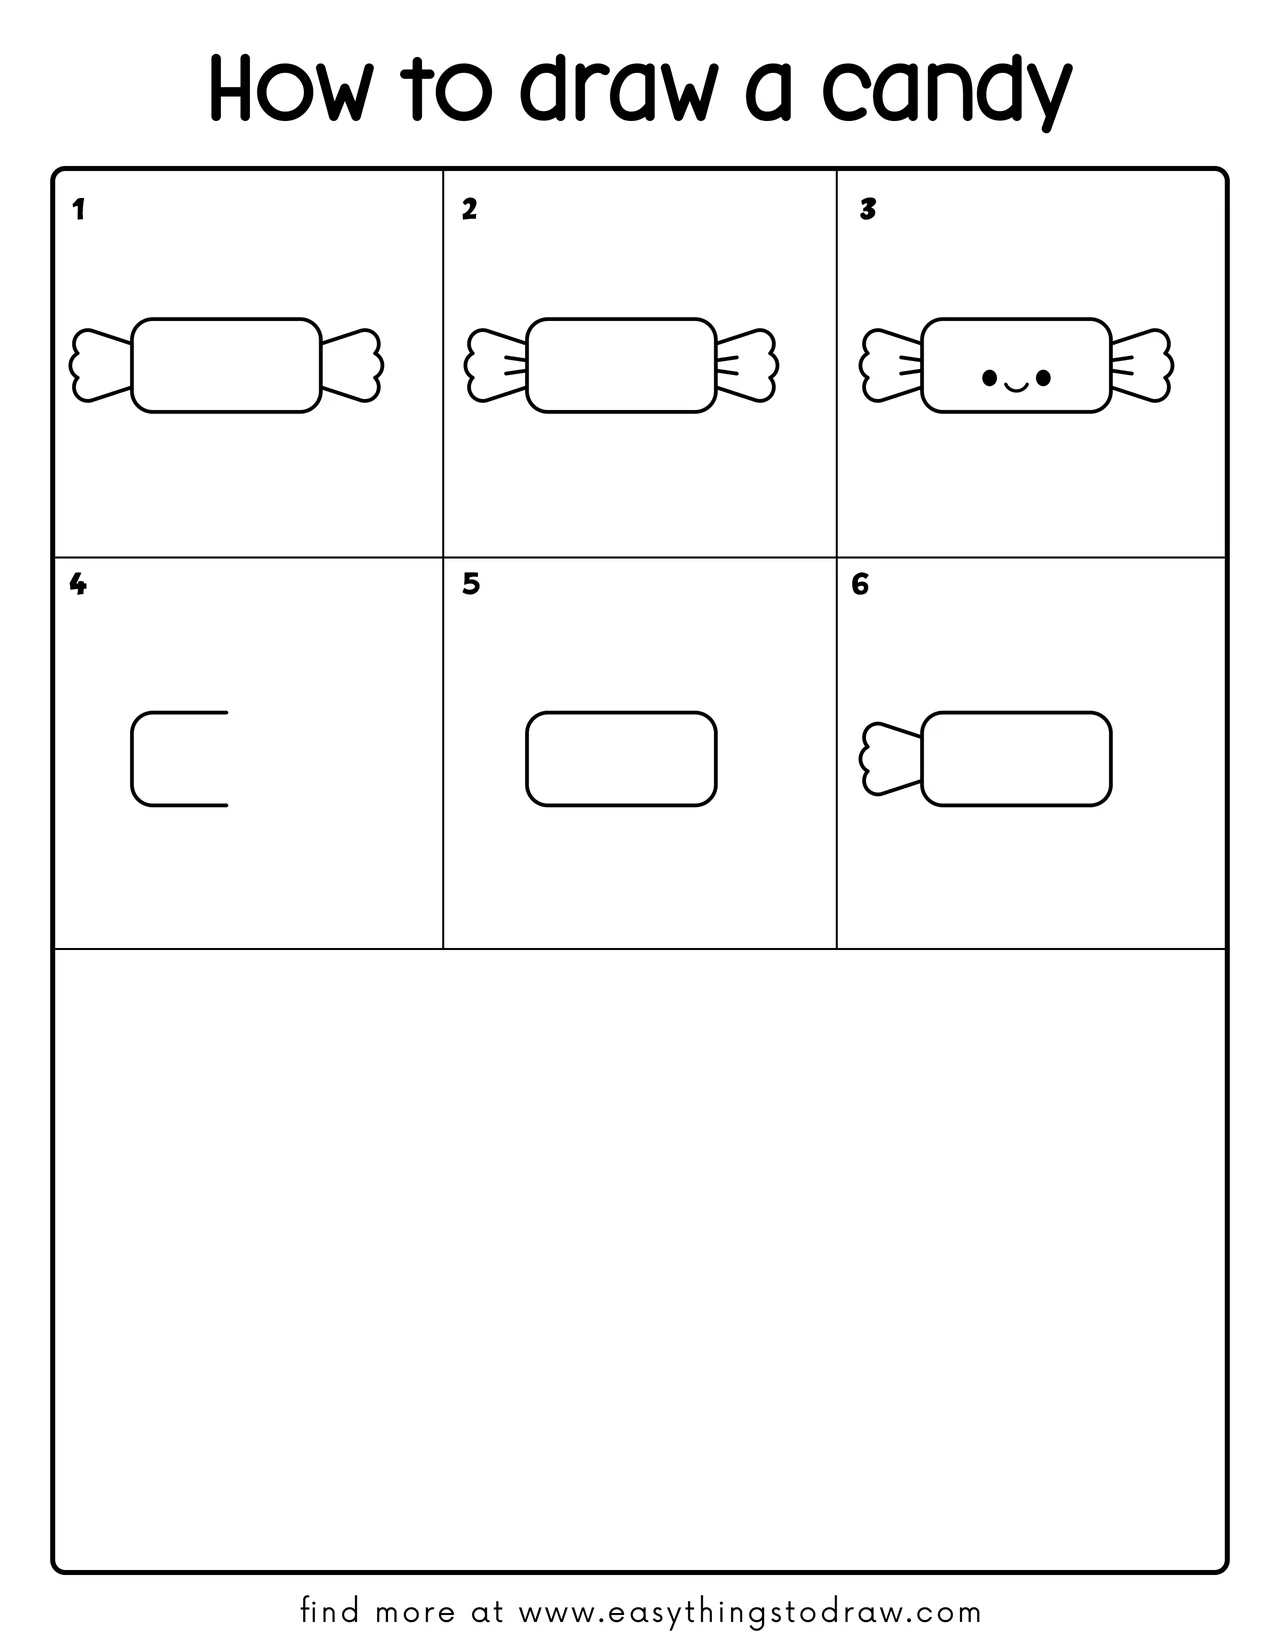
Sweeten up your sketchbook with this adorable cartoon candy! In today’s step-by-step tutorial, you’ll learn how to draw a cute wrapped candy with a happy face. This easy drawing guide is perfect for kids, preschoolers, and beginners who want to doodle something fun and cheerful. Follow along and create your own piece of sugary art!
What You Need:
- A pencil
- An eraser
- A black marker (for outlining)
- Coloring tools (crayons, markers, or colored pencils)
- Drawing paper
Step by Step Candy Drawing Instructions
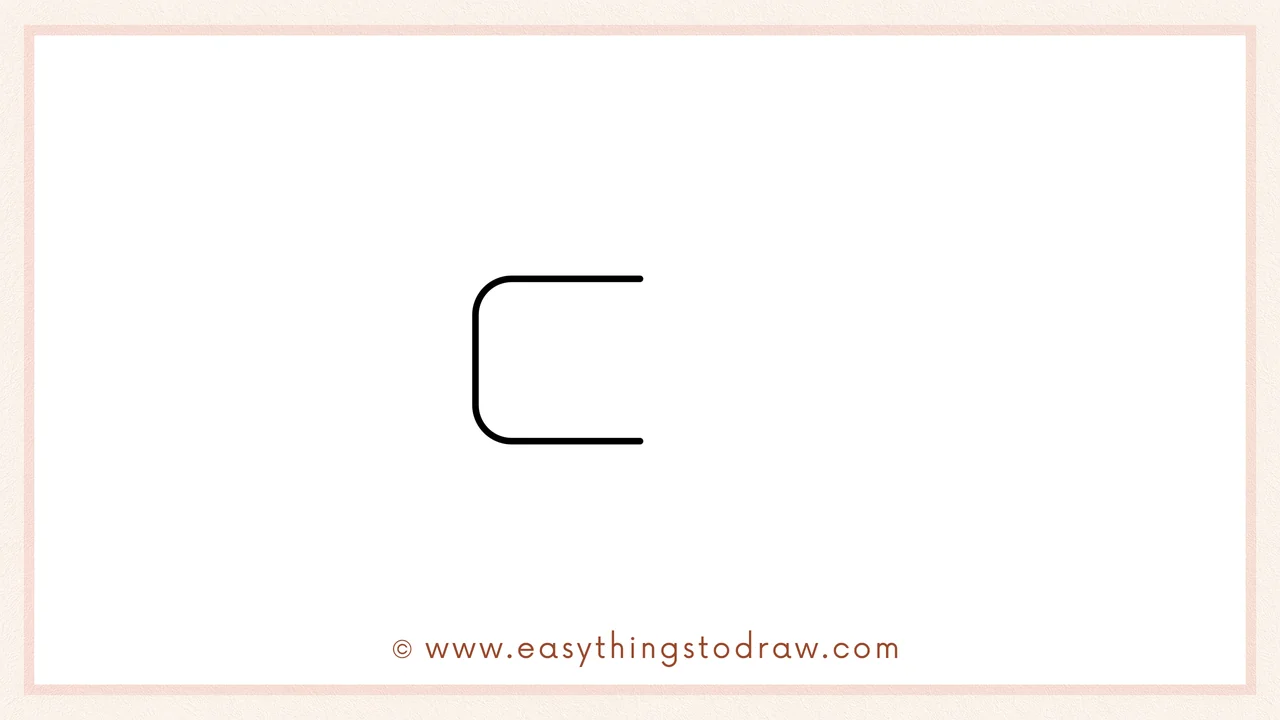
Step 1 – Draw a Rounded Rectangle
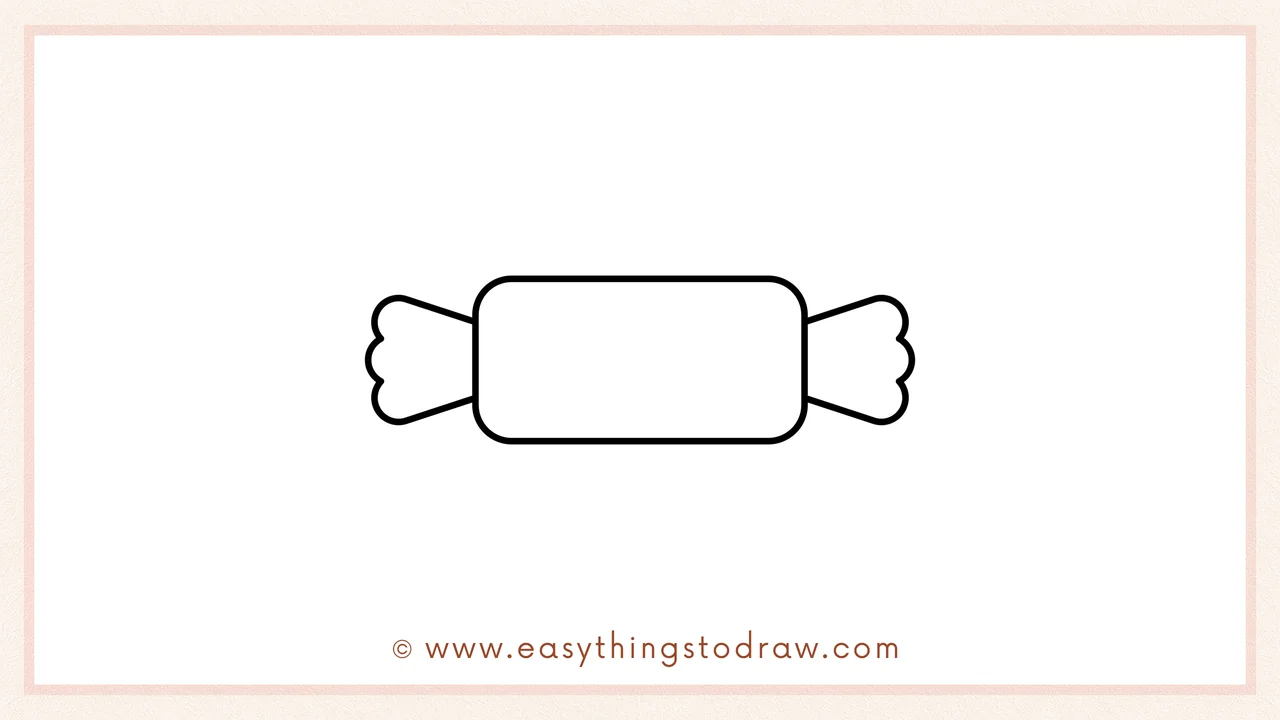
Start by drawing two curved corners and two straight edges to begin forming a long rectangle. This will be the body of your candy.
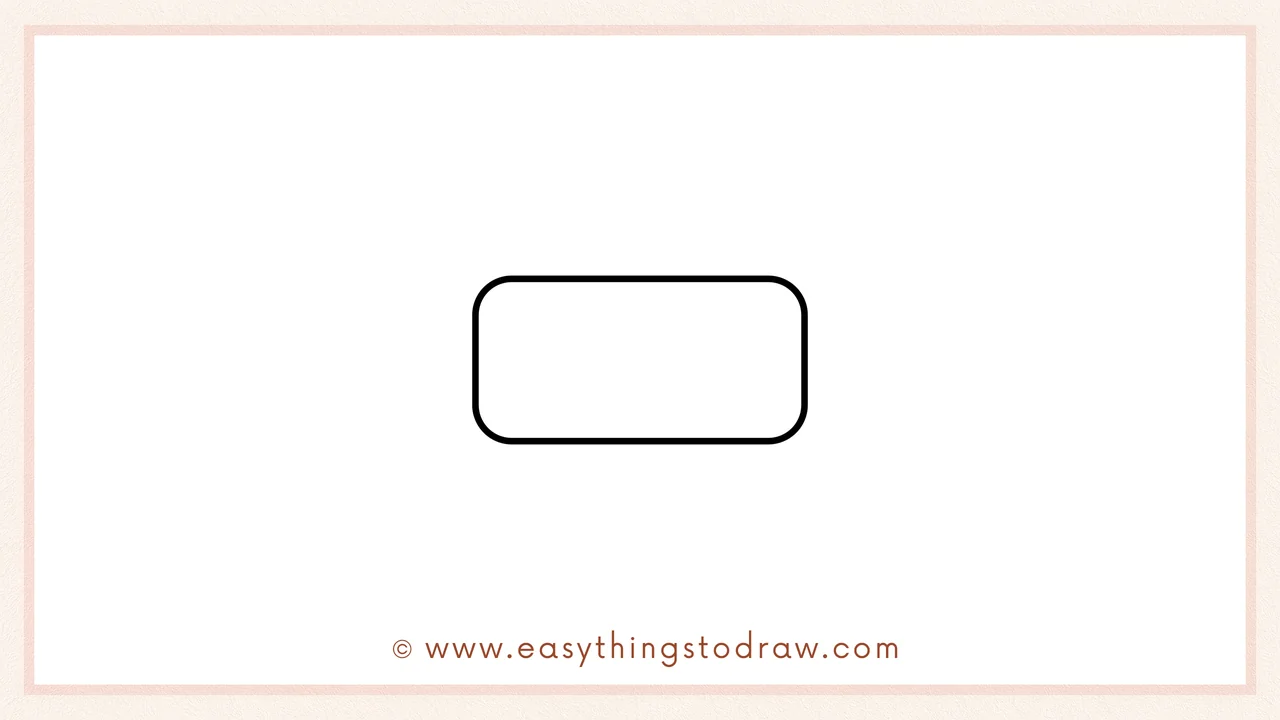
Step 2 – Complete the Candy Body
Now finish the rest of the rectangle so it’s fully closed. Keep the corners rounded to make it look soft and friendly.
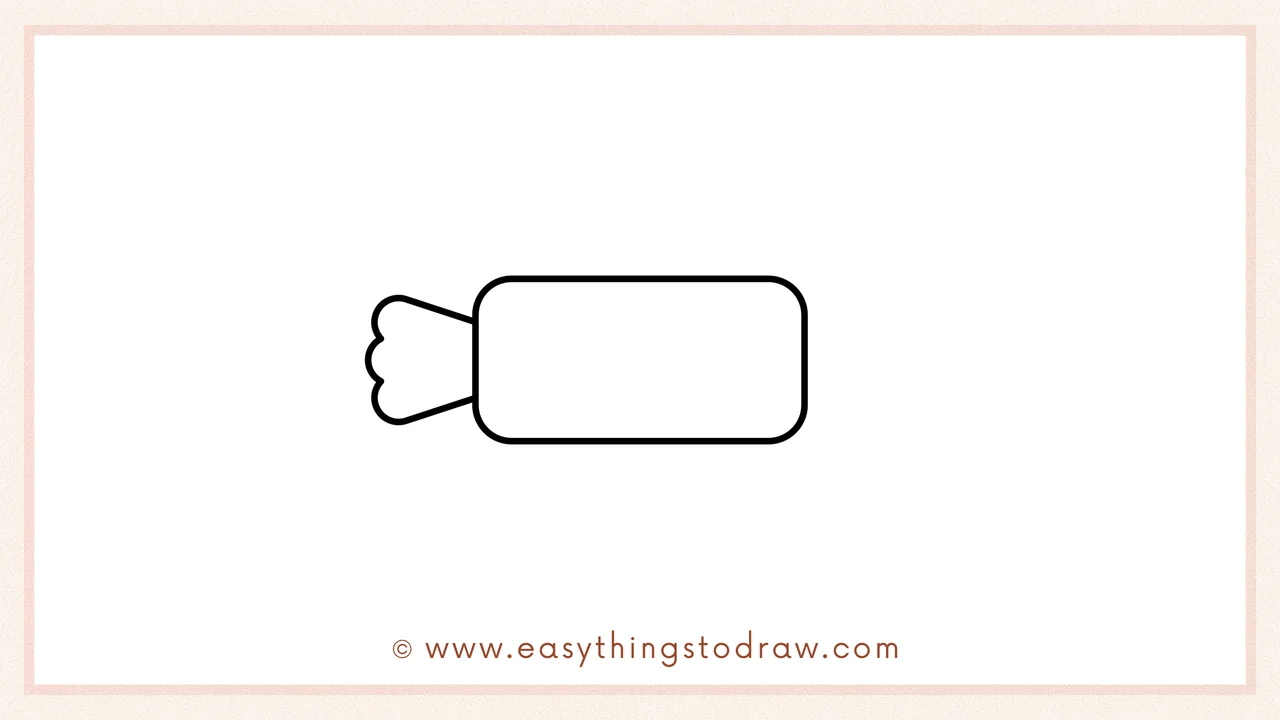
Step 3 – Add One Wrapper End
On the left side of the rectangle, draw a short cone shape that ends with wavy, scalloped lines. This will be one end of the candy wrapper.
Step 4 – Draw the Other Wrapper Side
Now draw a matching wavy shape on the right side to complete both ends of the wrapper. Make it symmetrical for balance.
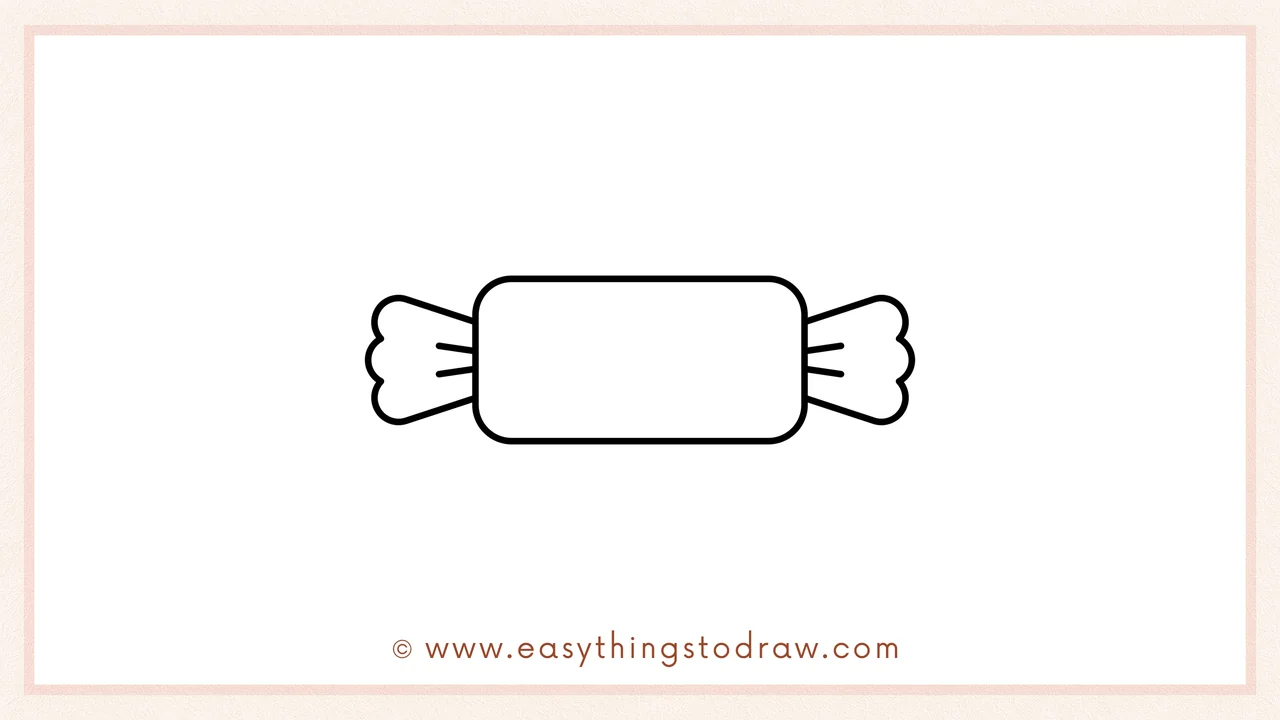
Step 5 – Add Wrapper Lines for Detail
Draw two short lines inside each wrapper end to make it look like the candy has been twisted. These little lines add fun texture!
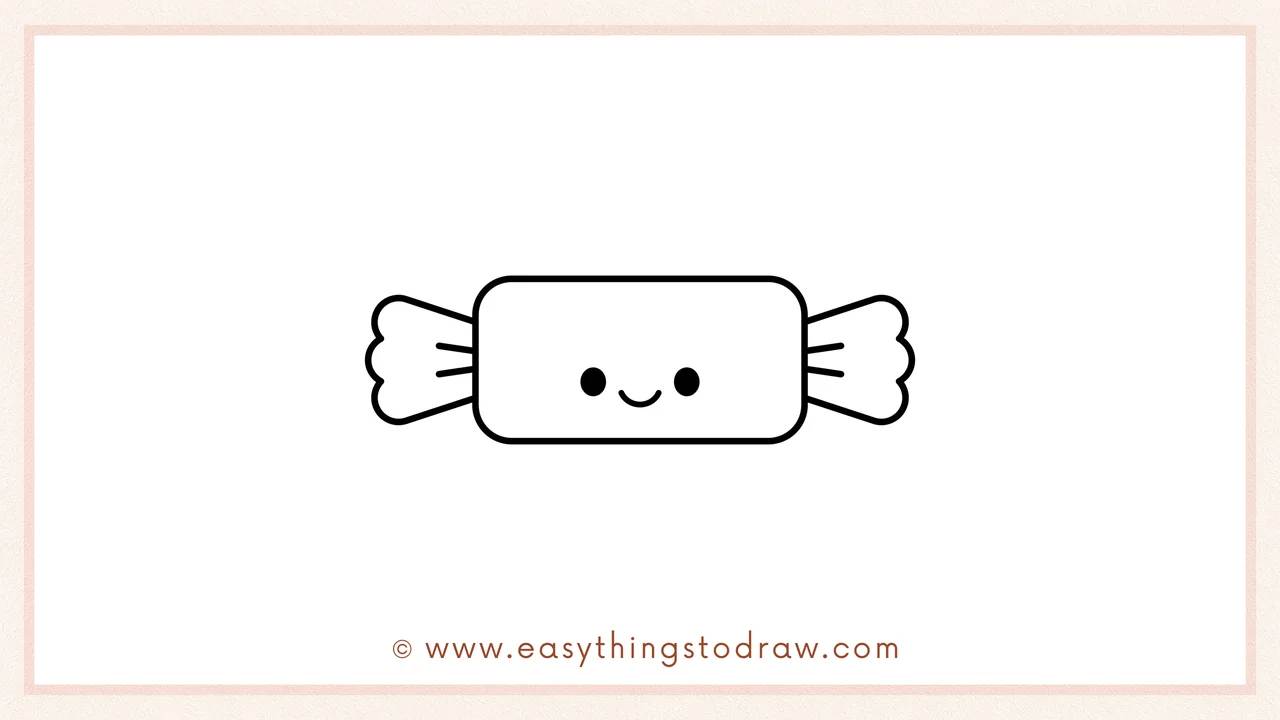
Step 6 – Draw the Cute Face
Add two little round eyes and a small curved smile in the center of the candy. Now your sweet treat has a big personality!
Frequently Asked Questions (FAQ)
Can I color this candy different ways?
Yes! Try rainbow stripes, shiny foil wrappers, or classic holiday colors like red and green.
Can I change the face or add more candies?
Absolutely – give your candy winking eyes, glasses, or draw a whole candy family!
Is this good for small kids?
Definitely! It’s great for ages 4 and up thanks to its simple shapes and fun expression.
Can I use this drawing for crafts?
Yes! Cut it out, decorate cards, or turn it into stickers and bookmarks.
Printable Drawing Tutorials
Download Printable How to draw a candy Drawing Tutorials
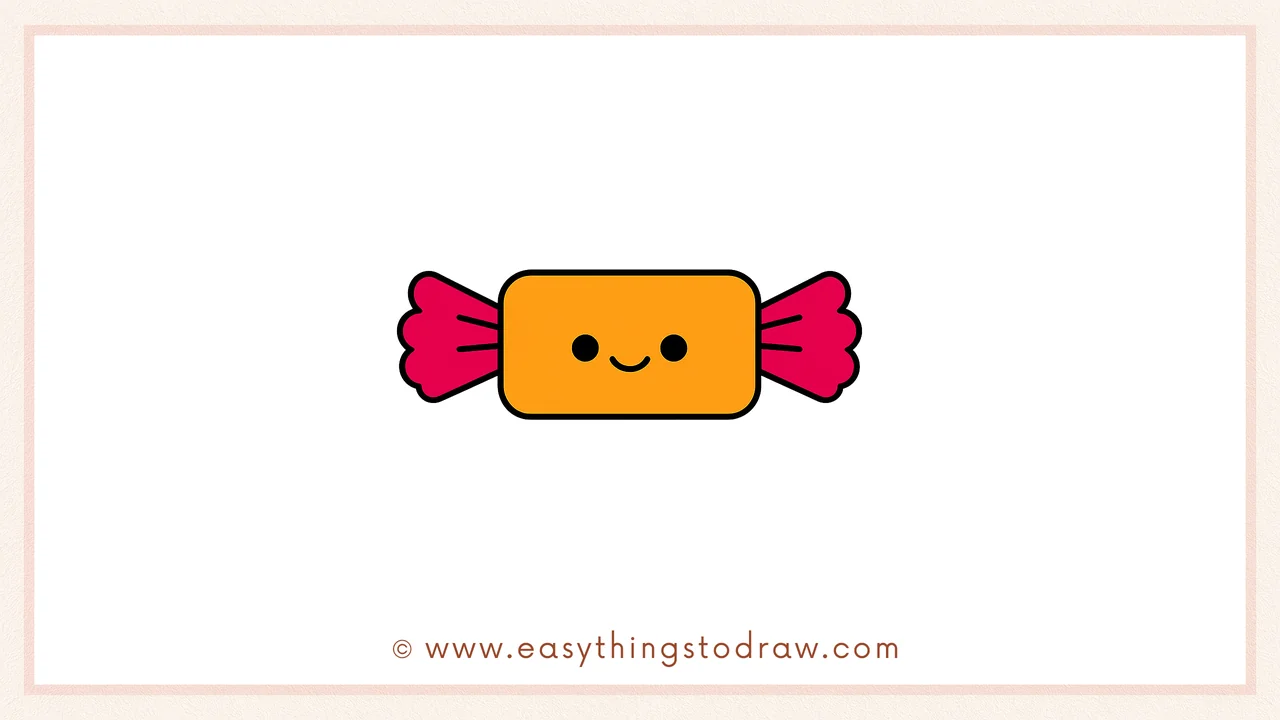
You Did It!
Sweet success! You just drew a super cute wrapped candy with a smile. Doesn’t it look like it belongs in a cartoon candy shop? Now go color it your favorite flavor, add glitter or polka dots, and draw even more treats. Great job, artist – your drawing is a real treat!
