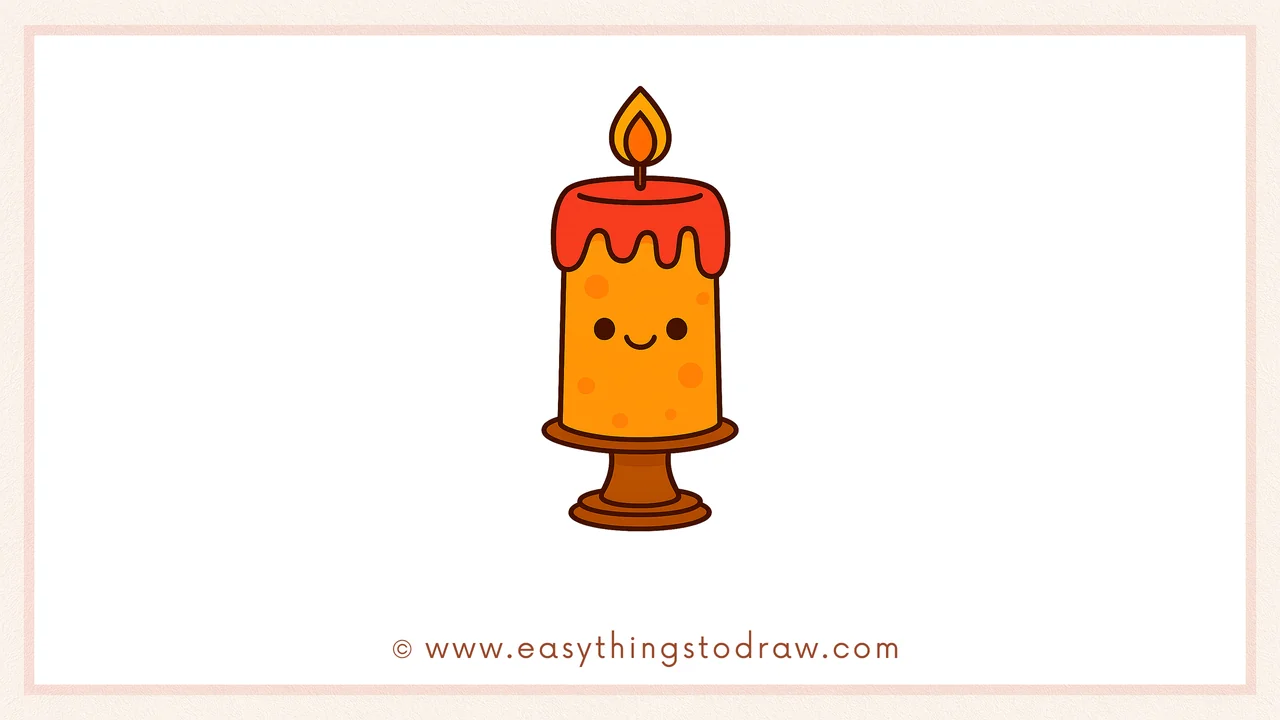
Let’s light up your creativity! In this fun step-by-step tutorial, you’ll learn how to draw a cute cartoon candle with a happy face. This beginner-friendly drawing is great for kids, preschoolers, and anyone who loves cozy or festive artwork. By following simple shapes and smooth lines, you’ll sketch a cheerful candle perfect for holidays or birthday cards!
What You Need:
- A pencil
- An eraser
- A black marker (for outlining)
- Coloring tools (crayons, markers, or colored pencils)
- Drawing paper
Step by Step Candle Drawing Instructions
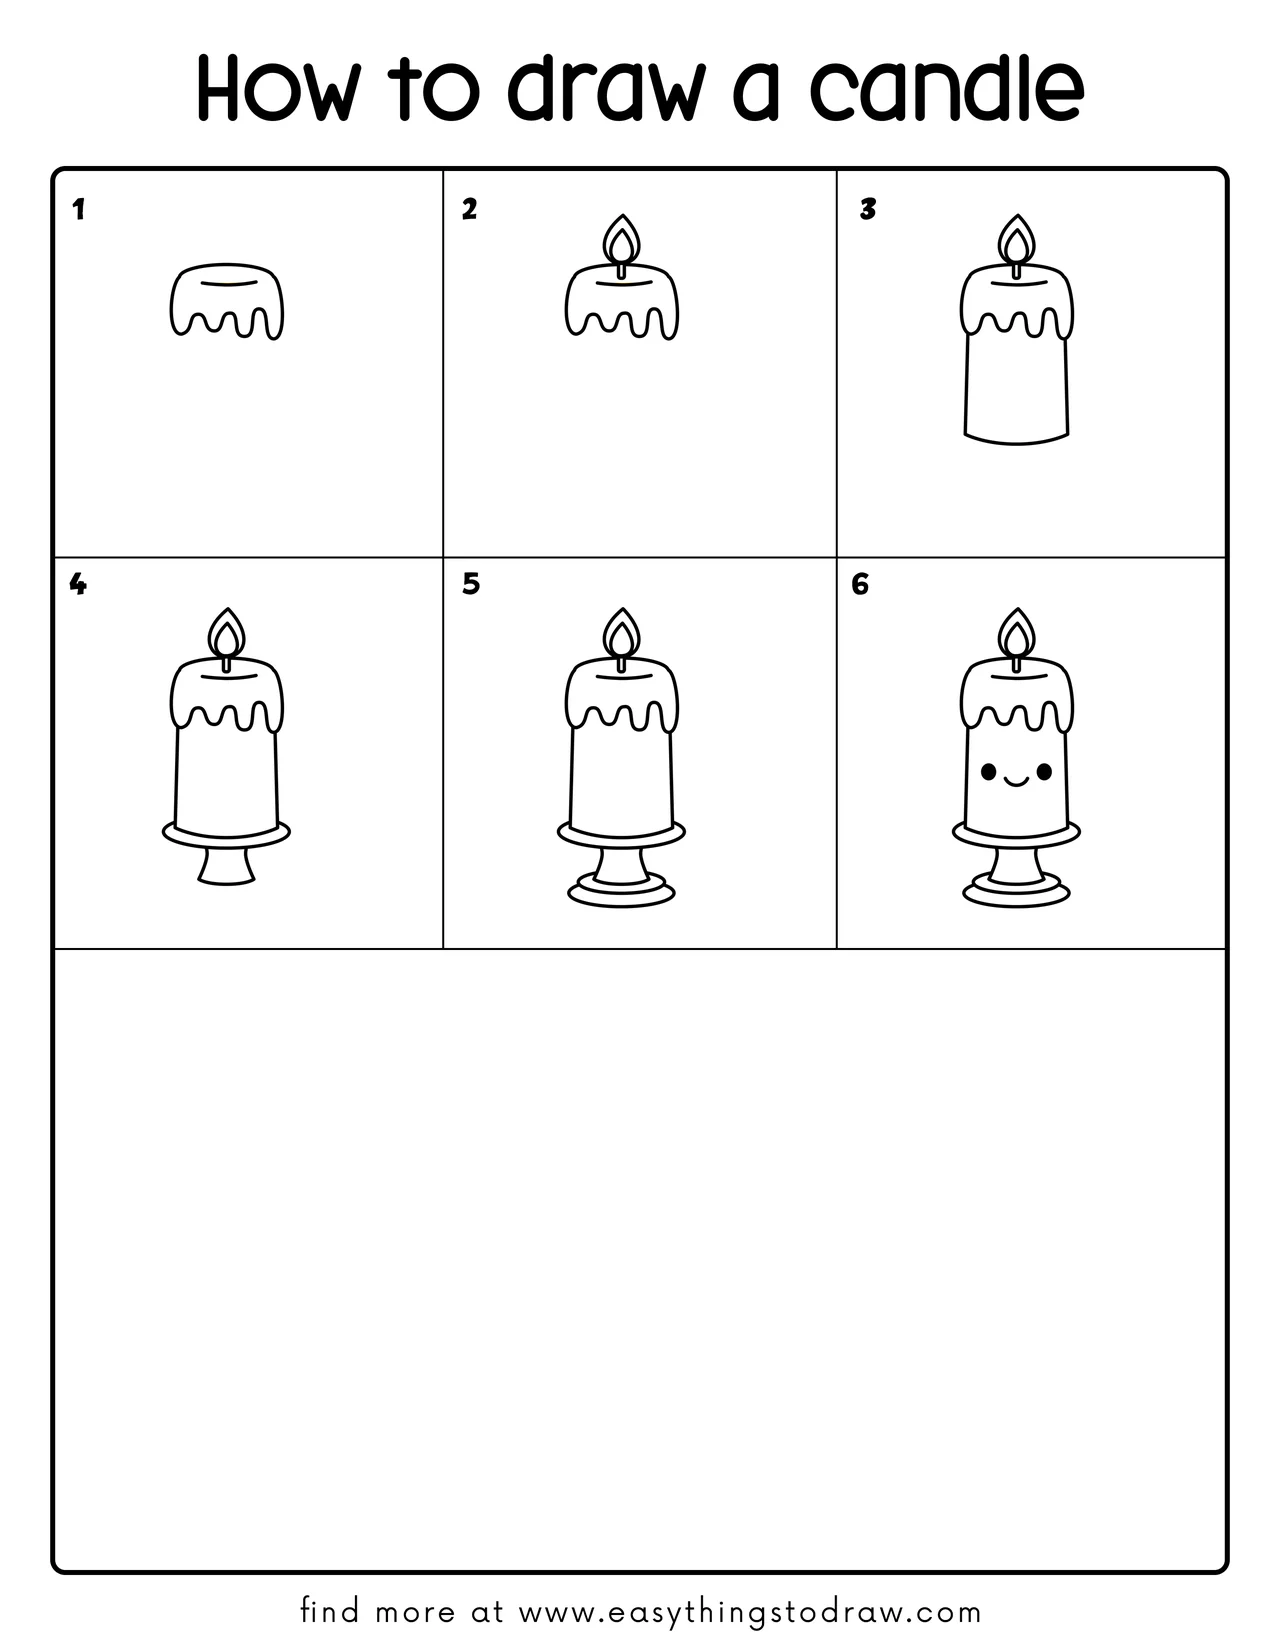
Step 1 – Draw the Melty Top of the Candle
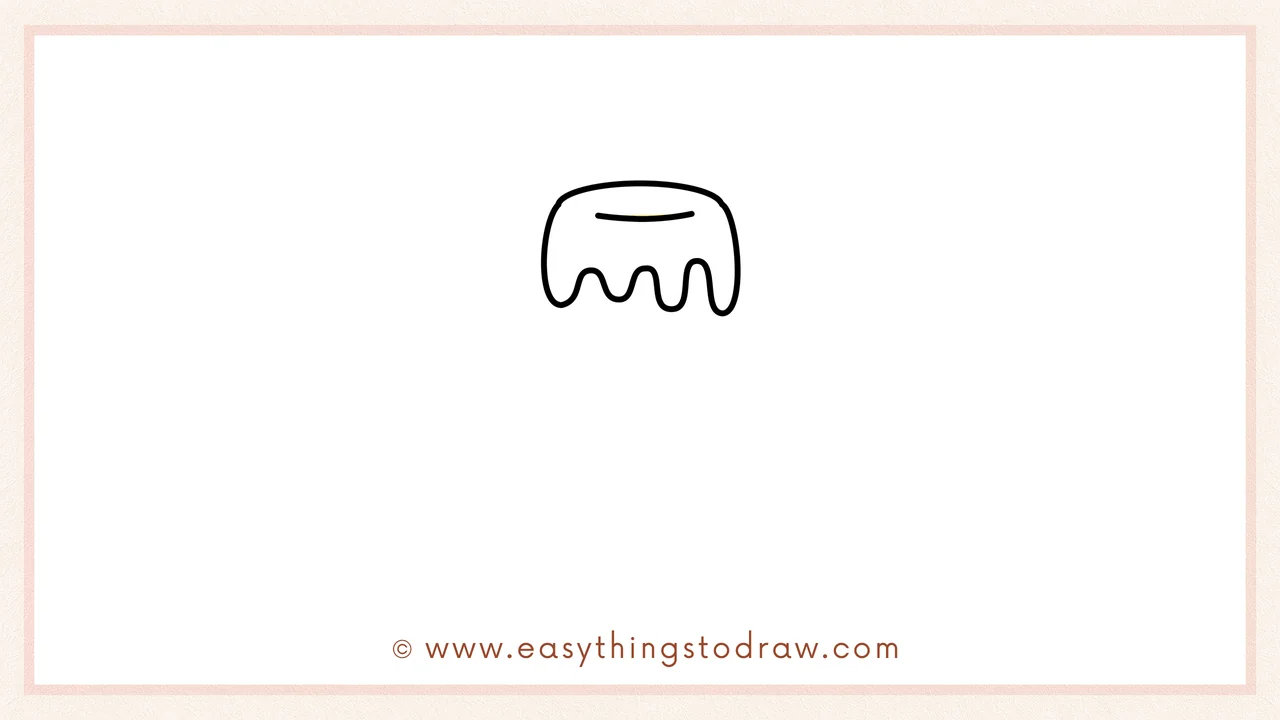
Begin with a rounded rectangle that has a drippy bottom edge. This is the melting wax on top of your candle. Add a small horizontal oval near the top for the melted dip.
Step 2 – Add the Flame
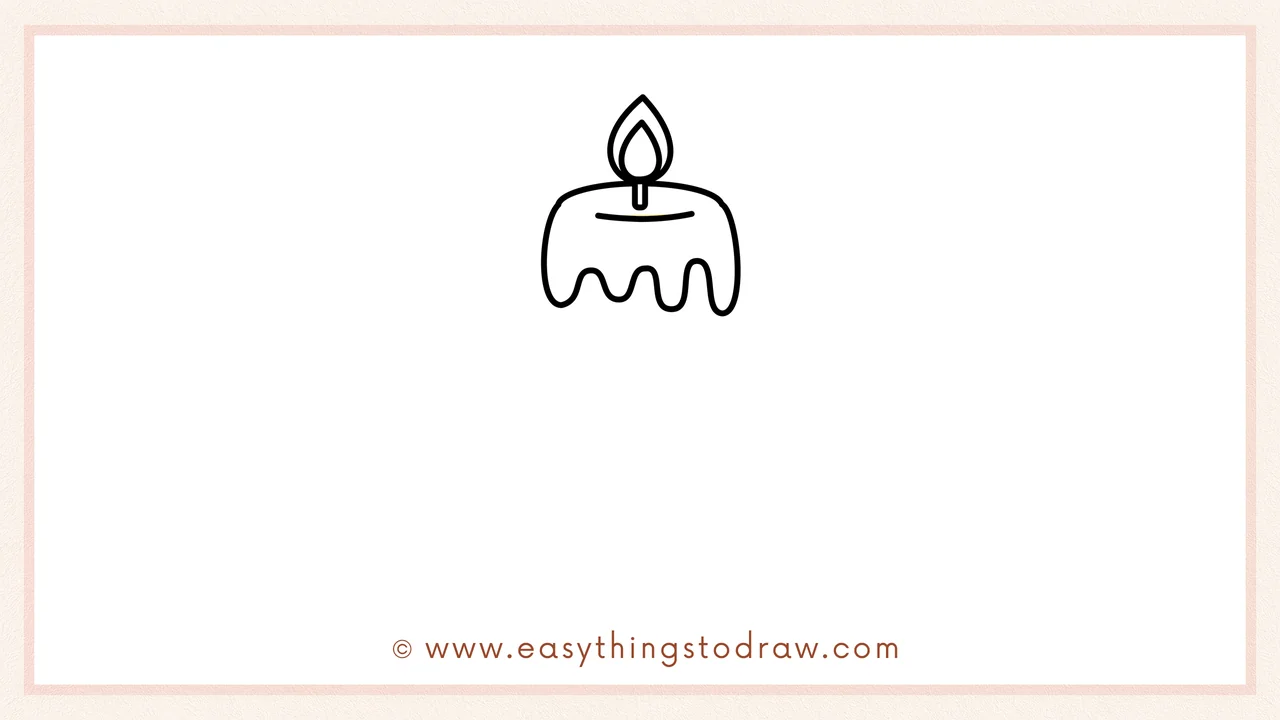
Draw a small vertical wick in the center of the melted dip, then sketch a flame on top using a teardrop shape with a line inside. Now it looks like your candle is lit!
Step 3 – Sketch the Candle Body
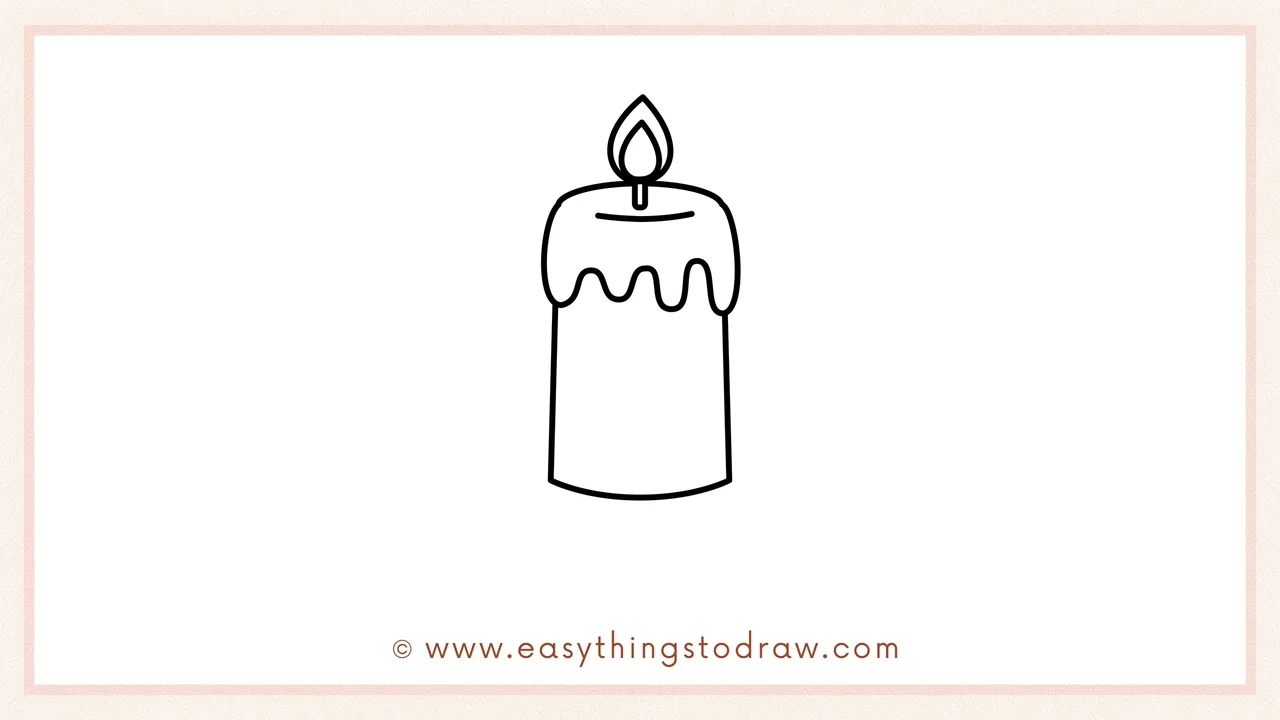
Now draw two straight lines going down from each side of the wax top. Connect them with a curved line at the bottom to form the candle’s body.
Step 4 – Add a Candle Base
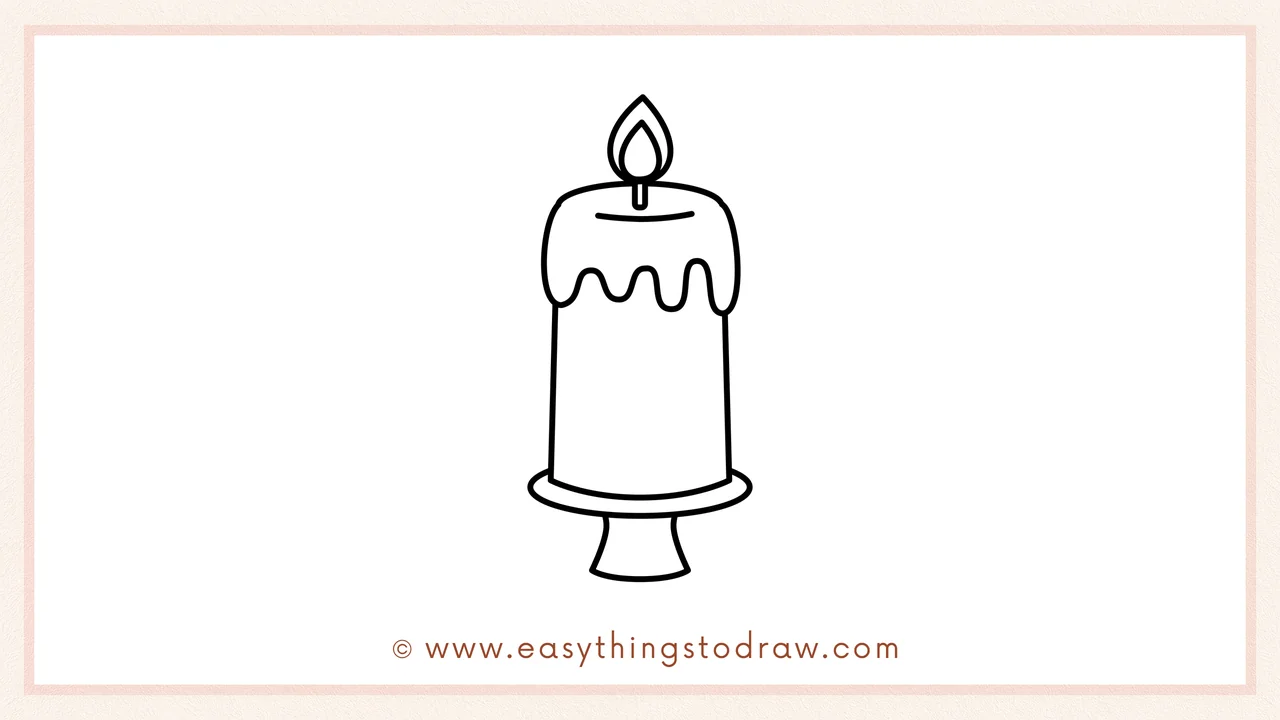
Draw a flat oval below the candle, and connect it with short curved lines to the bottom. Add a curved support below it to make it look like a real candle stand.
Step 5 – Build the Candle Stand
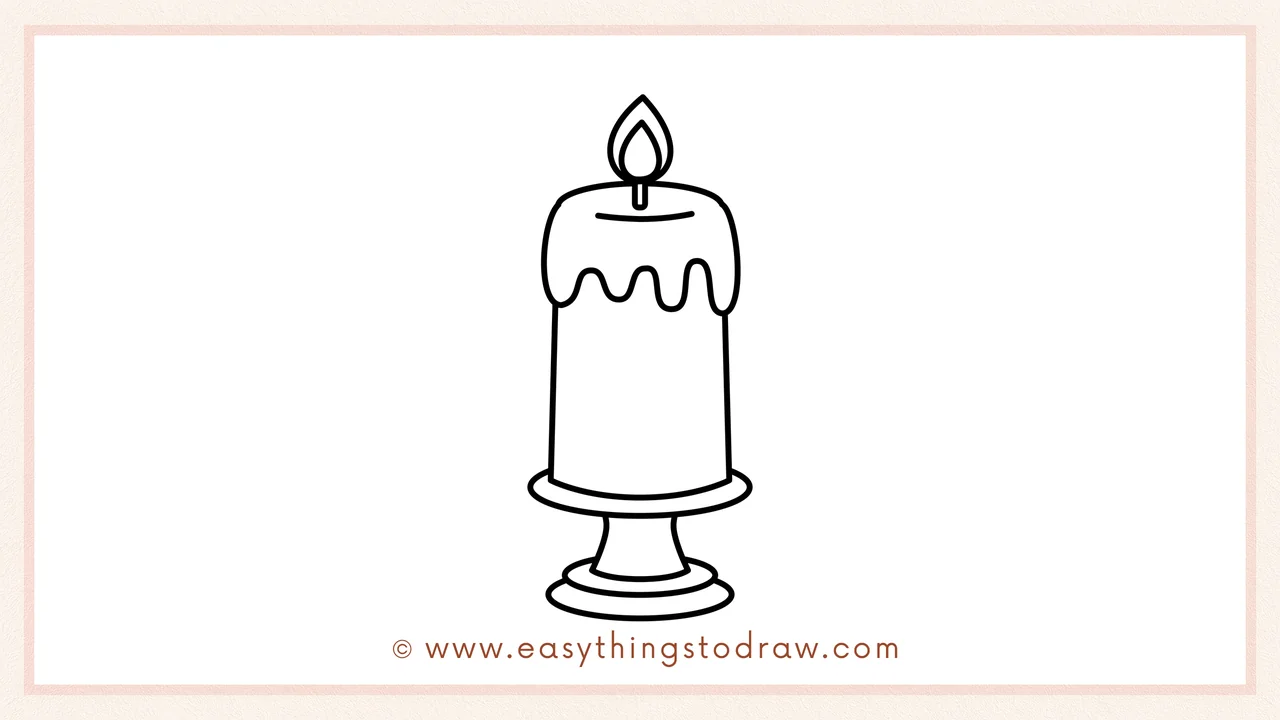
Draw another layer of ovals beneath the base to build up the candle stand. This adds more detail and makes your candle look extra fancy.
Step 6 – Add a Happy Face
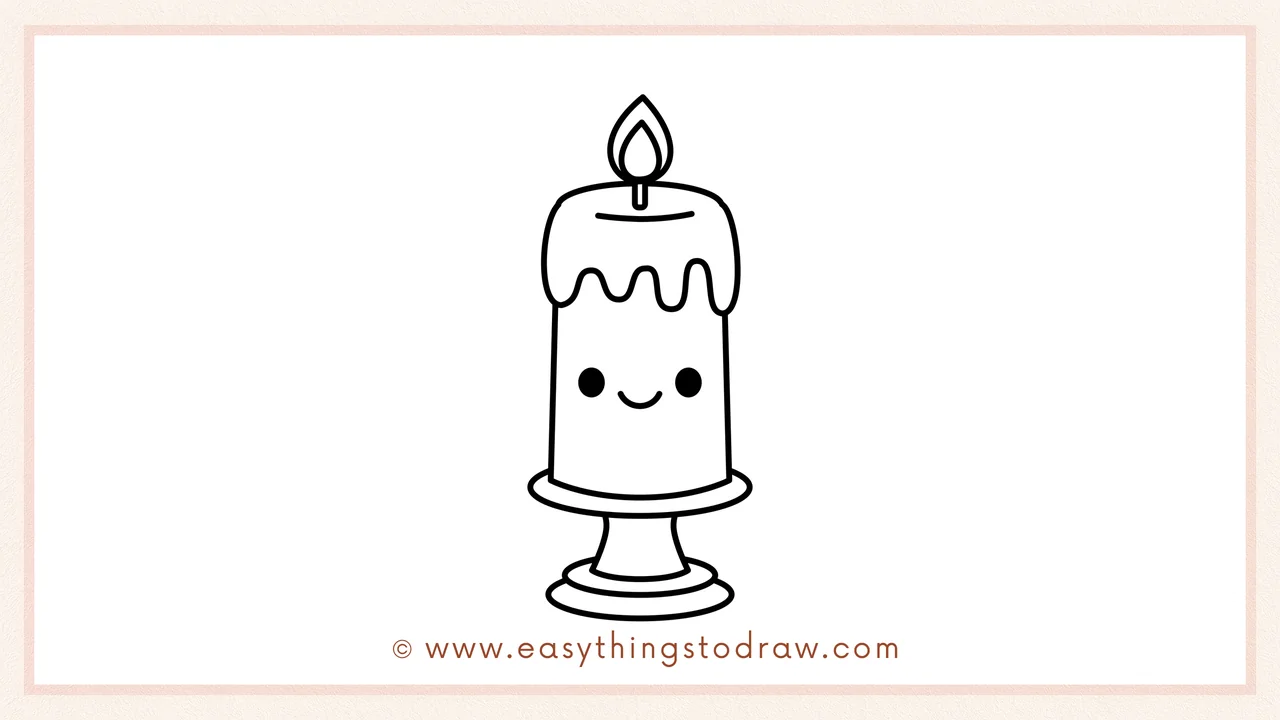
Let’s make it cute! Draw two dot eyes and a little smiling mouth on the candle body. Now your candle has a warm, happy personality.
Frequently Asked Questions (FAQ)
Can I make this candle look like it’s for a birthday or holiday?
Yes! Add decorations like stars, numbers, holly, or even sprinkles to fit the occasion.
What colors should I use to color this candle?
Try red, green, or gold for a holiday candle – or bright colors like blue and yellow for a birthday version!
Is this project okay for young kids?
Absolutely! It’s perfect for kids 4+ with basic shapes and fun expressions.
Can I add more candles to make a full scene?
Of course! Try drawing a whole row of different candles with faces and different flames.
Printable Drawing Tutorials
Download Printable How to draw a candle Drawing Tutorials
You Did It!
Yay! You finished drawing a super cute cartoon candle. Doesn’t it look bright and cheerful? Now you can personalize it with fun designs, add a glow, or draw a whole candle party. Show off your masterpiece, color it your way, and don’t forget to come back and try even more drawings. Keep shining, little artist!
