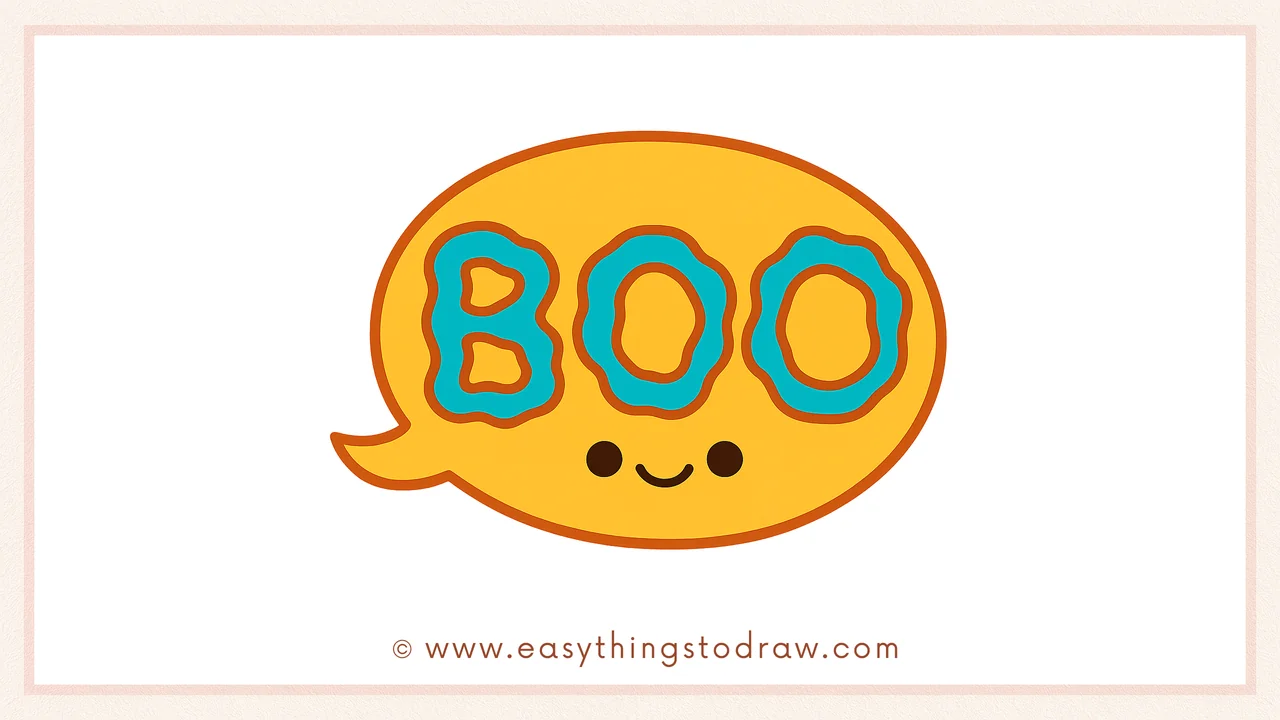
Let’s get a little spooky and a whole lot of cute! In this fun tutorial, you’ll learn how to draw a “BOO” speech bubble that’s perfect for Halloween or just for fun. This easy drawing activity is great for kids and beginners, using simple curves and playful lettering. Whether you’re decorating a Halloween card or doodling for fun, this “BOO” speech bubble is sure to bring smiles!
What You Need:
- A pencil
- An eraser
- A black marker (for outlining)
- Coloring tools (crayons, markers, or colored pencils)
- Drawing paper
Step by Step BOO Drawing Instructions
Step 1 – Draw the Curved Bubble Tail
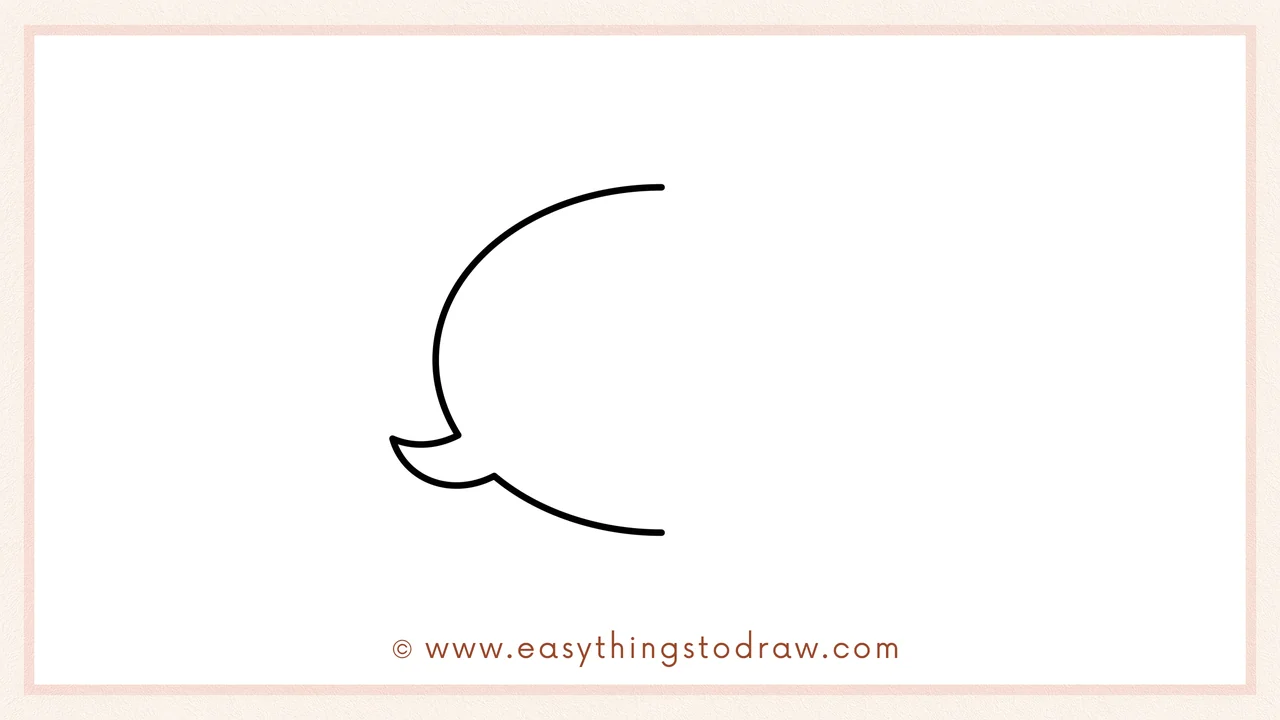
Start by sketching a curved “C” shape on the left side of your paper. At the base, add a little tail-like dip – this is the beginning of your cartoon speech bubble.
Step 2 – Complete the Bubble Shape
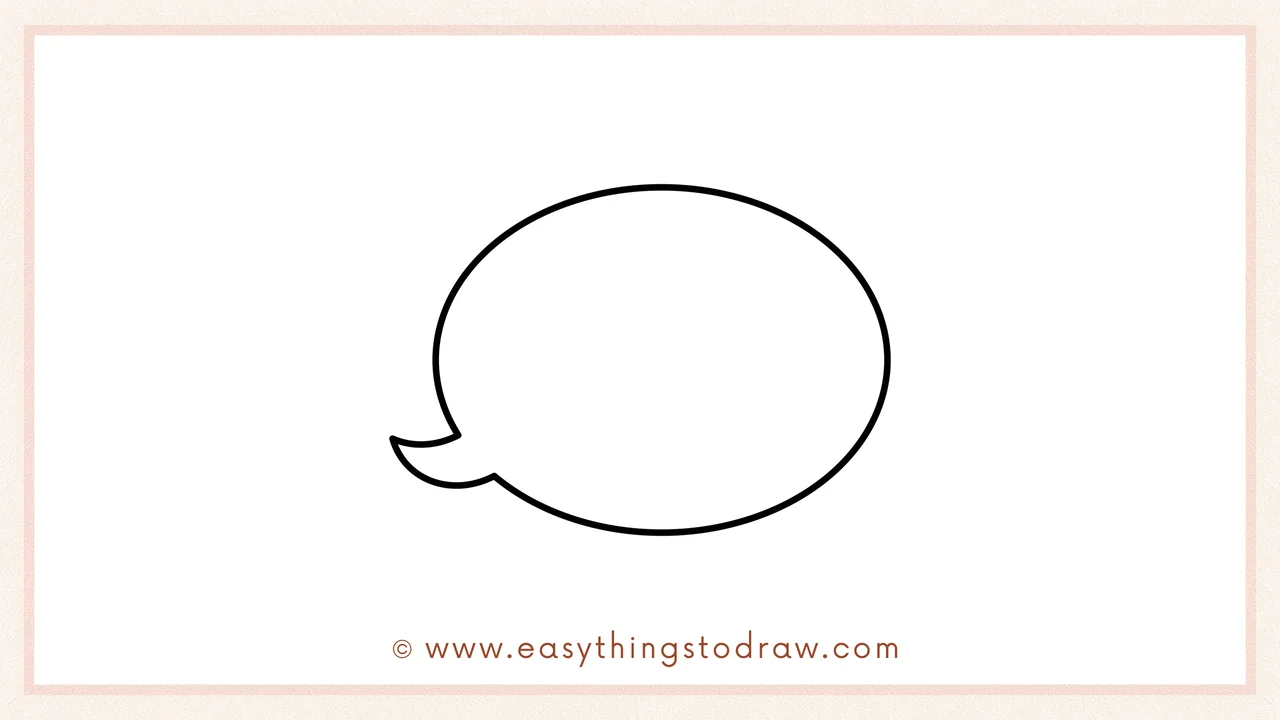
Now close the shape into a full oval with a pointy tail on the left. It should look like a big balloon with a playful “swoosh” on one side – that’s where the speech comes from!
Step 3 – Add a Wiggly Letter “B”
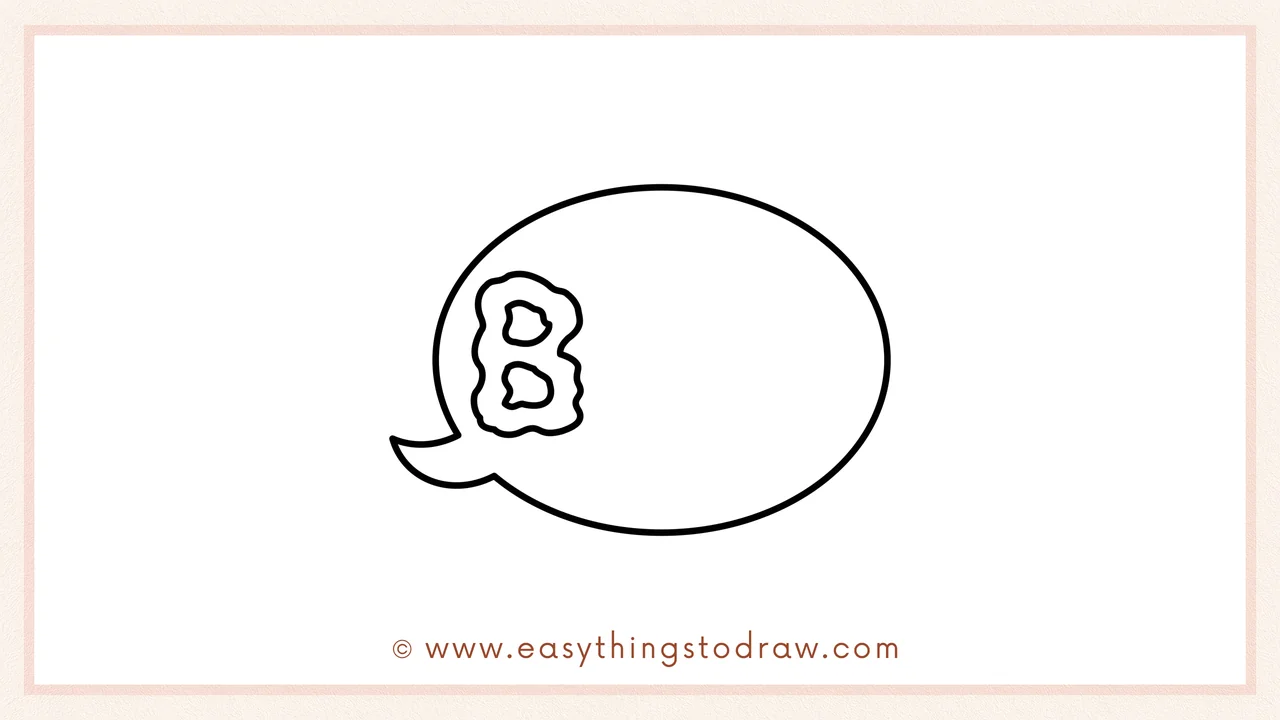
Inside the speech bubble, draw a wiggly, bouncy capital letter “B” near the left edge. Use a squiggly outer shape to make it look soft and spooky.
Step 4 – Draw the First “O”
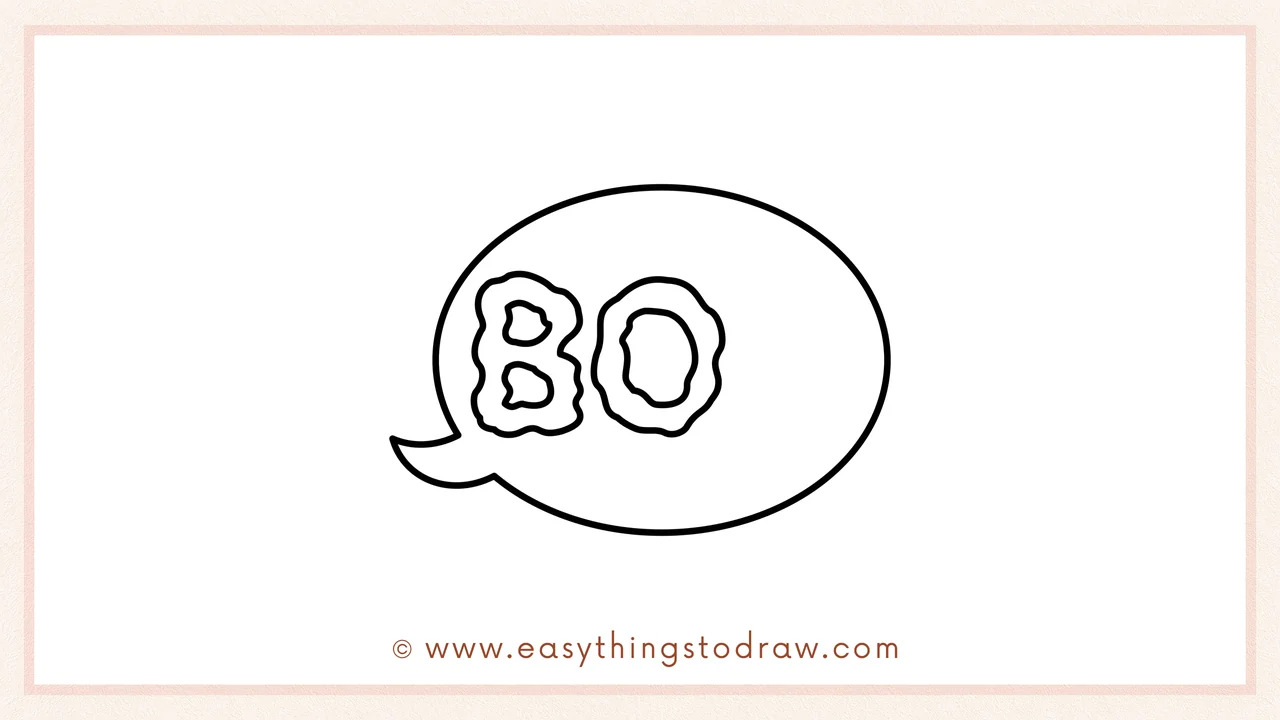
Next to the “B”, draw a large letter “O” in the same spooky style – use bumpy edges like it’s made of slime or marshmallow!
Step 5 – Add the Final “O”
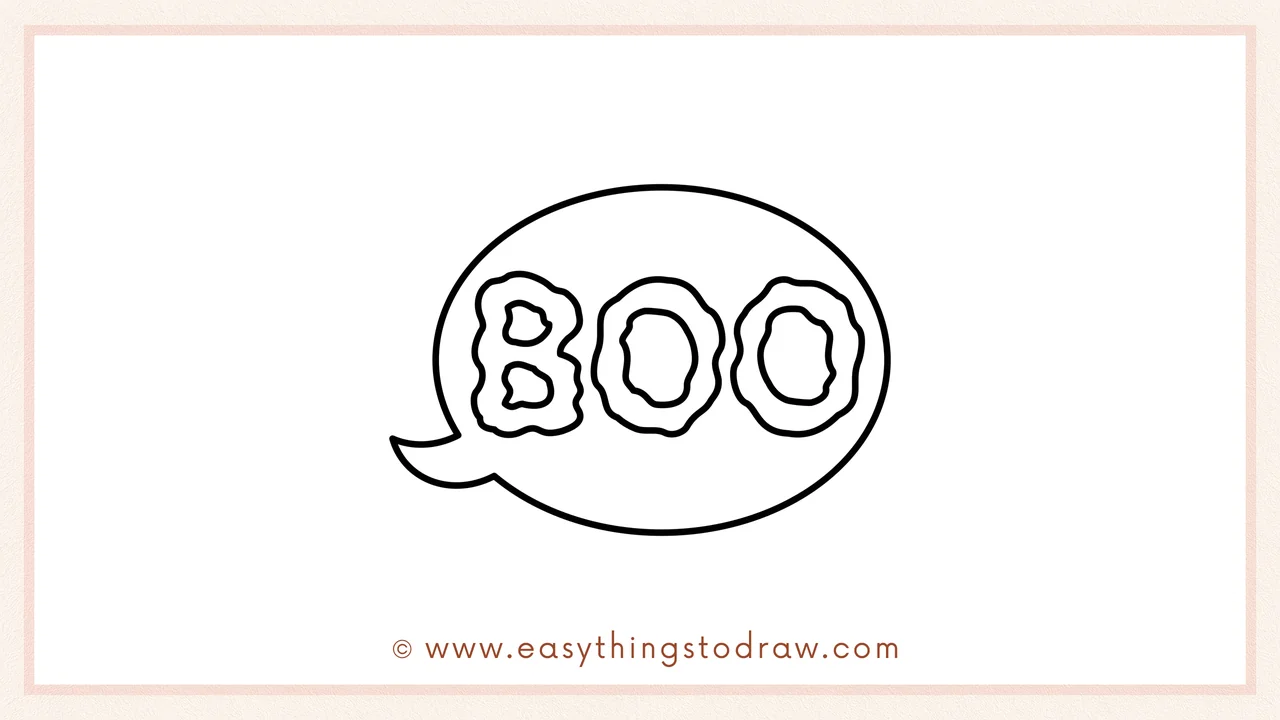
Finish the word by adding a second bumpy “O” right after the first one. Now your full spooky word “BOO” is complete inside the bubble!
Step 6 – Add a Cute Face
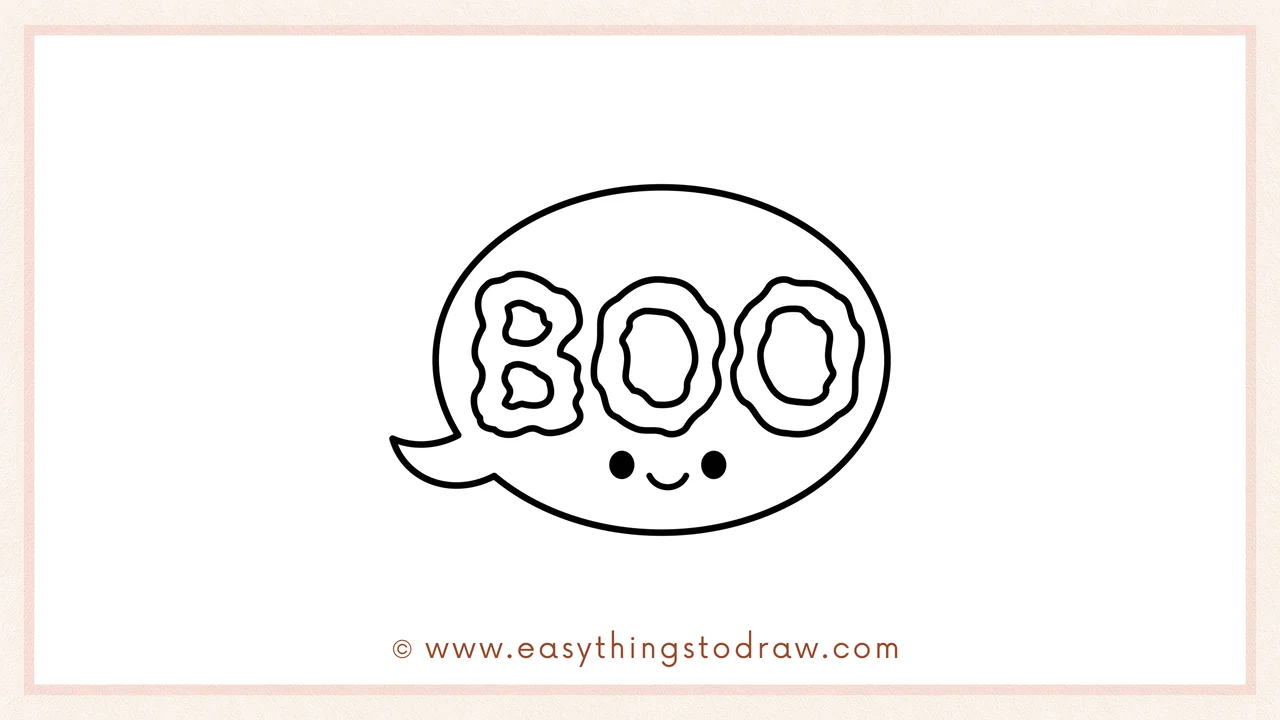
Make your speech bubble extra friendly by adding two small dot eyes and a curved smile underneath the word. It’s spooky-cute now!
Frequently Asked Questions (FAQ)
Can I write a different word in the bubble?
Sure! You can write “HI”, “EEK”, or even your name using the same spooky style.
What colors look best for a Halloween bubble?
Try orange, purple, green, and black for a festive Halloween vibe!
Is this a good project for a Halloween card?
Yes! This drawing makes a perfect decoration or card design for spooky celebrations.
Can I decorate the background too?
Absolutely! Add ghosts, pumpkins, stars, or bats to complete the spooky scene.
Printable Drawing Tutorials

Download Printable How to draw a boo speech bubble Drawing Tutorials
You Did It!
Awesome work – you just drew a fun and spooky “BOO” speech bubble! Doesn’t it look like it’s ready to pop up in a Halloween cartoon? Try changing the word, adding colorful backgrounds, or turning it into a sticker. Keep exploring your creativity and let your imagination shine – spooky or sweet!
