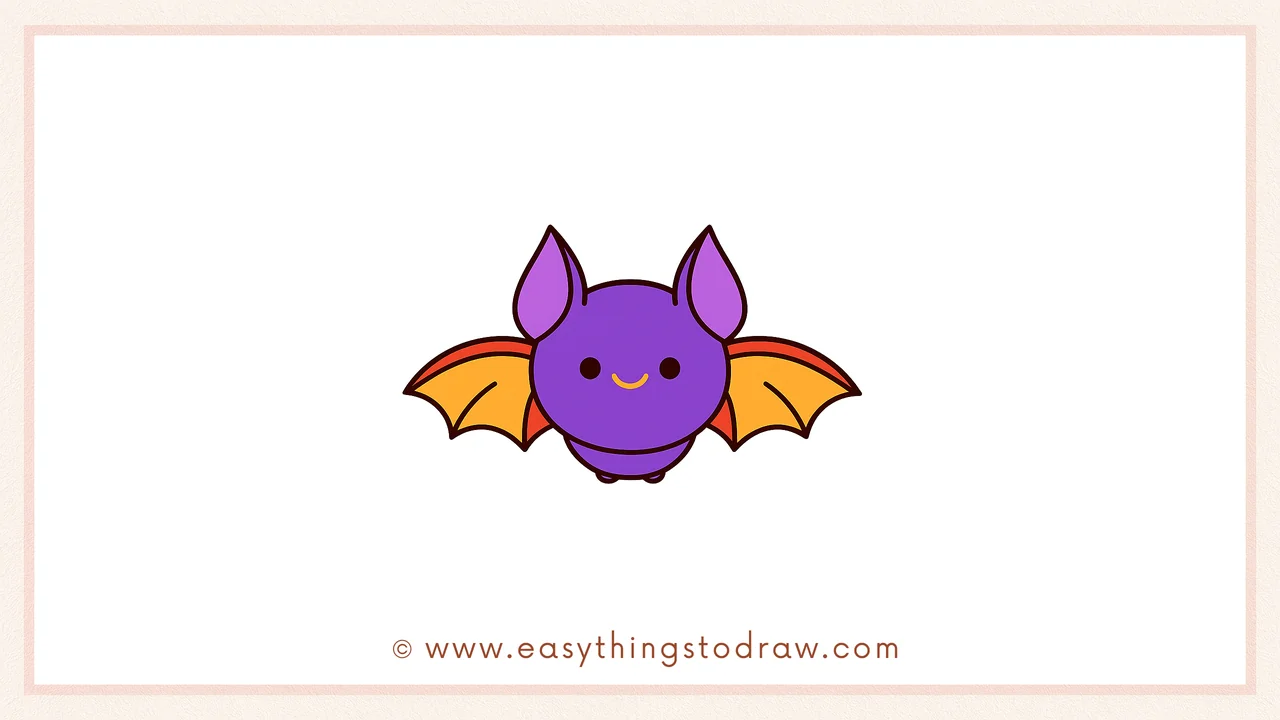
Bats may seem spooky, but today we’re drawing the cutest cartoon bat ever! This step-by-step bat drawing tutorial is perfect for kids, preschoolers, and beginner artists. You’ll get to sketch a round face, big ears, and playful wings – all with simple shapes. It’s a fun and easy cartoon bat drawing guide that will boost creativity and confidence.
What You Need:
- A pencil
- An eraser
- A black marker (for outlining)
- Coloring tools (crayons, markers, or colored pencils)
- Drawing paper
Step by Step Bat Drawing Instructions
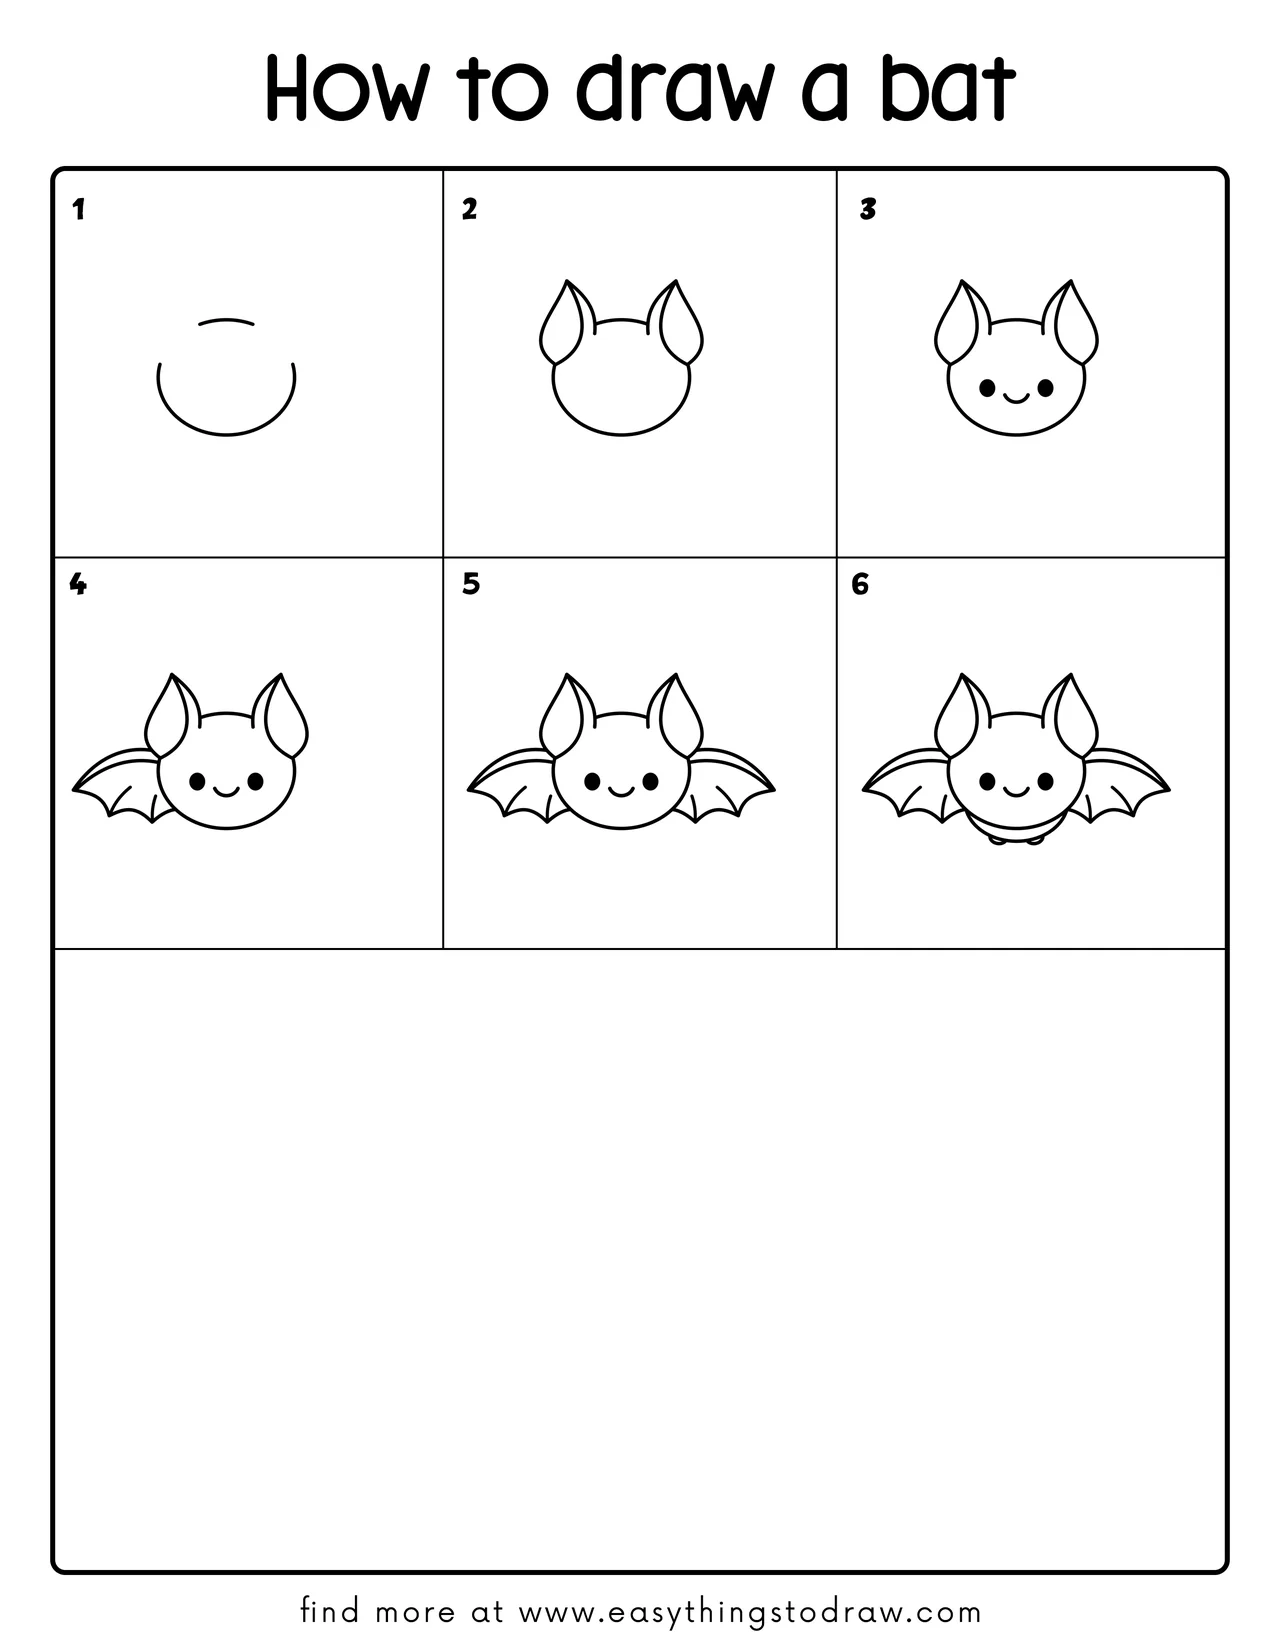
Step 1 – Draw the Round Head Shape
Start with a large, soft oval in the center of your page – this will be your bat’s head. Just above it, draw a short curved line for the top of the head. Think of it like a big smiling jellybean!
Step 2 – Add Two Big Ears
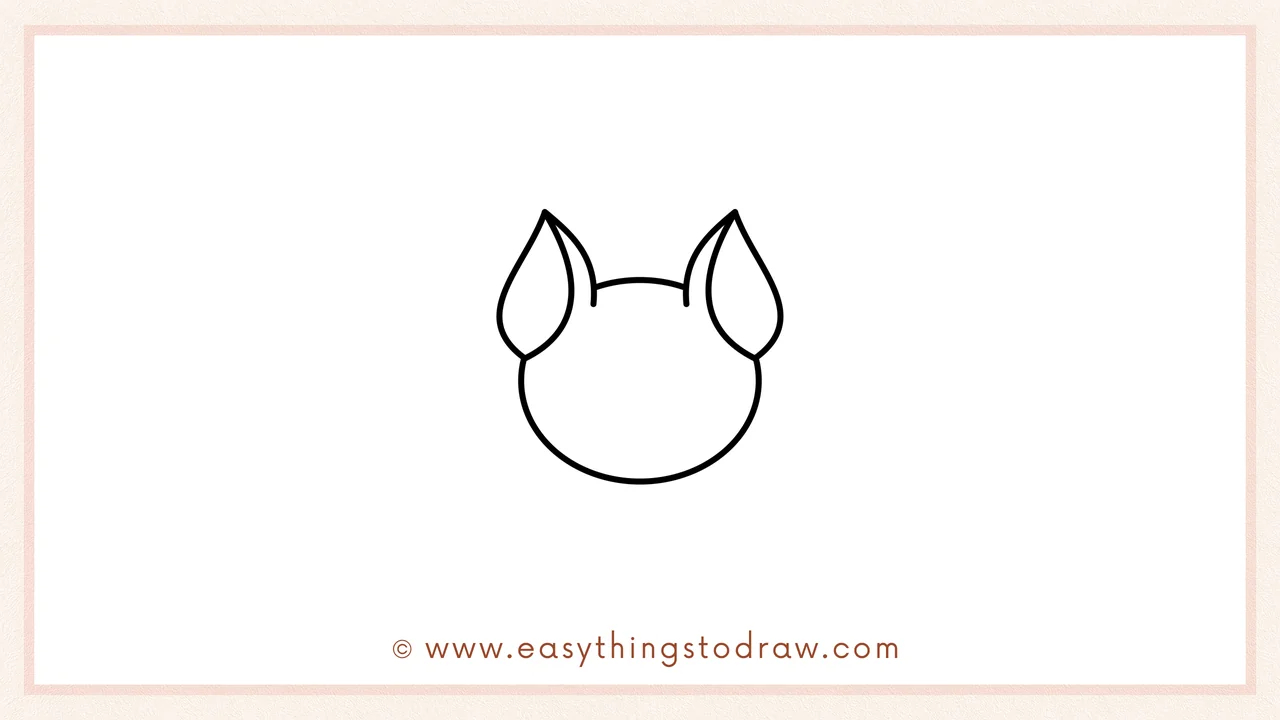
On each side of the top, draw tall, curved ears that look like flower petals. Each ear should have an inner line to show the ear’s inside part. They should stretch upward and be slightly tilted outward.
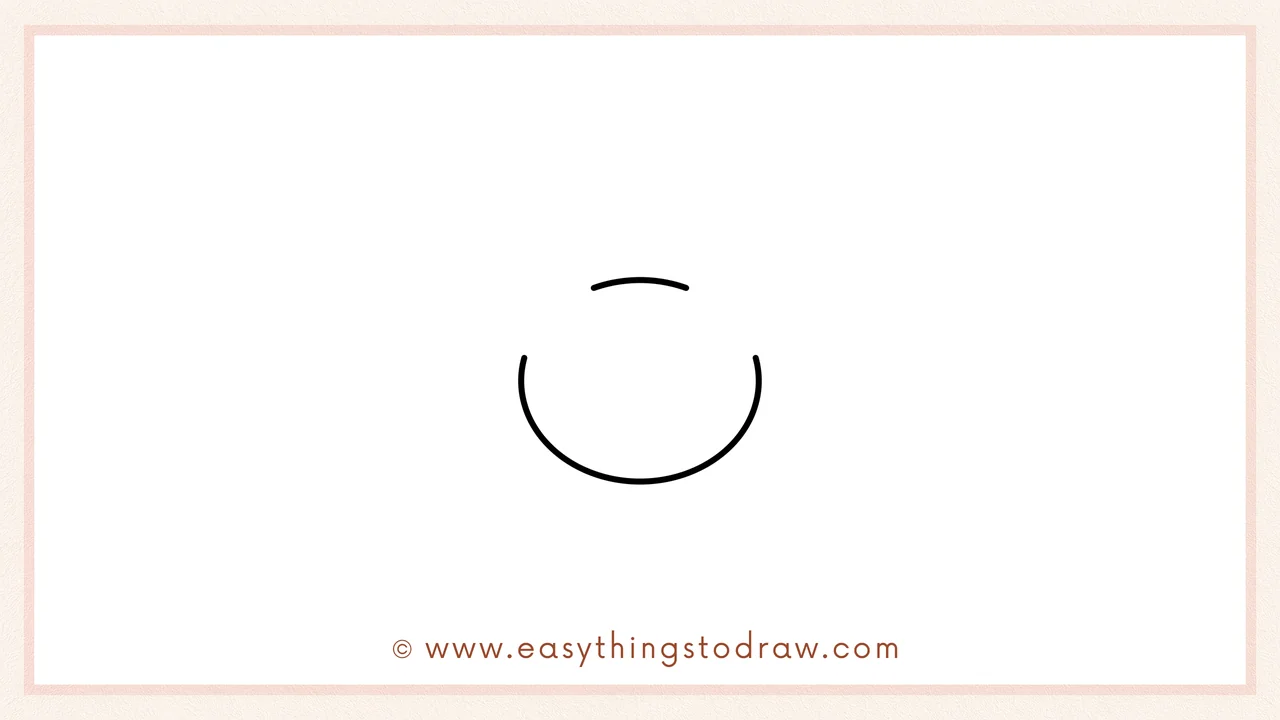
Step 3 – Draw the Cute Face
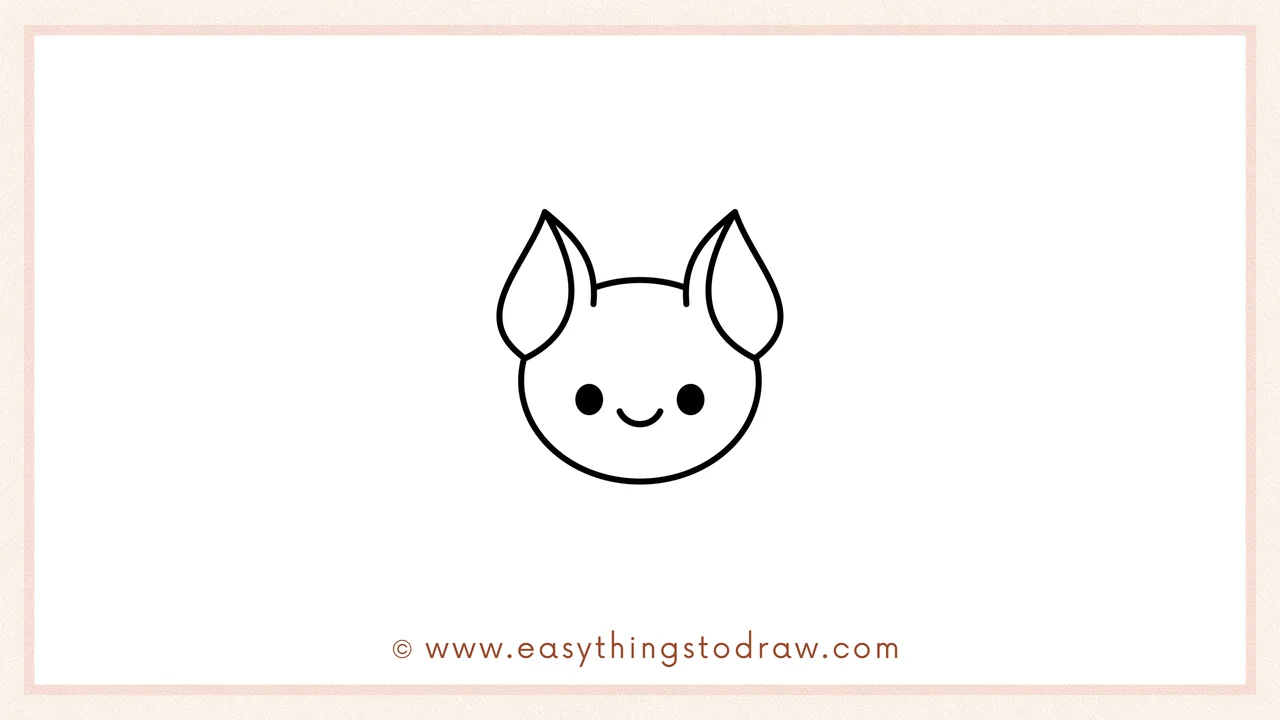
Let’s make it smile! Draw two round eyes near the middle of the face and a tiny upward curve for a happy mouth. Your bat is already looking friendly!
Step 4 – Sketch One Bat Wing
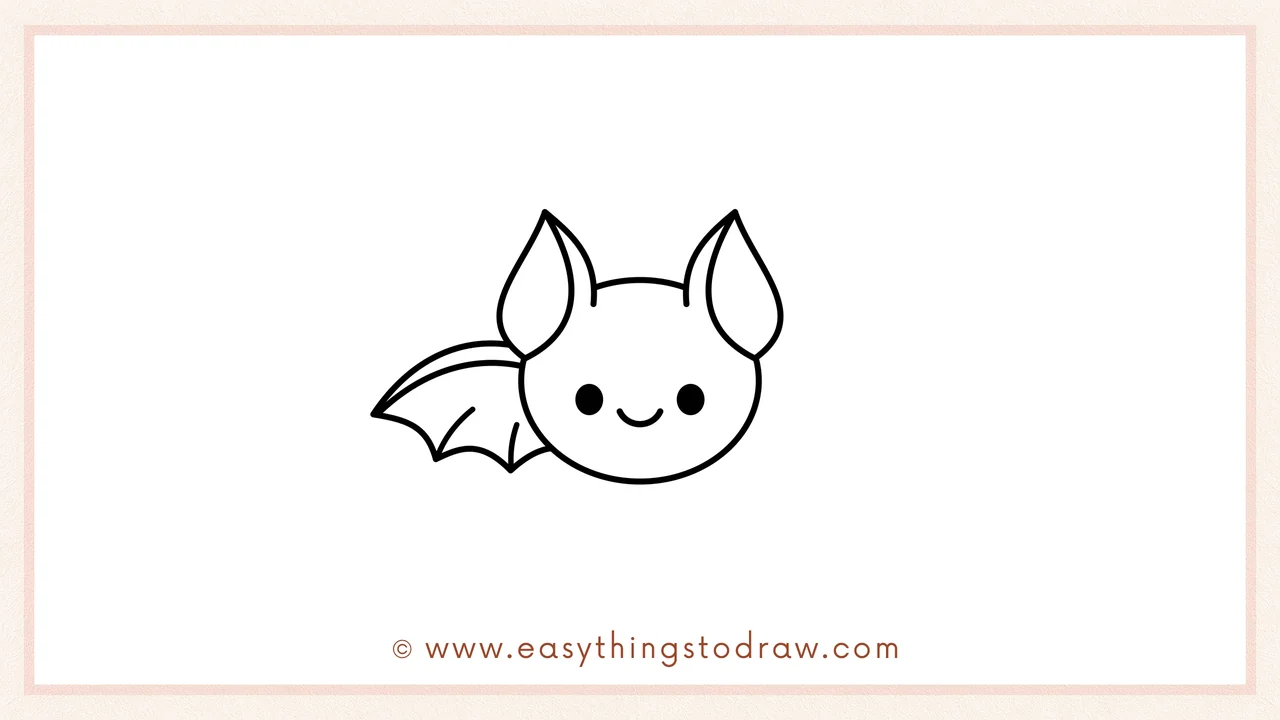
On the left side of the head, draw a wing that curves outward like a stretched-out leaf. Add three inner lines that go from the bottom of the wing to the top to give it a batty look.
Step 5 – Add the Other Wing
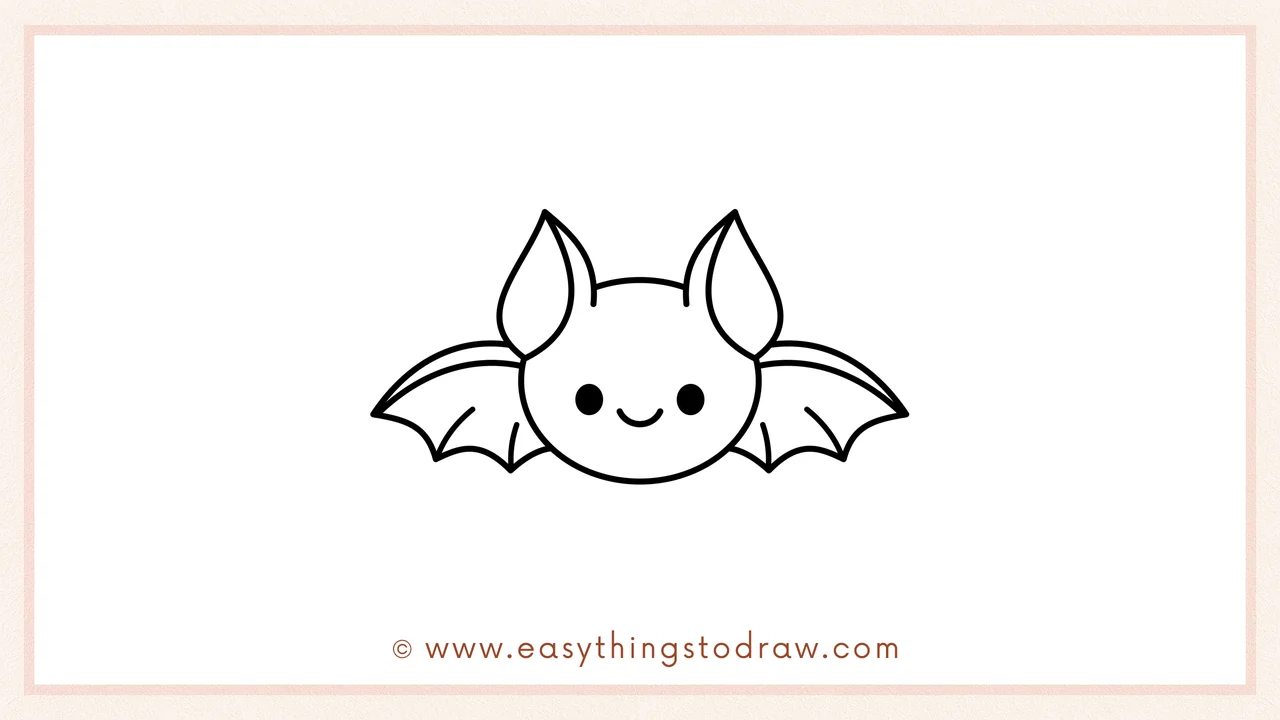
Now draw a matching wing on the right side. Make sure it’s similar in size and shape to the left one, and don’t forget to add the same three inner lines for detail.
Step 6 – Draw the Little Feet
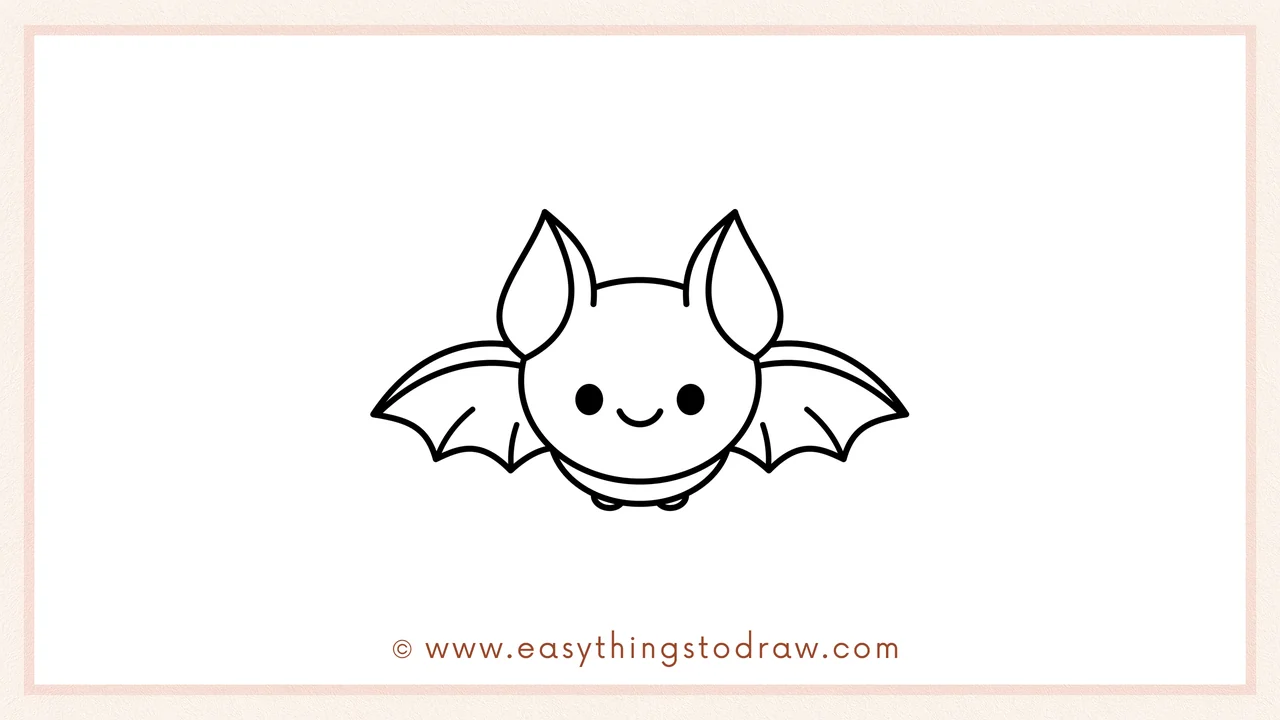
Underneath the head, add two tiny oval feet close together, and a curved belly line above them. These finishing touches make your bat extra charming!
Frequently Asked Questions (FAQ)
Can I make my bat spookier or friendlier?
Absolutely! You can add fangs, a witch hat, or even a bowtie to change the mood of your bat.
What colors work best for coloring this bat?
Dark purples, grays, or even fun rainbow shades can bring your bat to life!
Is this drawing too hard for young kids?
Not at all! The shapes are simple and curved – perfect for children ages 4 and up.
Can I draw it flying in the sky?
Yes! Try adding a moon, stars, or clouds around it to create a fun nighttime scene.
Printable Drawing Tutorials
Download Printable How to draw a bat Drawing Tutorials
You Did It!
You did it! Great job drawing your cute cartoon bat. Doesn’t it look friendly and full of personality? If you want to make it extra special, add a Halloween background, sunglasses, or even draw it with a bat buddy! Share your art, show your friends, and print this guide to practice again anytime. Keep drawing and keep having fun!
