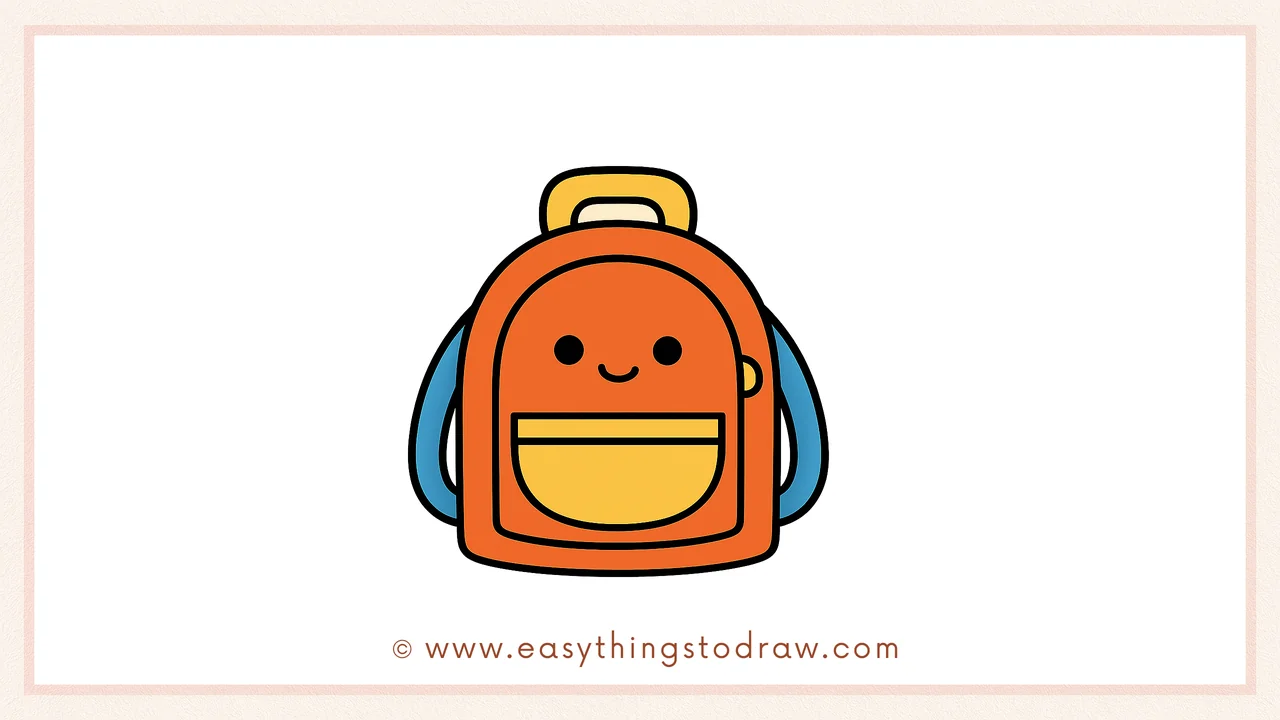
Let’s get ready for school with a fun and easy backpack drawing tutorial for kids and beginners! This kawaii-style backpack is simple to sketch and perfect for young artists who want to practice cute object drawing. Whether you’re getting creative before the school year starts or just love doodling accessories, this cartoon backpack is a fun project to try. Grab your pencil and let’s pack some cuteness!
What You Need:
- A pencil
- An eraser
- A black marker (for outlining)
- Coloring tools (crayons, markers, or colored pencils)
- Drawing paper
Step by Step Backpack Drawing Instructions
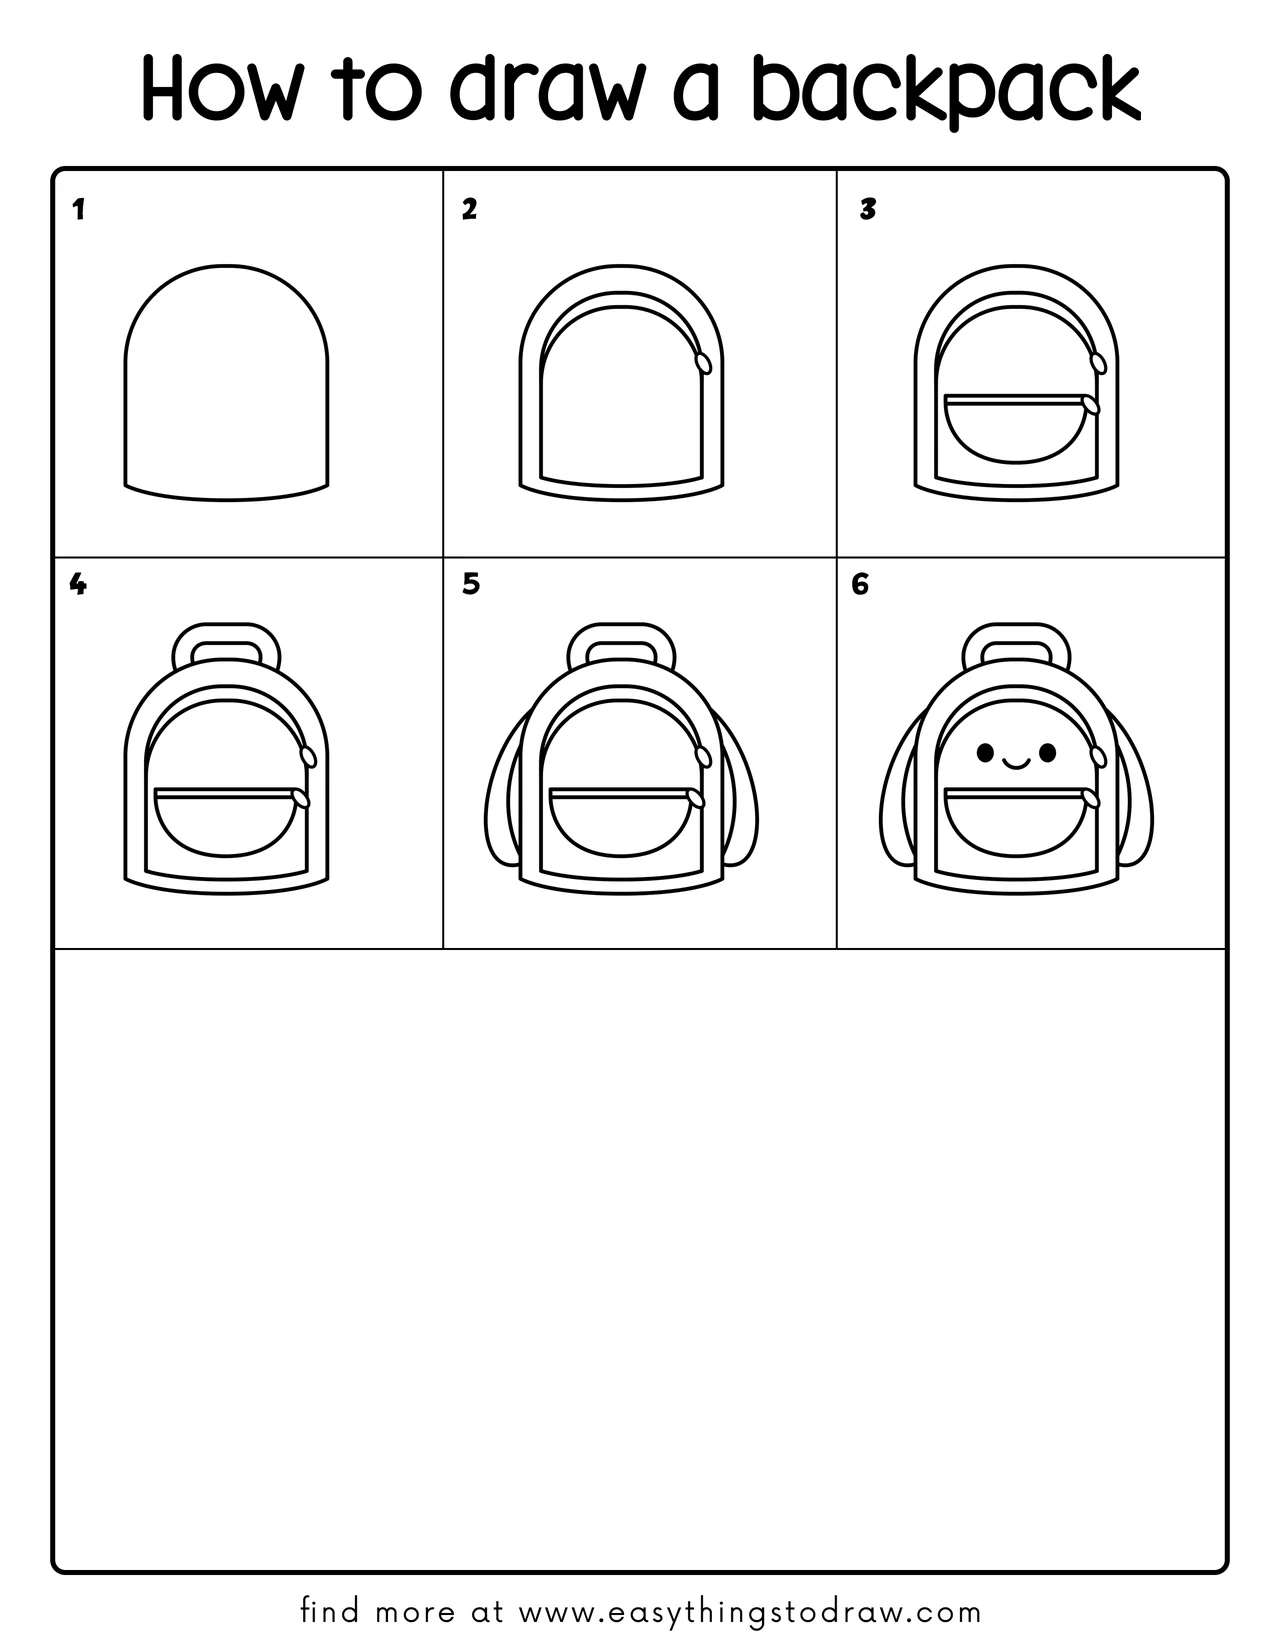
Step 1 – Draw the Basic Backpack Shape
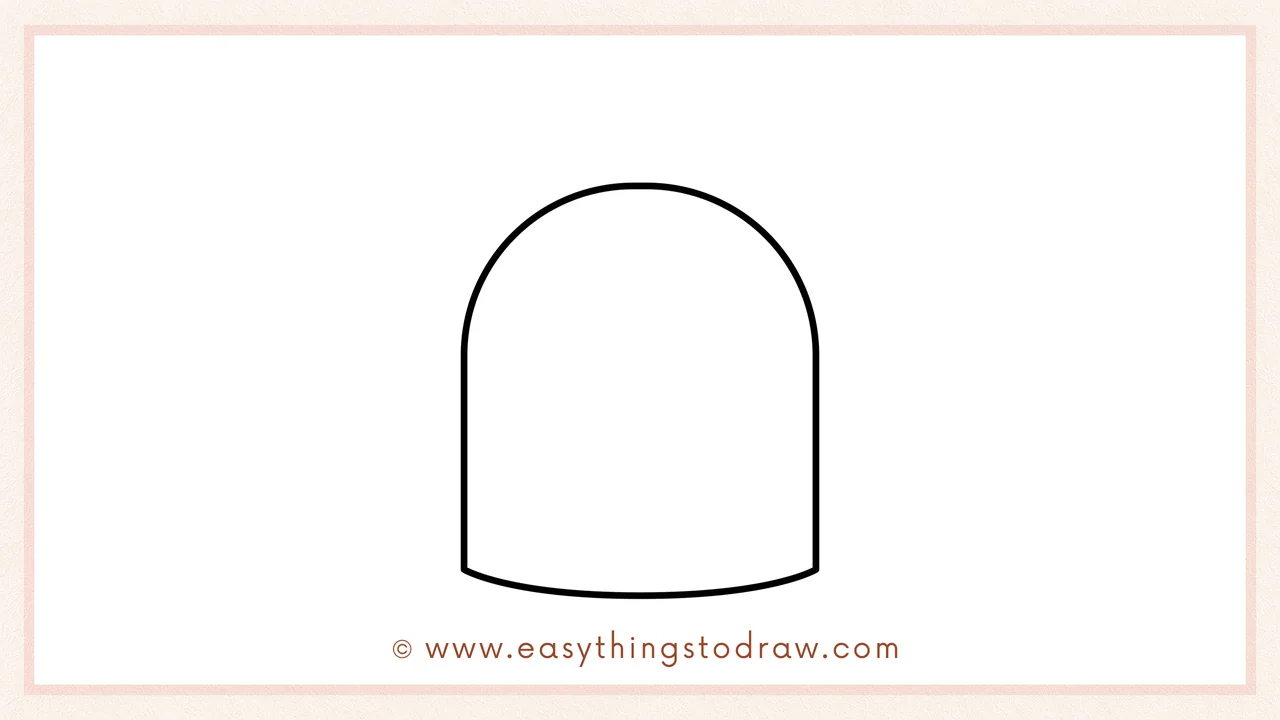
Start by drawing a large upside-down “U” shape with a flat bottom. This forms the main body of the backpack. Make the curve smooth and wide like a big bump!
Step 2 – Add a Front Pocket Frame
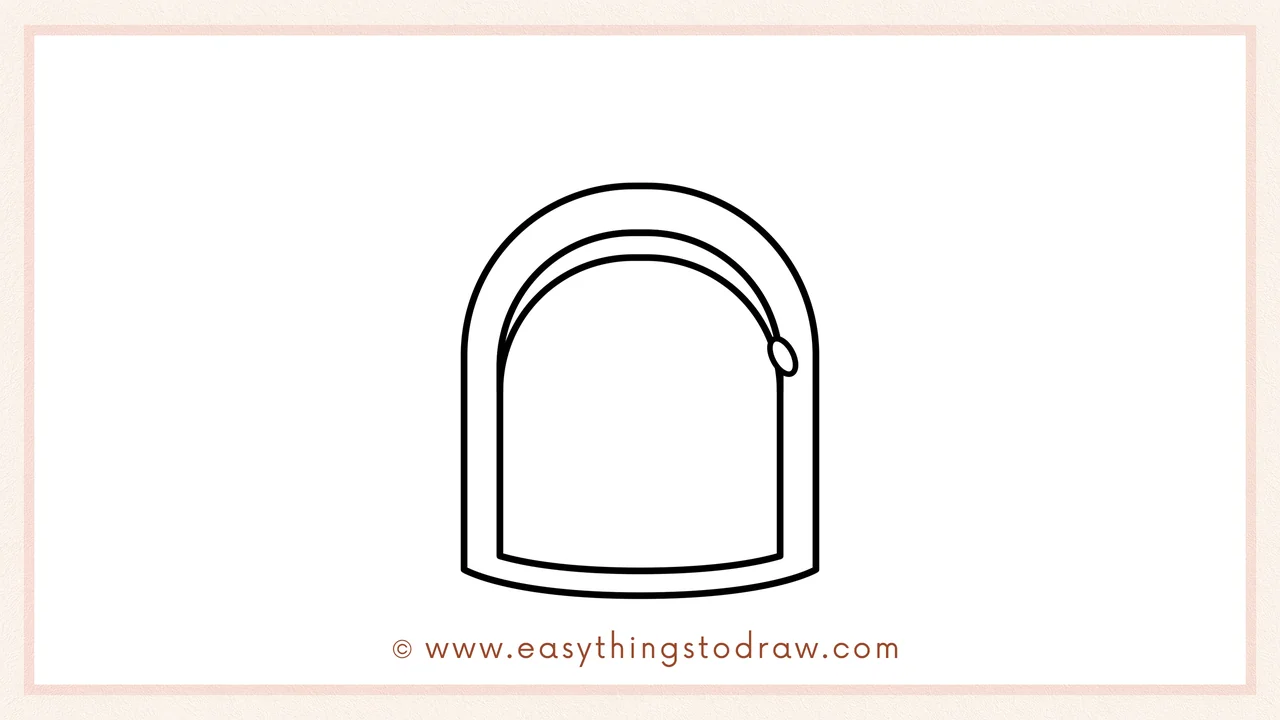
Now draw a smaller “U” shape inside the main one, following its curve. This creates the outline of the front pocket. Add a tiny oval on the right side — it will become a zipper pull!
Step 3 – Draw the Pocket
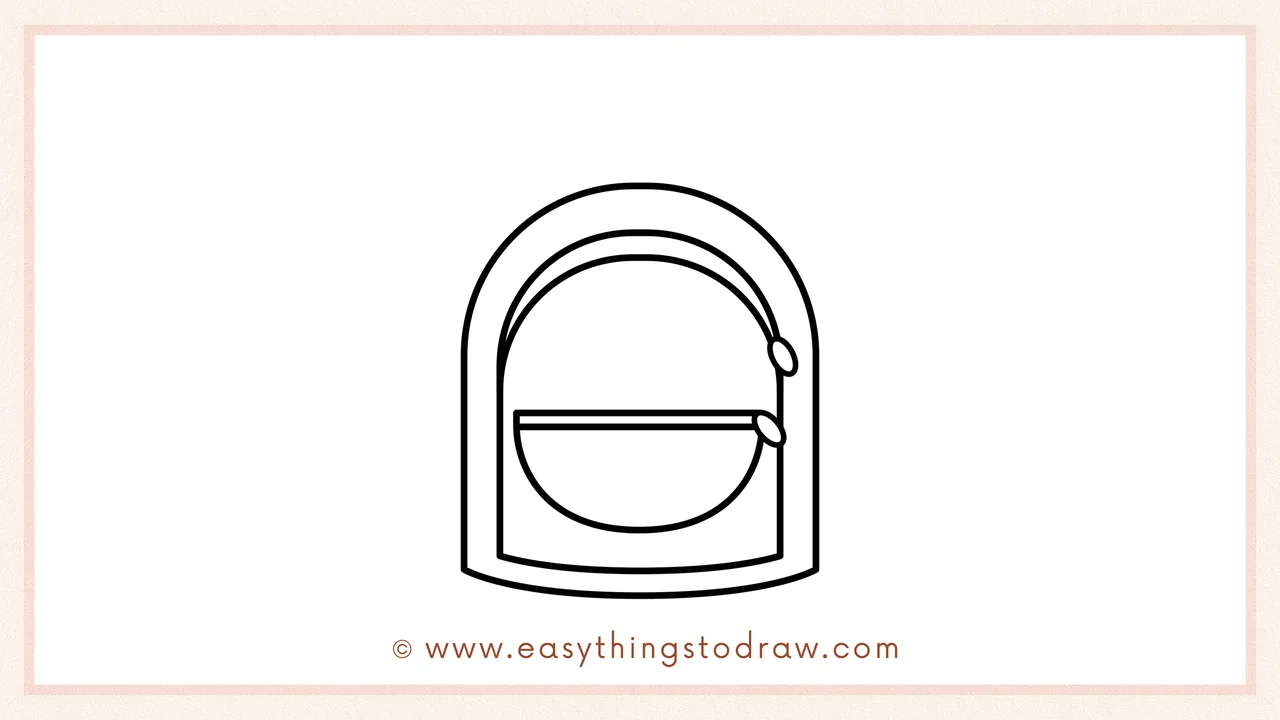
Inside that frame, sketch a semi-circle or bowl shape sitting at the bottom — this is the actual pocket. Add a straight horizontal line across the top to close it off.
Step 4 – Add the Handle
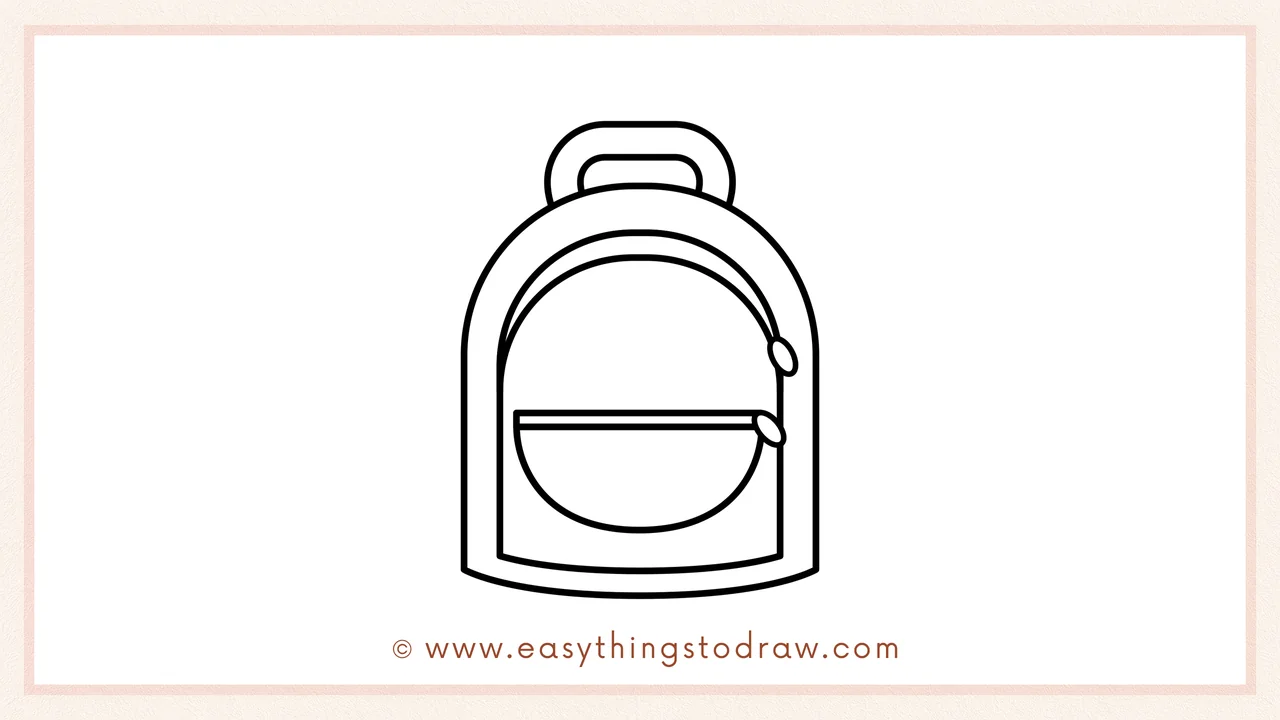
Time to draw the handle! At the top of the backpack, draw a rounded rectangle stacked with another smaller one inside. This makes it look padded and easy to grab.
Step 5 – Draw the Shoulder Straps
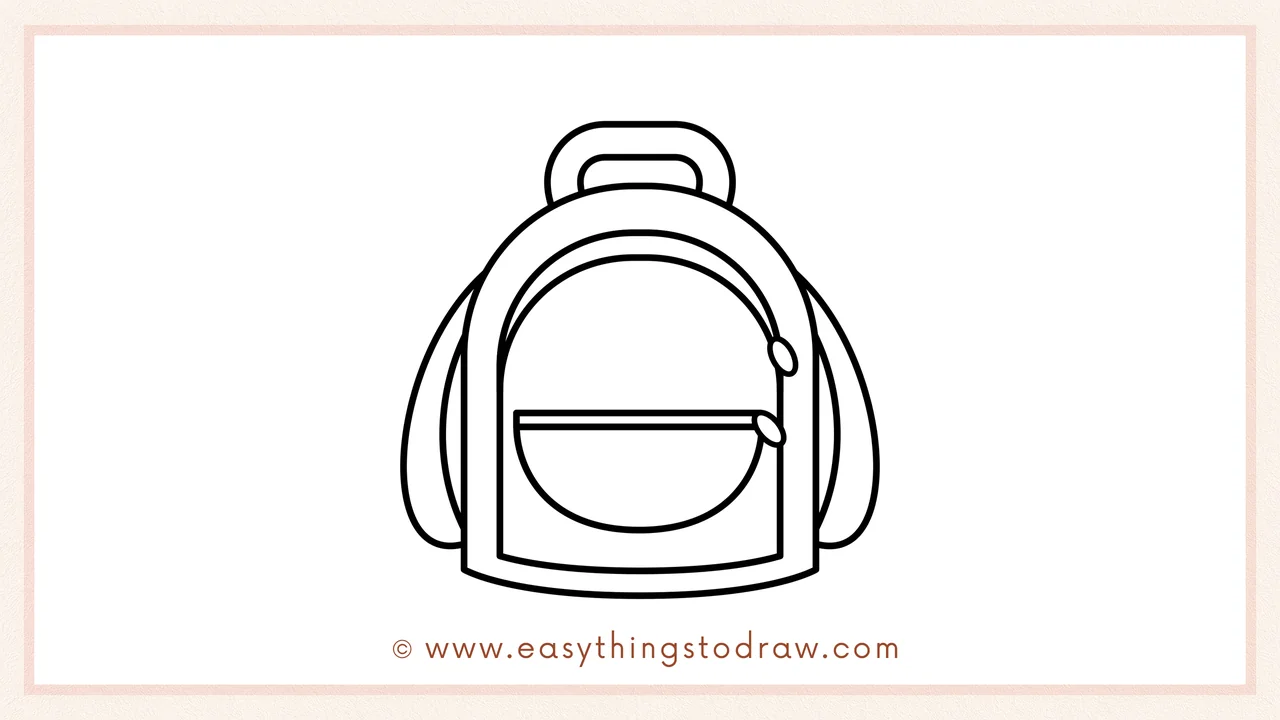
Now add two curved shapes on each side of the backpack. They should look like floppy bunny ears — these are the shoulder straps, hanging down gently.
Step 6 – Add a Cute Face
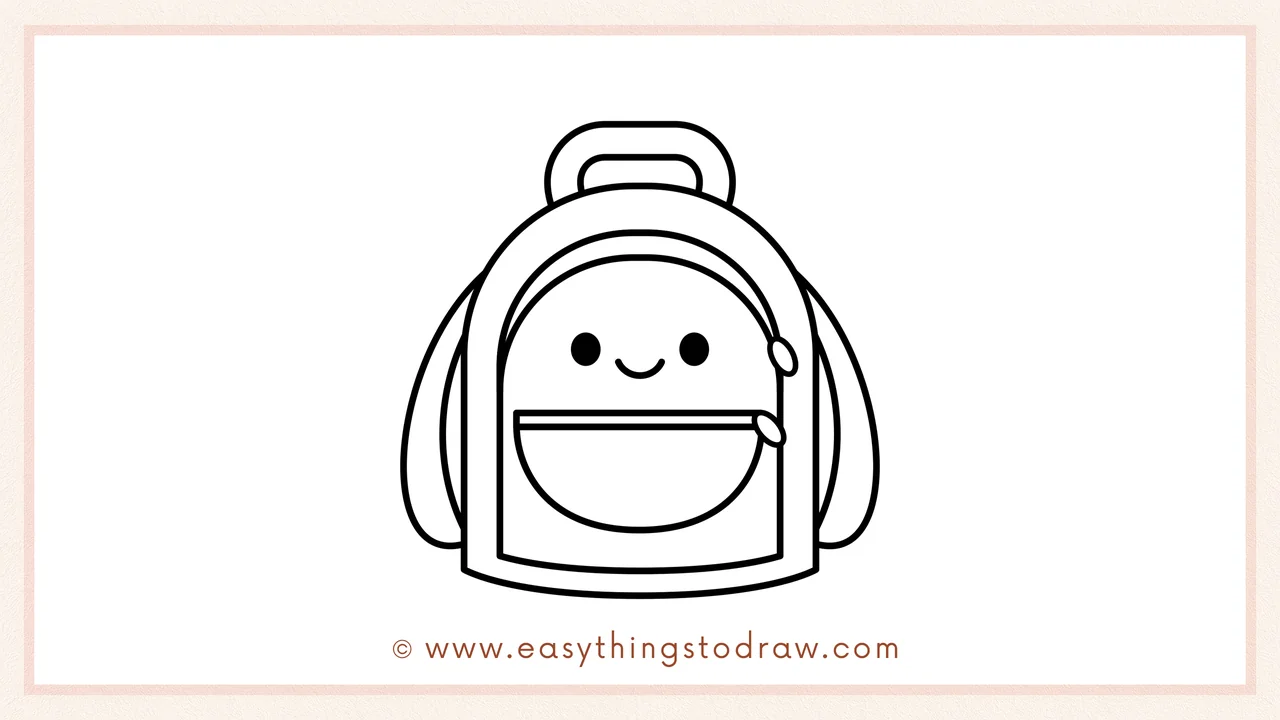
Make your backpack come to life with a happy face! Draw two little eyes and a smiling mouth on the front pocket. Now it looks like your backpack is ready to go on an adventure!
Frequently Asked Questions (FAQ)
Can I design the backpack with different patterns?
Of course! You can add stars, hearts, or even your initials for a personal touch.
Is this a good drawing tutorial for school projects?
Definitely! It’s fun, simple, and looks great on posters or notebooks.
What colors should I use?
Classic backpacks are blue, red, or green — but feel free to make yours rainbow, pastel, or even glow-in-the-dark!
What if I don’t have a marker?
No problem! You can just outline your drawing with a pencil or a colored pen instead.
Printable Drawing Tutorials
Download Printable How to draw a backpack Drawing Tutorials
You Did It!
Awesome work drawing your cheerful little backpack! It’s packed with personality and charm. You can turn it into a school-themed masterpiece by adding books, pencils, or a chalkboard background. Or go wild with patterns, colors, and accessories. Be sure to show off your creation, or redraw it in different styles to build your own backpack collection!
