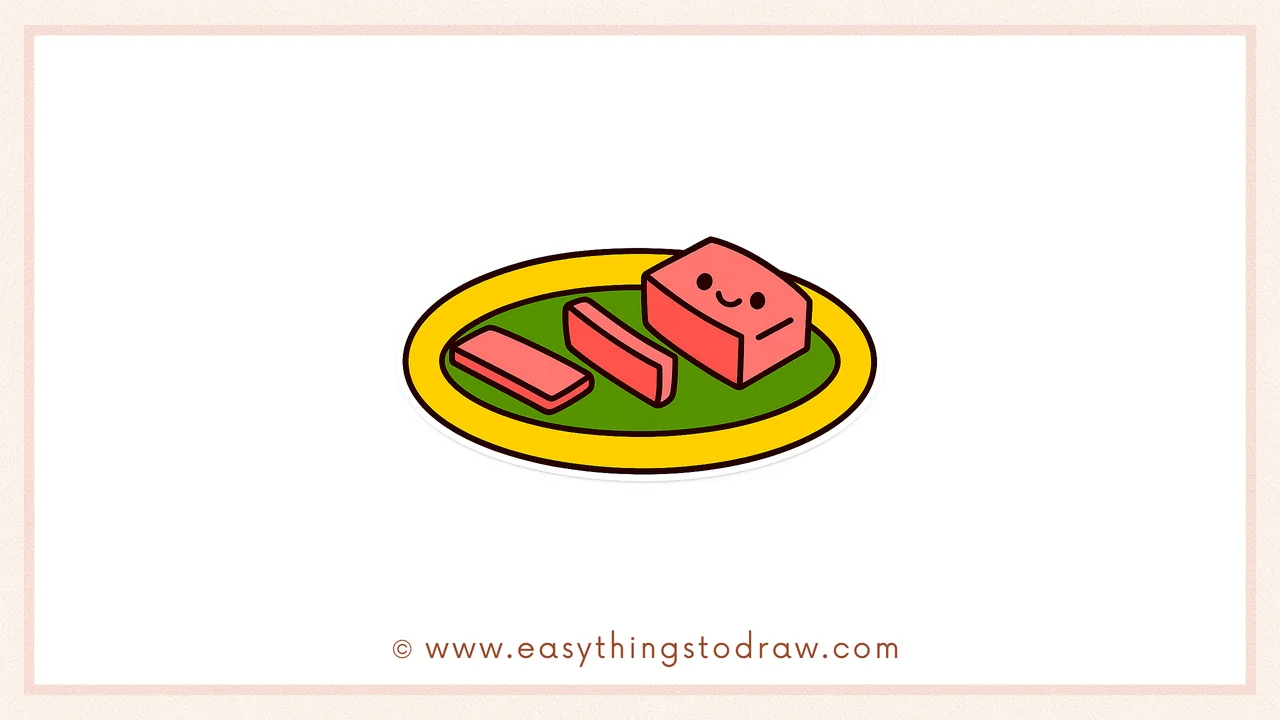
Want to sketch a classic St. Patrick’s Day meal? Corned beef is a delicious and iconic dish for the holiday — and now you can draw it, too! This step-by-step drawing tutorial will show you how to doodle a cheerful plate of sliced corned beef with easy shapes and a big smile at the end.
This guide is perfect for:
- Kids who love food-themed art projects 🍽️
- Beginners learning how to draw 3D blocks and plates 🧱
- Parents and teachers planning holiday crafts and lessons 🍀
👩🎨 Why Learn From Us?
At Easy Things to Draw, we simplify real-world objects into fun cartoon-style guides made just for young artists and beginners. Every tutorial is designed by art teachers who know how to make drawing approachable and joyful.
With over a decade of classroom experience, we’re experts at turning complex objects into simple steps anyone can follow — building confidence one line at a time.
✅ What Makes This Corned Beef Drawing Special?
– 🥩 Holiday-themed fun: A perfect activity for St. Patrick’s Day crafts or food units
– 🧊 3D shape practice: Learn to draw blocks, slices, and plates
– 🧑🏫 Educator-reviewed: Every step is designed with clarity for young learners
– 🎨 Personality boost: Add a happy face to bring your food art to life!
🔒 Classroom and Kid-Safe Guaranteed
All our guides are printable, ad-free, and created with educational value and child-friendliness in mind. Use them at school, art clubs, or home without worry.
🍴 Ready to Draw Your Own Corned Beef Plate?
Grab your art supplies and let’s get cooking — with your pencil!
What You Need:
- A pencil
- An eraser
- A black marker (for outlining)
- Coloring tools (crayons, markers, or colored pencils)
- Drawing paper
Step by Step Corned Beef Drawing Instructions
Step 1 – Draw the Main Chunk of Corned Beef
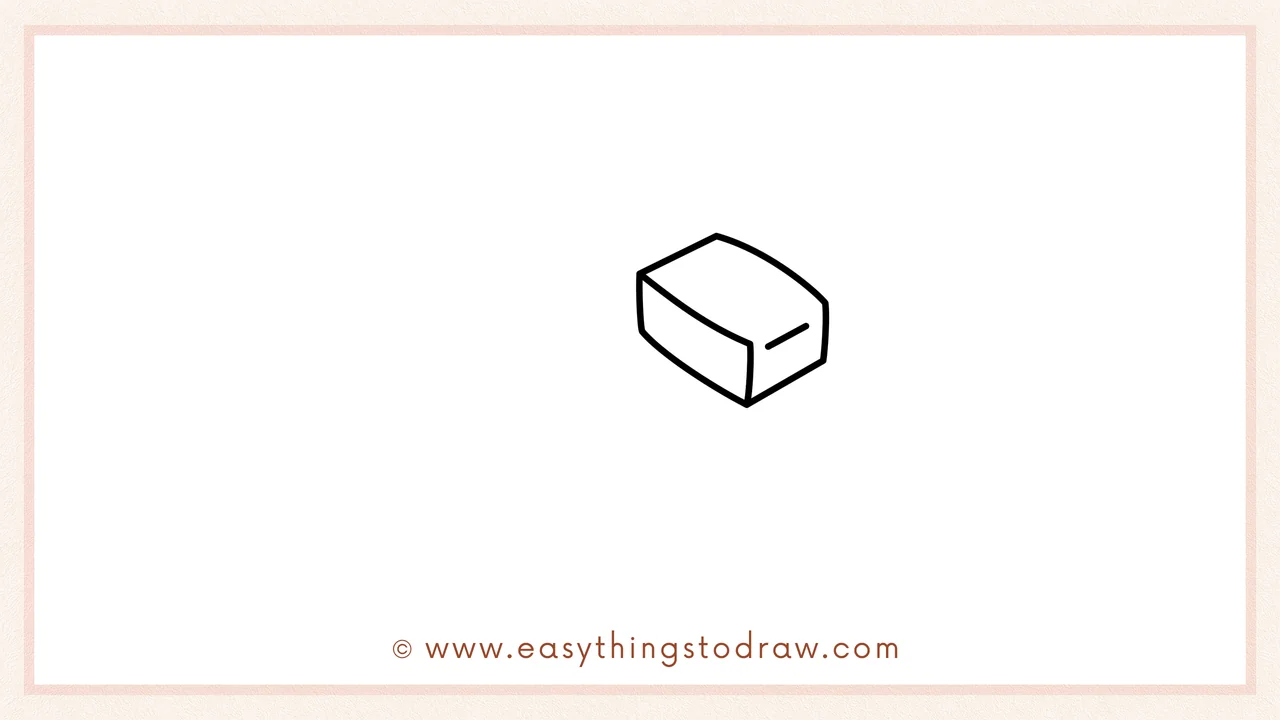
Start by sketching a small rectangular block with slightly rounded sides. Tilt it slightly for a 3D look — this is your main piece of corned beef!
Step 2 – Add the First Slice in Front

Draw a thinner piece overlapping the first block. Make it angled and shorter to look like it was just sliced off.
Step 3 – Draw Another Slice
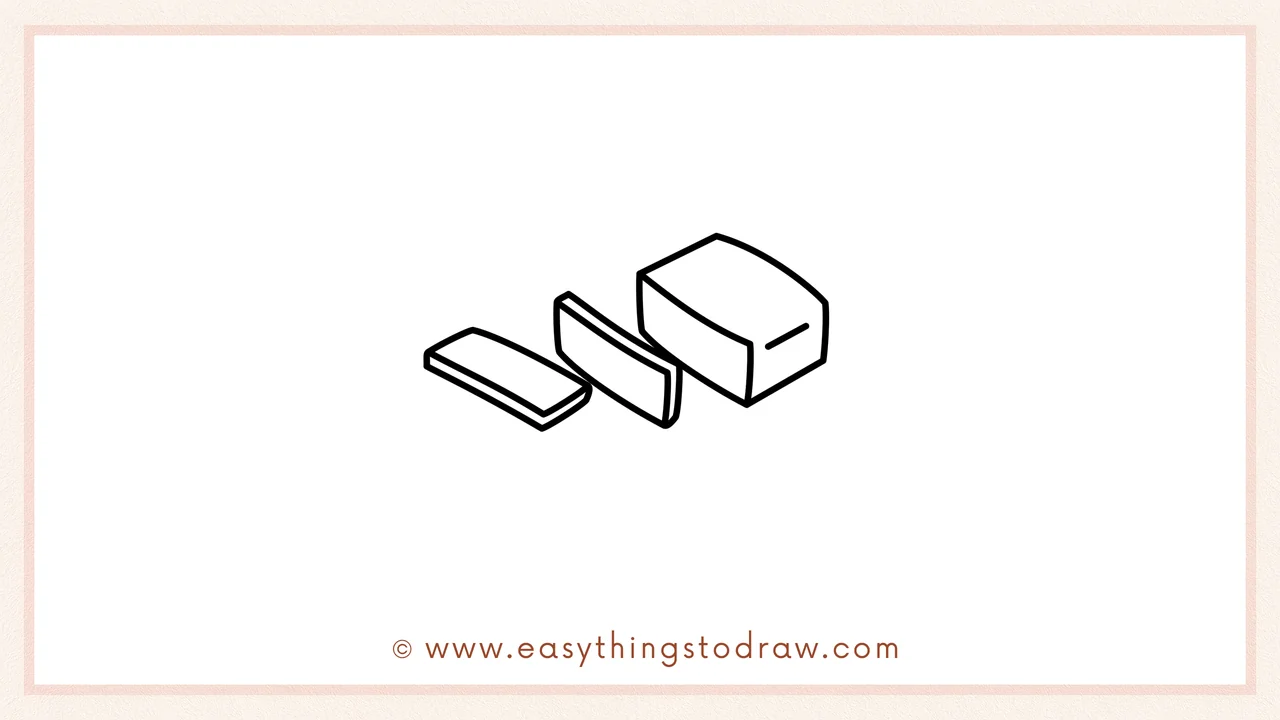
Now add a third slice in front of the second one. Tilt it outward slightly to create a natural stack of slices.
Step 4 – Place It on a Plate
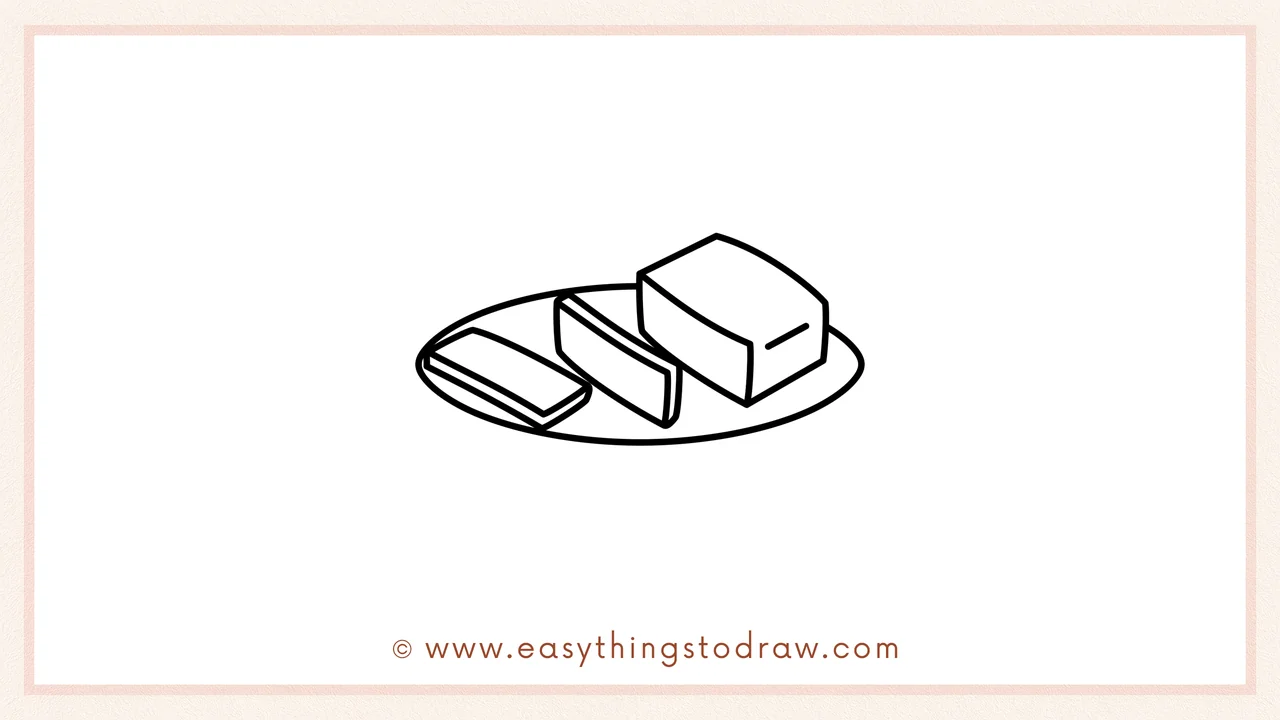
Draw a large oval beneath the beef. This will be the dinner plate holding all the tasty slices.
Step 5 – Add a Plate Rim for Detail
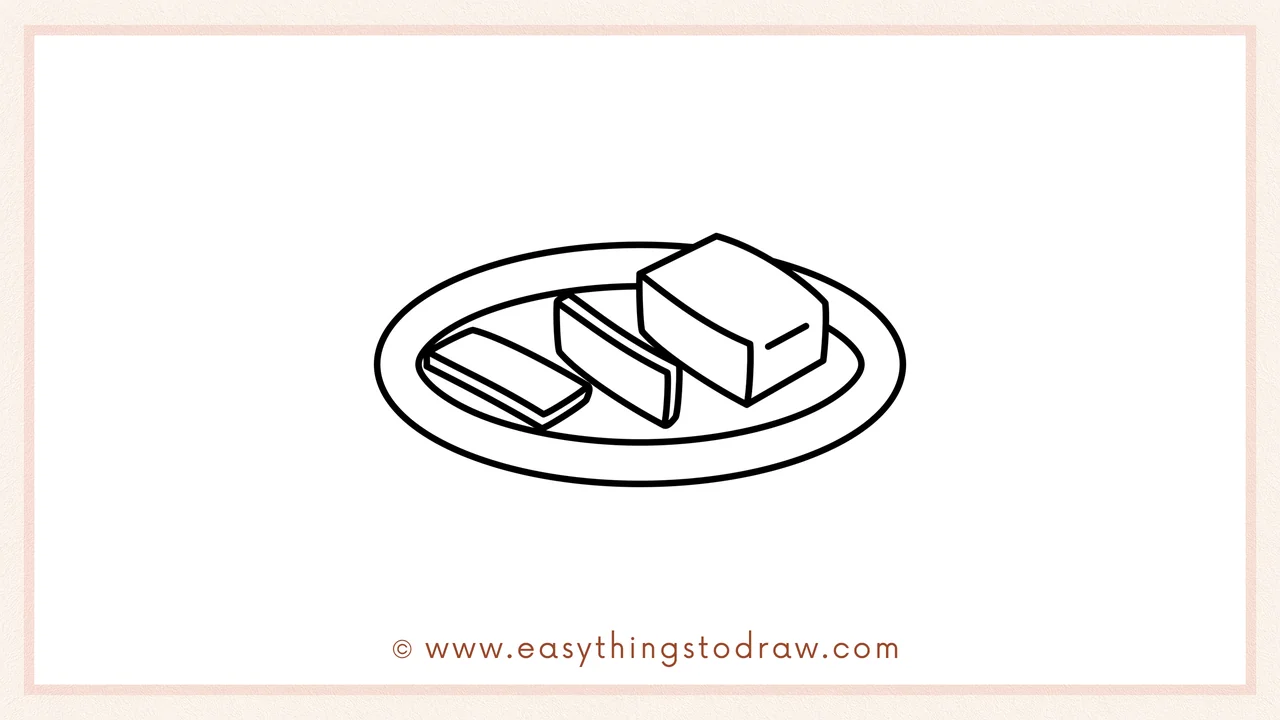
Draw a second, slightly larger oval outside the first one to create the rim of the plate. Now it looks more realistic and round.
Step 6 – Draw a Cute Face and Color It In!
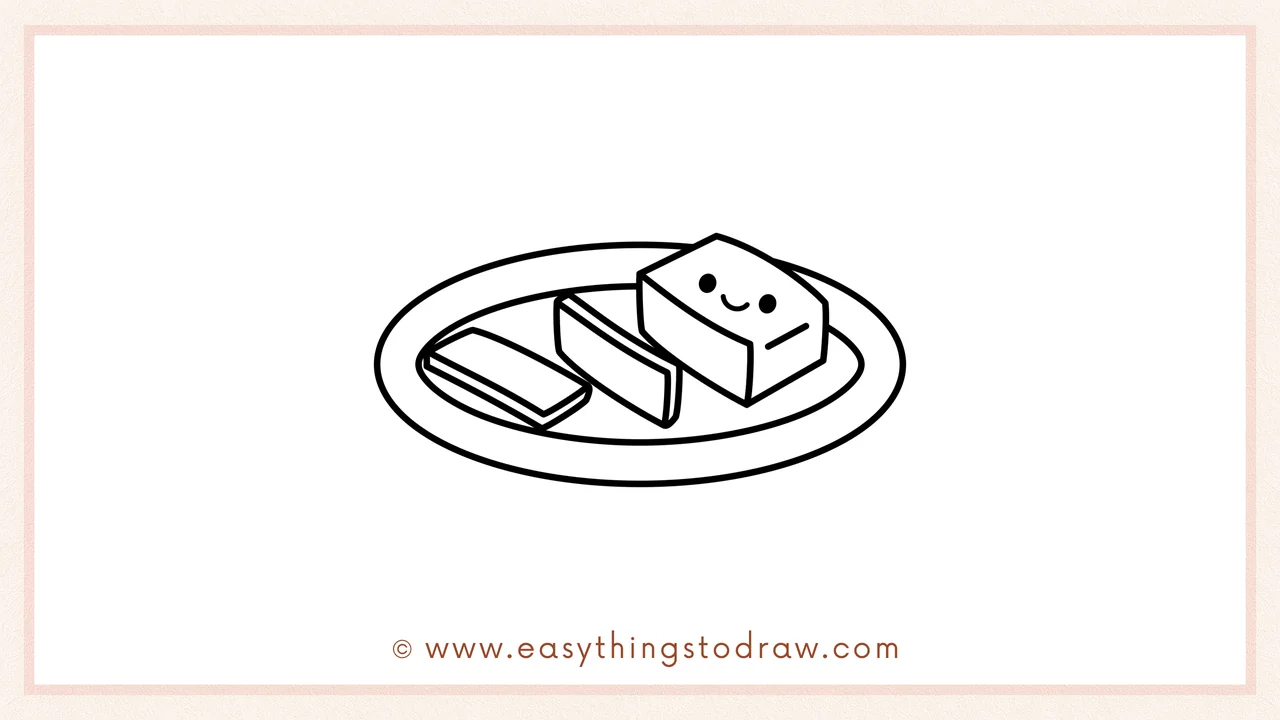
Let’s give your corned beef some personality! Add two dots for eyes and a smiling mouth. Then color the meat in rich pink or reddish tones, and the plate any color you like.
Frequently Asked Questions (FAQ)
What colors work best for corned beef?
Use warm tones like red, pink, and brown to mimic cooked corned beef. You can also add yellow or green for garnish.
Can I add other food items to the plate?
Yes! Try drawing a wedge of cabbage, a potato, or a fork to make your drawing more complete and festive.
Is this drawing too hard for beginners?
Not at all! This drawing breaks complex shapes into easy blocks and ovals. It’s great practice for young learners and first-time artists.
What if my slices look different?
That’s totally fine! Every artist has their own style. Uneven slices just make it look more real and homemade.
Printable Drawing Tutorials

Download Printable How to draw a corned beef Drawing Tutorials
You Did It!
Awesome job! You just sketched a fun and festive St. Patrick’s Day corned beef plate — and it even smiles back! Want to add more to your drawing? Try adding cabbage, potatoes, or even a little flag on the plate. Be proud of your tasty artwork and keep exploring holiday-themed doodles.
