Want to draw a cozy and cute Christmas stocking to celebrate the holidays? In this easy, step-by-step tutorial, we’ll show you how to draw an adorable cartoon-style stocking — perfect for beginners, kids, and festive fun!
This guide is perfect for:
- Kids who love holiday crafts 🎄
- Beginners learning basic drawing shapes 🧦
- Parents and teachers looking for Christmas art activities 🎨
🧦 Why Learn From Us?
At Easy Things to Draw, we specialize in creating clear and simple tutorials designed for young artists and beginners. With over 10 years of experience in early art education, our tutorials are built for creative success — and smiles!
✅ What Makes This Stocking Tutorial Special?
– ✏️ Super easy shapes: rectangles, curves, and circles
– 🎄 Festive and fun: great for greeting cards or classroom projects
– 🧠 Builds basic shape recognition and fine motor skills
– 🌟 Add your own decorations, patterns, or little gifts inside!
🔒 Kid-Safe and Teacher-Approved
All of our tutorials are free from distractions and age-appropriate, designed to make drawing joyful and stress-free for all learners.
What You Need
- Pencil ✏️
- Eraser
- Black marker or outlining pen 🖊️
- Coloring supplies (crayons, markers, or colored pencils)
- Drawing paper 📄
- Your holiday spirit! 🎅
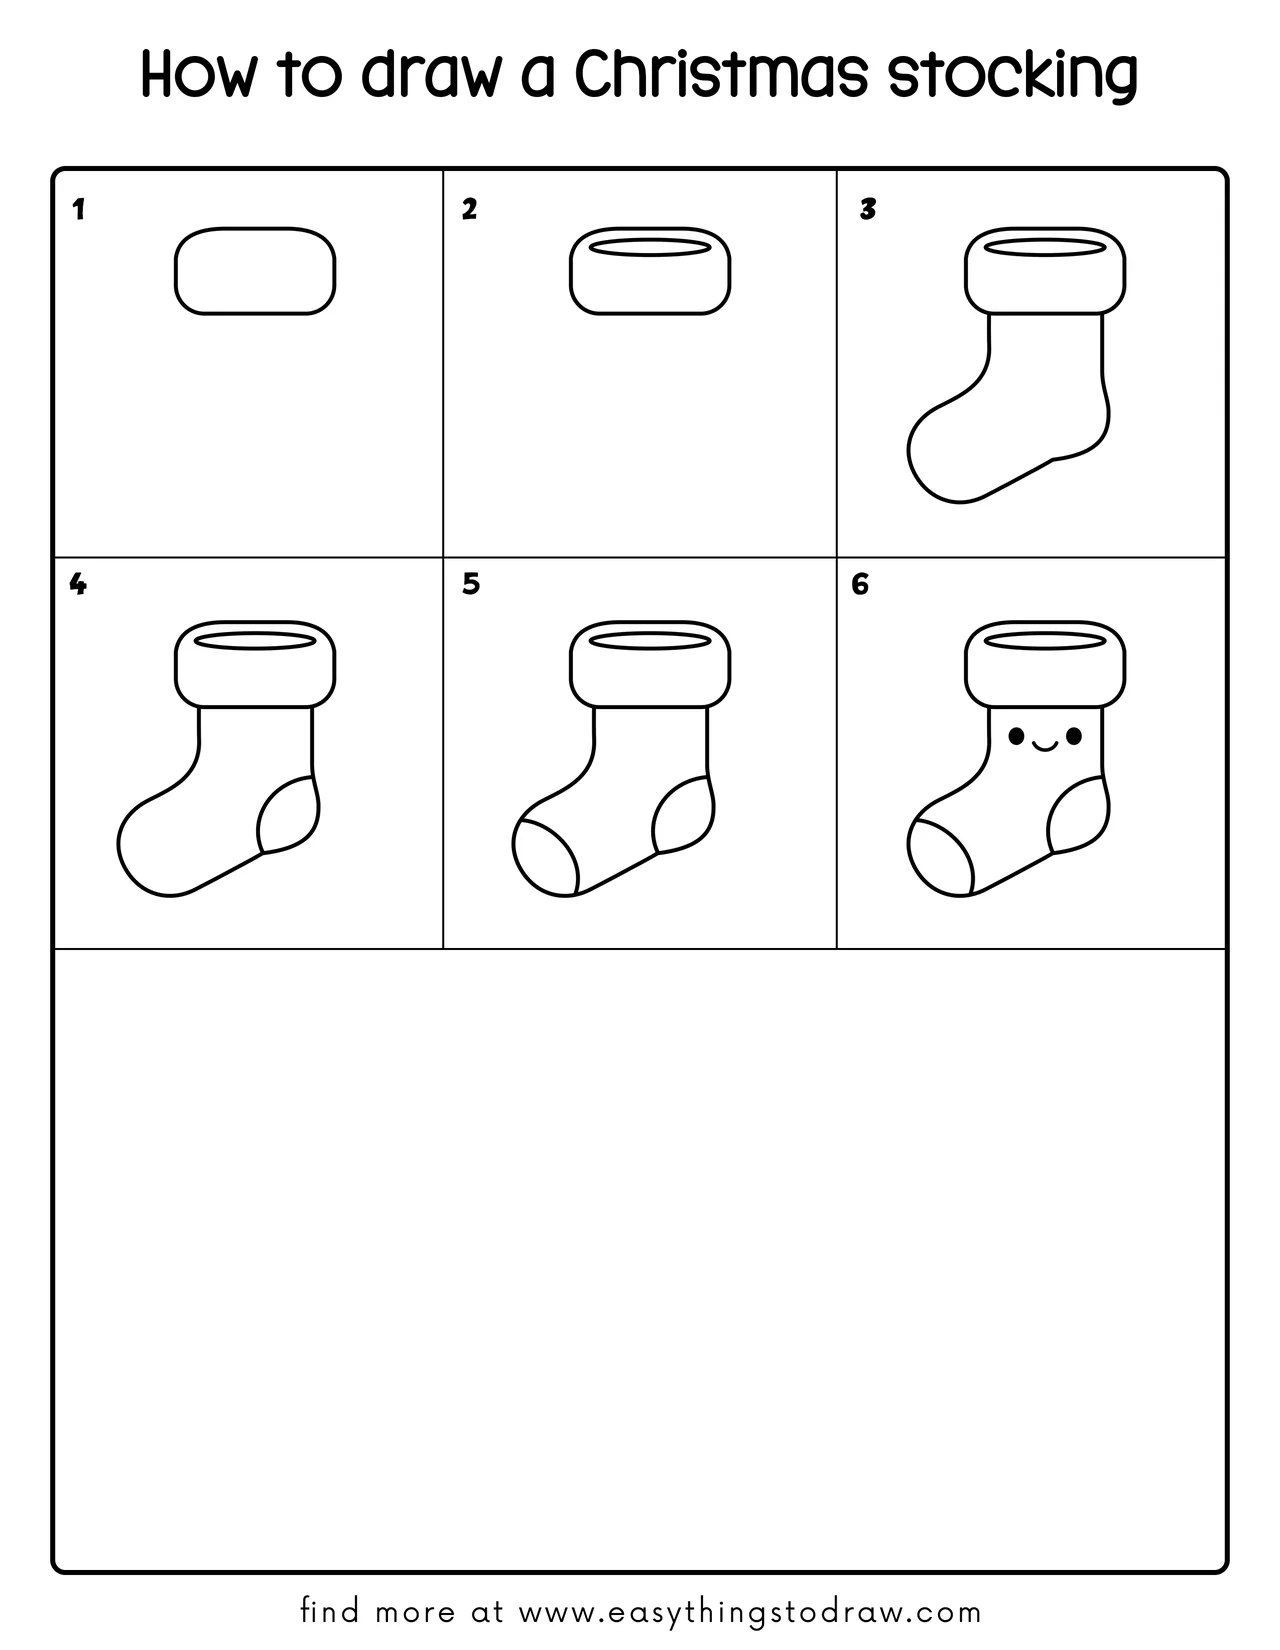
Step by Step Christmas Stocking Drawing Instructions
Step 1 – Draw the Top Cuff
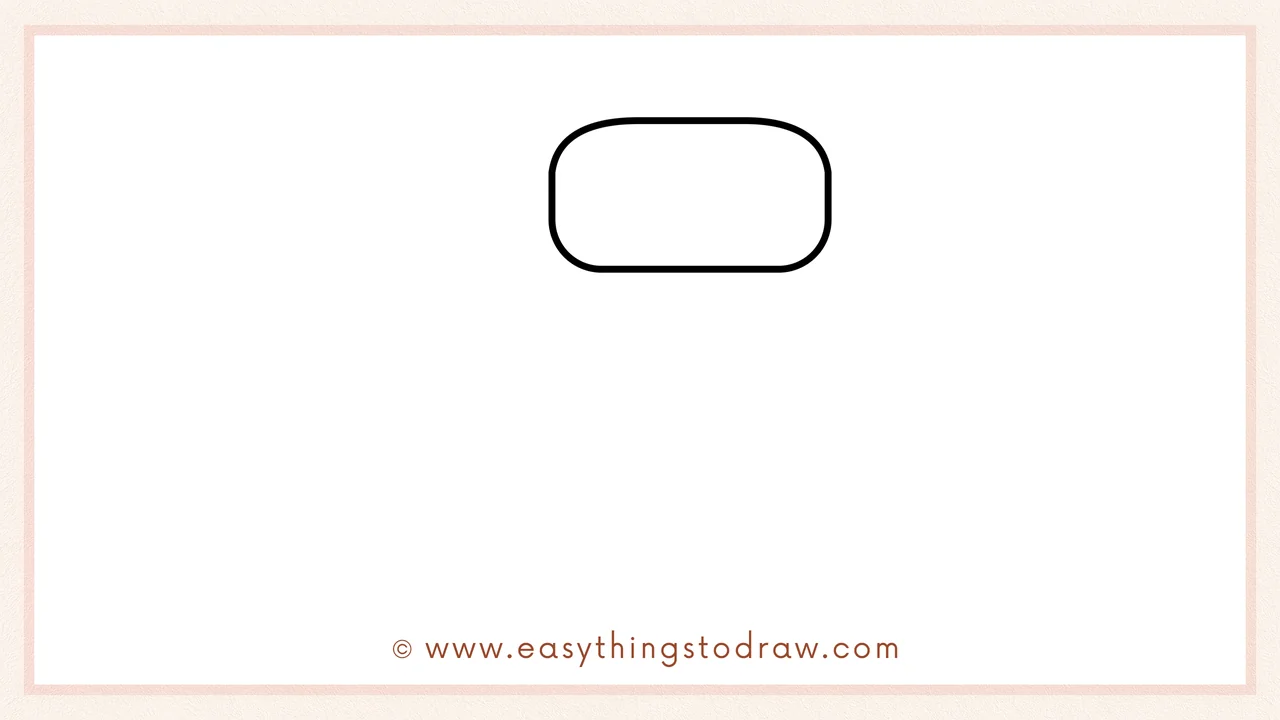
Start by drawing a wide, rounded rectangle near the top of the page. This is the soft, fluffy part at the top of the stocking.
Step 2 – Add the Inner Opening
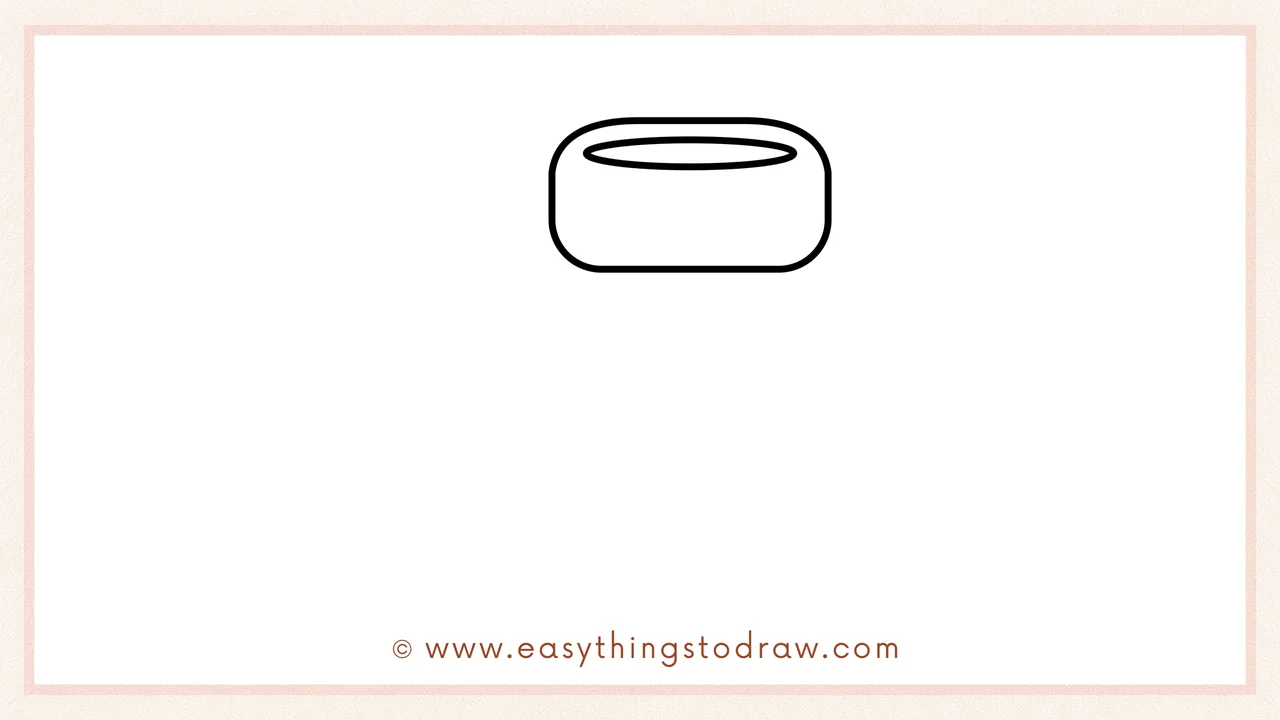
Inside the cuff, draw a horizontal oval to show the stocking’s opening. This adds depth and a three-dimensional look.
Step 3 – Draw the Sock Body
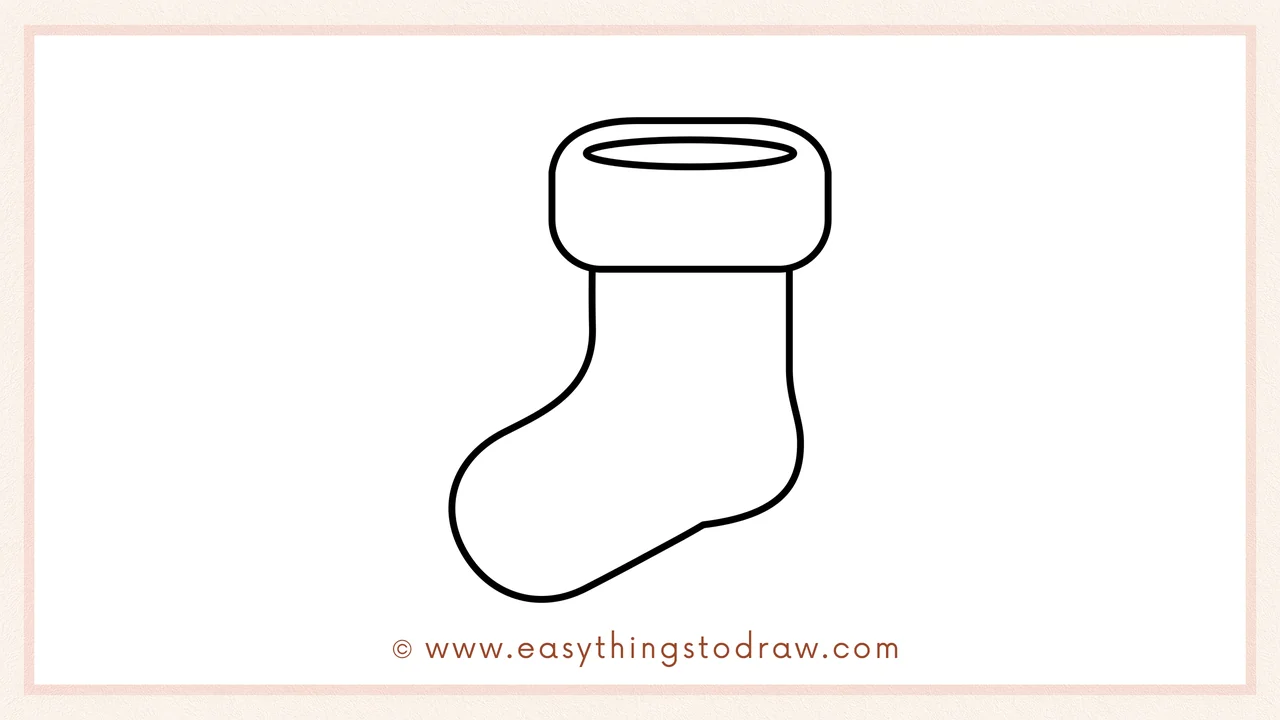
From the bottom of the cuff, draw a curving line that goes down and to the left. Loop it around like a soft letter “J” — this forms the body of the stocking.
Step 4 – Add the Heel Patch
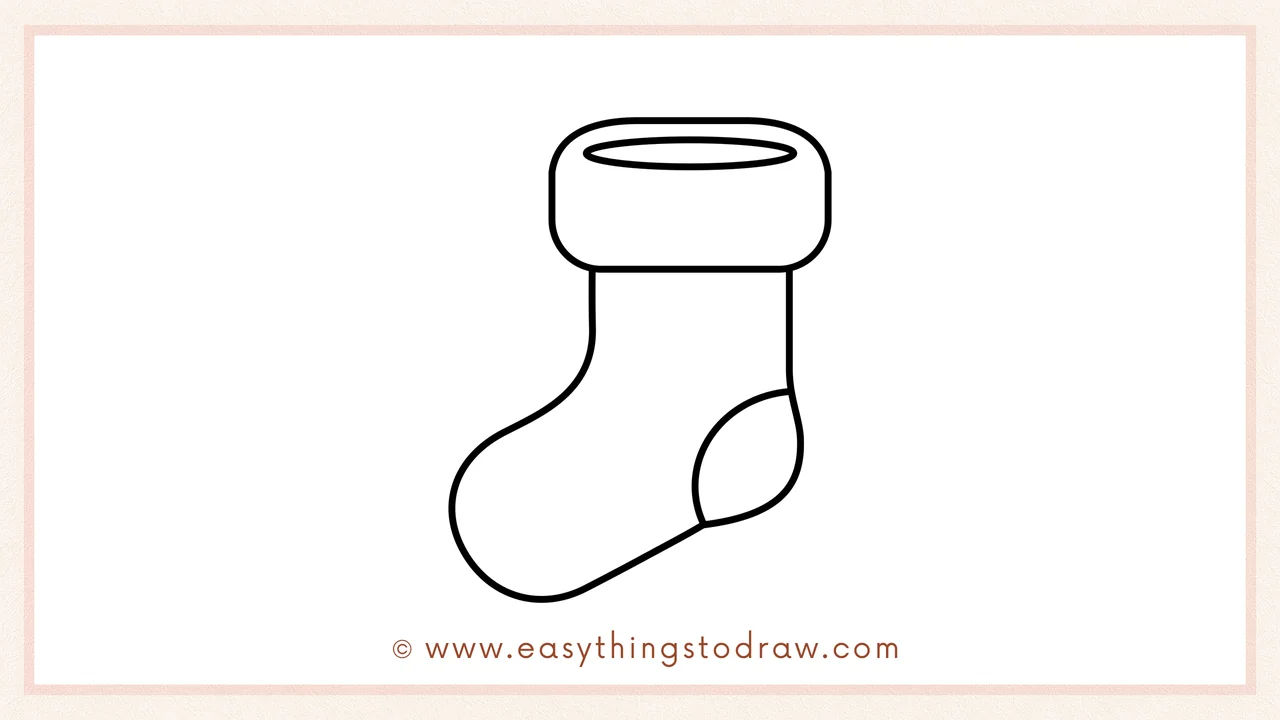
On the side of the stocking near the curve, draw a rounded shape to represent the heel area — just like a real sock!
Step 5 – Add the Toe Patch
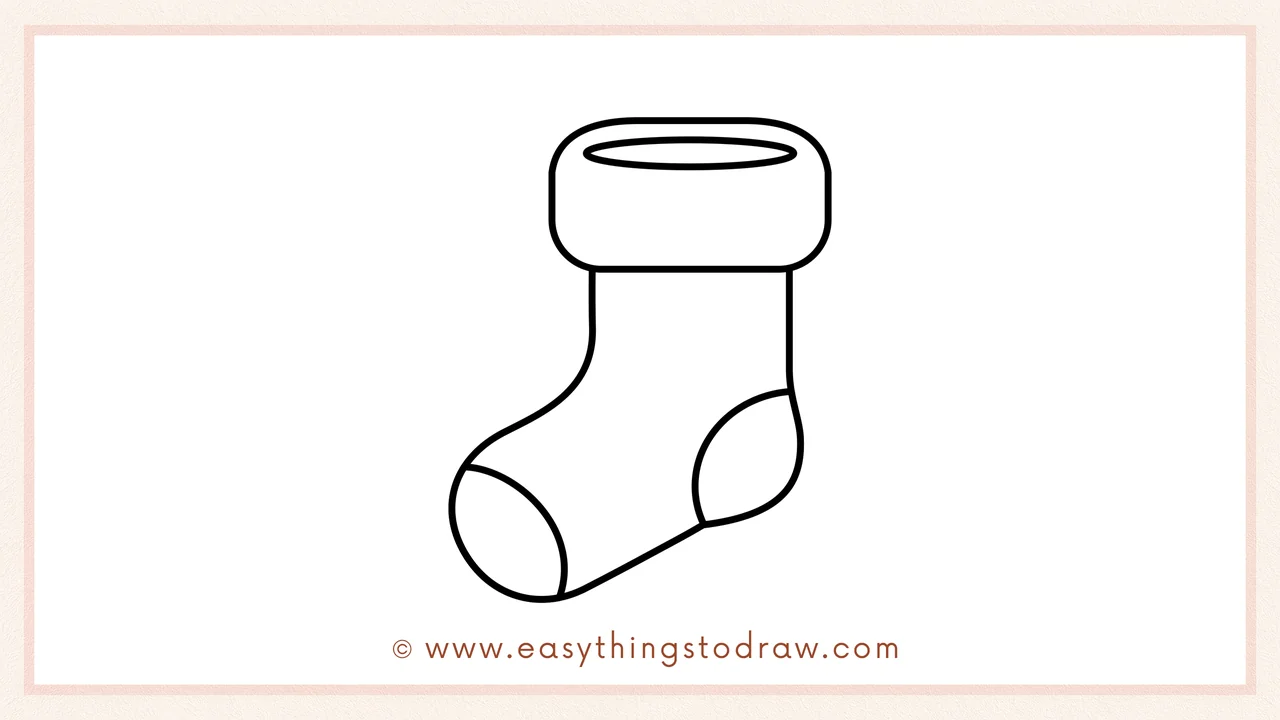
Near the front of the stocking, draw another small curved shape for the toe patch. This adds detail and makes your stocking look cozy and festive.
Step 6 – Draw a Cute Face
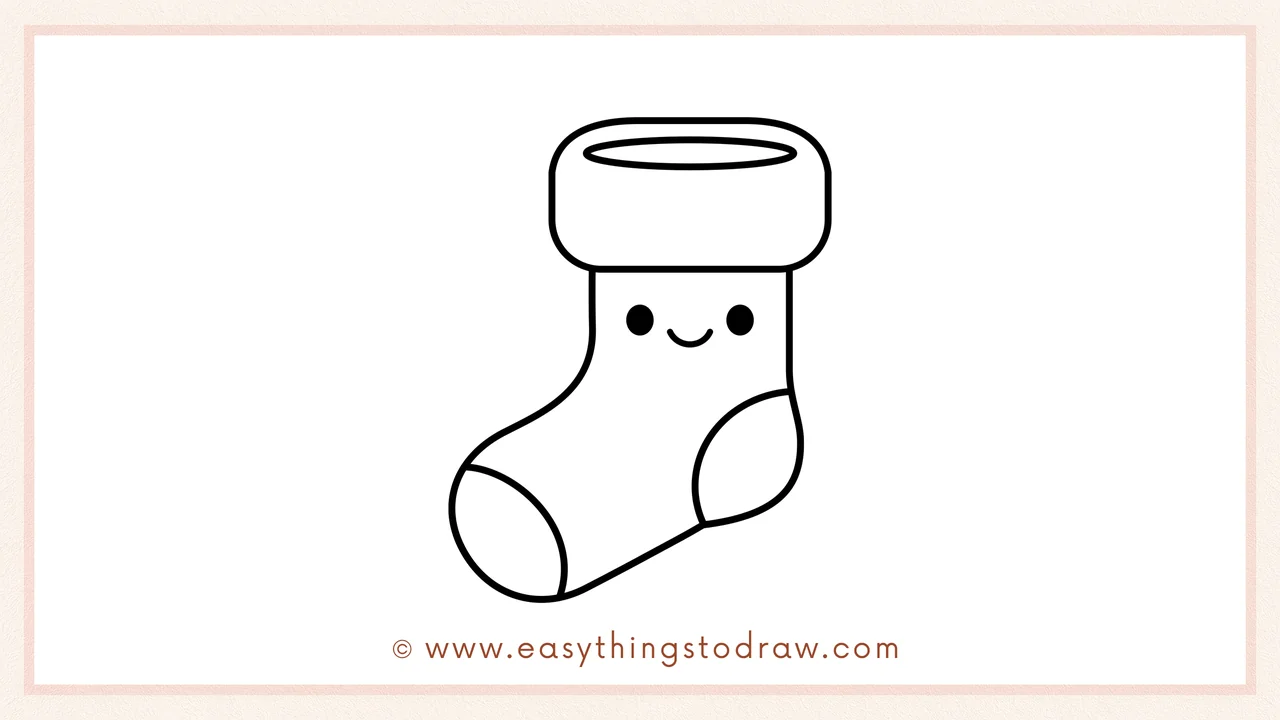
Finally, draw two small black dots for eyes and a happy little smile between them. Your stocking now has a joyful personality — ready to be filled with treats!
Frequently Asked Questions (FAQ)
What colors should I use for the stocking?
Classic colors are red, green, and white, but you can use any colors you like — even patterns like stripes, stars, or snowflakes!
Can I decorate the stocking more?
Definitely! You can draw tiny candy canes, bows, name tags, or even toys peeking out from the top.
Is this activity good for schools or classrooms?
Yes! It’s quick to teach, easy to follow, and great for Christmas-themed bulletin boards or holiday cards.
I made a mistake. Should I start over?
No worries! Just use your eraser and keep going. Mistakes are part of learning and often make your art more unique!
Printable Drawing Tutorials
Download Printable How to draw a Christmas stocking Drawing Tutorials
You Did It!
Amazing work! You’ve just drawn a cute and cozy Christmas stocking that’s full of charm. Whether it’s hanging on the fireplace or filled with candy, your drawing is ready to spread holiday cheer.
👉 Want to draw more holiday favorites? Check out our tutorials for Santa, sleighs, gift bags, and snow globes — and create your own Christmas scene!
Happy Holidays and Happy Drawing! 🎄🧦✨
