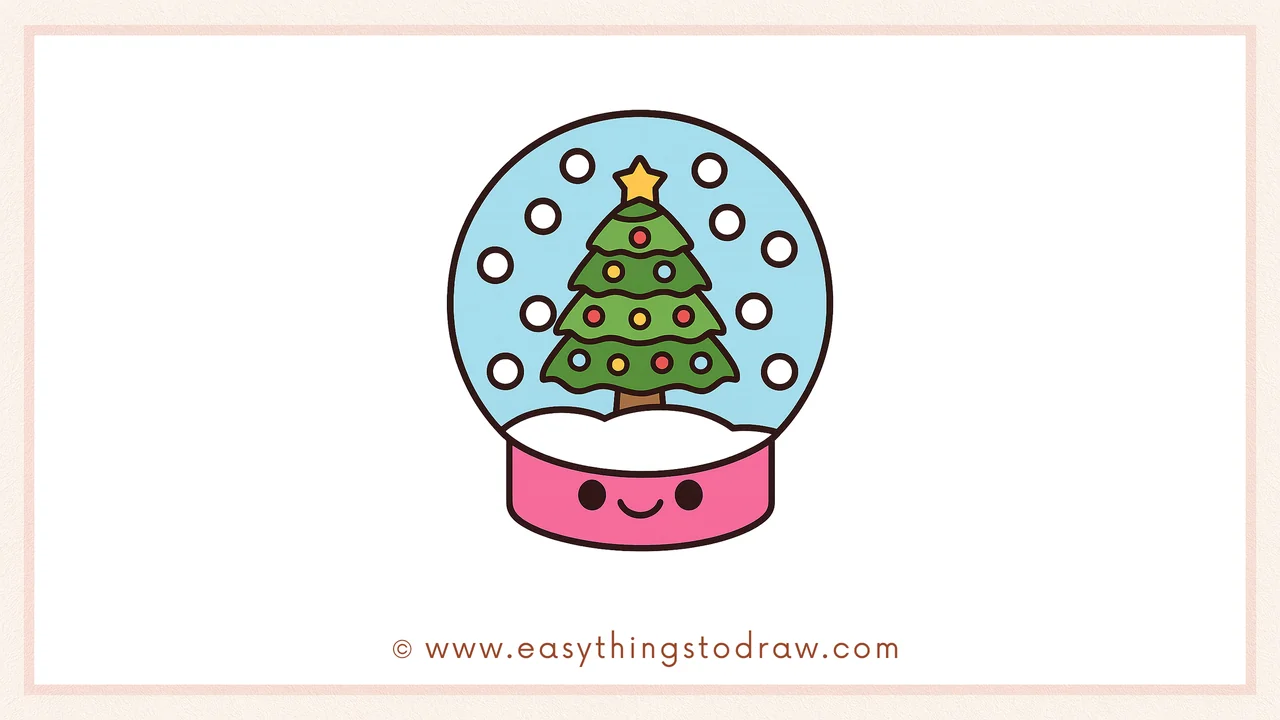
Want to draw a magical snow globe to celebrate the holidays? You’ve come to the right place! In this fun and easy tutorial, we’ll walk you through drawing a charming snow globe in just six simple steps. It’s perfect for young artists and festive beginners!
This guide is perfect for:
- Kids learning to draw winter and Christmas scenes ❄️
- Beginners who want to practice round shapes and patterns ✏️
- Parents and teachers looking for seasonal art ideas 🎨
🎄 Why Learn From Us?
At Easy Things to Draw, we create clear, step-by-step art lessons designed specifically for beginners. With over a decade of experience in art education, we make learning to draw fun, rewarding, and seasonal!
✅ What Makes This Snow Globe Drawing Tutorial Special?
– ☃️ Beginner-friendly shapes: circles, curves, and simple details
– 🎨 Creative twist: decorate your snow globe however you like!
– 🧠 Builds confidence with symmetrical drawing and visual balance
– 🎅 Holiday-ready: great for cards, crafts, and classroom projects
🔒 Safe, Kid-Friendly, and Classroom Approved
Every tutorial is tested with real students, designed for easy success, and created to be safe and fun for children of all ages.
What You Need
- A pencil ✏️
- Eraser
- Black marker or outlining pen 🖊️
- Colored pencils, crayons, or markers
- Drawing paper 📄
- A sprinkle of imagination! ✨
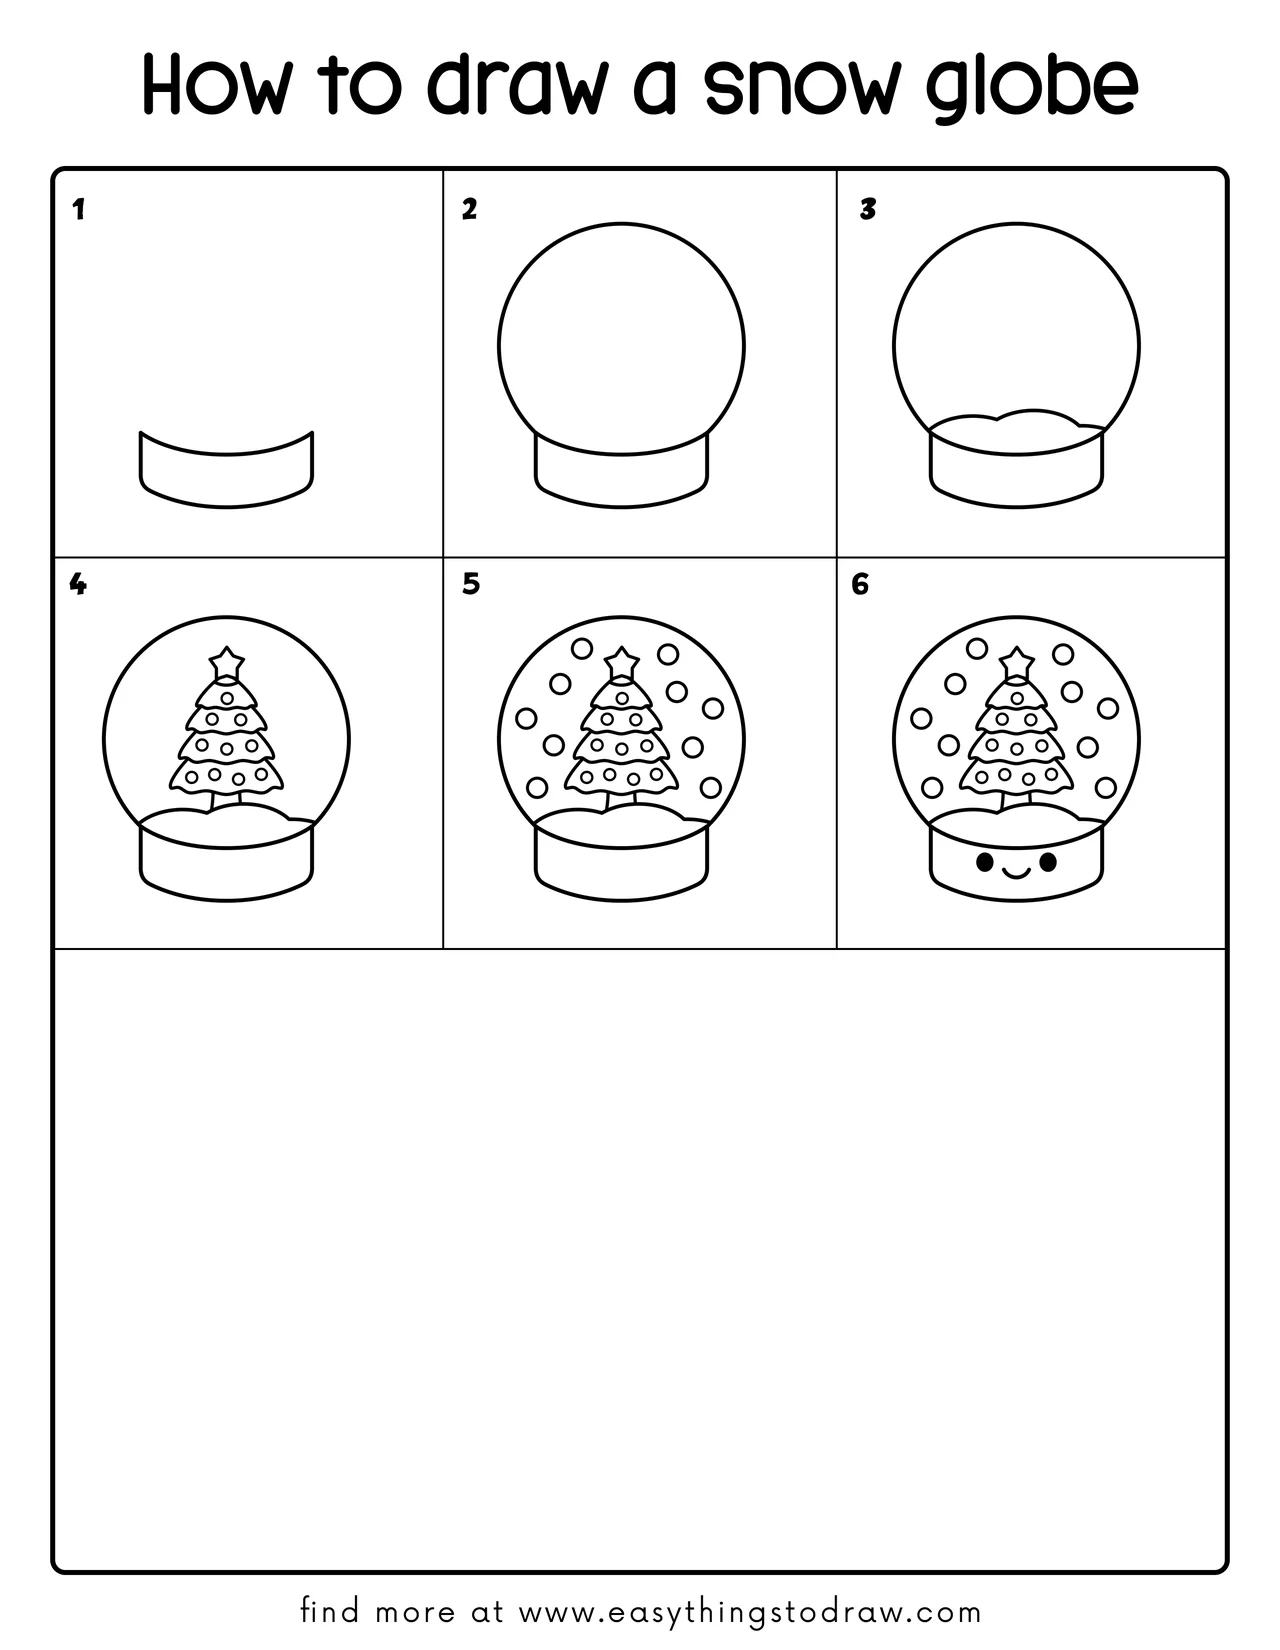
Step by Step Snow Globe Drawing Instructions
Step 1 – Draw the Base
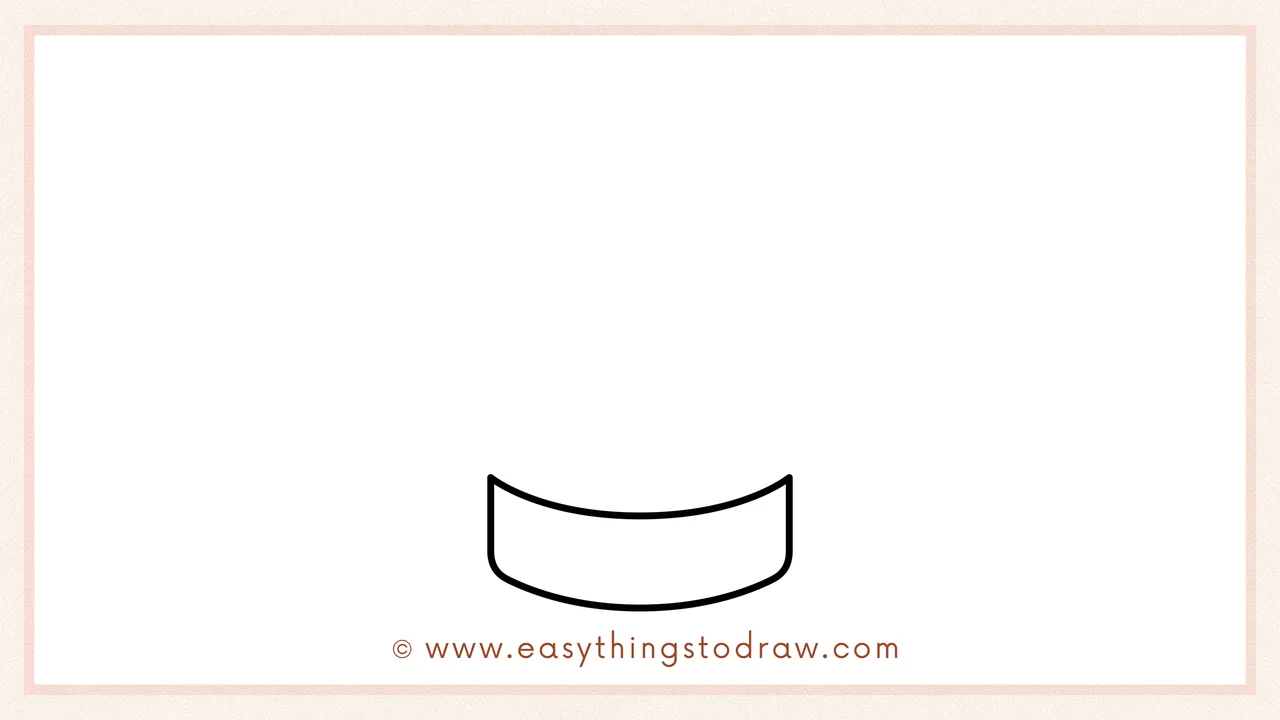
Begin by drawing a curved “U” shape near the bottom of your page. This forms the base that supports your snow globe.
Step 2 – Add the Globe
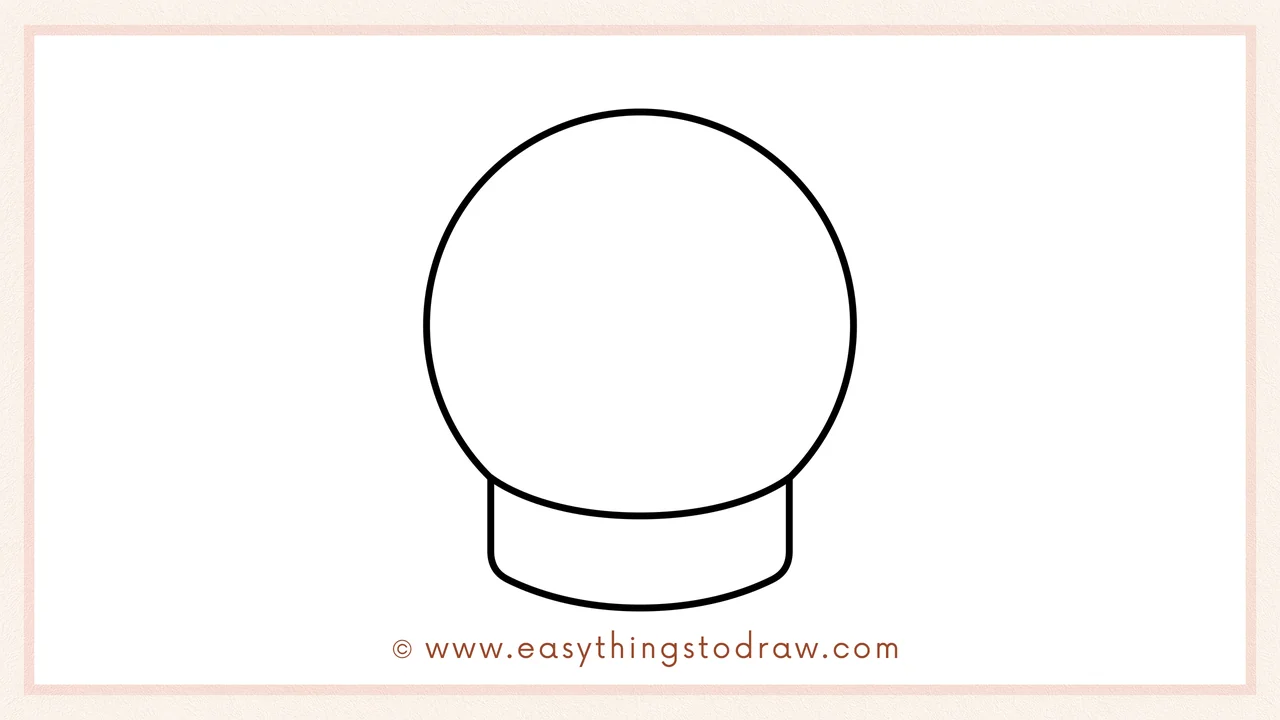
Now draw a large circle sitting perfectly on top of the base. This is the glass globe that holds the snowy scene inside.
Step 3 – Draw the Snowy Ground
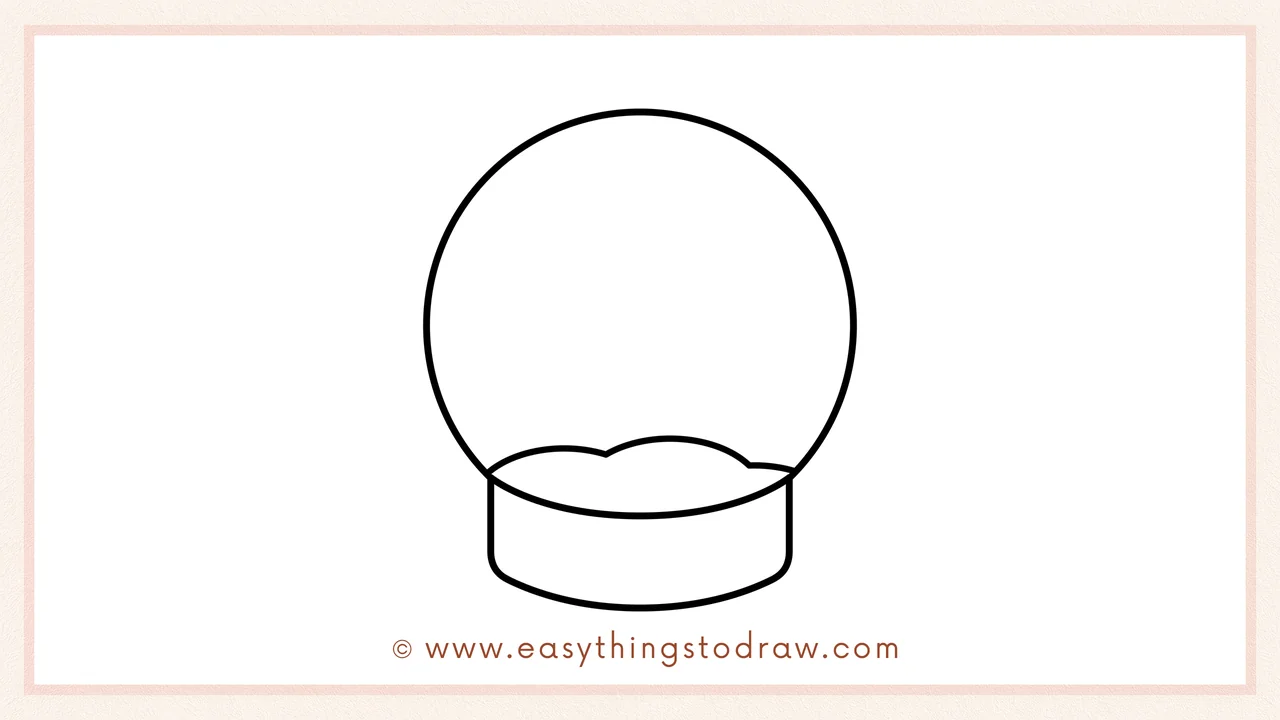
Inside the circle, near the bottom, draw a soft bumpy hill. This creates the snowy surface where your scene will sit.
Step 4 – Add a Christmas Tree
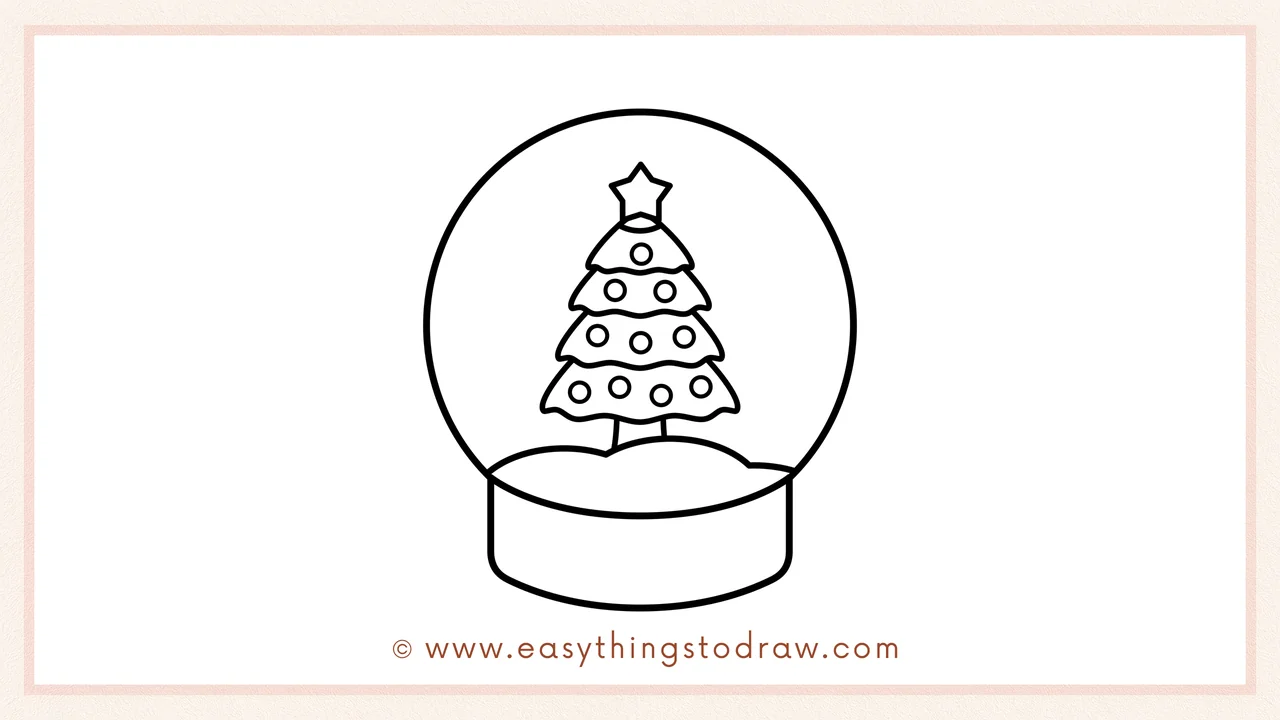
Time to decorate! Draw a Christmas tree with layers of stacked triangles and a trunk in the center of the snowy ground. Don’t forget a shiny star on top!
Step 5 – Draw the Falling Snow
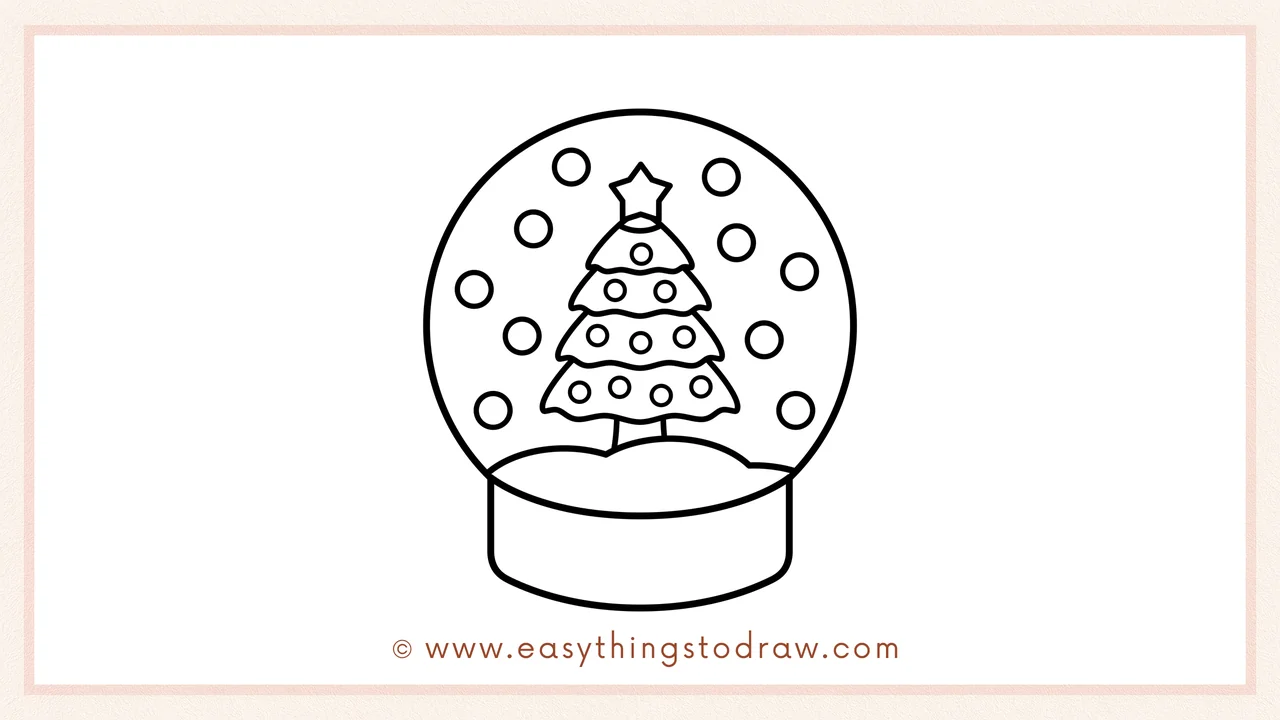
Add lots of small circles scattered around inside the globe to show falling snowflakes. Place them randomly to give a floating, magical effect.
Step 6 – Add a Cute Face
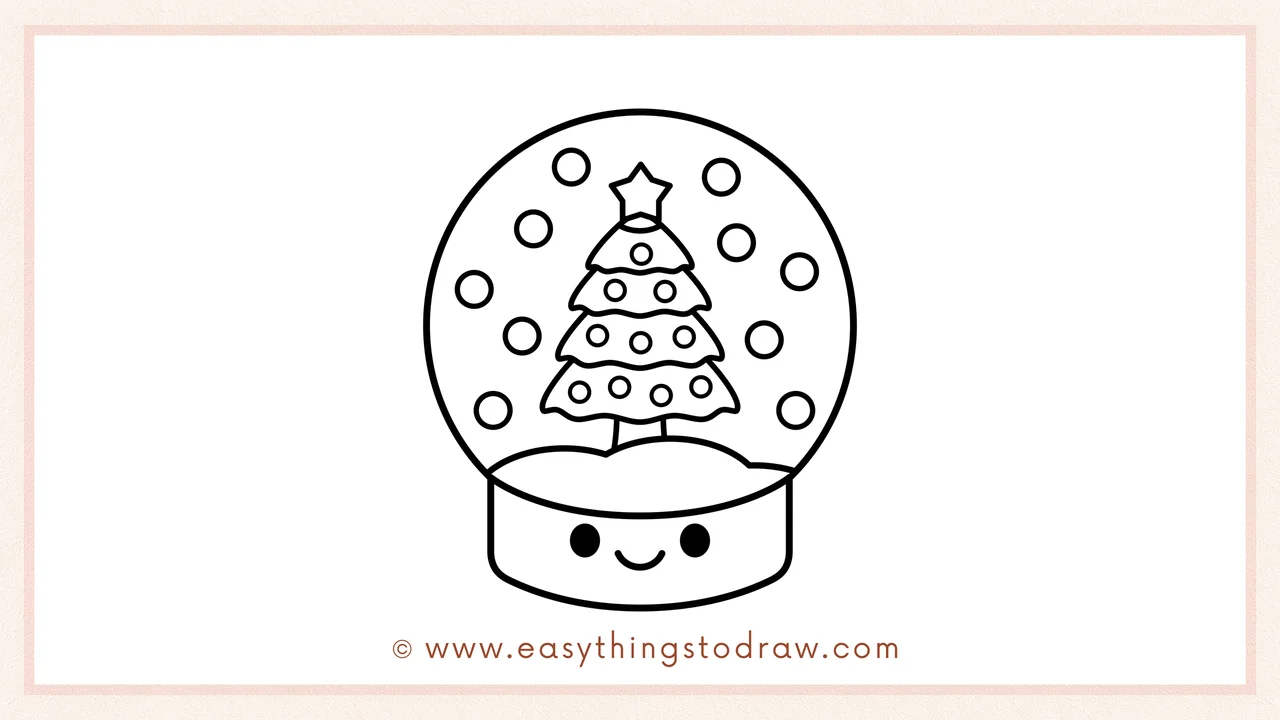
To finish, add two small dots for eyes and a smiling mouth to the base of the snow globe. Now your drawing has personality and cheer!
Frequently Asked Questions (FAQ)
Can I change what’s inside the snow globe?
Of course! You can add a snowman, reindeer, gifts, or even a cozy cabin. It’s your magical world!
What colors should I use?
Try blues, whites, and purples for a wintery look, or go festive with reds, greens, and golds. The base can be any color you like!
Is this tutorial good for school use?
Yes! It’s simple, fun, and great for both individual and group art projects. It works well for holiday bulletin boards and handmade cards.
What if I can’t draw perfect circles?
That’s okay! Use a round object (like a cup) to trace your globe, or just draw it freehand — it adds charm either way!
Printable Drawing Tutorials
Download Printable How to draw a snow globe Drawing Tutorials
You Did It!
Awesome job! You’ve drawn a magical winter snow globe filled with holiday spirit. Whether you stick with the tree or customize it with your own scene, your art is one-of-a-kind.
👉 Want more winter drawing tutorials? Try drawing Santa, a sleigh, or a reindeer to match your snow globe and complete your Christmas collection!
Happy Drawing and Warm Winter Wishes! ❄️🎨
