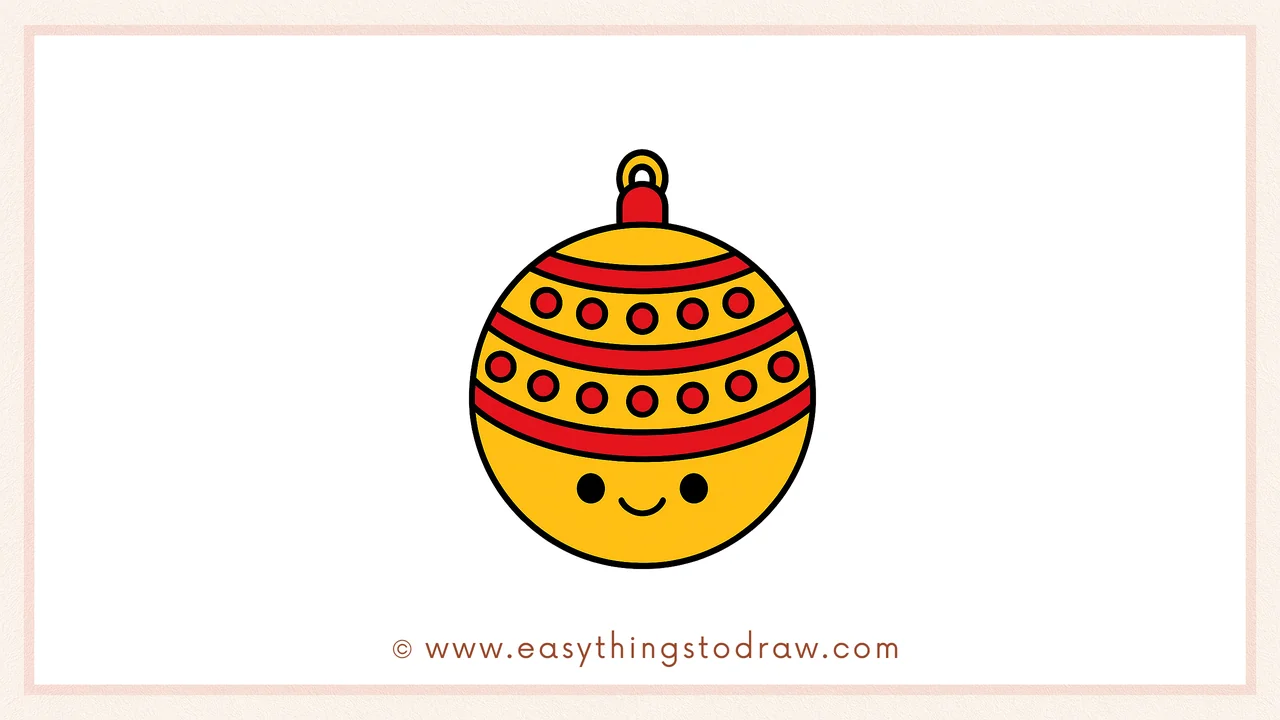
Christmas tree ornaments make the holidays sparkle! In this step-by-step art guide, kids and beginners will learn how to draw a festive Christmas ornament ball with stripes, dots, and even a smiling face. This simple drawing is great for Christmas cards, decorations, or just for fun doodles.
This guide is perfect for:
– Kids learning to draw holiday decorations 🎄
– Beginners practicing circle shapes ✏️
– Parents preparing Christmas craft activities 🎅
– Teachers planning festive classroom art projects 👩🏫
🎨 Why Learn From Us?
At Easy Things to Draw, we provide kid-friendly art tutorials created by experienced art educators with over 10 years of teaching. Every step is playful, easy to follow, and encourages creativity.
✅ What Makes This Ornament Tutorial Special?
– 🎄 Simple Shapes: Circles and curves are the base.
– ✨ Festive Patterns: Stripes and polka dots for holiday style.
– 😄 Cute Face: Adds personality to your ornament.
– 🎨 Creative Freedom: Decorate with stars, snowflakes, or names.
🔒 Kid-Safe & Classroom-Ready
– 100% safe content
– Ad-free, printable step-by-step guide
– Designed for kids and beginners
🎅 Let’s get started drawing this shiny ornament!
What You Need:
- A pencil
- An eraser
- A black marker (for outlining)
- Coloring tools (crayons, markers, or colored pencils)
- Drawing paper
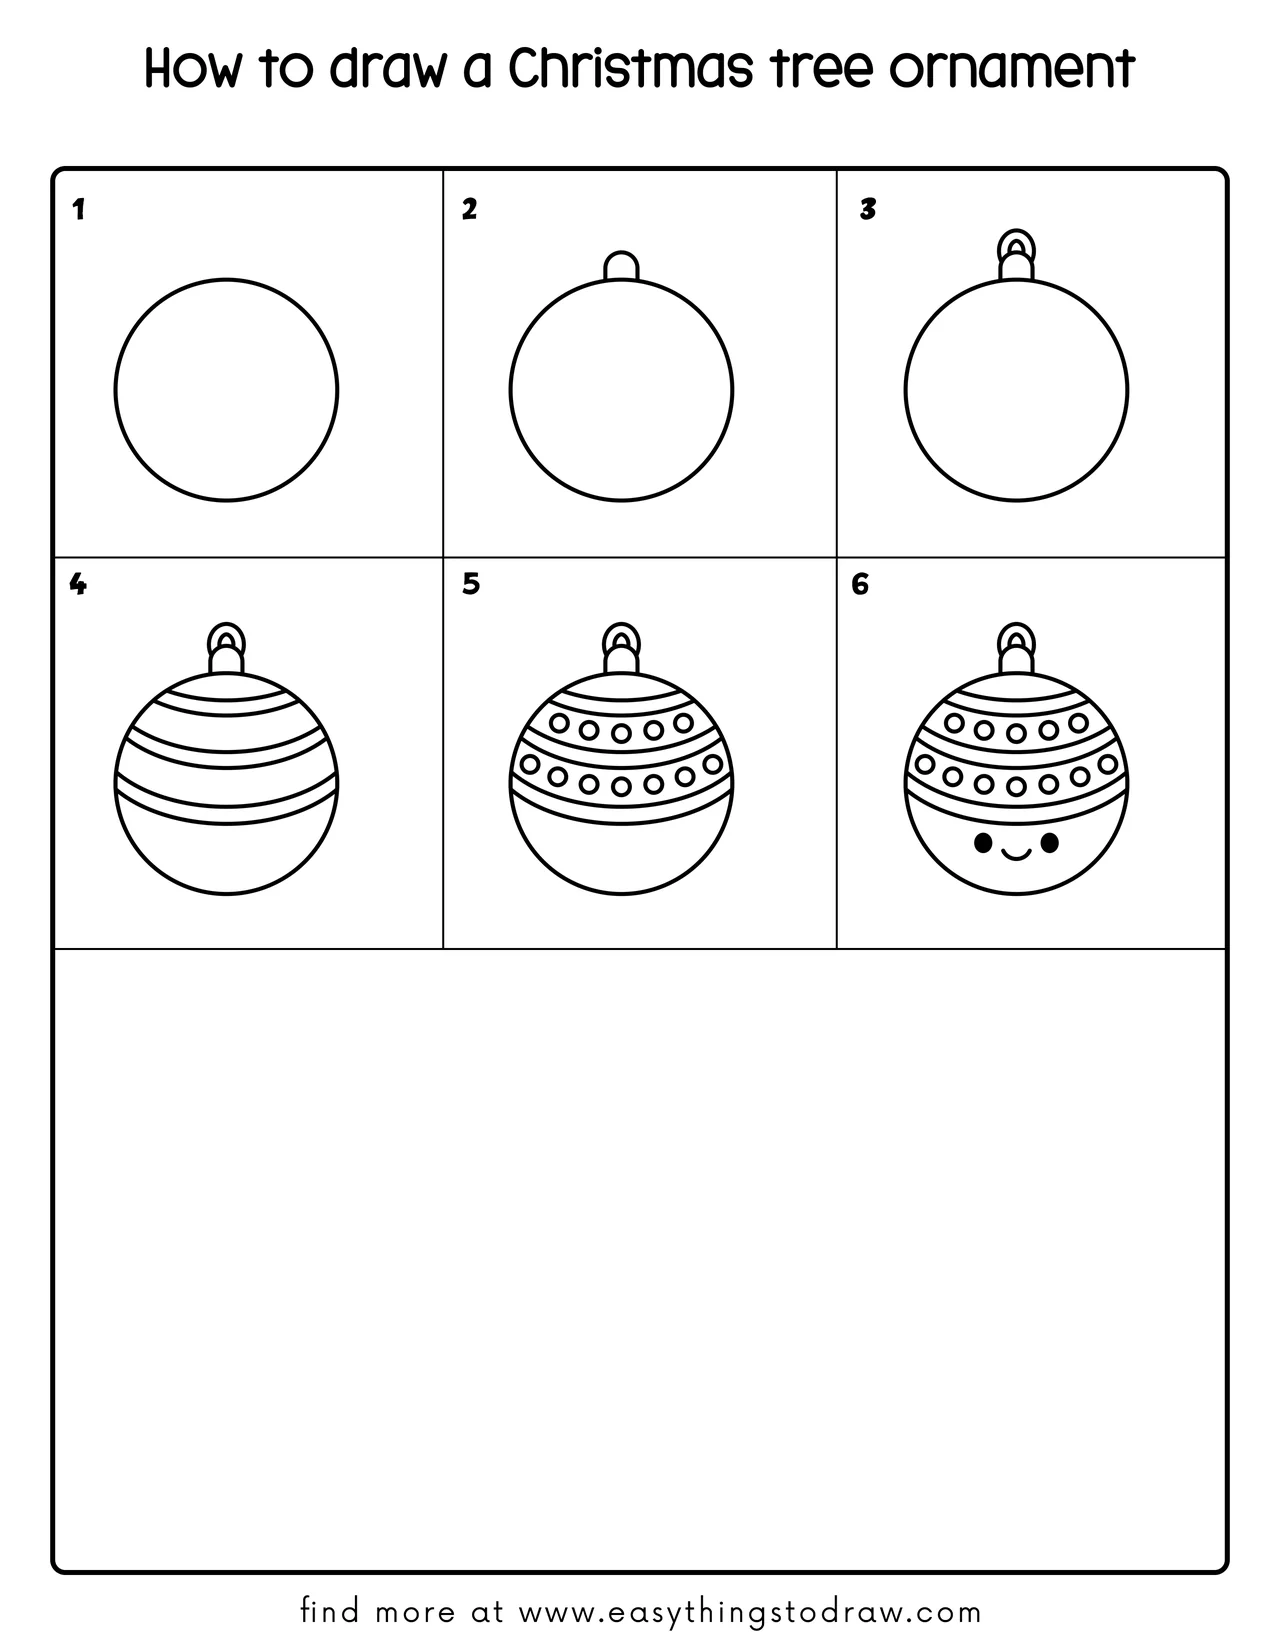
Step by Step Christmas Tree Ornament Drawing Instructions
Step 1 – Draw a Circle
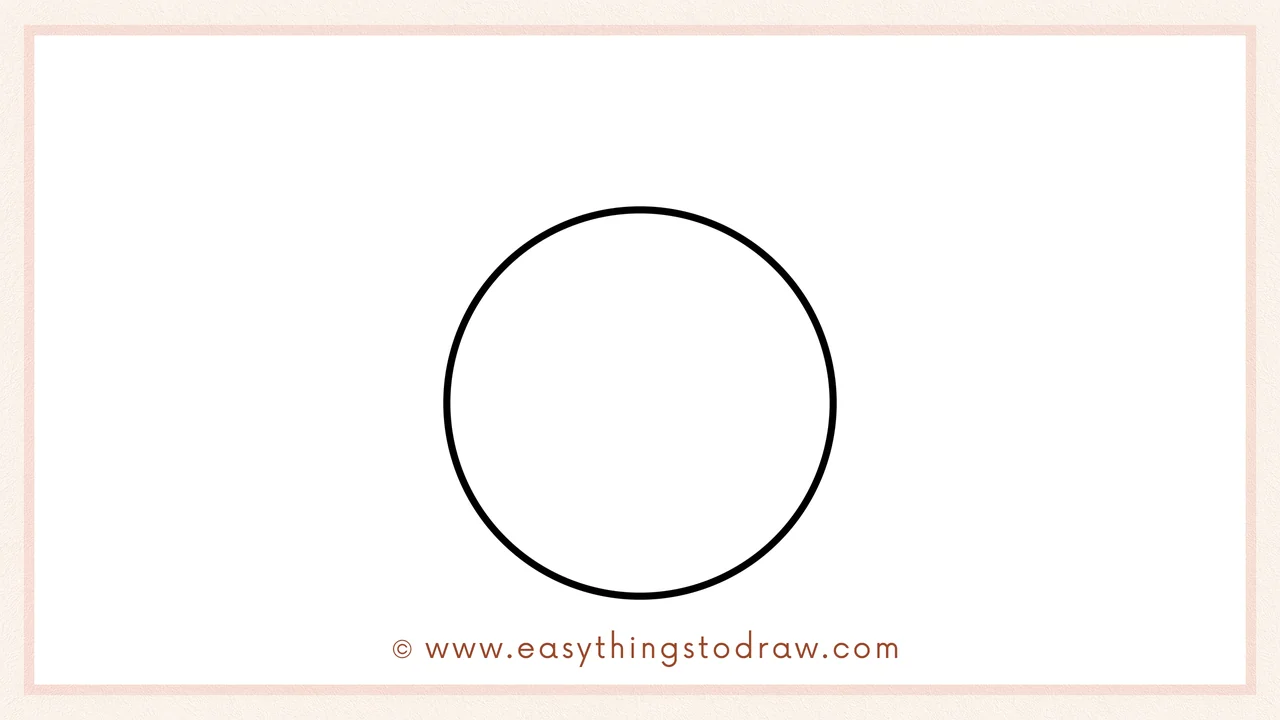
Begin with a large circle. This will be the main ornament shape.
Step 2 – Add the Ornament Cap
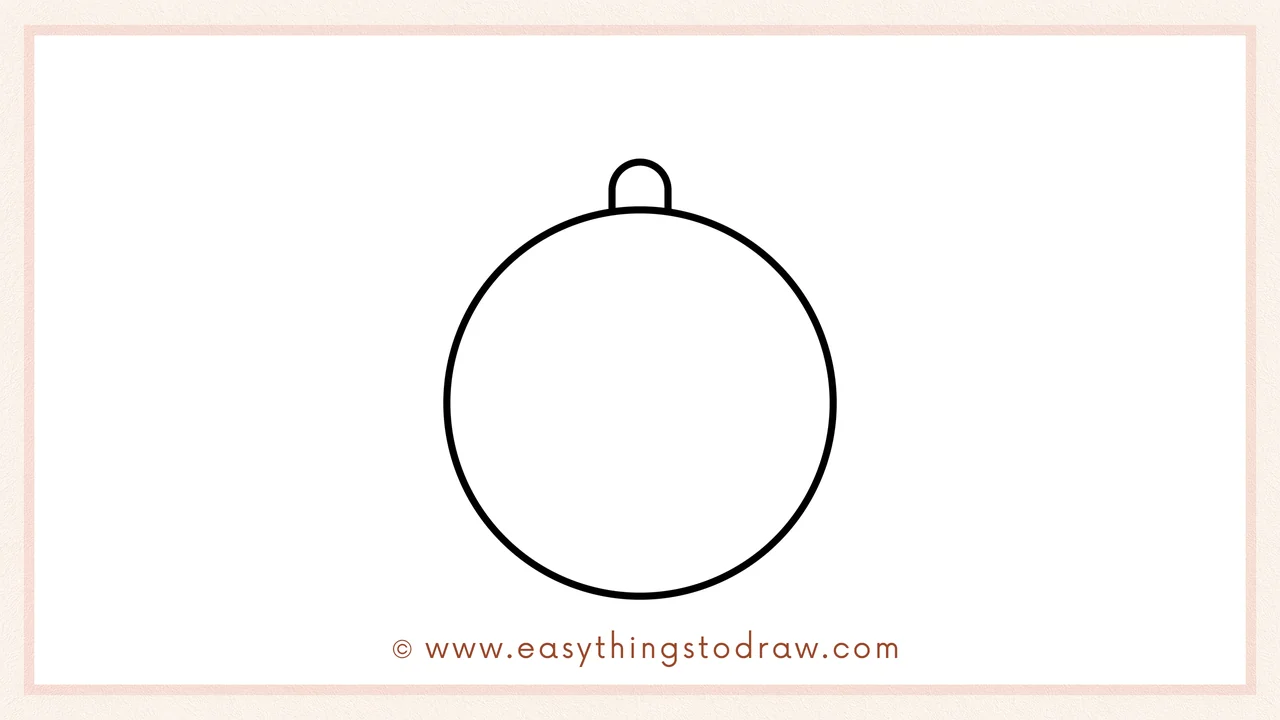
On top of the circle, draw a small rectangle with curved bottom edges.
Step 3 – Add the Hook Ring
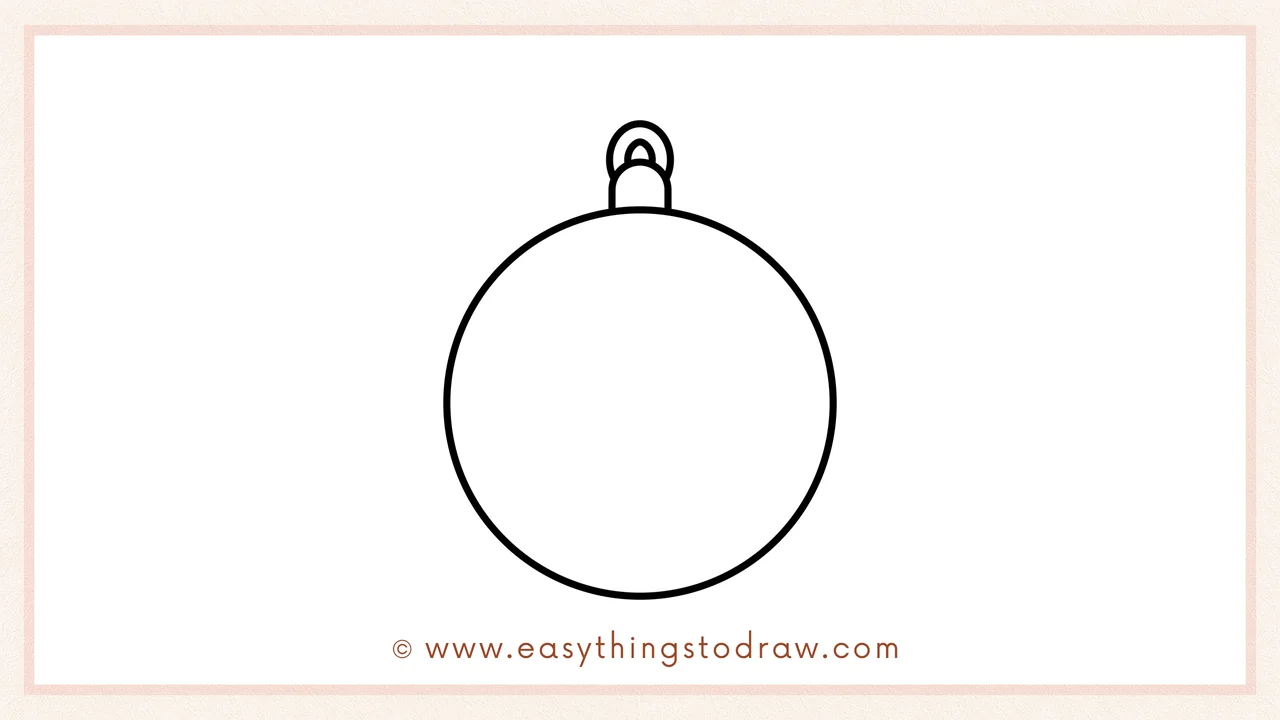
Above the rectangle, draw a small loop to show where the ornament hangs.
Step 4 – Draw Stripes
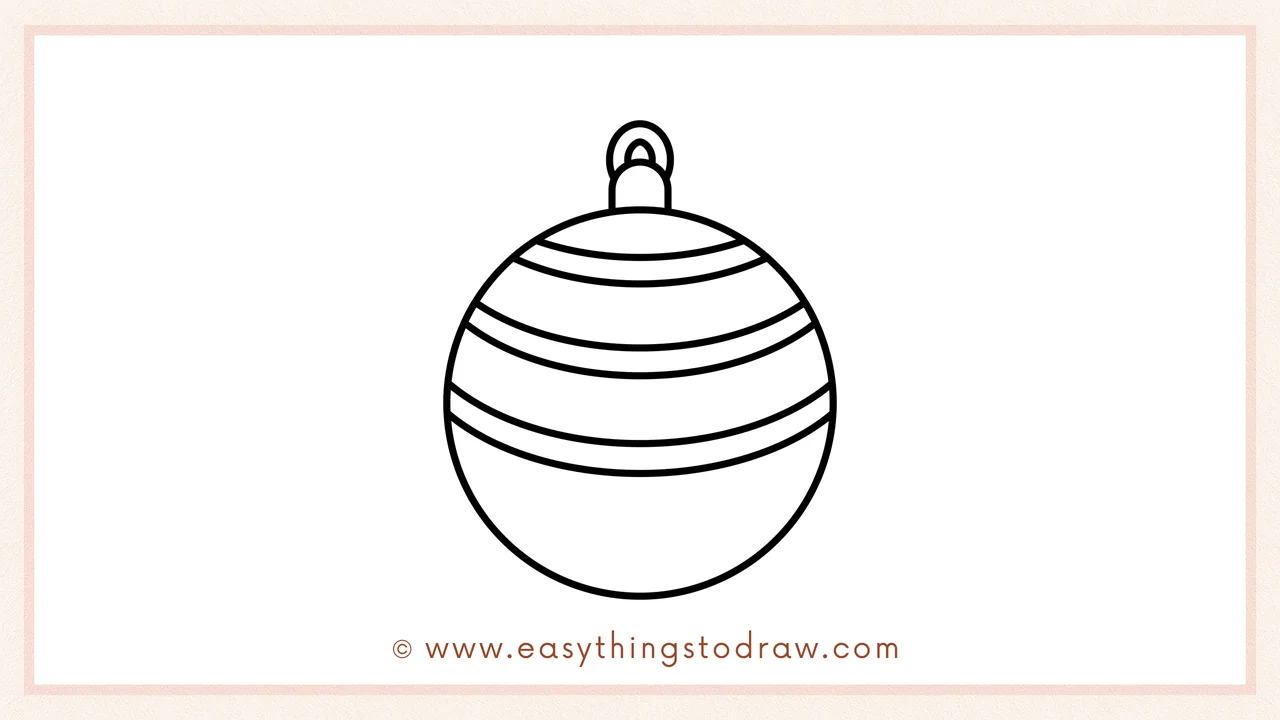
Across the circle, draw three curved stripes to make the ornament festive.
Step 5 – Add Dots
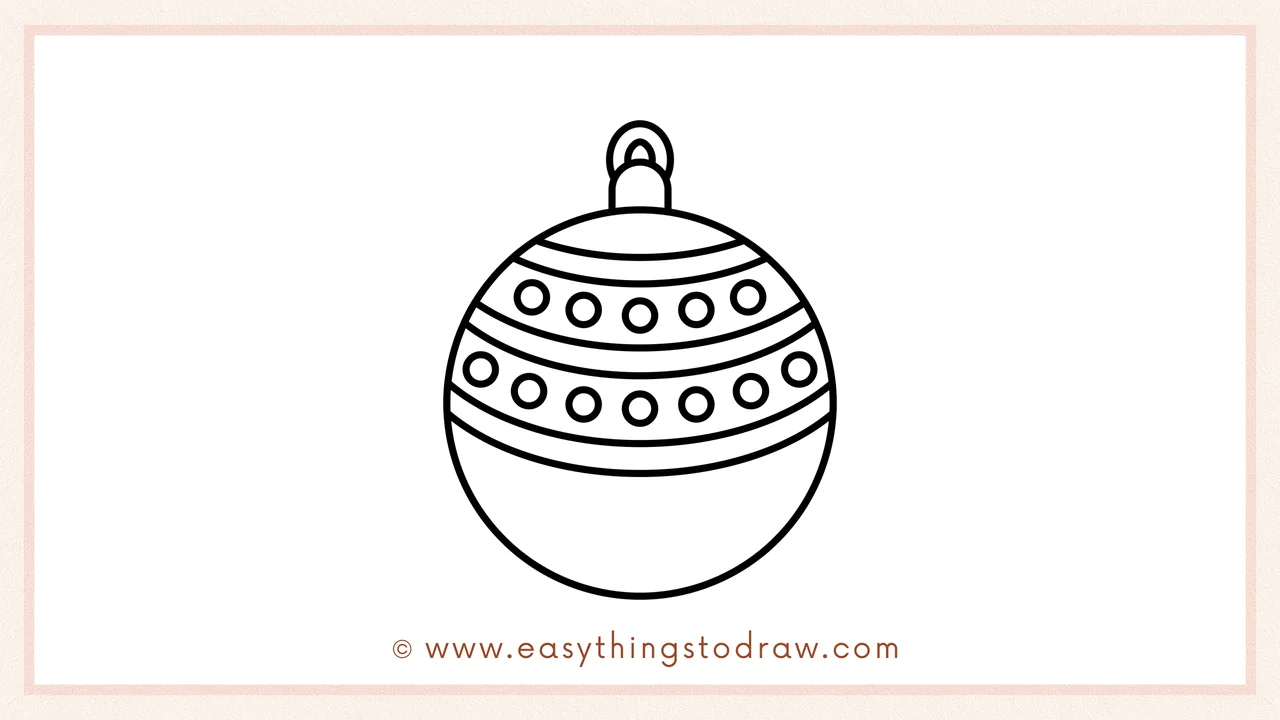
Inside the stripes, draw small circles to decorate with a dotted pattern.
Step 6 – Add a Cute Face
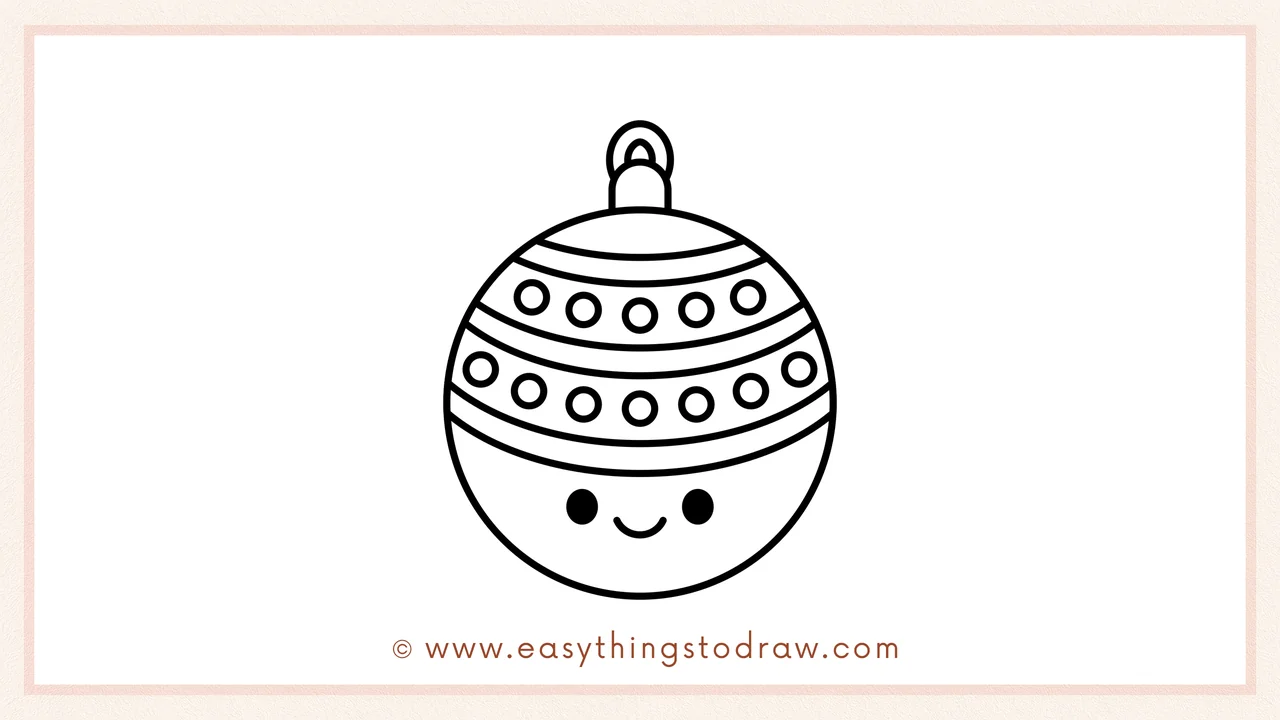
Draw two small circles for eyes and a smiling curve near the bottom.
Frequently Asked Questions (FAQ)
Can I color the ornament?
Yes! Use red, gold, silver, green, or even rainbow colors.
Can I make different designs?
Of course! Add stars, zigzags, snowflakes, or even write your name.
What if my circle isn’t perfect?
That’s okay—hand-drawn circles make your ornament unique.
Is this tutorial beginner-friendly?
Yes! It uses only circles and simple curves, great for kids.
Printable Drawing Tutorials
Download Printable How to draw a Christmas tree ornament Drawing Tutorials
You Did It!
Awesome job! You just drew a festive Christmas tree ornament. Now color it in bright holiday colors and use your drawing to decorate cards, posters, or even a homemade Christmas coloring book. 🎄✨🎅
