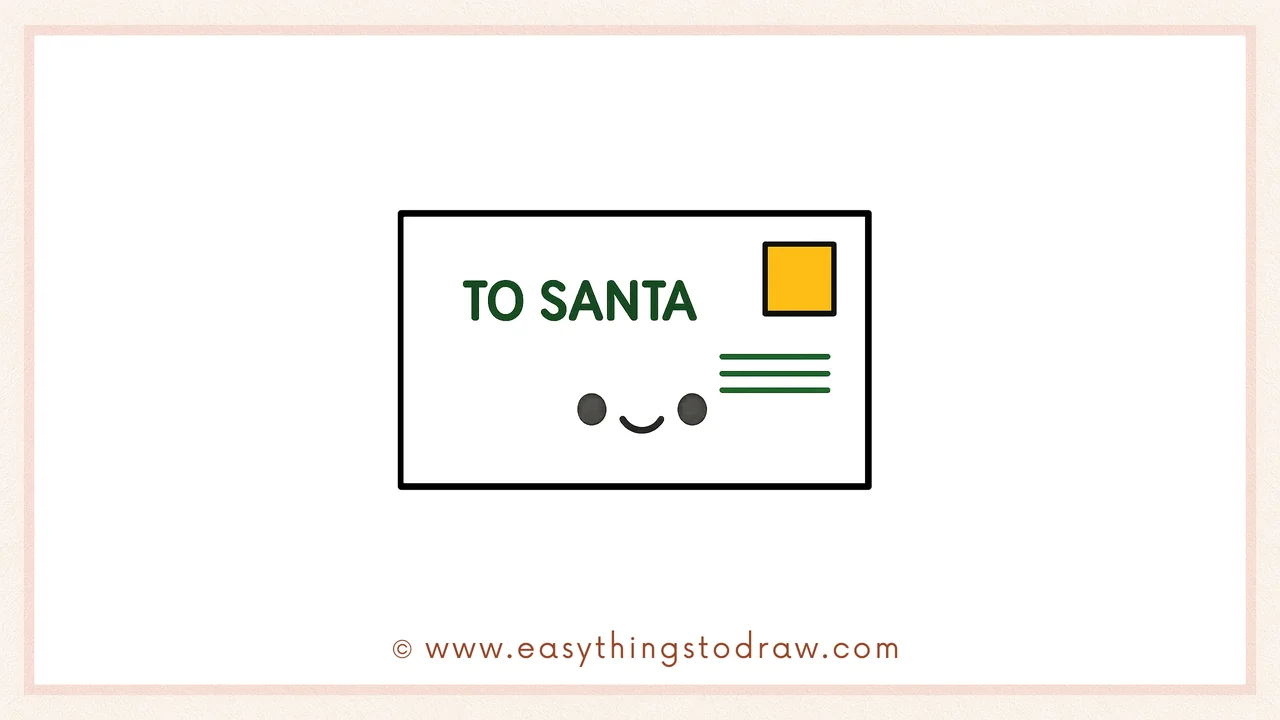
Have you ever wanted to send a letter to Santa Claus? In this fun and easy tutorial, we’ll learn how to draw a festive envelope labeled “TO SANTA” with a happy face. This step-by-step drawing guide is beginner-friendly and perfect for kids who want to create holiday doodles.
This guide is perfect for:
– Young kids learning simple holiday drawings 🎅
– Beginners practicing rectangles and lines ✏️
– Parents looking for Christmas craft activities 🎄
– Teachers preparing festive art projects for the classroom 💌
👩🎨 Why Learn From Us?
At Easy Things to Draw, we specialize in step-by-step drawing lessons designed specifically for children, beginners, and visual learners. Our art tutorials are crafted by real artists and educators with years of experience teaching drawing in classrooms, online, and at community art workshops.
With over 10 years of experience in beginner art education, our team knows how to simplify complex subjects into fun and rewarding creative steps — so you or your child can draw confidently, one line at a time.
✅ What Makes This Letter to Santa Drawing Tutorial Special?
– 💌 Experience-based design: Created by teachers who know what engages kids.
– 📏 Simple structure: We break the envelope into easy shapes like rectangles and lines.
– 👩🏫 Kid-approved: Every step is classroom-tested for clarity and fun.
– 🎄 Creative freedom: Kids can decorate their letters with stickers, stars, or festive stamps.
🔒 Safe, Reliable, and Classroom-Ready
We value kid-safe learning. That’s why our tutorials are:
– Ad-free and distraction-free
– Printable for classroom or home use
– Reviewed for clarity, accessibility, and age-appropriateness
✉️ Let’s Start Drawing!
Ready to draw your own holiday letter? Grab a pencil and let’s make Santa’s mail together step by step.
What You Need:
- A pencil
- An eraser
- A black marker (for outlining)
- Drawing paper
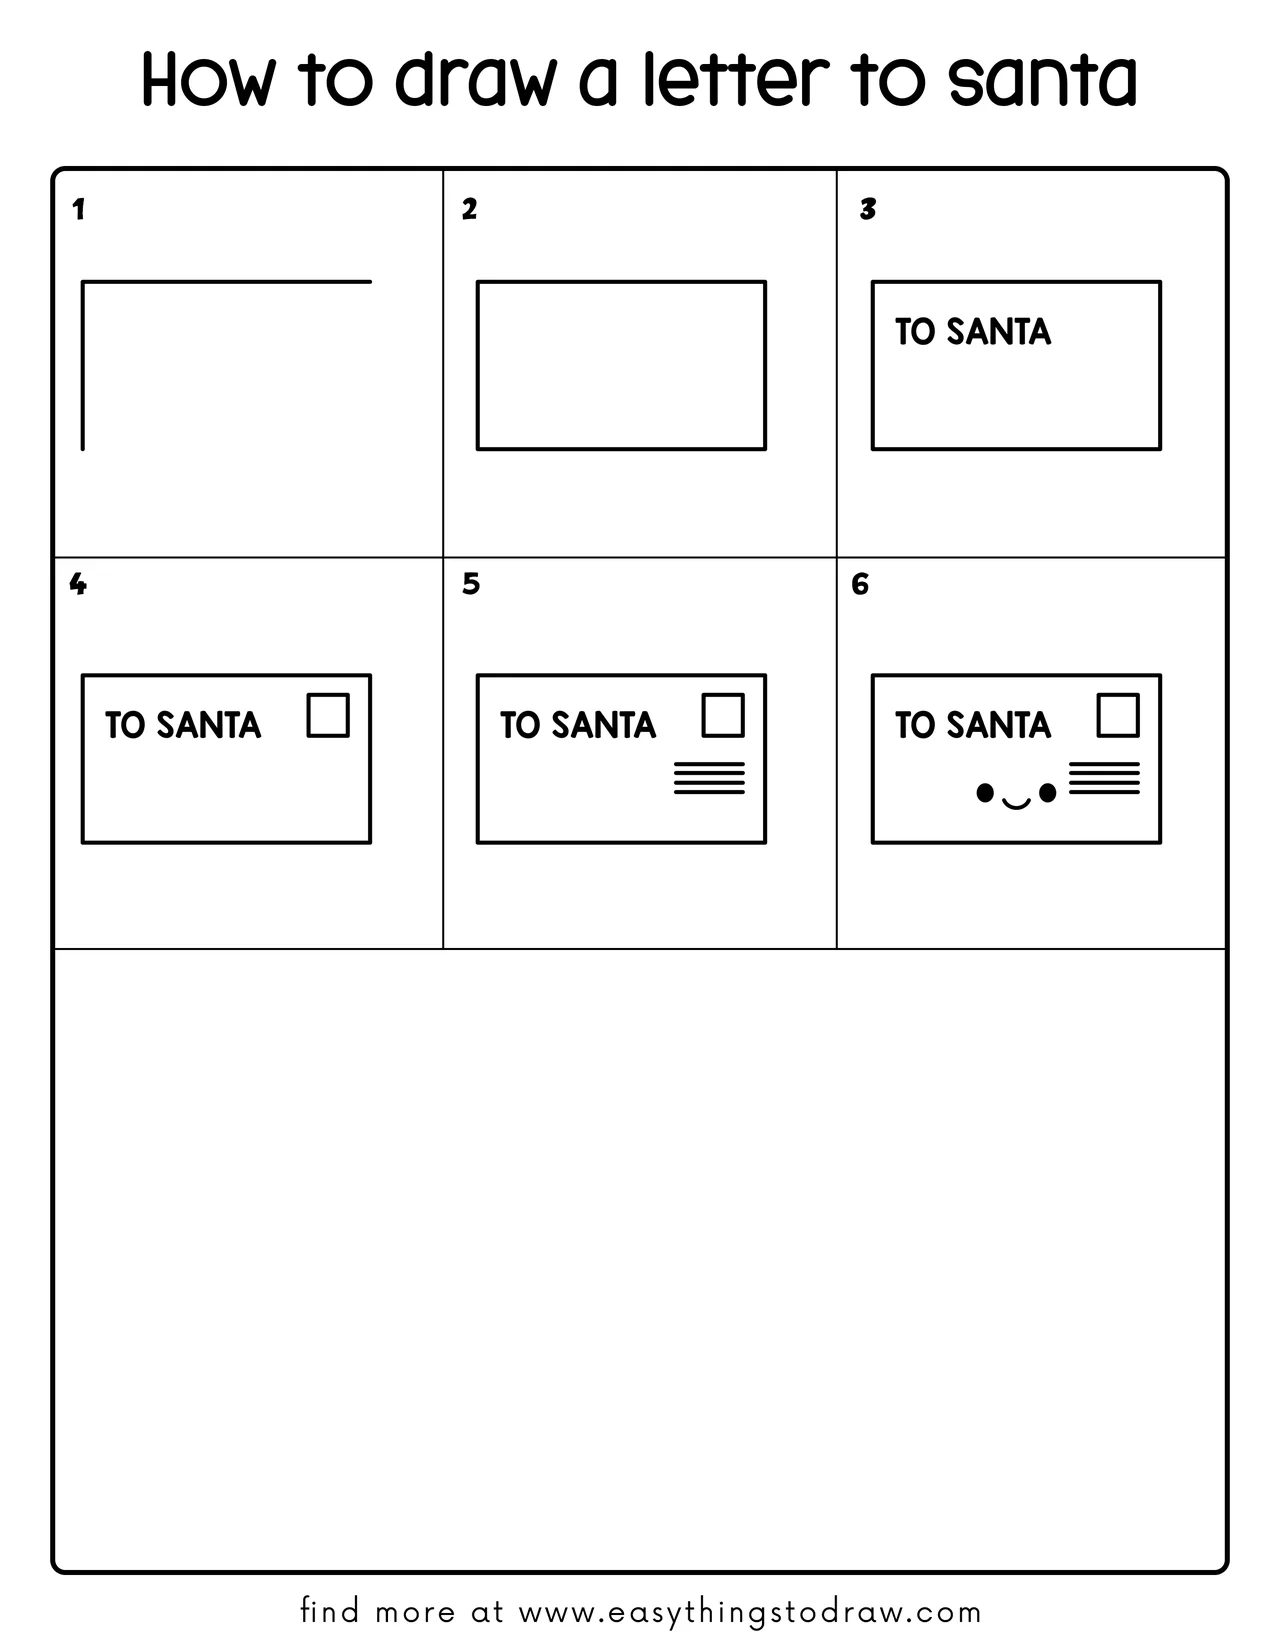
Step by Step Letter to Santa Drawing Instructions
Step 1 – Start with an “L” Corner
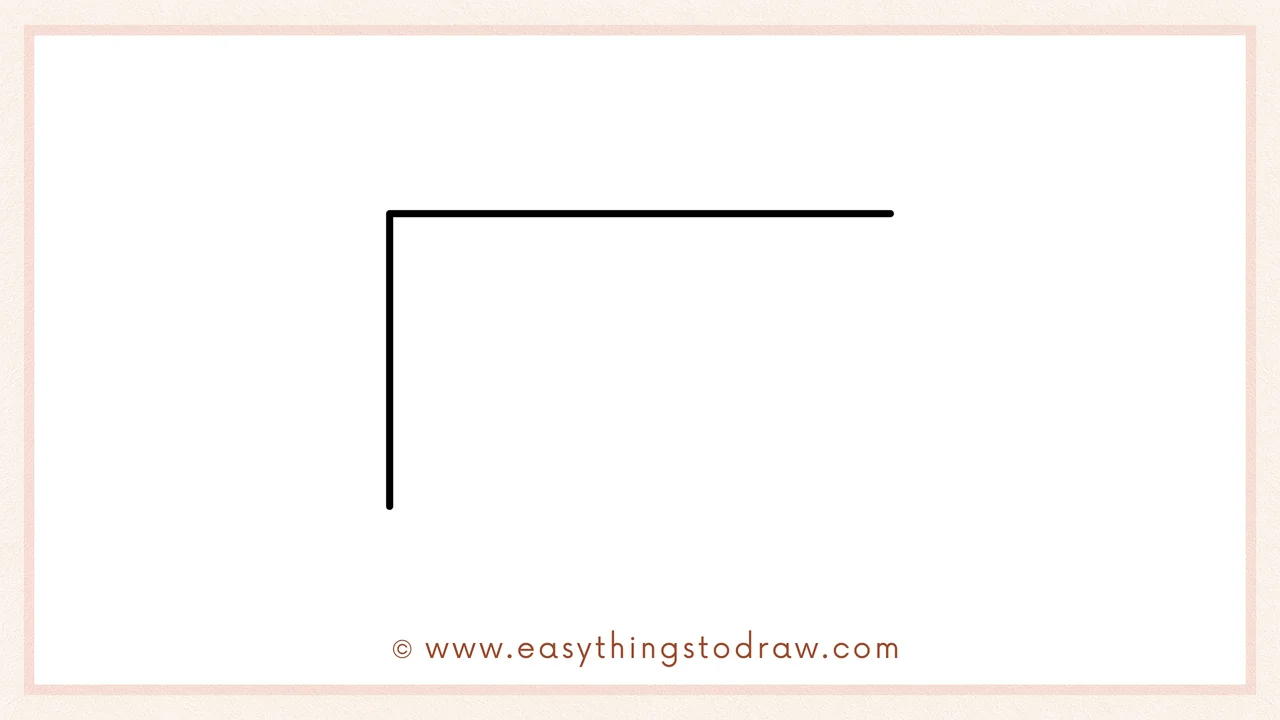
Draw one long horizontal line and a short vertical line on the left, like a gentle L-shaped corner. This sets the top and left edges of the envelope.
Step 2 – Close the Rectangle
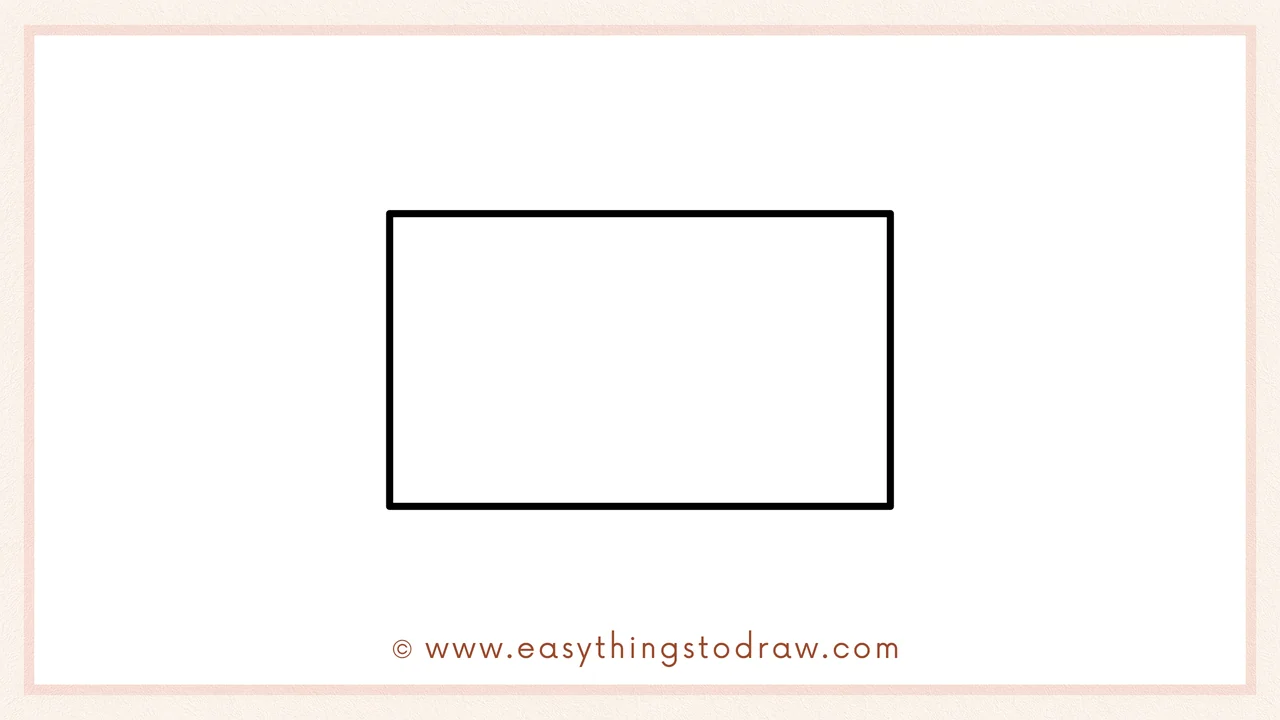
Complete the envelope by adding the missing right and bottom edges so you have a neat wide rectangle.
Step 3 – Write the Greeting
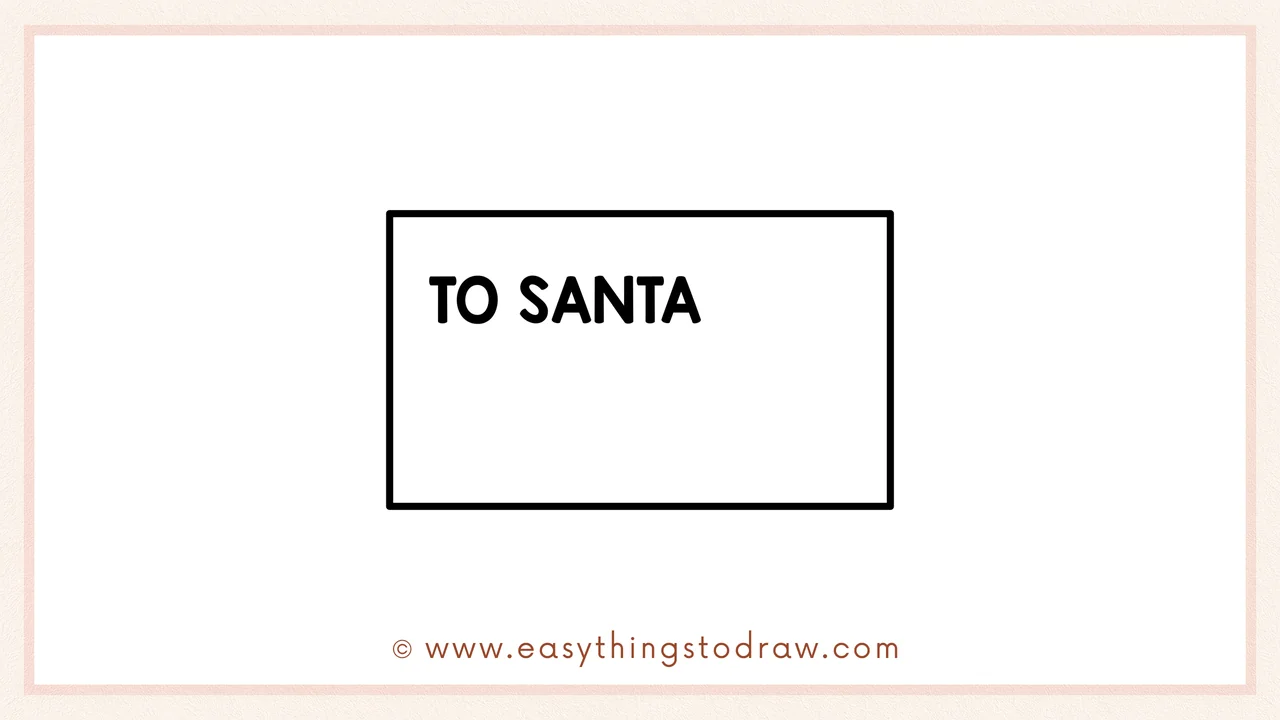
Inside the rectangle, write TO SANTA clearly near the left side so it’s easy to read.
Step 4 – Add the Stamp Box
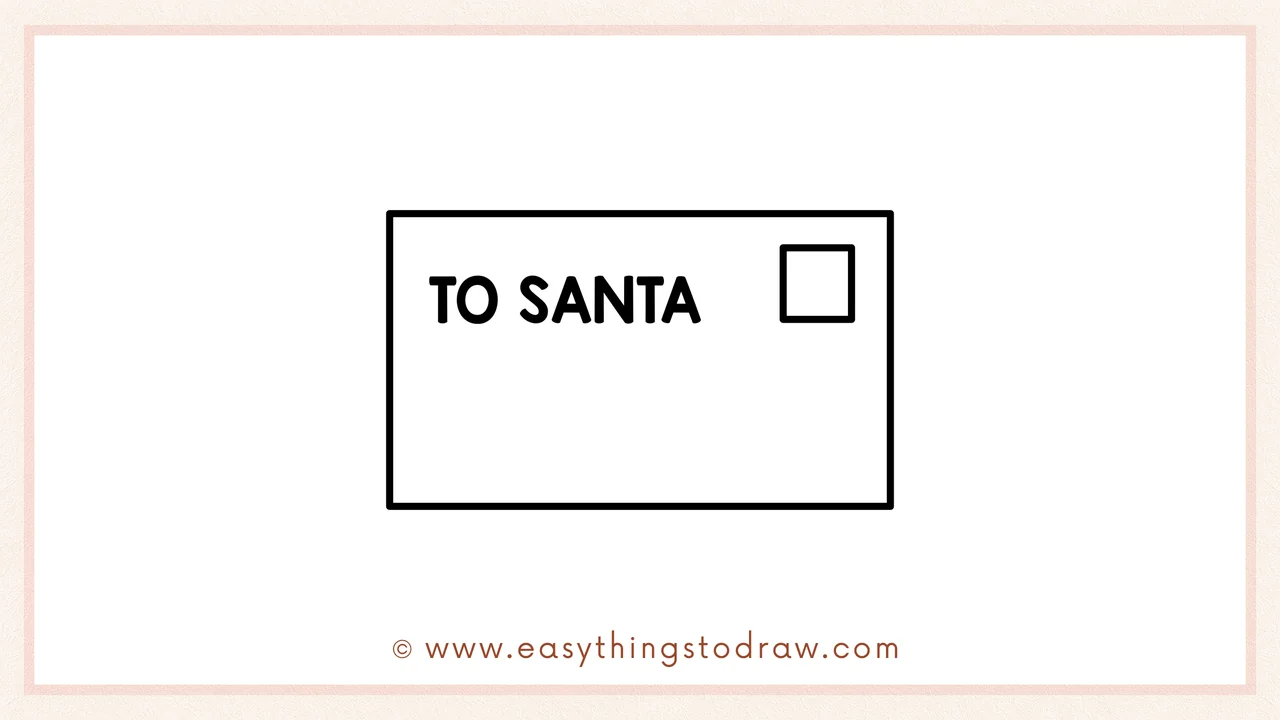
In the top-right corner, draw a small square for the stamp. Keep its edges parallel to the envelope.
Step 5 – Draw Address Lines
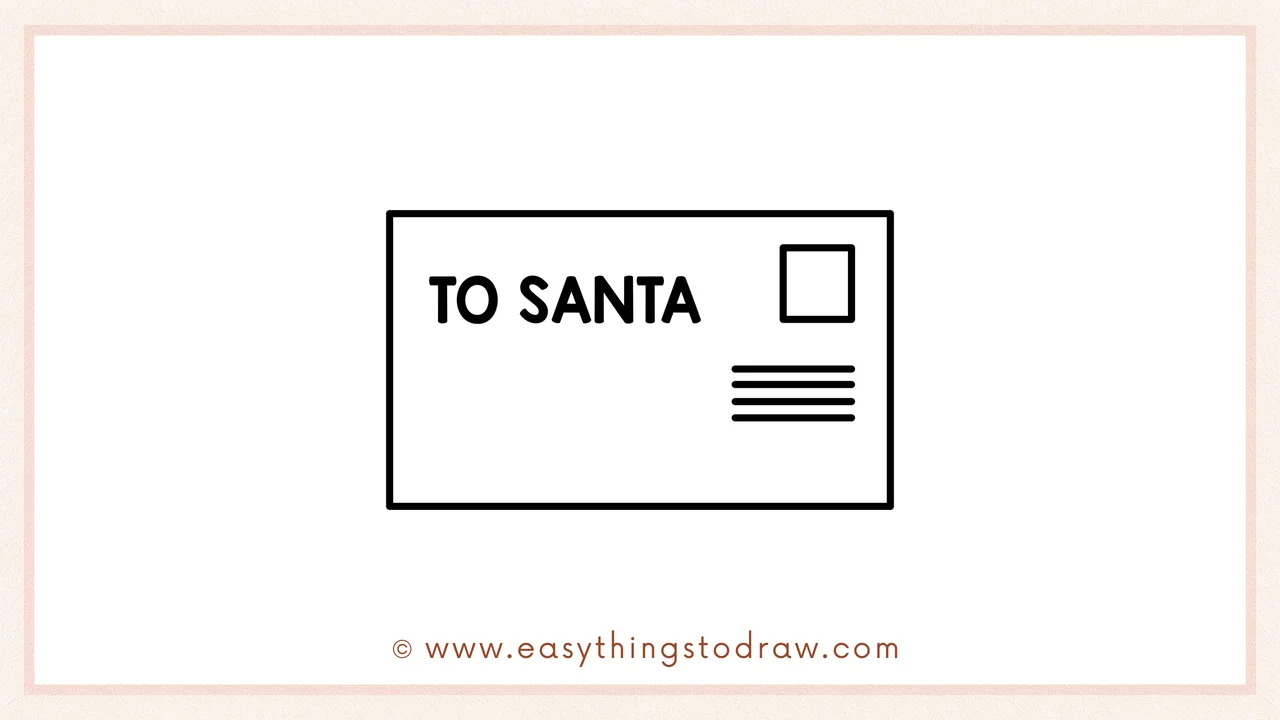
Below the stamp box, add three short horizontal lines to suggest the address area. Space them evenly.
Step 6 – Add a Cute Face (No Coloring)
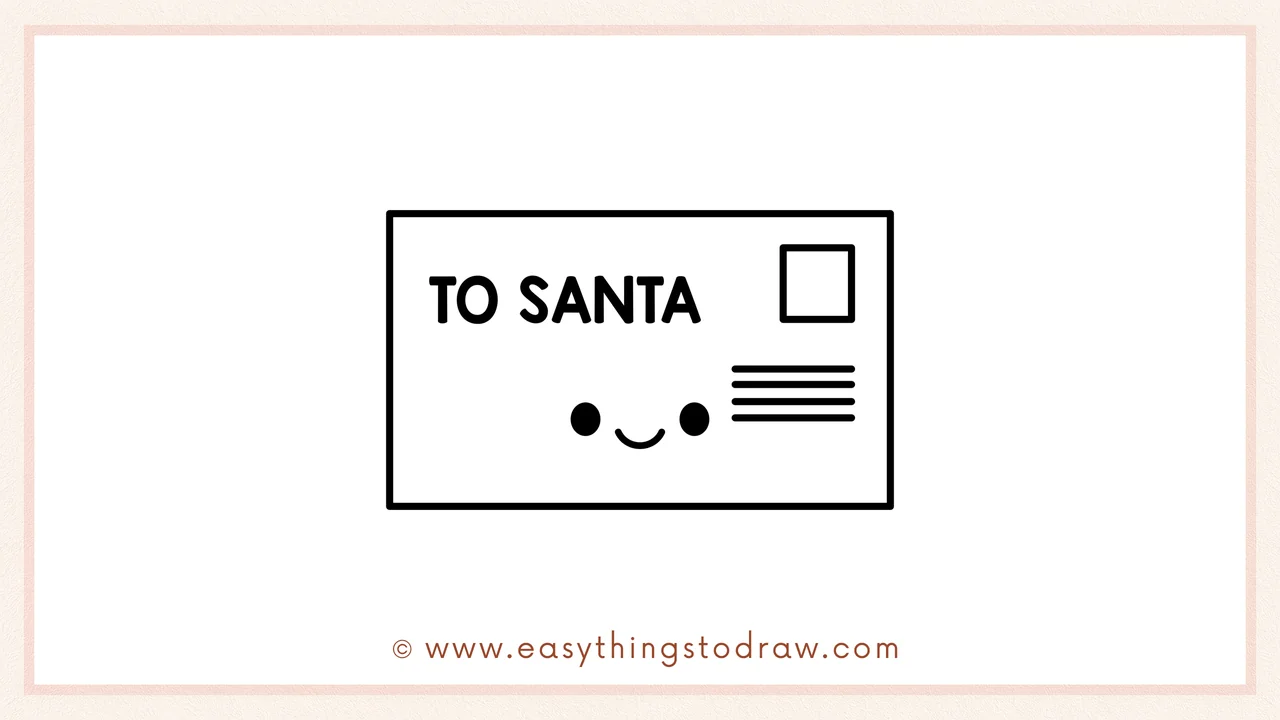
Give the envelope a friendly look: draw two tiny circles for eyes and a small curved smile near the bottom center.
Frequently Asked Questions (FAQ)
Can I decorate the letter more?
Yes! Add stars, holly leaves, snowflakes, or stickers to make it unique.
What colors should I use if I want to color later?
Red and green are classic Christmas colors, but you can use gold, silver, or even rainbow designs.
Can I add my own name on the envelope?
Absolutely! Write your name or add a return address to make it personal.
What if my rectangle isn’t perfect?
That’s totally fine—hand-drawn lines give your art extra charm!
Printable Drawing Tutorials
Download Printable How to draw a letter to santa Drawing Tutorials
You Did It!
Fantastic work! You just finished drawing a Christmas letter to Santa. This simple but festive design is perfect for cards, classroom projects, or decorations. Want to make it extra fun? Add stamps, doodle ornaments around it, or even draw Santa’s mailbox beside it. Share your art with friends, family, and keep creating more holiday cheer! 🎄💌
