Get ready to draw the star of the Thanksgiving table — a juicy roast turkey! In this fun and easy drawing guide, we’ll teach you how to sketch a cartoon-style turkey on a tray with yummy sides. Perfect for kids, preschoolers, and beginner artists who want to celebrate the holiday with art!
What You Need:
- A pencil
- An eraser
- A black marker (for outlining)
- Coloring tools (crayons, markers, or colored pencils)
- Drawing paper
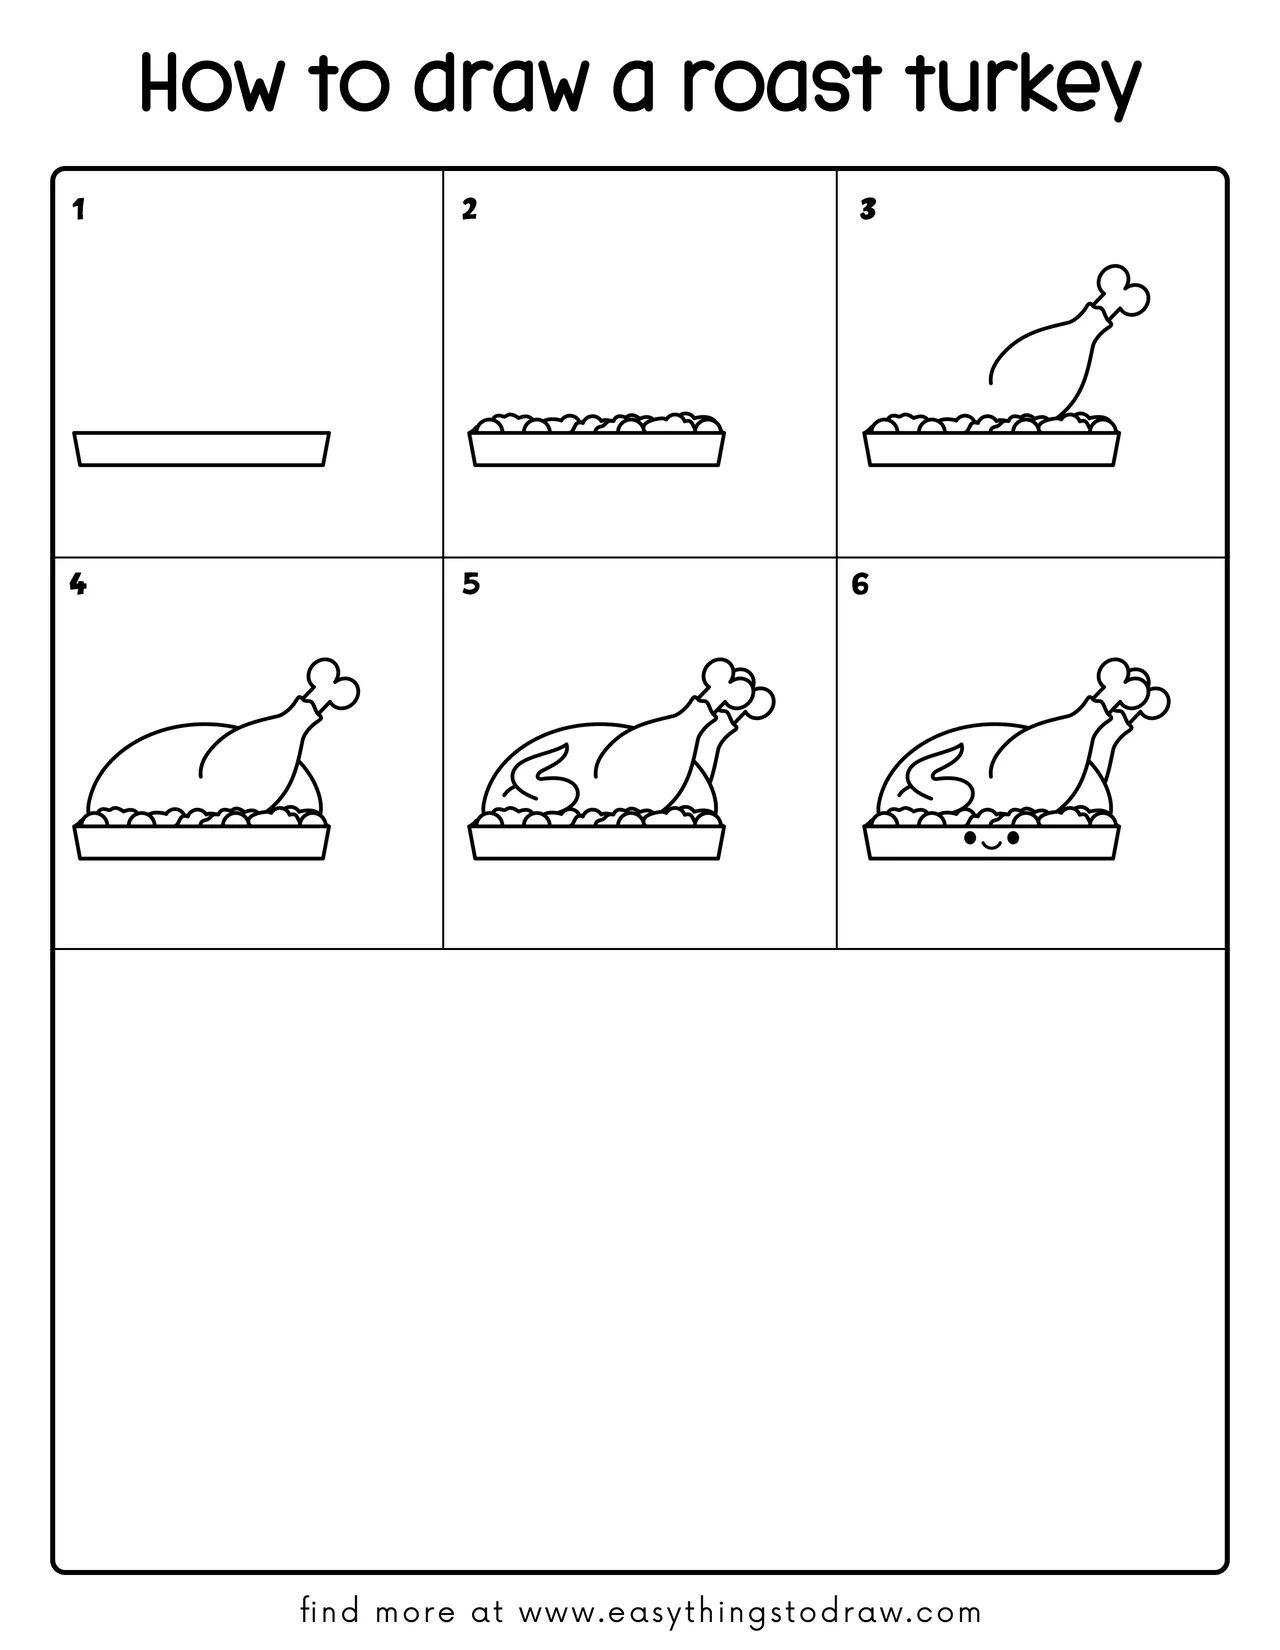
Step by Step Roast Turkey Drawing Instructions
Step 1 – Draw the Serving Tray

Start by drawing a wide, flat trapezoid near the bottom of the page. This is the tray that holds your delicious turkey.
Step 2 – Add Side Dish Bumps
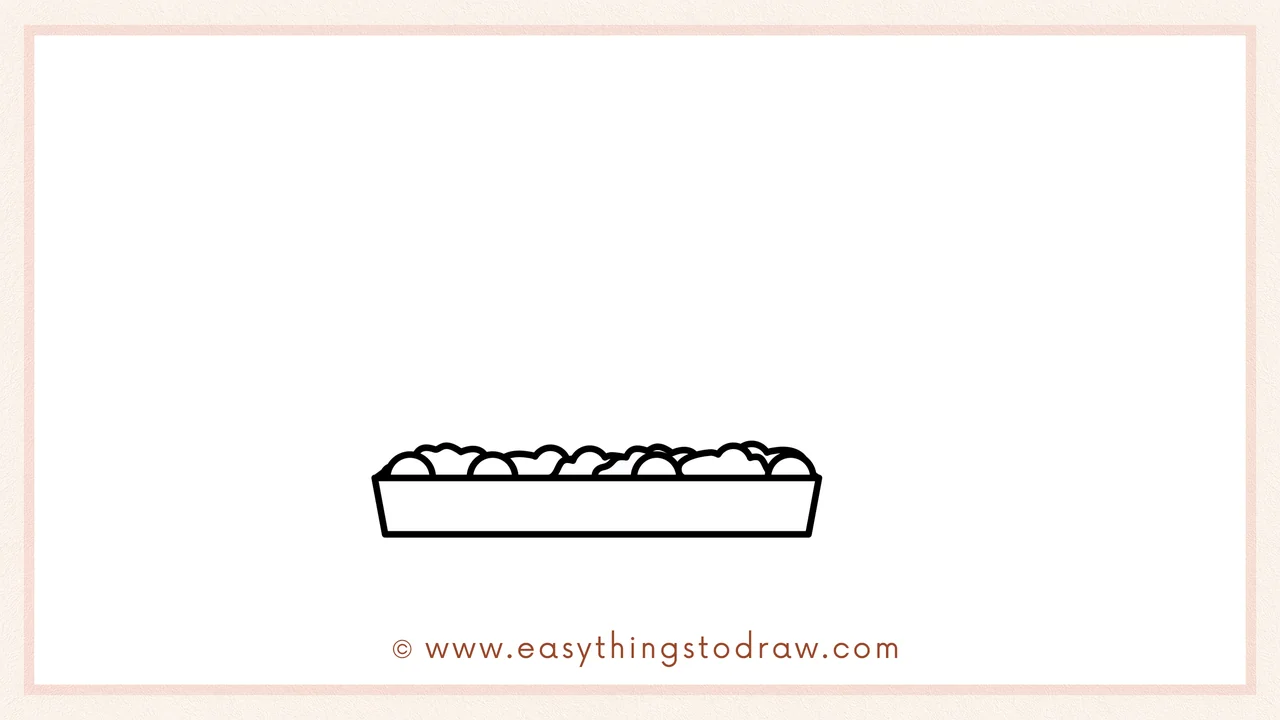
Fill the top of the tray with lumpy, bumpy shapes that look like mashed potatoes or stuffing — yum!
Step 3 – Sketch the First Turkey Leg
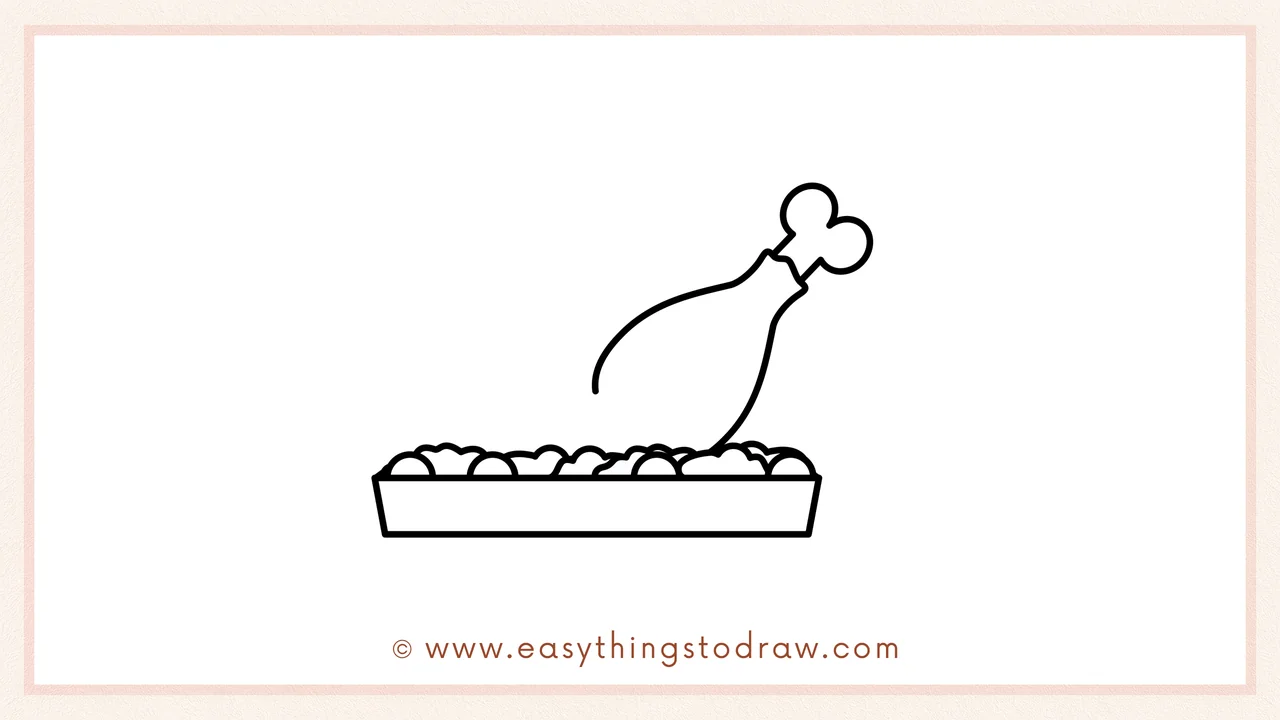
Now draw a curved shape coming up and out from the tray with a bone on top — this will be one of the turkey legs.
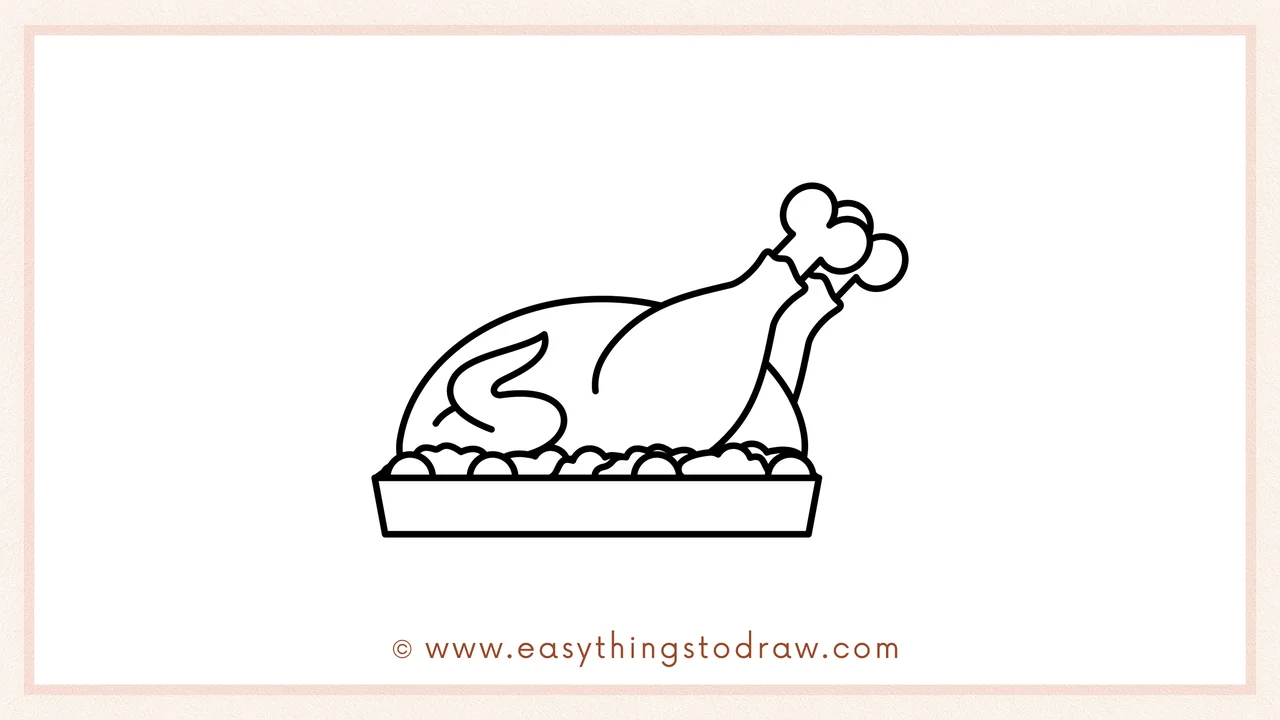
Step 4 – Draw the Turkey Body
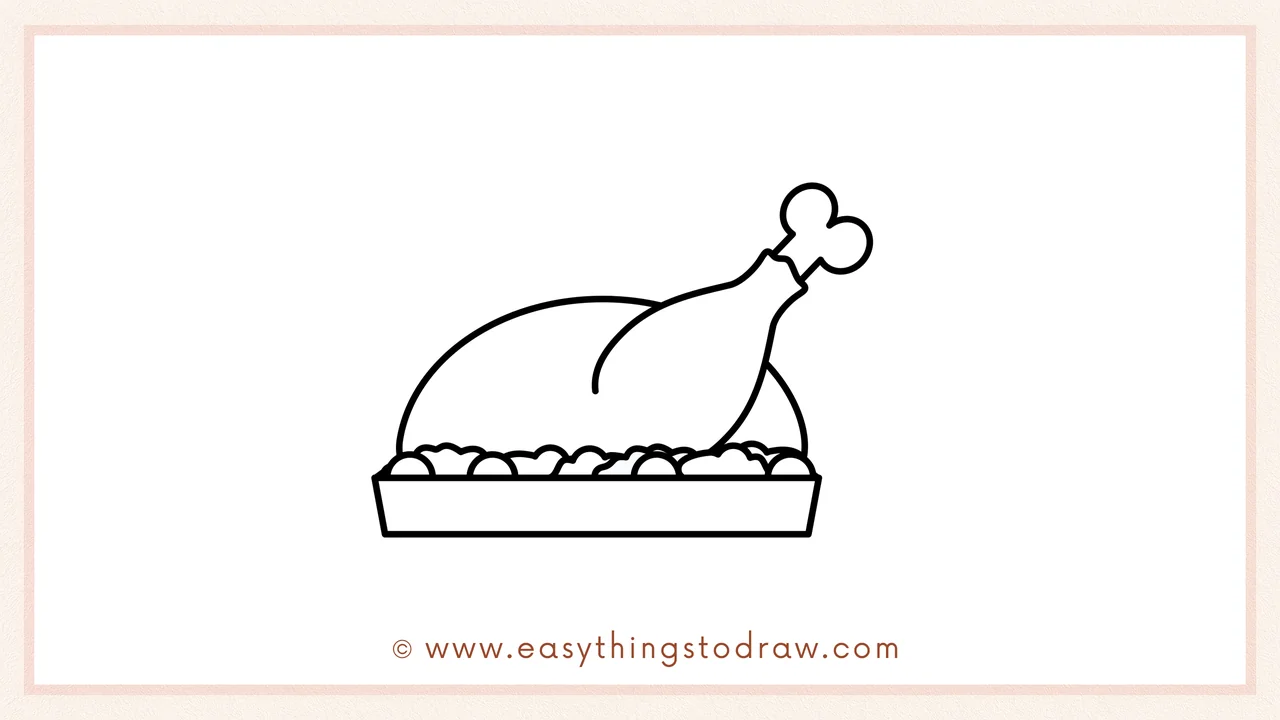
Under the leg, draw a large rounded shape for the main turkey body. Connect it smoothly with the leg so it looks plump and ready to serve.
Step 5 – Add Second Leg and Details
Now add the second leg behind the first and draw a swirl line on the turkey’s side to show its plump, roasted texture.
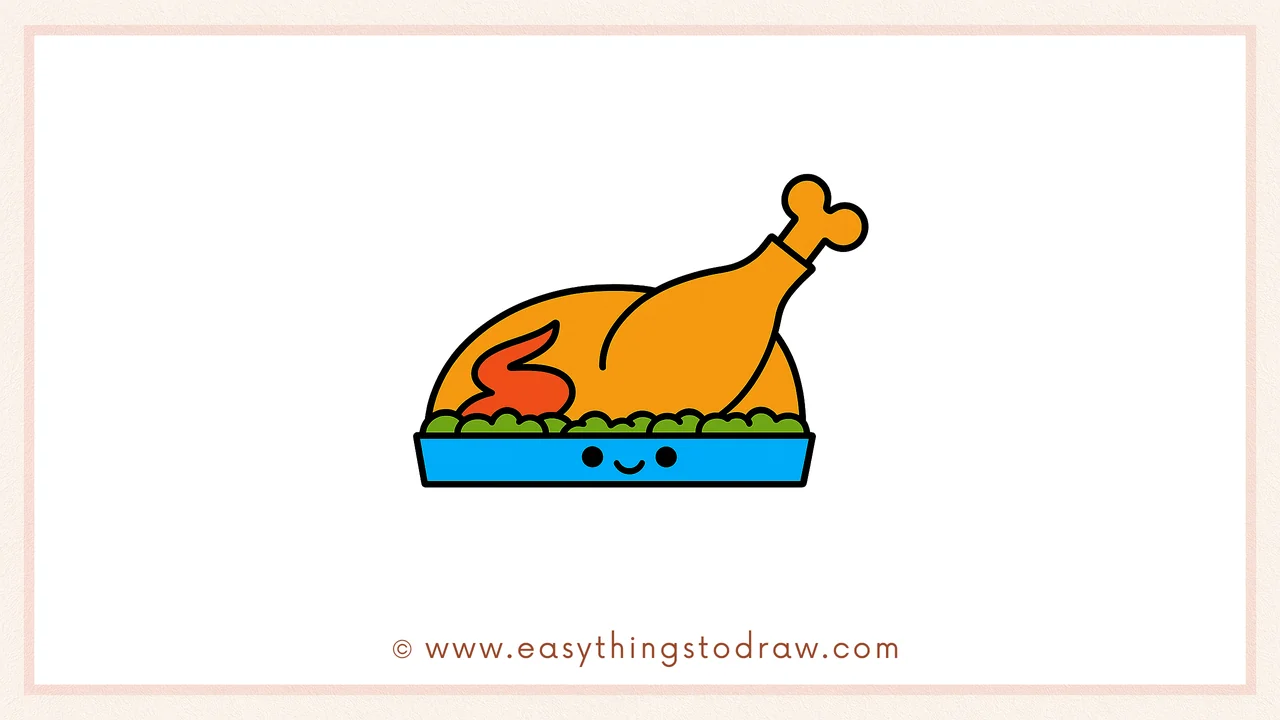
Step 6 – Add a Smiley Face
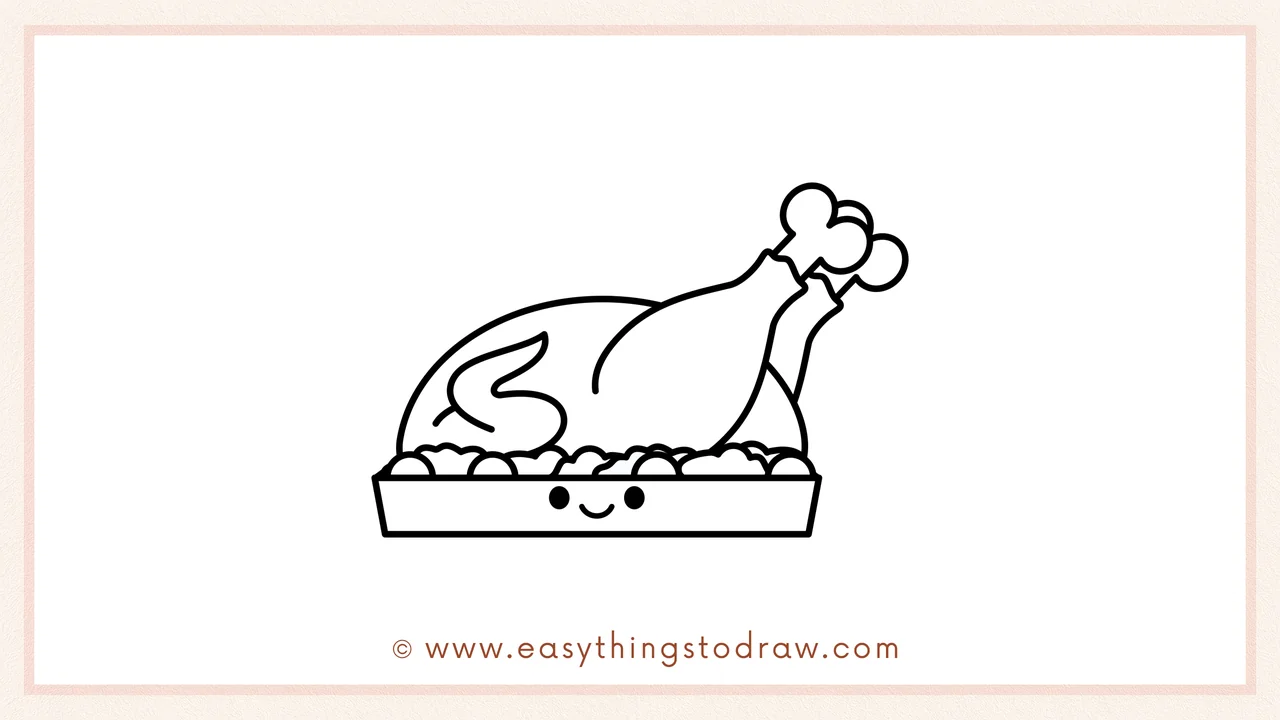
Let’s make your turkey even cuter! Add two eyes and a happy smile to the front of the tray — now it’s the friendliest feast on the table.
Frequently Asked Questions (FAQ)
Can I draw other foods next to the turkey?
Yes! Add corn, peas, cranberry sauce, or even a slice of pie for a full Thanksgiving spread.
How can I make the turkey look extra roasted?
Use warm brown and orange colors when you color it in. You can even add steam swirls above!
What if I draw the legs too big or small?
No problem! Every turkey is different — just make sure it looks balanced on your tray.
Is this okay for preschoolers?
Absolutely! The steps are simple and the shapes are easy to follow for little hands.
Printable Drawing Tutorials
Download Printable How to draw a roast turkey Drawing Tutorials
You Did It!
Awesome work, chef-artist! Your Thanksgiving roast turkey is looking tasty, toasty, and totally adorable. Want to decorate more? Draw a fall table setting around it, or add a napkin, fork, and pumpkin centerpiece. Share your delicious doodle with family or hang it on the fridge to make your Thanksgiving even more fun and creative!
