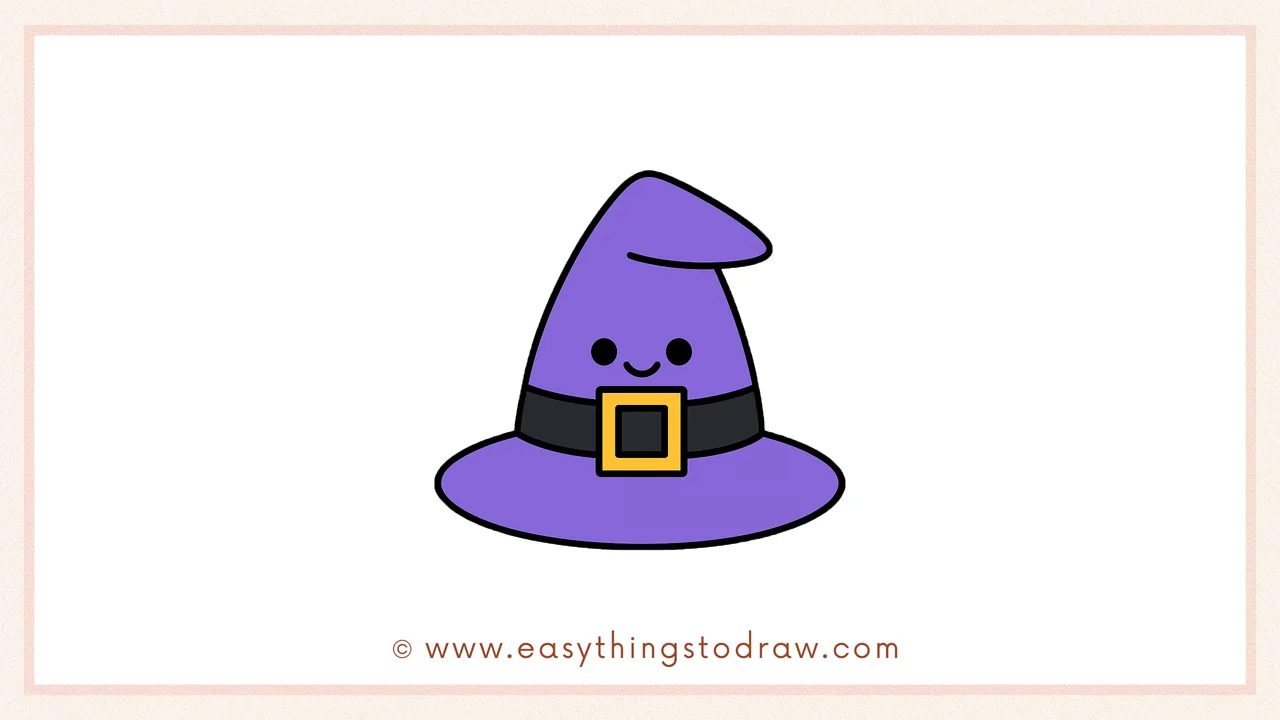
Looking for a magical Halloween drawing idea? This step-by-step tutorial shows you how to draw a cute witch hat with a friendly face and fun details. Perfect for kids, young artists, and beginners, this drawing activity adds a touch of magic to your spooky season crafts. Let’s get drawing!
What You Need:
- A pencil
- An eraser
- A black marker (for outlining)
- Coloring tools (crayons, markers, or colored pencils)
- Drawing paper
Step by Step Witch Hat Drawing Instructions
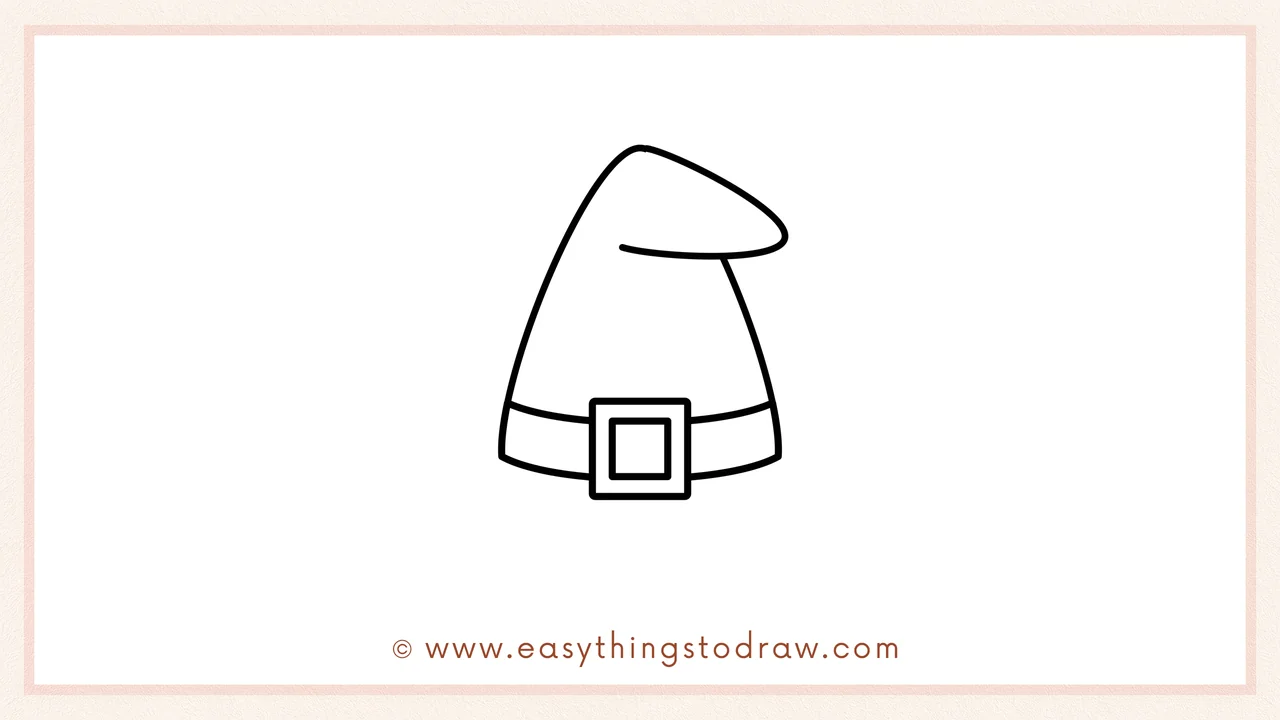
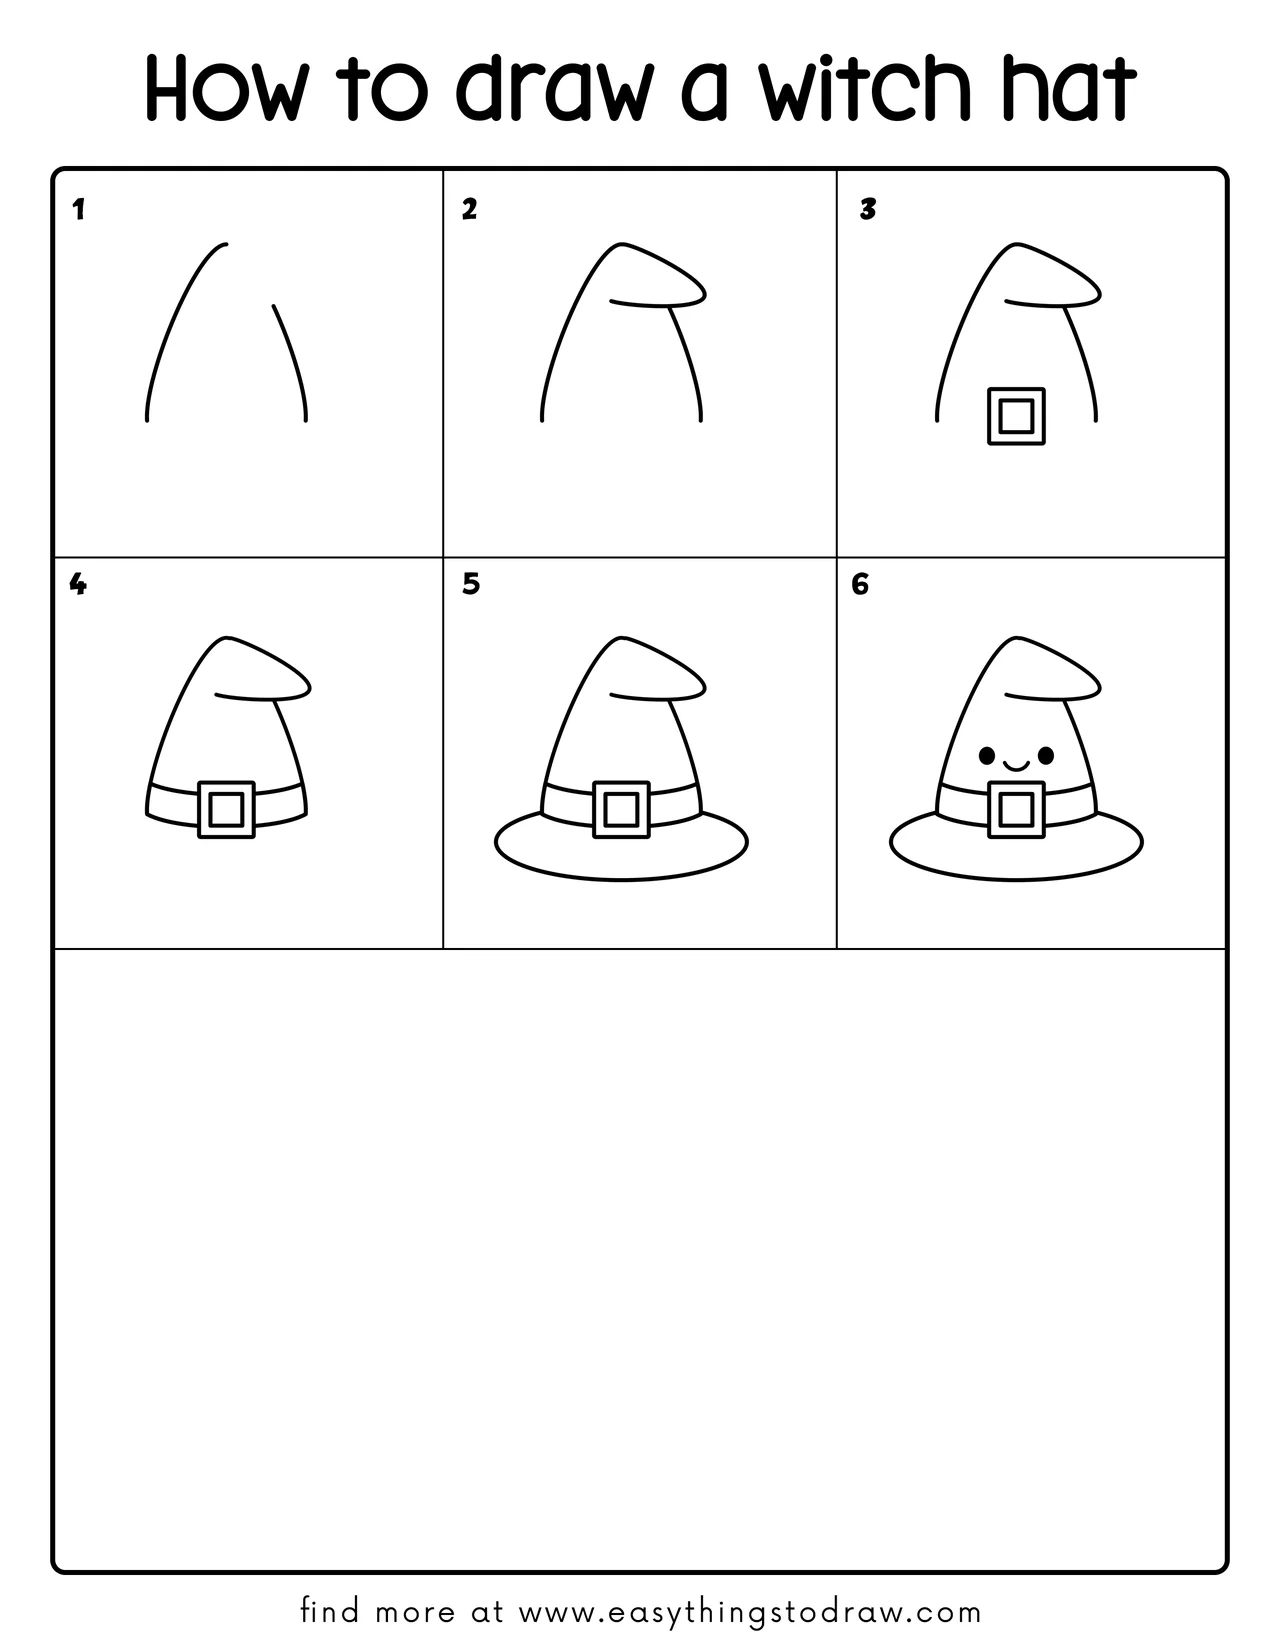
Step 1 – Draw the Main Hat Shape
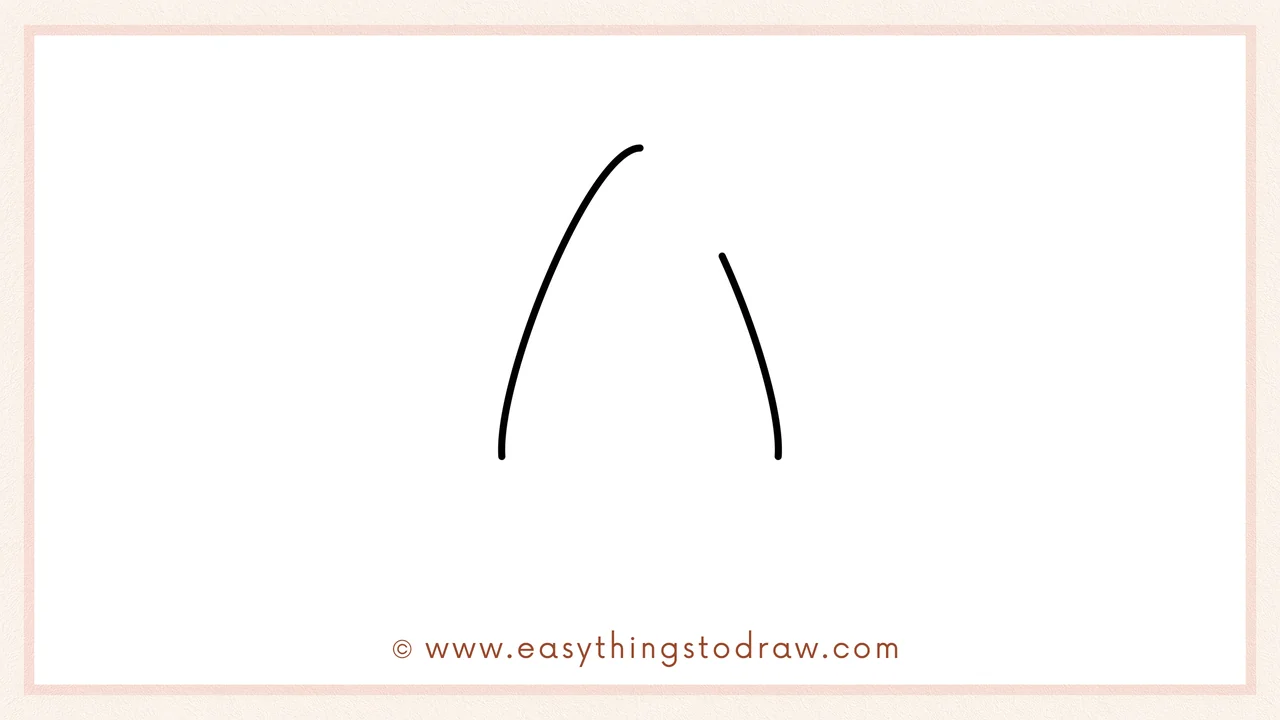
Start with two curved lines that form a tall, pointy shape leaning to the right. This creates the witch hat’s classic droopy top.
Step 2 – Add the Hat’s Floppy Tip
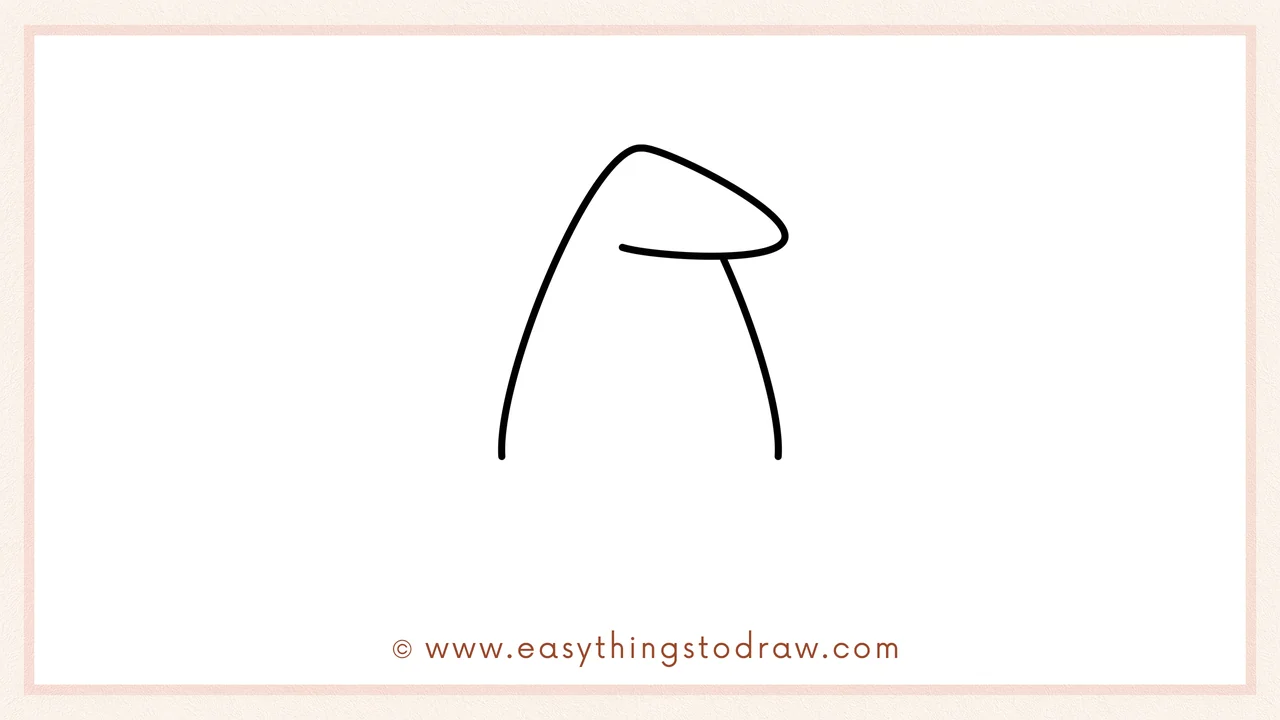
At the top, draw a curved oval to form the droopy part of the hat. It should look soft and floppy like it’s bending forward.
Step 3 – Draw a Square Buckle
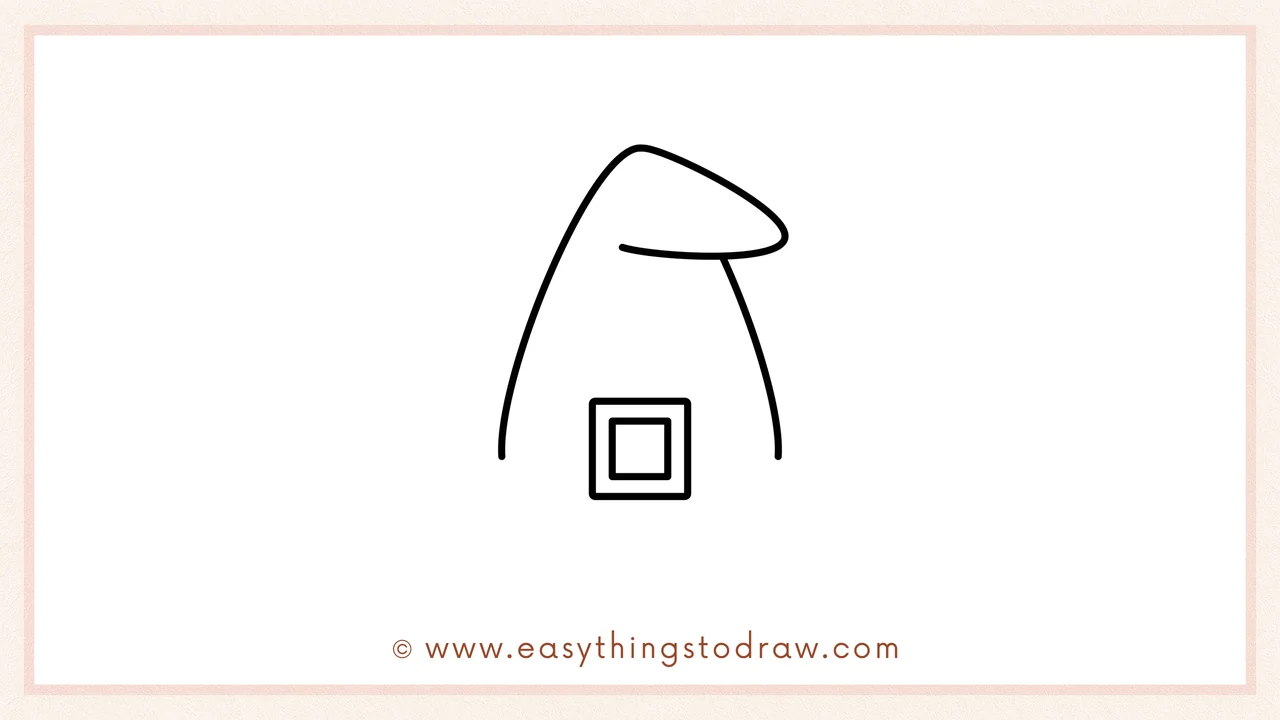
In the middle of the hat, draw a square, then add a smaller square inside it. This will be the magical buckle for the hatband.
Step 4 – Add the Hatband
Extend curved lines on both sides of the buckle to make the full band. This adds detail and structure to the hat design.
Step 5 – Draw the Brim
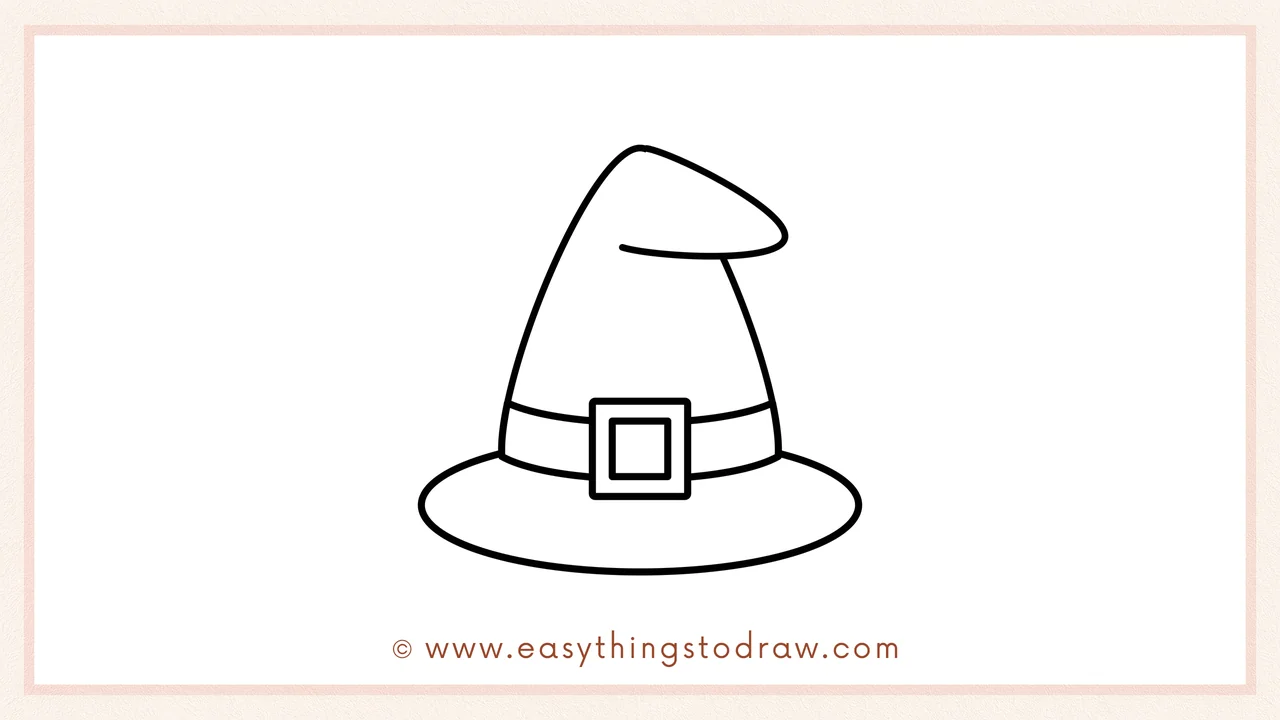
At the bottom of the hat, draw a wide oval shape to form the brim. It should be nice and round, like a flying saucer!
Step 6 – Add a Cute Face
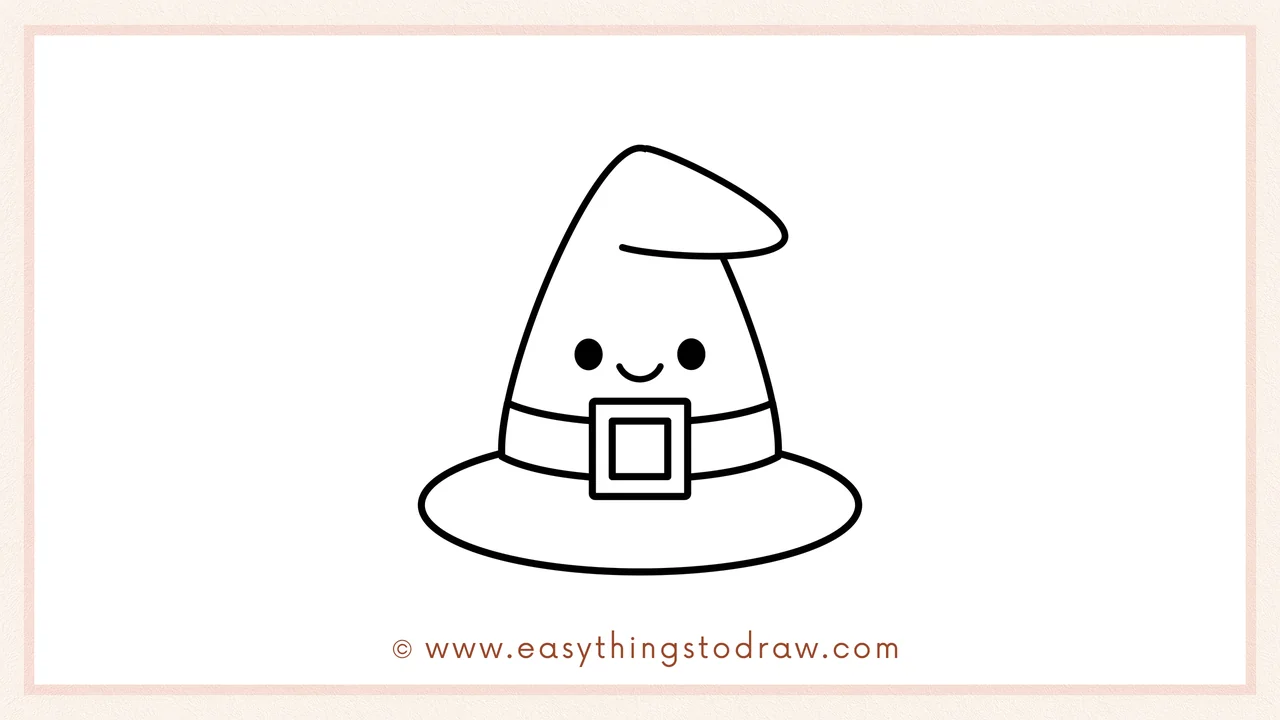
Now make it adorable! Add two black eyes and a small smiling mouth under the band. Your witch hat has come to life!
Frequently Asked Questions (FAQ)
Can I decorate the hat more?
Absolutely! Add stars, moons, spider webs, or even glitter for extra flair.
Can I draw it on a character’s head?
Yes! This hat would look great on a witch, cat, or pumpkin character.
What colors should I use?
Classic choices are black, purple, and orange—but you can use any magical combo you like!
Is this drawing good for Halloween cards?
Definitely! This hat design is perfect for Halloween crafts, cards, and party decorations.
Printable Drawing Tutorials
Download Printable How to draw a witch hat Drawing Tutorials
You Did It!
You did it! Great job drawing your magical witch hat. Want to personalize it? Add a spooky background, floating stars, or even a name tag on the band. Whether you make it classic or colorful, your hat is full of Halloween spirit. Print this tutorial again and create a whole row of cute enchanted hats!
