Sticky and smiley! Today we’re learning how to draw a tape dispenser—but with a fun and adorable twist. This simple step-by-step guide is perfect for kids, beginners, and anyone who loves doodling school supplies. If you’ve been searching for an easy cartoon tape dispenser drawing for beginners, you’re in the right place. Let’s roll!
What You Need:
- A pencil
- An eraser
- A black marker (for outlining)
- Coloring tools (crayons, markers, or colored pencils)
- Drawing paper
Step by Step Tape Dispenser Drawing Instructions
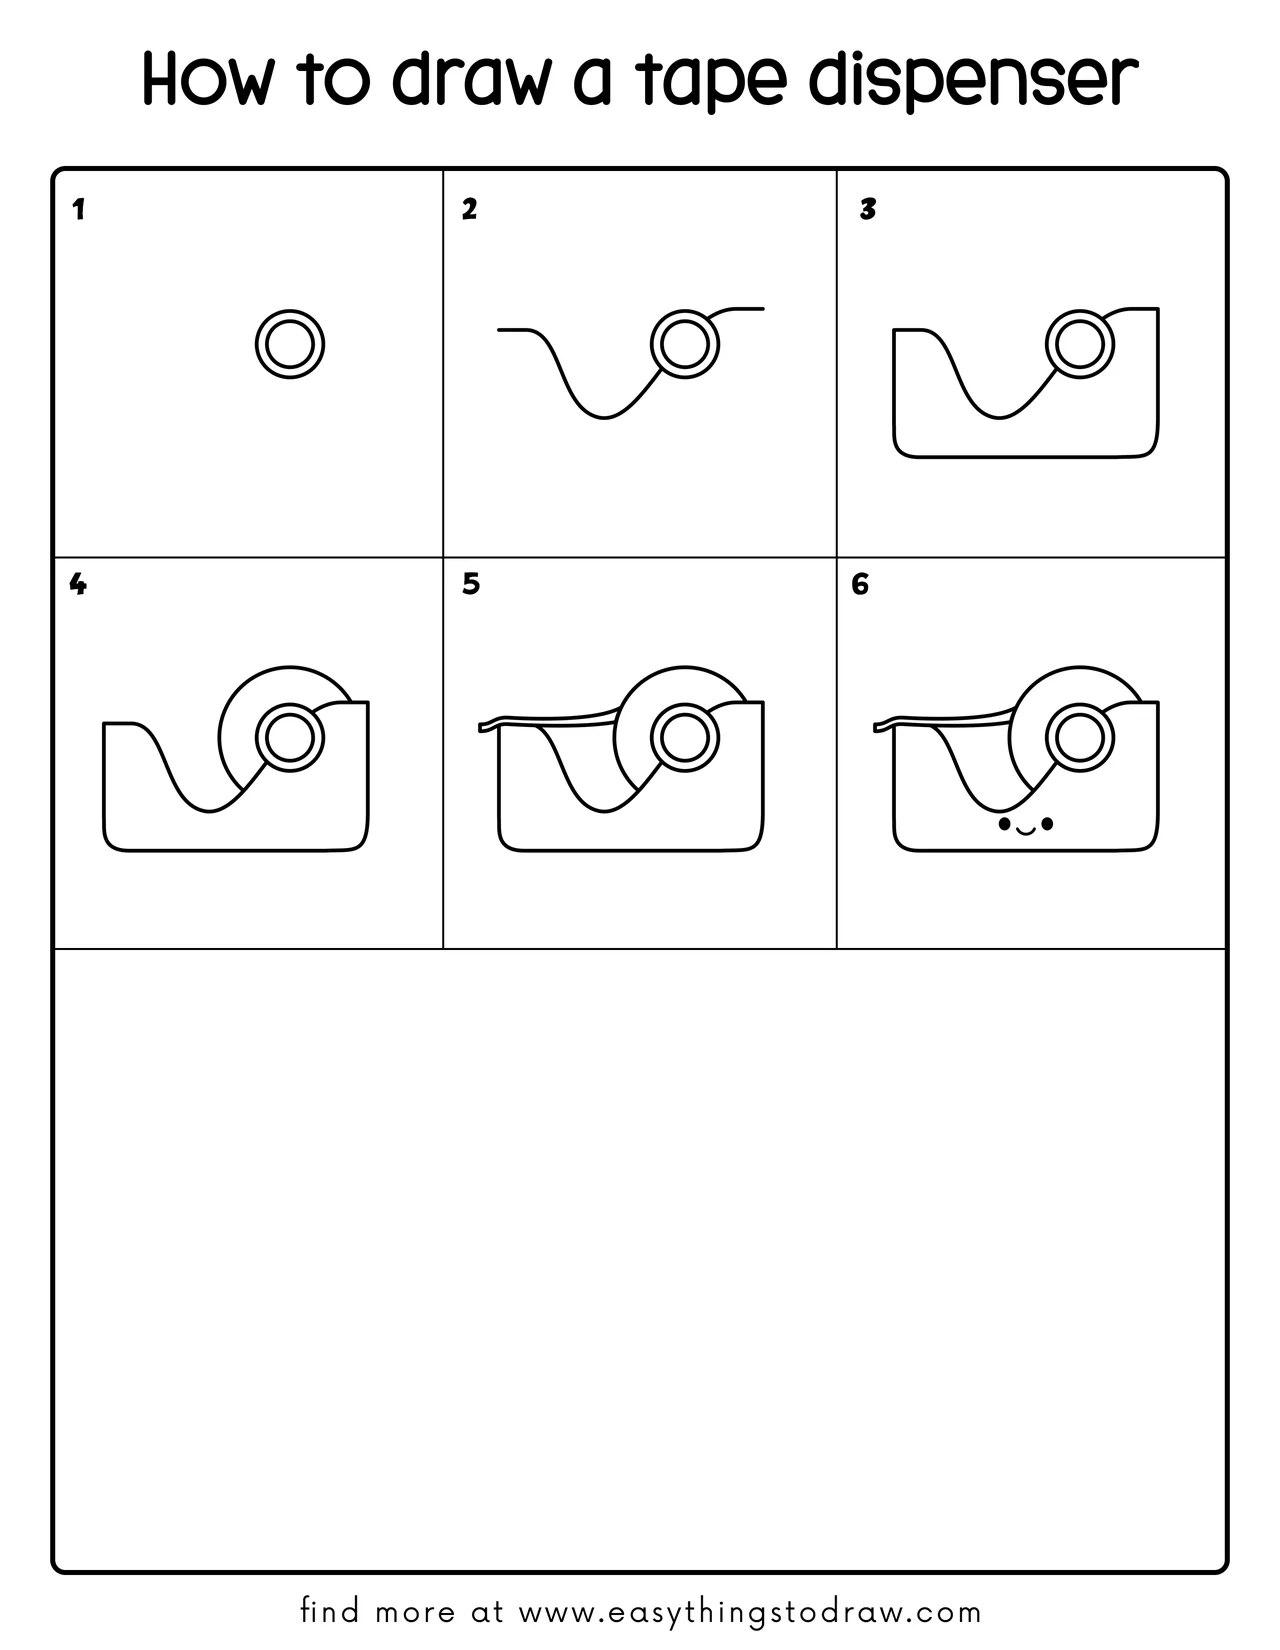
Step 1 – Draw the Tape Roll Center

Start with a small circle, then draw a larger circle around it. This is the center of your tape roll—it looks like a mini donut!
Step 2 – Add the Tape Holder Curve
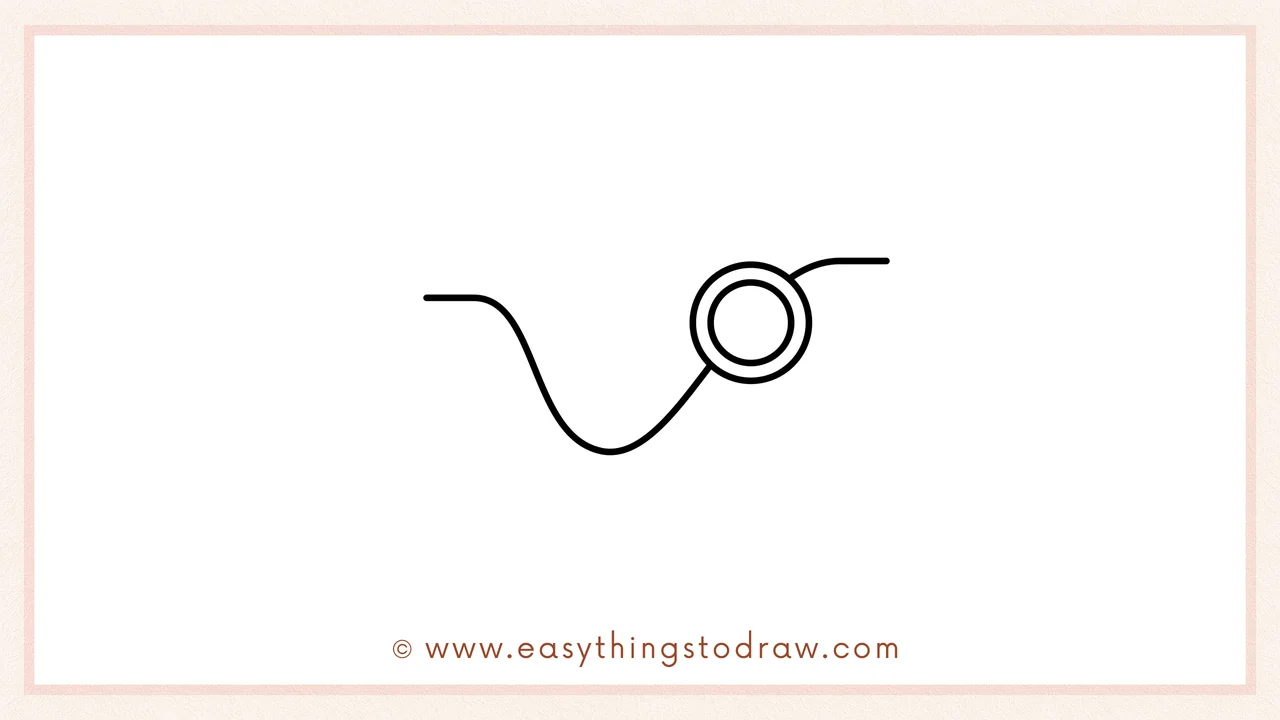
Now draw a wavy line from the left side to the tape roll. It should curve down and then rise back up like a roller coaster—this is where the tape rests.
Step 3 – Create the Outer Body Shape
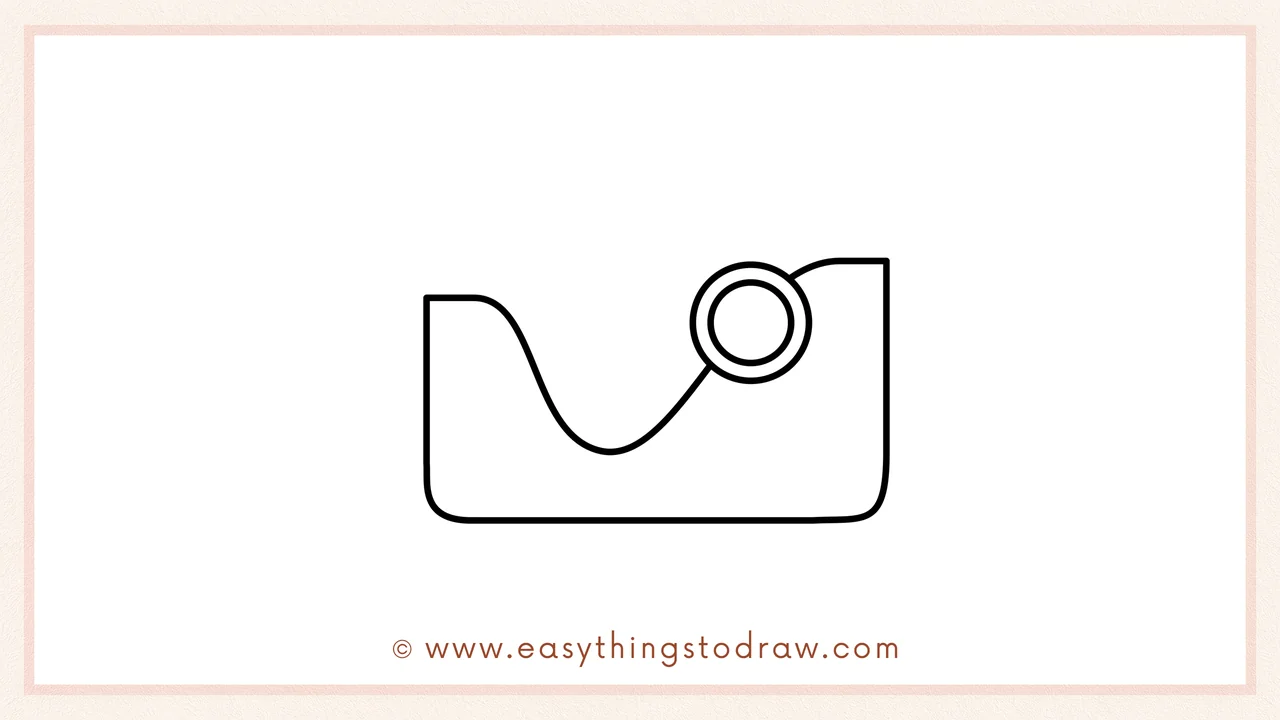
Draw a large rectangular shape around the bottom and right side of the tape holder. This is the tape dispenser’s base. Make the corners a little rounded to keep it soft and friendly!
Step 4 – Add the Outer Roll of Tape
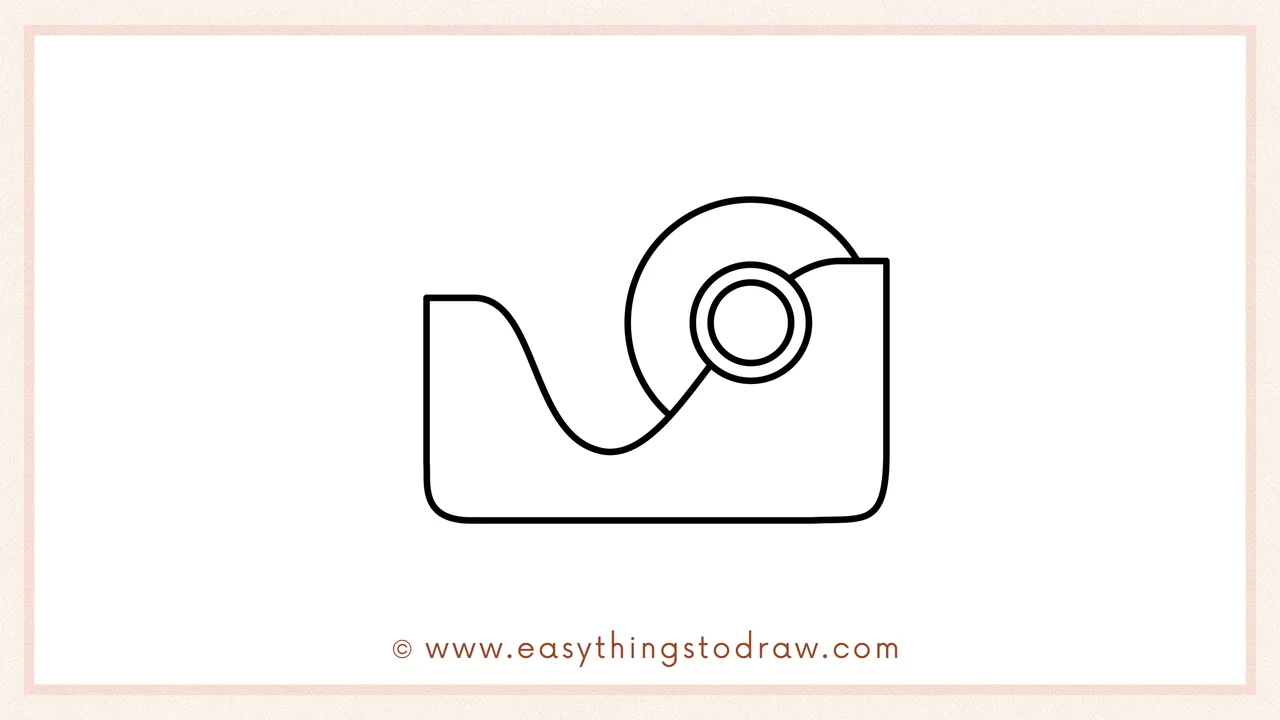
Now draw a big half-circle hugging the outside of the tape ring. This makes the full roll of tape visible—it’s ready to be pulled and used!
Step 5 – Draw the Tape End Strip
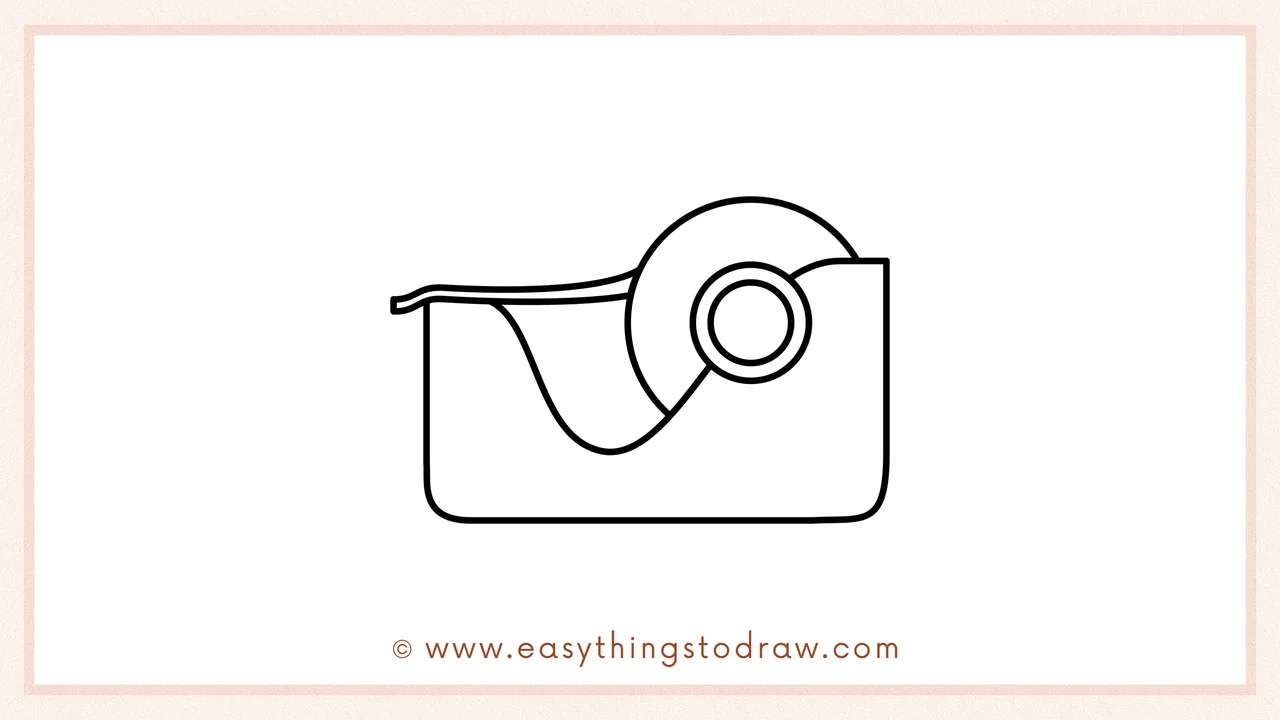
Let’s add the tape’s edge! Draw a thin curved strip across the top of the dispenser to show where the tape peels off. You can even add a zigzag at the tip to look like it’s ready to tear.
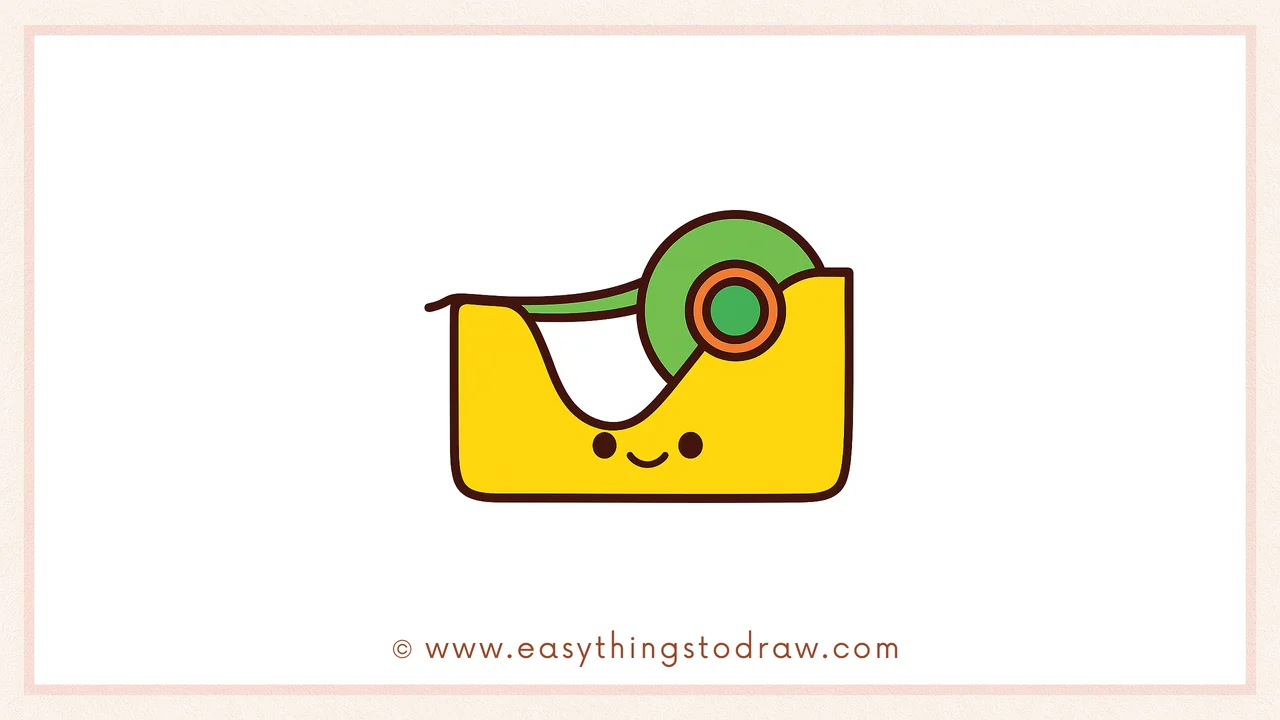
Step 6 – Give Your Tape a Cute Face
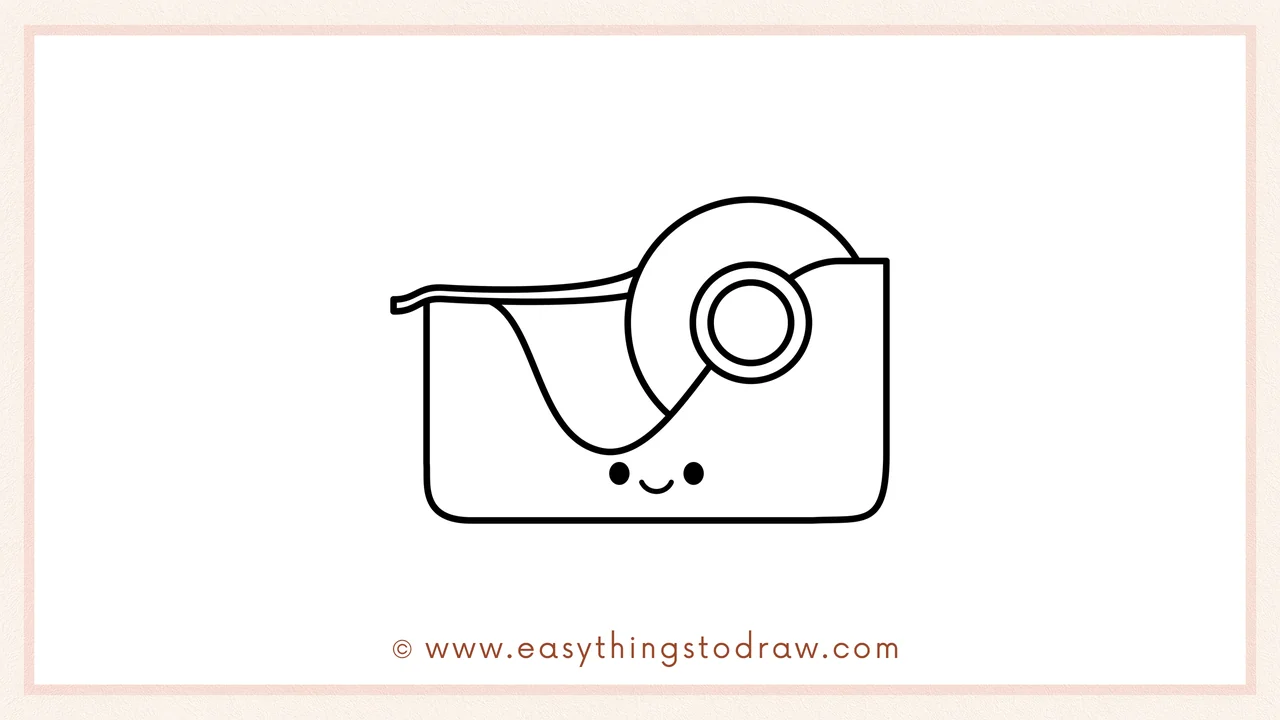
Finish by drawing two tiny black circles for eyes and a little smile in between—now your tape is full of personality and ready to help out!
Frequently Asked Questions (FAQ)
Can I add a zigzag cutter edge to the tape?
Yes! A fun wavy or jagged line at the tip adds a realistic detail.
What colors should I use for the tape dispenser?
Use bright colors like blue, pink, or green for the base, and light yellow or gray for the tape.
Can I draw other supplies with it?
Absolutely! Add scissors, pencils, or a stack of paper to make a full desktop scene.
Is this tutorial okay for preschoolers?
Yes! It’s designed to be super beginner-friendly with simple shapes and steps.
Printable Drawing Tutorials
Download Printable How to draw a tape dispenser Drawing Tutorials
You Did It!
Awesome job drawing your cute tape dispenser! It looks friendly, helpful, and ready to assist with crafting or wrapping gifts. Want to make it even cooler? Add glitter effects, a speech bubble saying “Stick with me!” or design a matching pencil case next to it. Print this out, color it, and come back soon for more cute drawing guides!
